If you’re looking for an easy and affordable way to get beautiful, long-lasting nails at home, then gel nails are the perfect solution. Not only do they look great, but they can also last up to three weeks without chipping or peeling. In this article, we’ll cover everything you need to know about how to do gel nails at home, including the tools you’ll need, step-by-step instructions, and tips for keeping your nails looking their best.
Is It Worth Doing Gel Nails at Home?
Convenience and Flexibility:
You can pamper yourself with a salon-quality manicure without leaving the comfort of your own home. No more waiting for appointments or rushing to the salon during busy days.
Cost-Effectiveness:
Regular salon visits for gel nails can add up over time, making it an expensive beauty routine. Investing in a good-quality gel nail kit allows you to save money in the long run.
Health and Hygiene:
Maintaining your own gel nails at home ensures that you are in control of the hygiene practices. You can be certain that your tools and equipment are clean and sanitized, reducing the risk of infections or nail damage.
Creative Expression:
DIY gel nails open the door to endless creative possibilities. You can experiment with a wide range of gel nail colors, designs, and nail art to match your mood or occasion.
Skill Development:
As you practice, you’ll improve your techniques, resulting in neater and more professional-looking manicures. You may even discover a new passion for nail art and design, honing your talents with every application.
Long-Lasting Results:
By doing gel nails at home, you can ensure meticulous application, leading to nails that stay flawless and beautiful for weeks, resisting chips and fading.

Tools You’ll Need
Before you start doing your gel nails, you’ll need to make sure you have all the necessary tools on hand. Here’s a list of everything you’ll need:
- Gel nail polish
- Base coat
- Topcoat
- UV or LED lamp
- Nail file
- Cuticle pusher
- Nail buffer
- Alcohol wipes
- Cotton pads
- Acetone
Gel Nails at Home: DIY Guide
Now that you have all the tools you need, it’s time to get started! Here’s a step-by-step guide on how to do gel nails at home:
- Start by preparing your nails. Use the cuticle pusher to gently push back your cuticles and the nail file to shape your nails. Be sure to remove any oils or lotions from your nails using the alcohol wipes.
- Apply a thin layer of base coat to your nails and cure it under the UV or LED lamp according to the instructions on the polish.
- Apply a thin layer of gel polish to your nails, making sure to coat the entire nail evenly. Cure the first coat under the UV or LED lamp.
- Apply a second coat of gel polish and cure it under the UV or LED lamp as well.
- Apply a thin layer of topcoat and cure it under the UV or LED lamp.
- Once your nails are cured, use the nail buffer to smooth out any bumps or rough spots.
- Use an acetone-soaked cotton pad to remove any excess polish from your skin or cuticles.
- Repeat the process on all of your nails, making sure to cure each coat of polish under the lamp before applying the next one.
Tips for Keeping Your Gel Nails Looking Their Best
Now that you know how to do gel nails at home, here are some tips for keeping them looking their best:
- Avoid exposing your nails to harsh chemicals, such as cleaning products or acetone-based nail polish remover.
- Wear gloves when doing dishes or other activities that may damage your nails.
- Apply cuticle oil to your nails regularly to keep them moisturized and healthy.
- If you notice any lifting or peeling of the gel polish, don’t try to fix it yourself. Visit a professional nail technician to have it fixed.
- When you’re ready to remove your gel polish, be sure to soak your nails in acetone for at least 10 minutes to prevent damage to your natural nails.
Best Gel Nails at Home Kits
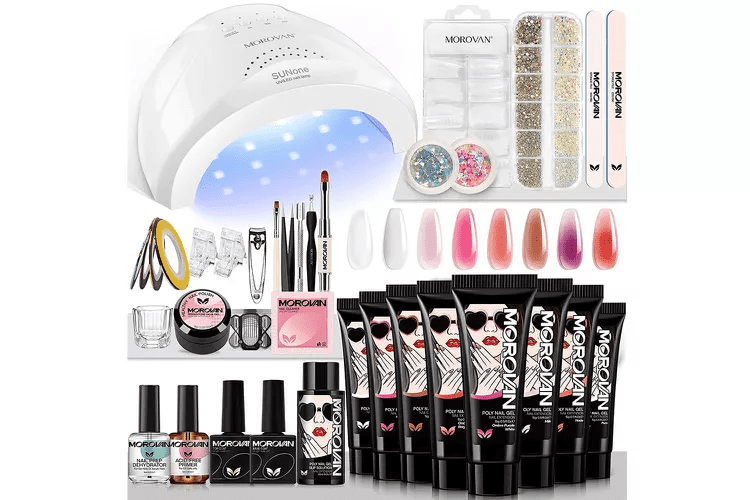
Morovan Poly Gel Nail Kit offers a professional-grade solution for achieving salon-quality results in the comfort of your home. This kit comes equipped with a 48-watt LED lamp, base coat, top coat, poly gel, nail forms, and a nail file. With its easy-to-apply and sculpt poly gel, combined with the quick and even curing power of the LED lamp, you can create stunning and durable gel nails effortlessly.
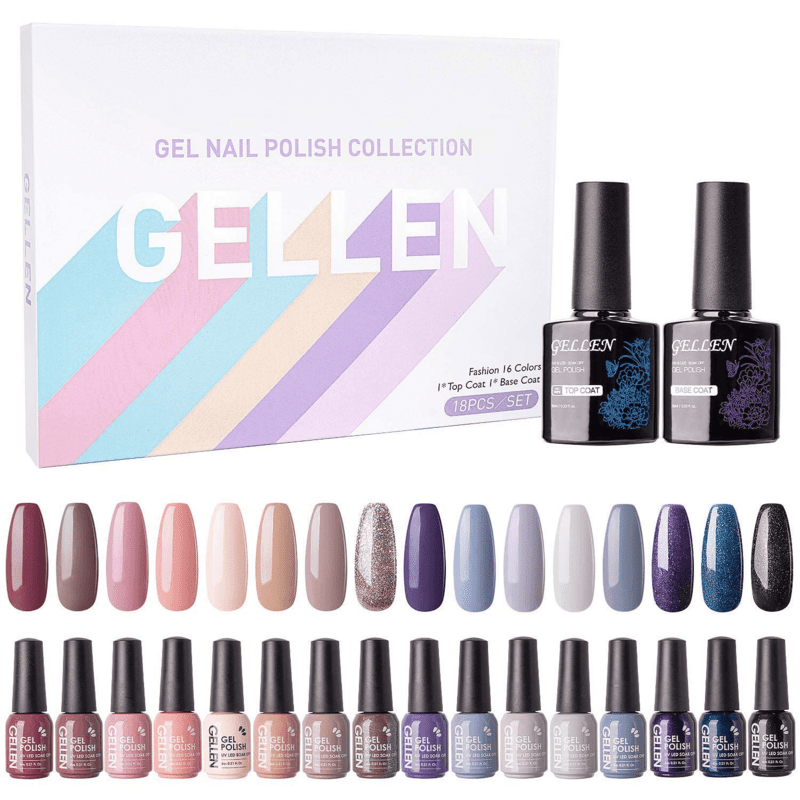
Gellen Gel Nail Polish Kit is a great value for the price. It includes a 24-watt LED lamp, base coat, top coat, and 12 gel polishes in a variety of colors. The gel polishes are easy to apply and last for up to 2 weeks.
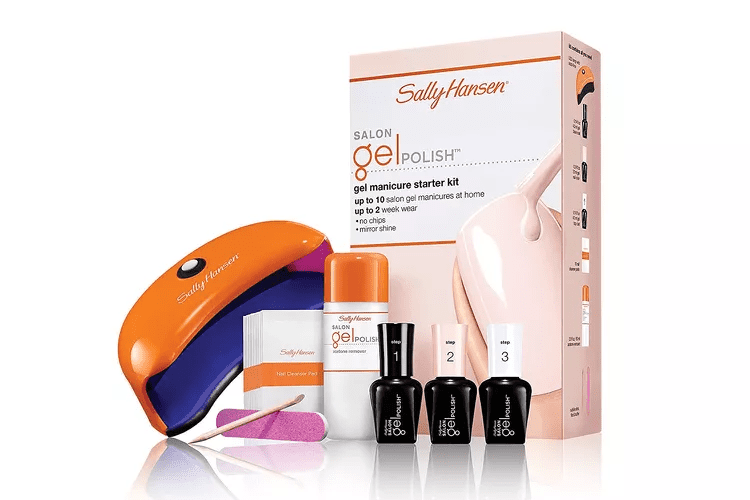
Sally Hansen Salon Pro Gel Starter Kit is a good option for beginners. It includes a 36-watt LED lamp, base coat, top coat, and one gel polish. The instructions are easy to follow, and the results are salon-worthy.
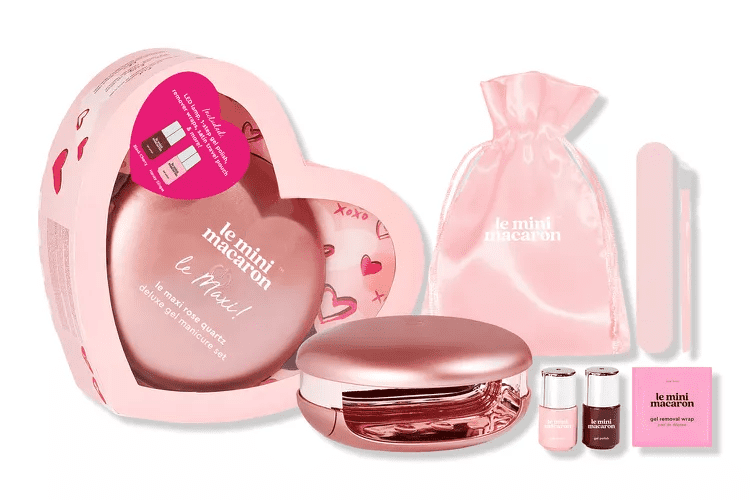
Le Mini Macaron Gel Manicure Kit is a portable and compact kit that’s perfect for travel. It includes a 16-watt LED lamp, base coat, top coat, and 6 gel polishes in a variety of colors. The kit is small enough to fit in your purse or carry-on, and the gel polishes are long-lasting.
FAQs
- How long do gel nails last? Gel nails can last up to three weeks without chipping or peeling.
- How often should I get my gel nails redone? It’s recommended to get your gel nails redone every two to three weeks, depending on how quickly your nails grow.
- Can I use regular nail polish with my gel nails? While you can apply regular nail polish over your gel nails, it may cause them to peel or chip more easily. It’s best to stick with gel polish or gel-like polishes for the best results.
- Do gel nails damage your natural nails? If applied and removed correctly, gel nails should not damage your natural nails. However, improper removal or lifting of the gel polish can cause damage.
- Can I do gel nails at home without a UV lamp? Technically, there are gel polishes that can be cured under LED lamps, but they tend to take longer to cure and may not provide as strong of a bond as UV-cured gels. It’s best to invest in a UV lamp for the best results.