There are several types of nail extensions available, each offering its own set of benefits and drawbacks. Whether you’re considering dip powder nails, gel nails, or acrylics, it’s important to know what to look for when deciding which option is best for you. Before diving into the details, let’s explore the pros and cons of dip nails, gel nails, and acrylics to help you make an informed choice.
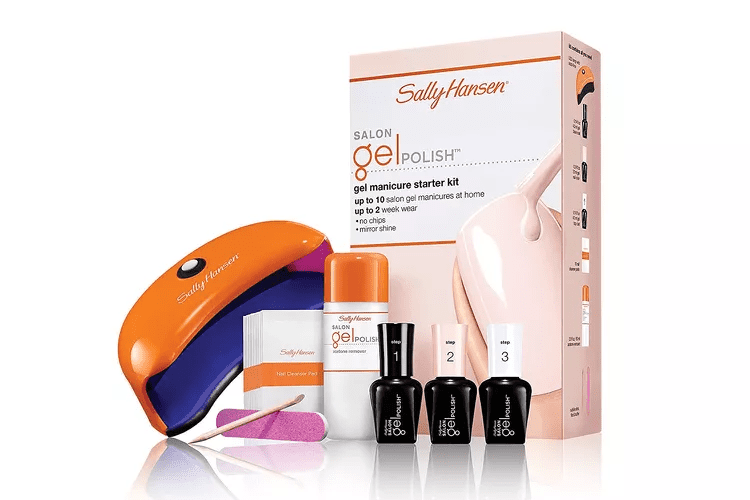
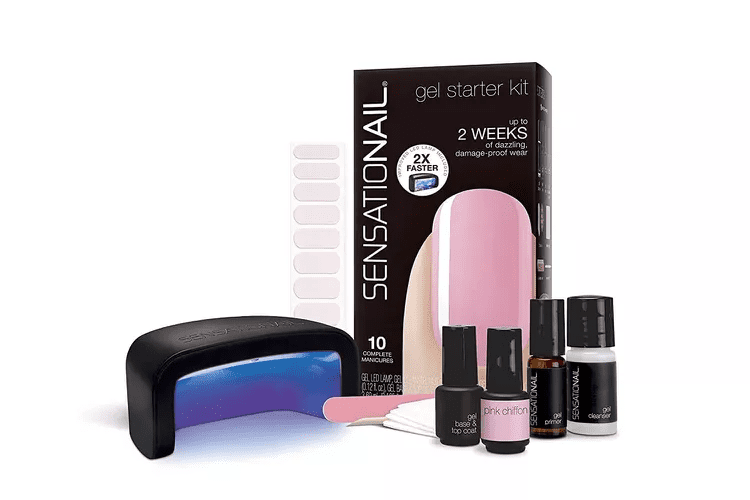
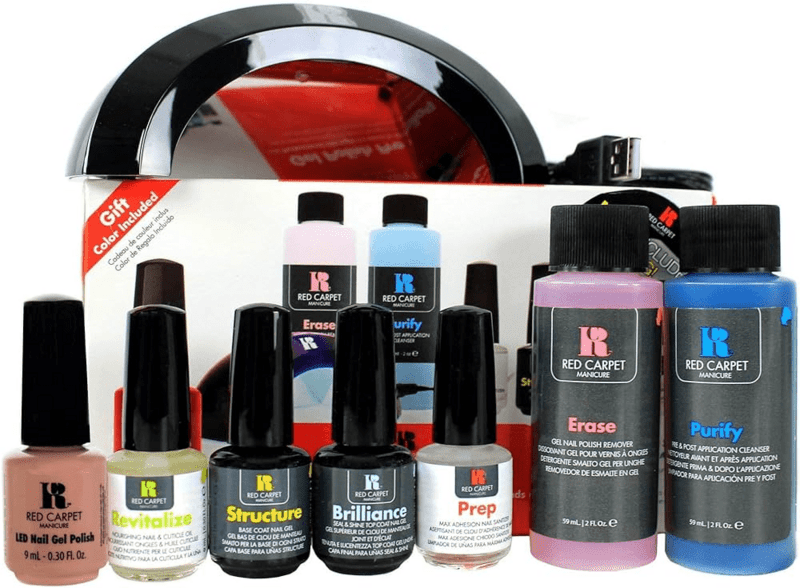
WHAT ARE GEL NAILS?
Gel nails are created using a gel formula that is cured under UV or LED light. They’re much more flexible than traditional acrylics, making them less prone to breakage.
While applying gel nails can be a bit challenging due to the sticky residue left behind, which must be wiped off with alcohol, they are highly durable once set and typically last 2-3 weeks.
Unlike hard gel extensions, which are ideal for salon use, gel polish is easier to apply and suitable for both at-home and professional applications.
Disadvantages of Gel Nails
- Time-consuming application: The process can take a while, as each nail needs to be shaped individually and cured under UV or LED light.
- UV/LED light exposure: Some individuals may be sensitive to UV or LED light used during the curing process, which can cause skin irritation. To reduce this risk, it’s recommended to apply sunscreen to your hands before exposure.
- Harsh chemicals: Some gel brands may contain harsh chemicals like BHA, so it’s best to avoid those when possible.
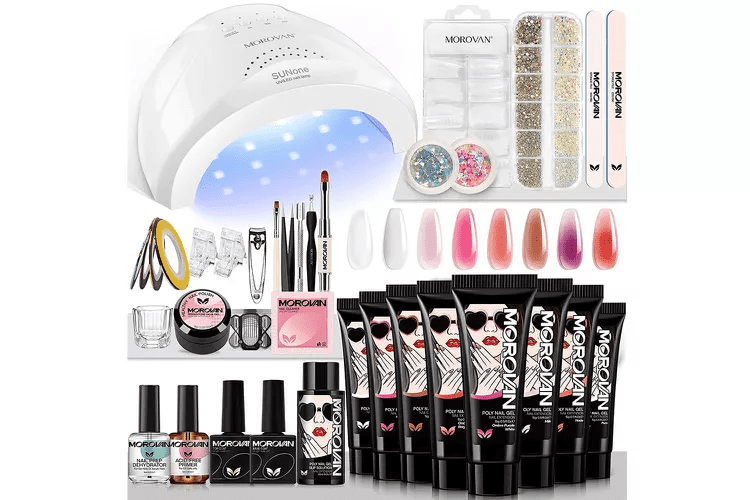
WHAT ARE DIPPED NAILS?

Dip powder nails, or dipped nails, are made using finely milled acrylic powder and are bonded with a special adhesive called cyanoacrylate.
The powder is applied to the nail and sealed with a top coat. Dip powder nails are known for being both flexible and durable, making them longer-lasting than other types of artificial nails. When applied properly, they are also resistant to chipping and breaking.
The dipping method is particularly suited for home use. Unlike hard gels and acrylics, which require skill and experience to sculpt the nails, dip nails don’t involve sculpting, making them easier to apply.
In addition, dip powders are flexible, durable, odorless, non-toxic, and don’t require curing lights.
Disadvantages of Dip Nails
- Hygiene concerns: While dip powders are great for home application, if you’re getting them done at a salon, ensure your fingers aren’t being dipped into shared powder pots, as this can lead to infections.
- Messy application: The process of applying dip powder nails can get a bit messy.
WHAT ARE ACRYLIC NAILS?

Traditional acrylic nails are created by combining a liquid monomer with a powder polymer, typically applied with a brush and then shaped to the desired look.
Acrylic nails are the most popular type of artificial nails due to their durability, longevity, and relatively simple application process. However, if not applied correctly, they can cause significant damage to your natural nails.
Disadvantages of Acrylic Nails
- Toxic smell: Liquid monomers often contain harsh chemicals like MMA, which can be harmful to your health, potentially causing allergies or asthma.
- Harsh chemicals: Some types of acrylics contain dangerous substances such as formaldehyde and toluene. While it hasn’t been definitively proven, toluene has been linked to potential health issues.
- Lack of flexibility: Unlike gel or dip powder nails, traditional acrylics are quite rigid. This means that if they hit something hard, they are more likely to break due to their stiffness.
- Bacterial or fungal infections: Improper application or trauma to the nails can lead to gaps between the acrylic and the natural nail, creating a breeding ground for bacteria or fungi.
- Acrylic nail removal: Removing acrylic nails is a lengthy process, requiring soaking the nails in 100% acetone for 30-40 minutes. It’s recommended to have a professional handle the removal, as attempting it on your own can risk damaging your nails.
DIPPED NAILS VS GEL NAILS – WHAT’S THE DIFFERENCE
Dipped nails and gel nails are both popular options for fake nails, but how do they differ? Let’s break it down.
APPLICATION PROCESS
Both dip powder and gel nails are great for home use. However, applying hard gel (gel extensions) can be much trickier for a DIY project.
Gel nails usually take longer to apply than dip nails because gel polish or hard gel needs to be cured under an LED or UV light.
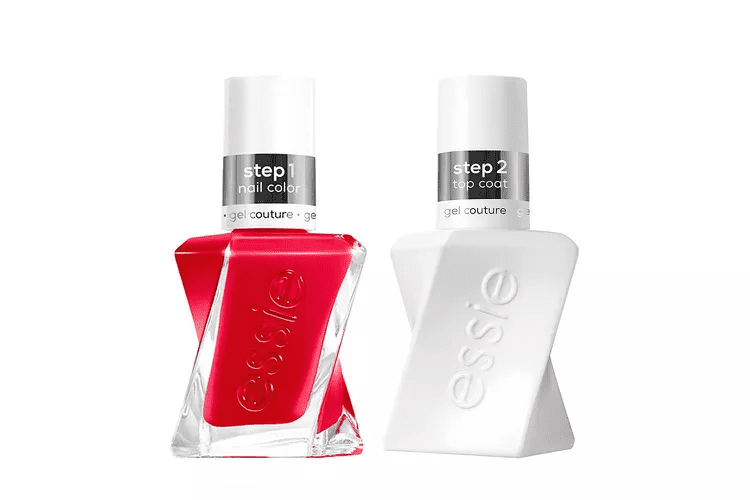
For a gel manicure, the process includes prepping the nails, applying a base coat, gel polish color, a top coat, and curing under a lamp.
A dip powder manicure involves prepping the nails, applying a base coat, dipping them in powder, adding a top coat, and using an activator.
Traditional acrylics include prepping the nail, applying acrylic powder and liquid with a brush, and finishing with nail polish and a top coat.
UV/LED LIGHT EXPOSURE
Dip powder nails don’t need UV or LED light to set, unlike gel nails, which require curing under these lights.
LASTING POWER
Gel polish: If done right, gel polish can last 2-3 weeks.
Hard gel extensions: They can last more than 3 weeks but usually need a fill-in after 3-4 weeks.
Dip powder nails: When applied properly, they can last over 3 weeks without chipping.
Acrylic nails: Acrylics are very strong and can also last over 3 weeks without cracking or chipping.
NAIL DAMAGE
If not applied or removed properly, all three types—gel, dip powder, and acrylics—can harm your natural nails. This can range from mild irritation to more serious issues like infections or allergies, depending on the person and the process used.
COST AND TIME
Gel polish: Costs $35-$50 and takes about 45 minutes to an hour. In the U.S., the average price is $40.
Hard gel extensions: Cost around $80 and take 1-1.5 hours. Prices may rise if you add decorations like rhinestones.
Dip nails: Typically cost $40-$50 and take about 45 minutes.
Acrylic extensions: Cost between $75-$100 and take 1-1.5 hours in a salon.
REMOVAL PROCESS
For gel nails and dip powder nails, the removal process is similar: first, file off the top coat, then soak the nails in acetone for 15-20 minutes. For acrylic nails, removal takes longer. You need to soak them in acetone for 30-40 minutes and then file them off.
CONCLUSION
So, what’s the verdict? It really comes down to your preferences. If you’re looking for something quick and easy to do at home, both a gel polish manicure and a dip powder manicure are great options. If you prefer to visit the salon for a full set of extensions, then gel or acrylic nail extensions might be more your style.
Acrylic allergy: If you’re allergic to acrylics, none of these options will work for you since they all contain acrylic. In that case, you could try a regular polish manicure or a shellac manicure. While these won’t last as long, they are gentler on your nails in the long run. Whatever you decide, remember to care for your nails and give them a break every now and then!