Tis the season to get jolly with some seriously fabulous Christmas nails! Immerse yourself in a world of festive delight with designs featuring silver snowflakes, green Christmas trees, and Santa hats on red French tips, all set to transport you into the holiday spirit.
When you think of Christmas nails, longer talons might come to mind, but short lengths can be just as dazzling and practical for your everyday holiday look. If you’re searching for a simple yet stunning Christmas nail design that matches your beauty vibes, you’re in the right place. The countdown to the most wonderful time of the year has begun—so buckle up and let the merriment unfold before your very eyes. Are you ready to sleigh your nail game this Christmas? Let’s go!
OUR TOP PICKS FOR CHRISTMAS NAIL COLORS
To elevate your Christmas nail look with style and flair, we present our top picks for festive and on-trend Christmas nail colors in different styles!
CLASSIC AND ELEGANT
- OPI: Offers a wide range of classic reds, deep greens, and shimmering golds. Their holiday collections often feature unique and festive shades.
- Essie: Known for its long-lasting formula, Essie provides elegant and sophisticated colors, perfect for a refined Christmas look.
- Dior: For those seeking luxury, Dior offers high-end nail polishes with rich pigments and impeccable quality.
BOLD AND FESTIVE
- China Glaze: This brand delivers vibrant and playful colors, ideal for creating a fun and festive Christmas manicure.
- Sally Hansen: Offers a mix of affordable and high-quality polishes with a wide range of shades to suit different preferences.
- CND: Known for its professional nail care products, CND also boasts a collection of stunning holiday colors.
GLITTER AND GLAM
- Ciaté London: This brand is famous for its innovative nail polishes, including glitter-packed formulas and special effects.
- Nails Inc.: Offers a range of festive glitter and metallic shades for a glamorous Christmas manicure.
- Deborah Lippmann: Known for its luxurious formulas, Deborah Lippmann provides high-shine glitter polishes with exceptional staying power.
BEST SHORT CHRISTMAS NAILS
Unleash your inner nail artist! Discover a world of festive charm with our collection of stunning short Christmas nail designs. From classic elegance to playful patterns, find the perfect look to jingle all the way through the holiday season.
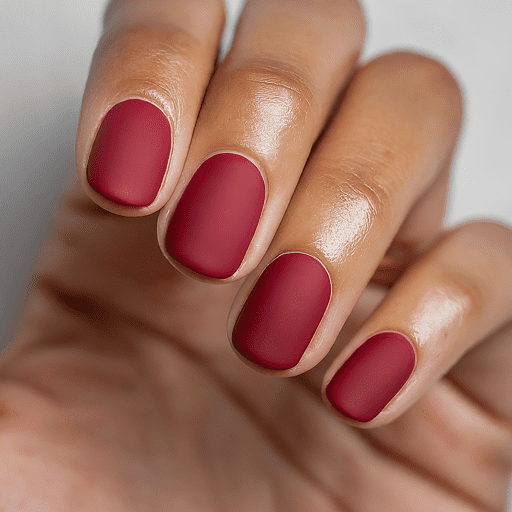
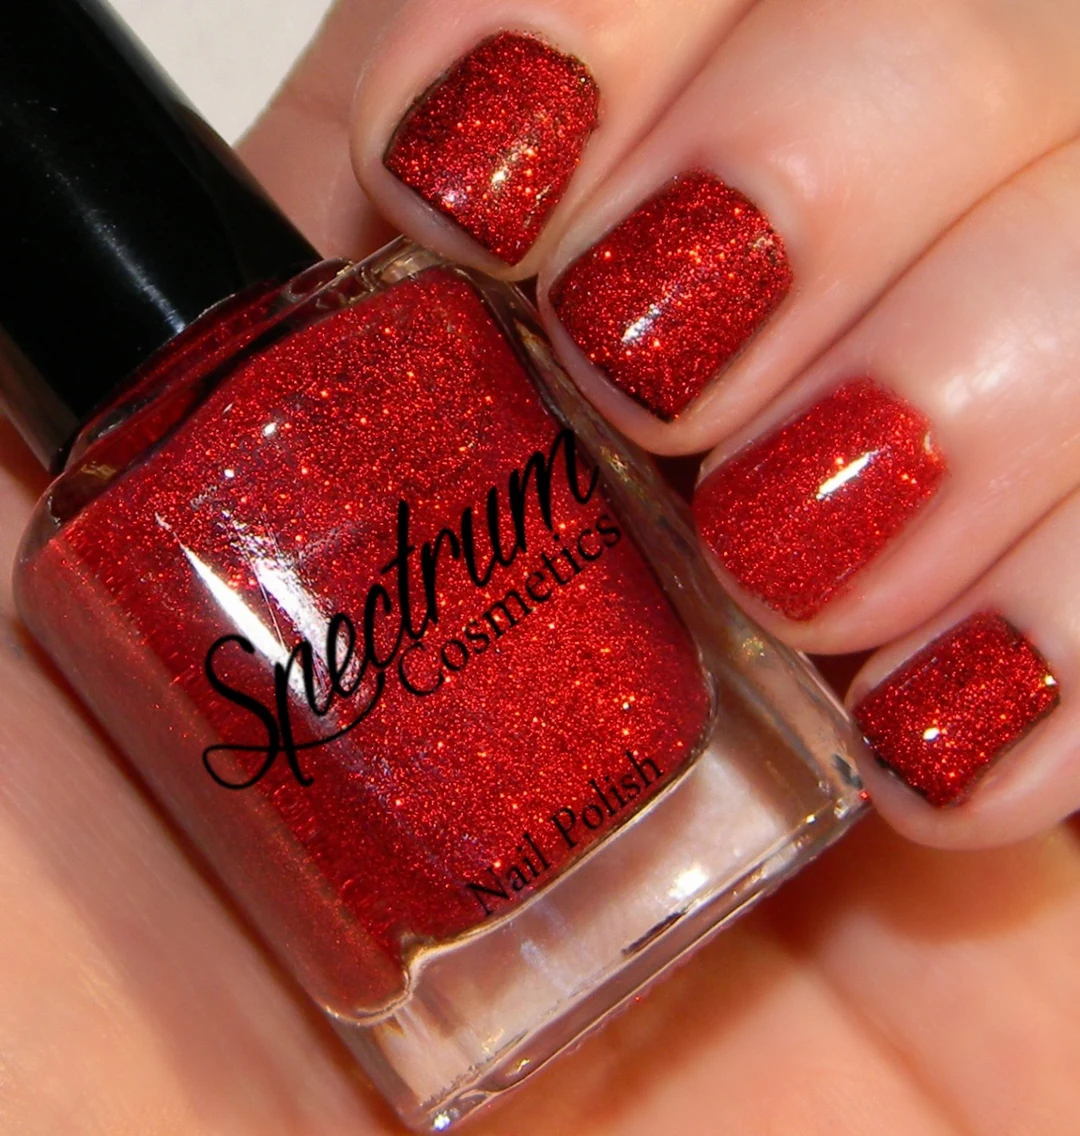
RAVISHING RUBY MANICURE
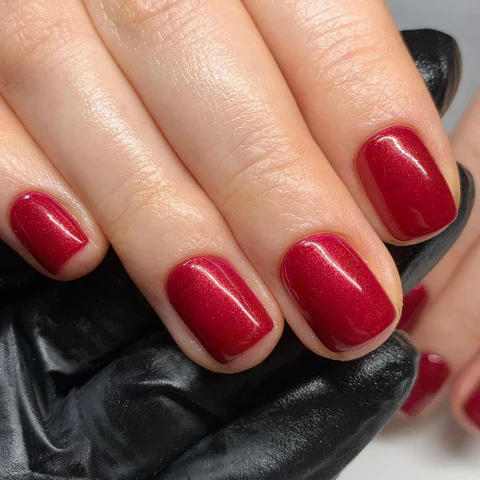
A classic red manicure is the epitome of elegance and sophistication. Its timeless appeal makes it a perfect choice for any occasion, including the festive holiday season. With its captivating charm, a red manicure effortlessly captures the spirit of celebration.
ORNAMENTAL CHARM NAILS
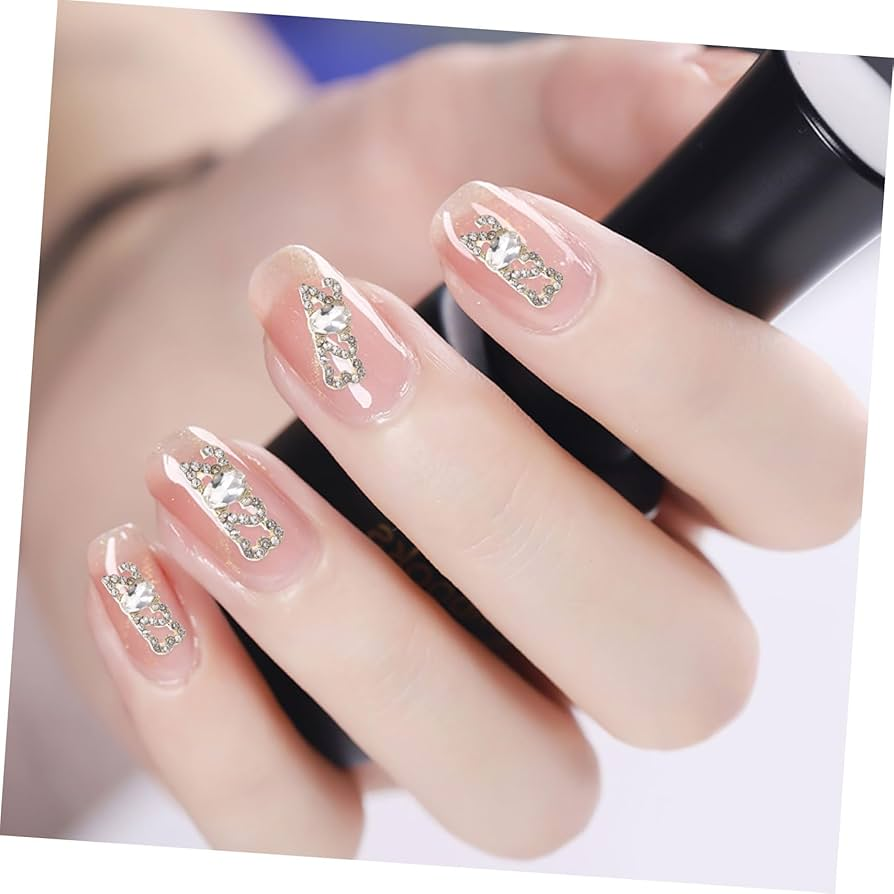
Add a touch of magic to your nails with enchanting Christmas ornament designs! These playful and festive manicures are perfect for spreading holiday cheer. Let your fingertips sparkle with the joy of the season.
CANDY CANE DELIGHT TIPS
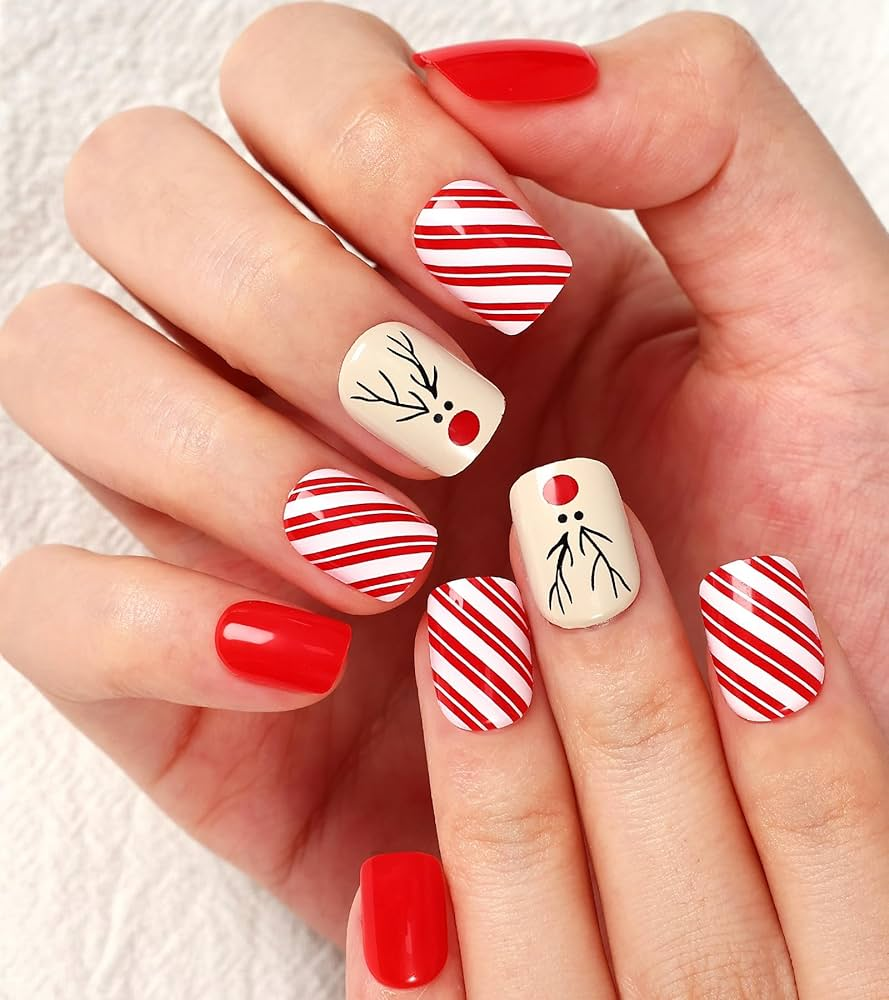
Satisfy your sweet tooth with candy cane nails! These festive designs combine playful stripes and vibrant colors for a truly delightful manicure. Indulge in the sugary charm of this trend and let your nails bring a touch of Christmas cheer.
CHARMING REINDEER DESIGNS
Let your nails embrace the magic of Christmas with adorable reindeer! These playful and festive designs are sure to spread joy and wonder. From tiny antlers to cute little noses, let your fingertips channel the charm of Santa’s helpers.
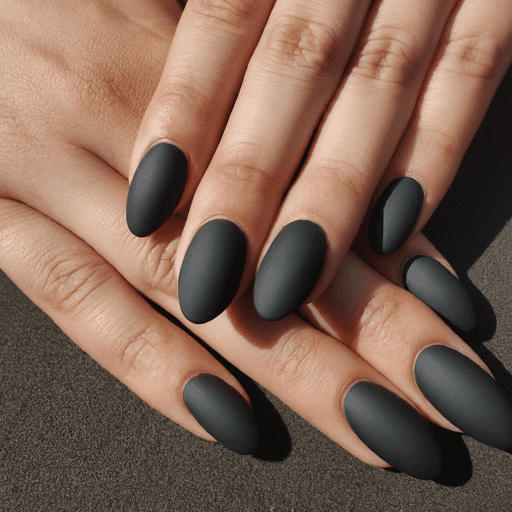
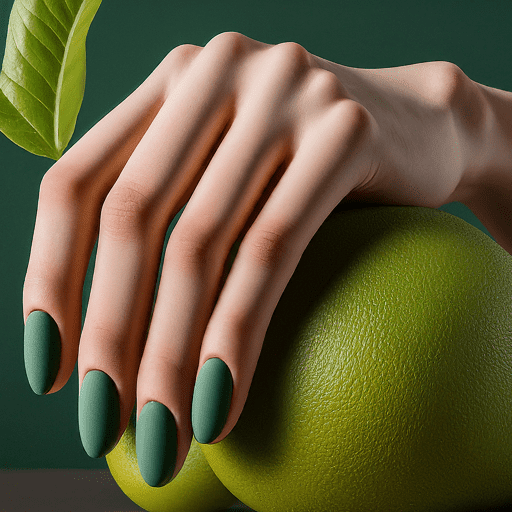
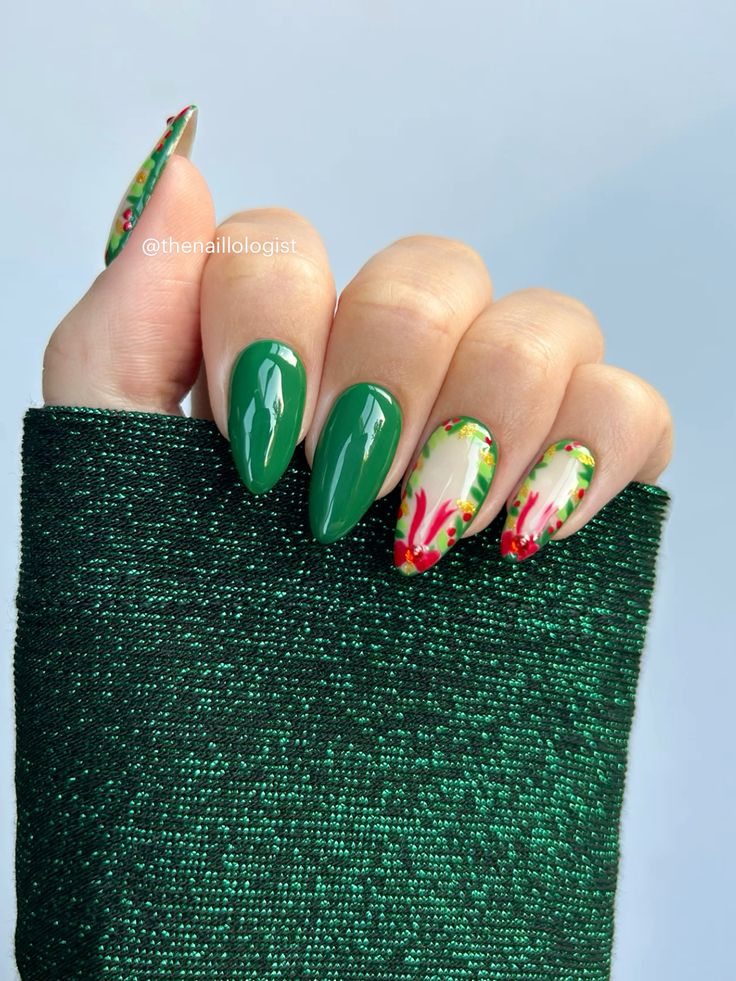
MESMERIZING EMERALD SPARKLE
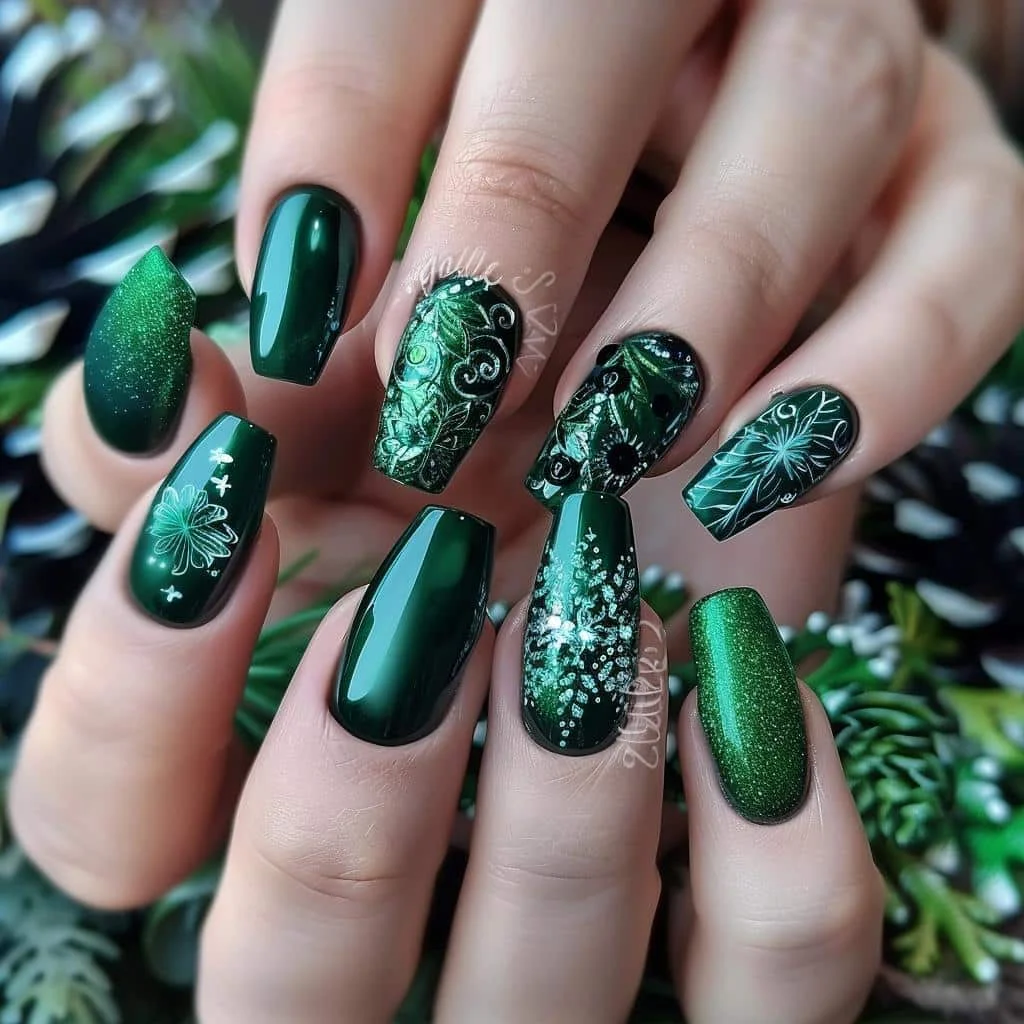
Unleash the magic of emerald green! This jewel-toned hue is the epitome of elegance and sophistication. Add a touch of sparkle with glitter or shimmer for a truly mesmerizing manicure that captures the essence of the holiday season. Let your nails be the envy of all with this stunning shade.
PLAYFUL SNOWFLAKE BLISS
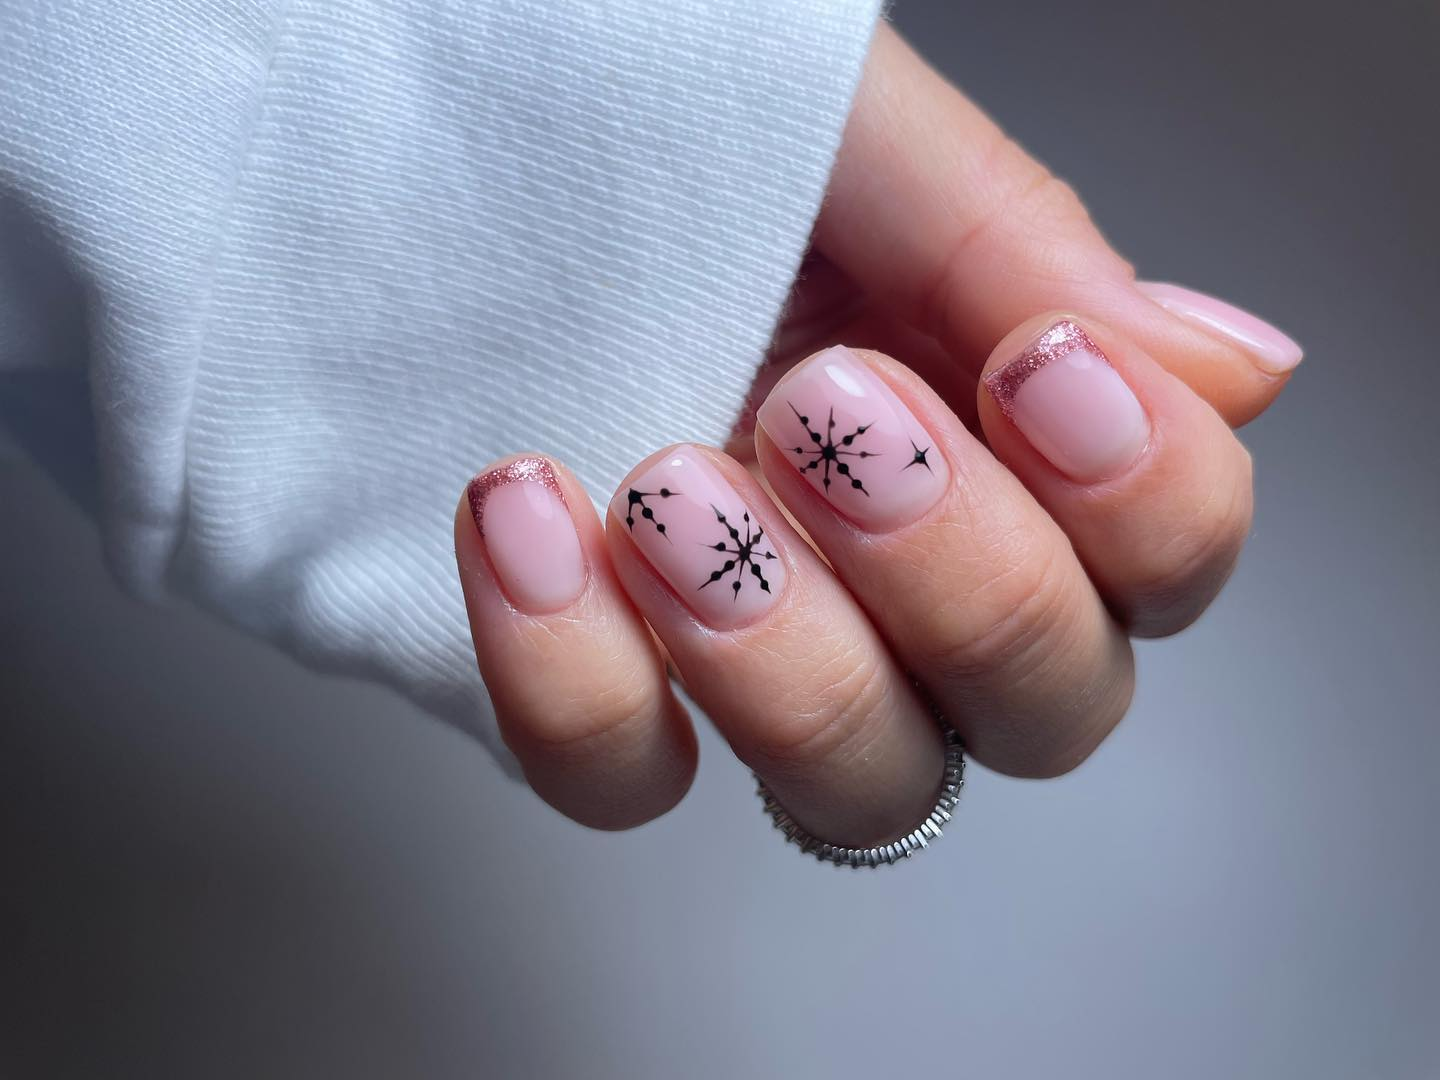
Let your nails become a winter wonderland with enchanting snowflake designs. These delicate and intricate patterns capture the magic of the season. Immerse yourself in a world of frosty beauty and let your fingertips sparkle with winter wonder.
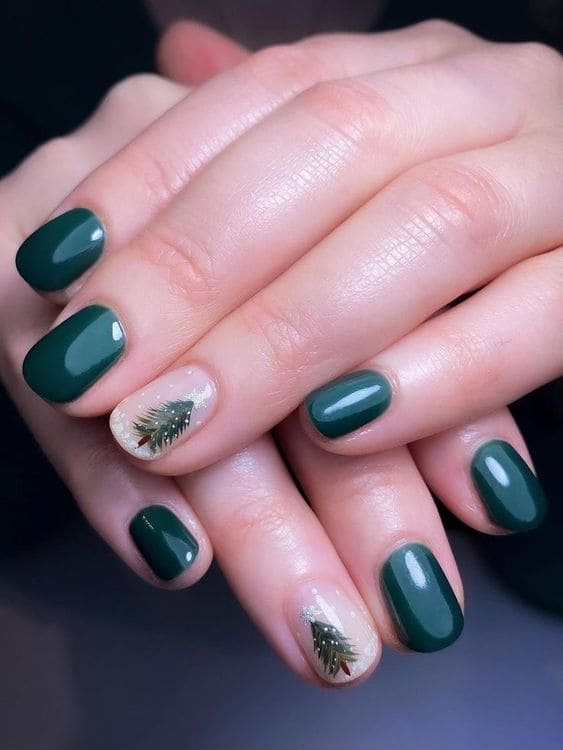
JOLLY FIR TREE NAILS
Bring the magic of Christmas to your fingertips with enchanting fir tree nails! These festive designs capture the spirit of the holiday season with charming evergreen trees. Add a touch of sparkle and wonder with glitter, ornaments, or tiny presents for a truly magical manicure.
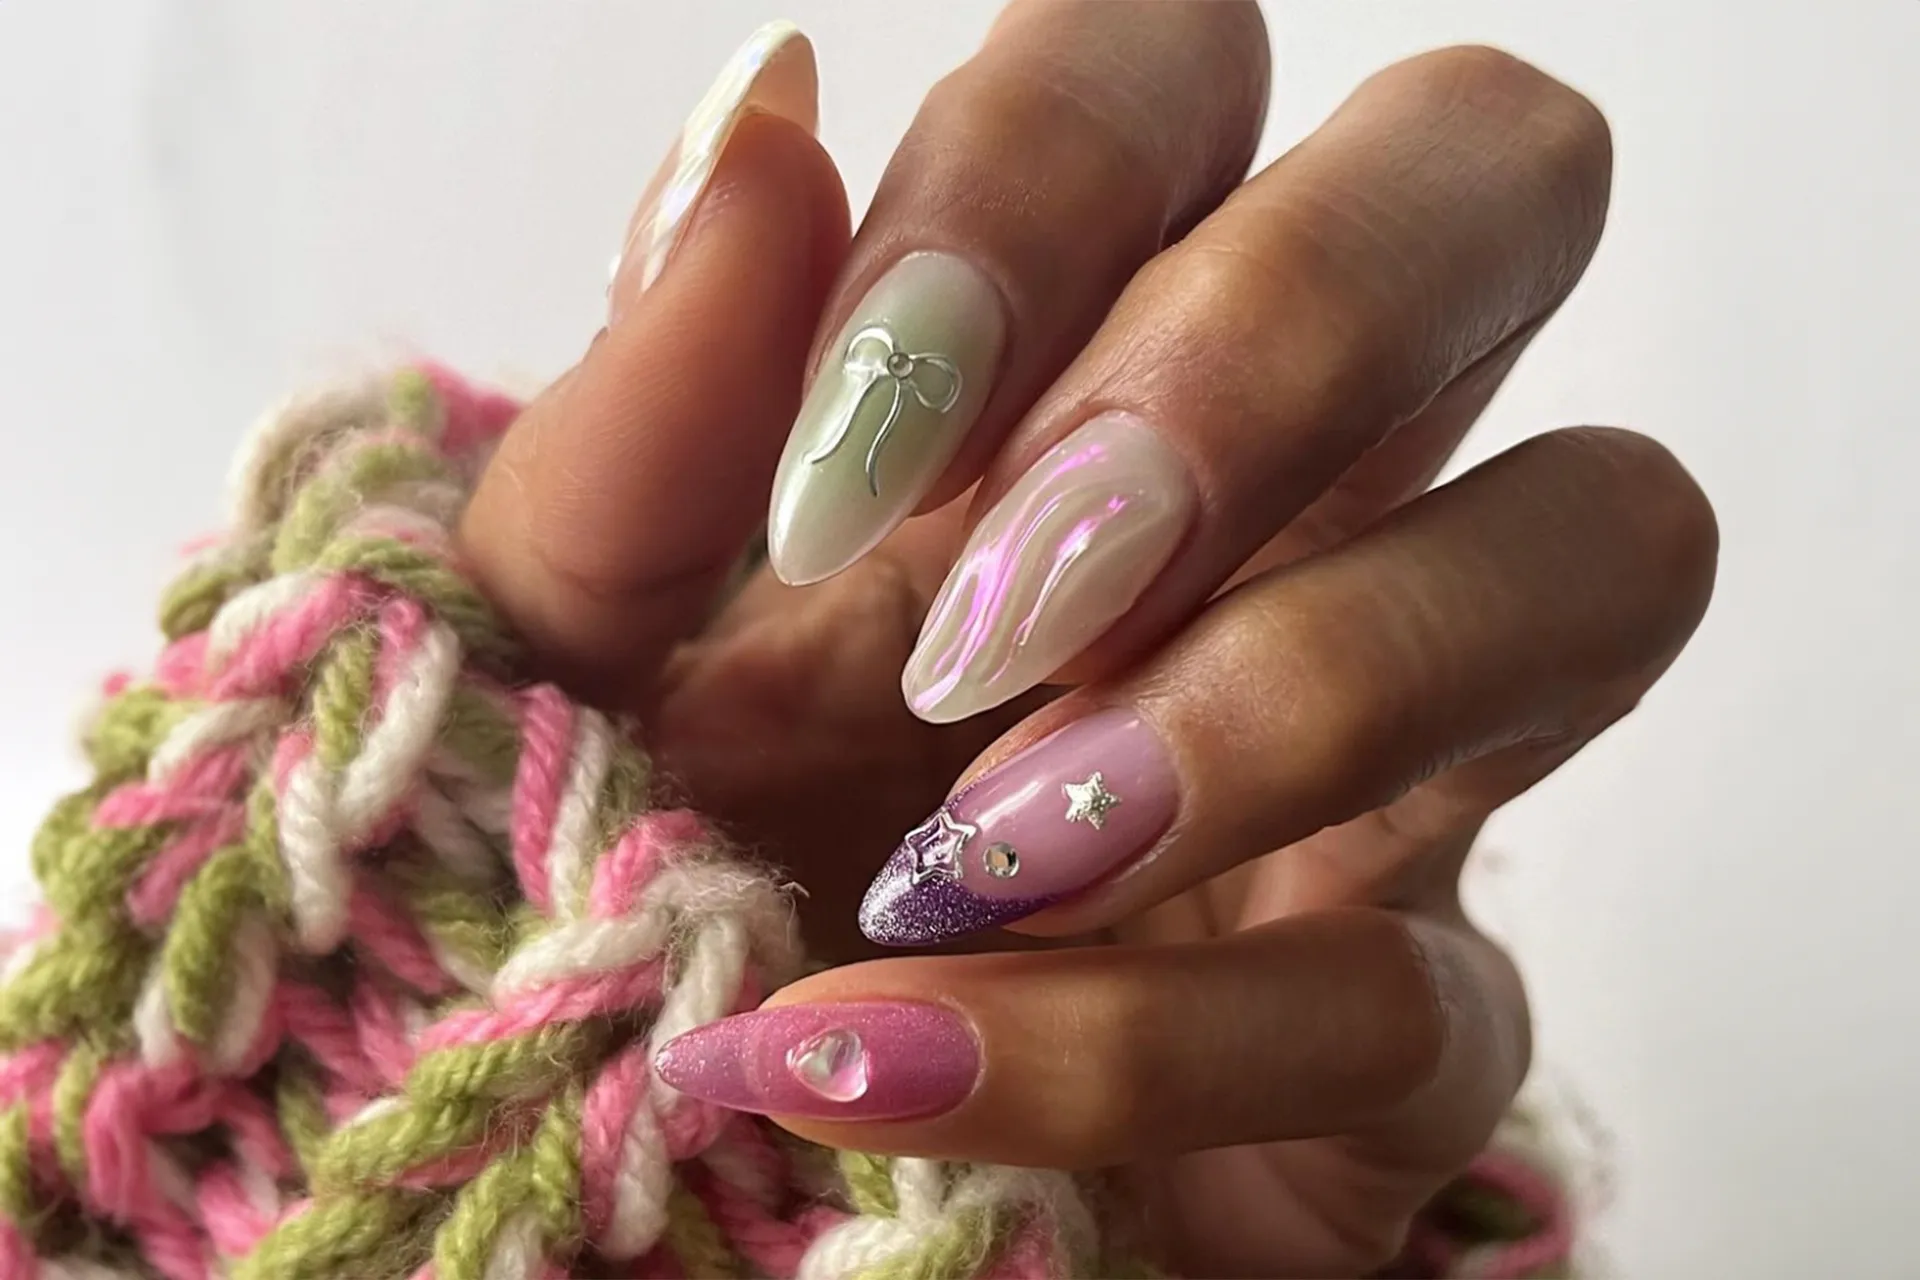
GIFT-WRAPPED NAIL MAGIC

Unwrap the joy of the holidays with gift-inspired nails! These playful designs featuring adorable bows, charming ribbons, and festive patterns will add a touch of whimsy to your holiday look. Get ready to feel the excitement and anticipation with every glance at your fingertips.
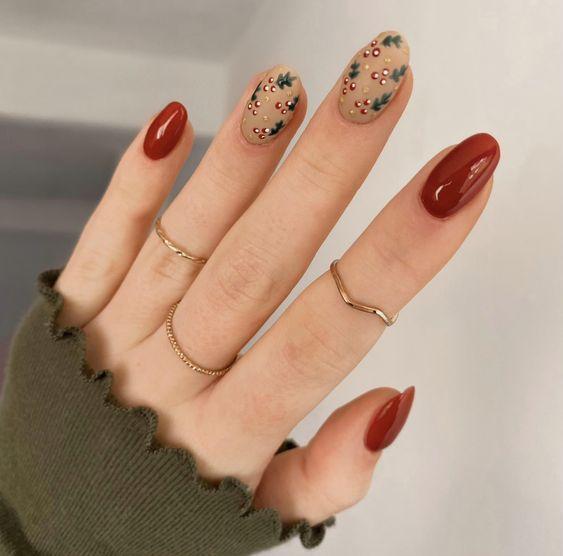
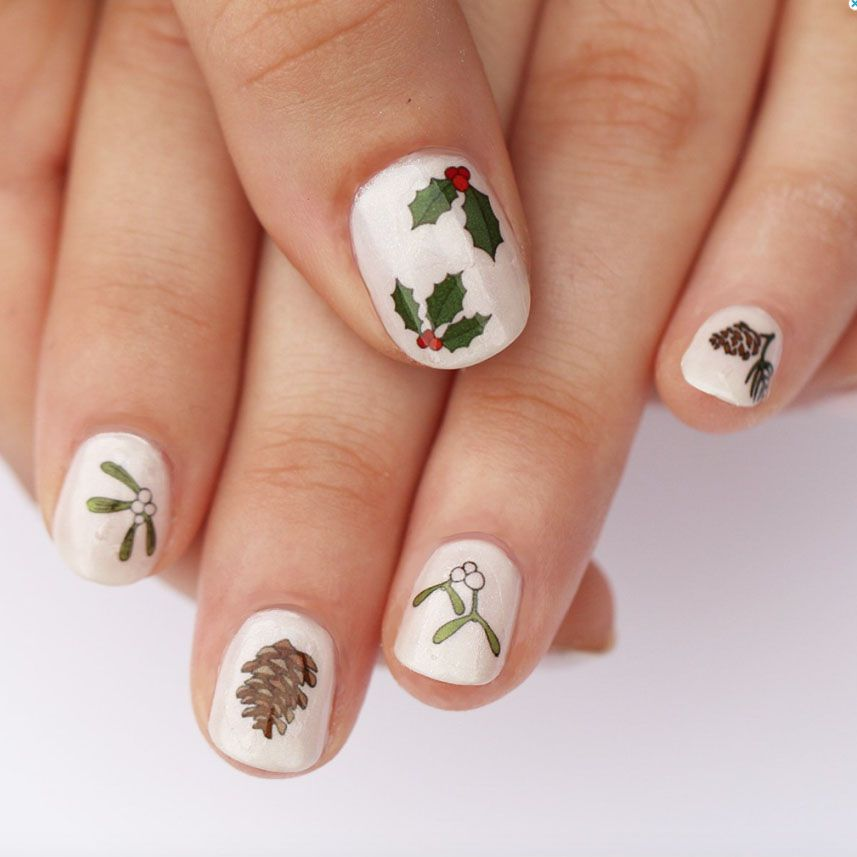
WREATH WONDER ART
Embrace the warmth and tradition of the holidays with stunning wreath-inspired nails! These enchanting designs feature delicate foliage, vibrant berries, and charming bows, capturing the essence of a classic Christmas wreath. Let your fingertips become a symbol of the season, spreading joy and cheer wherever you go.
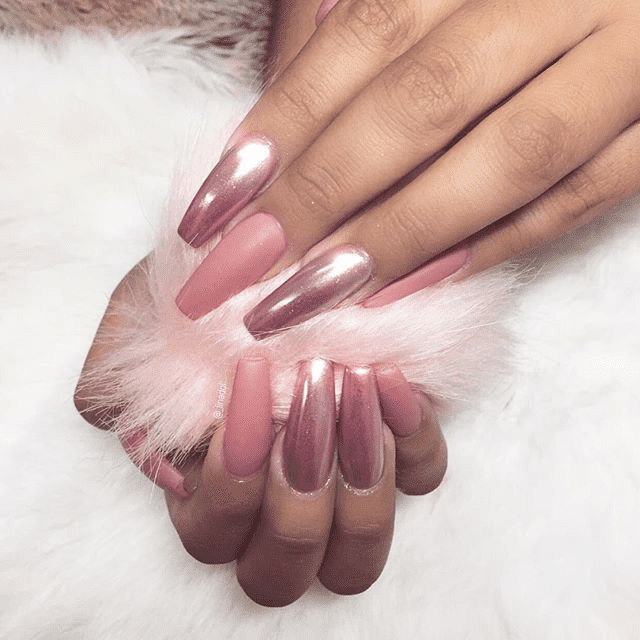
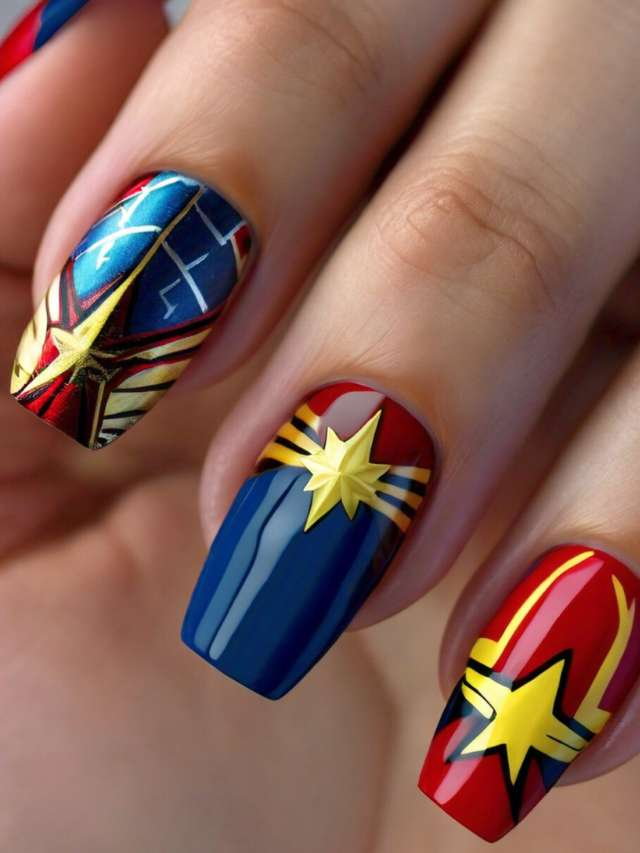
GLITZY GLAM ACCENT
Elevate your holiday glam with dazzling chunky glitter! Add a touch of star-studded sparkle to your nails for an irresistible and eye-catching look. This bold and festive accent will make your manicure shine brighter than any Christmas tree.
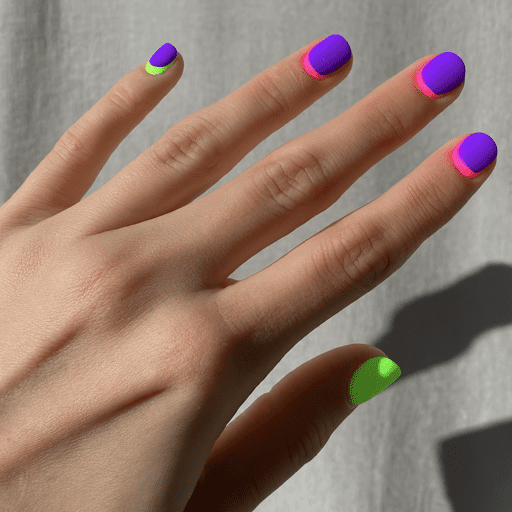
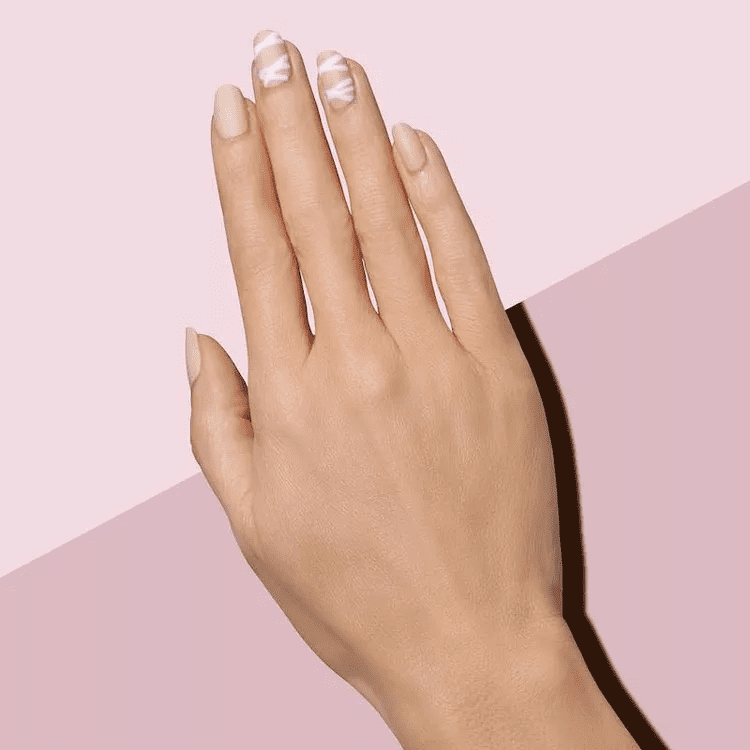
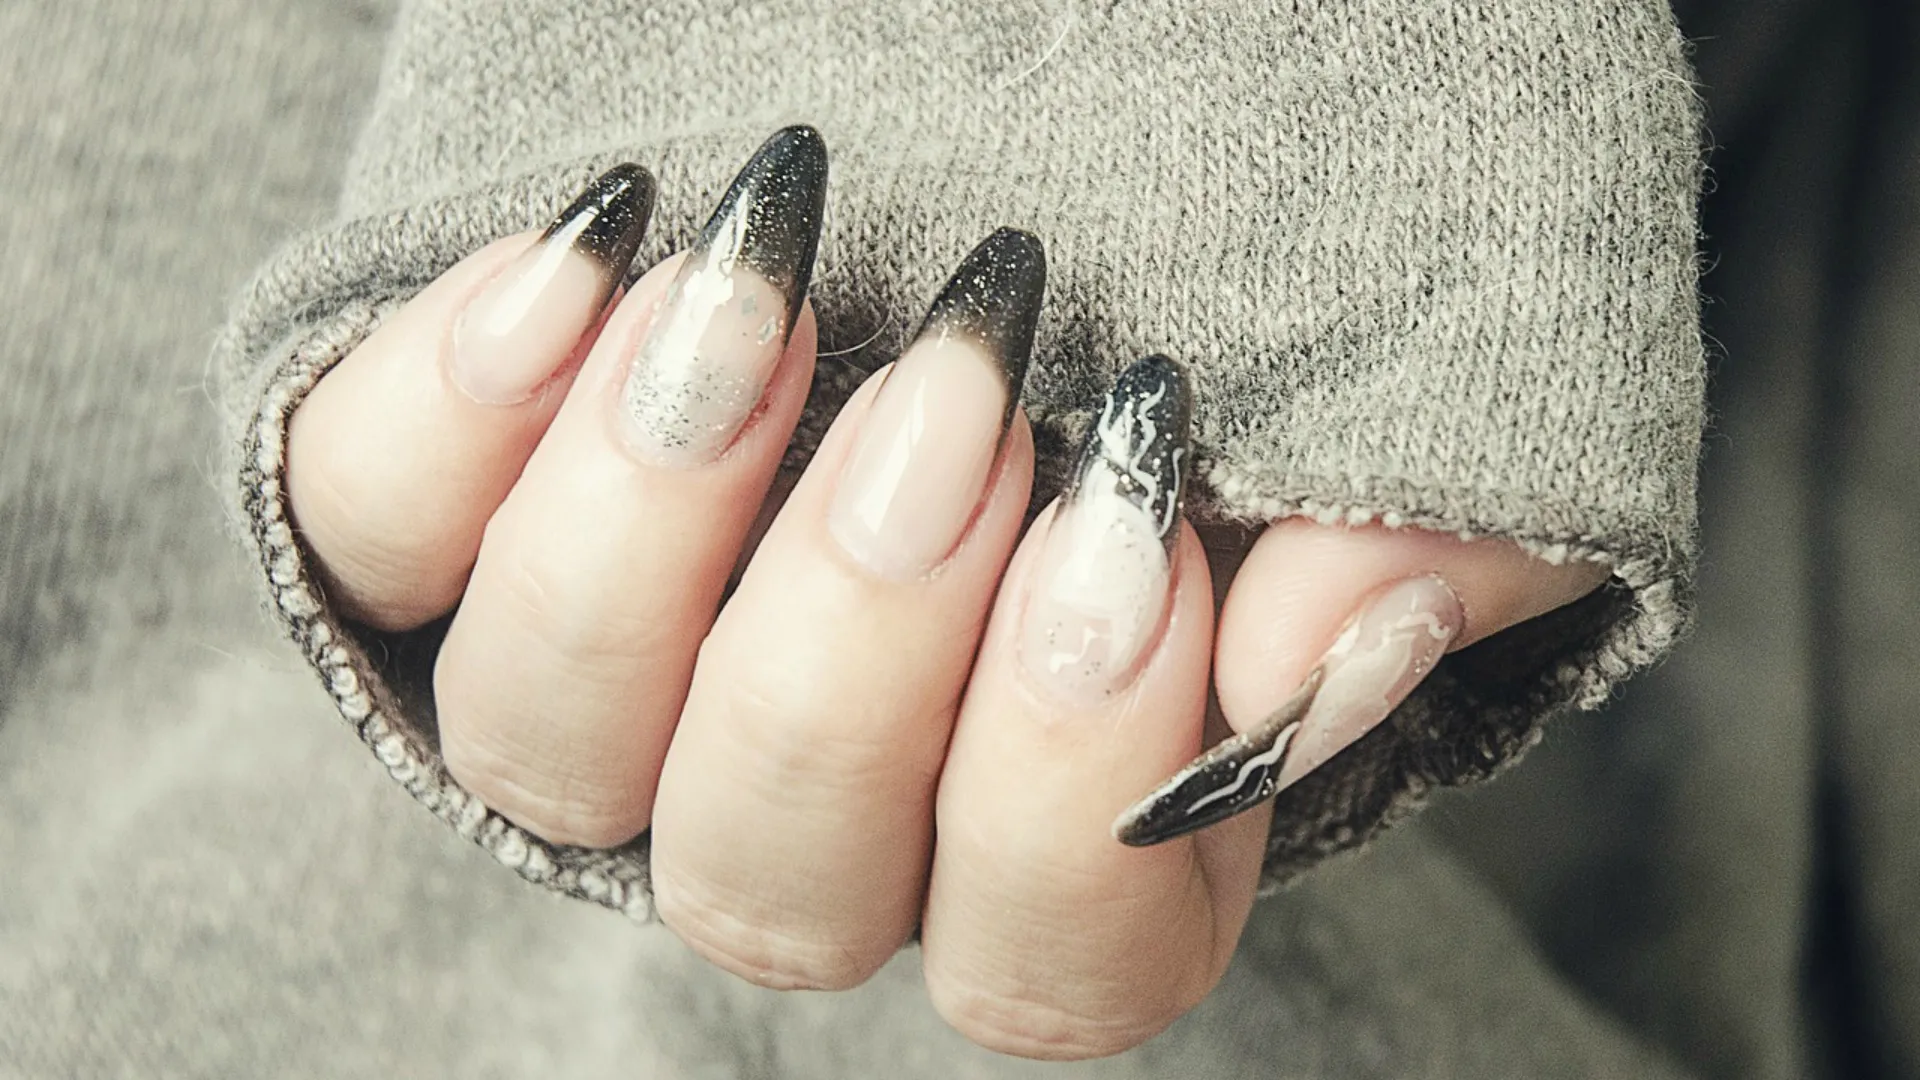
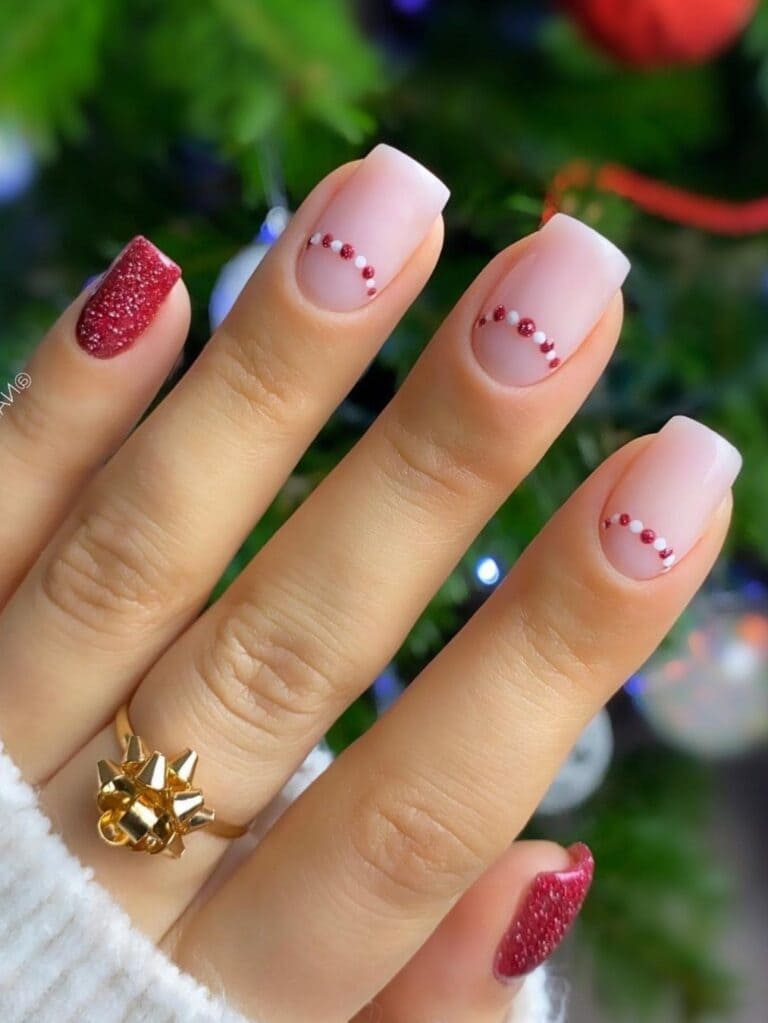
CHARMING FRENCH TIP MAGIC
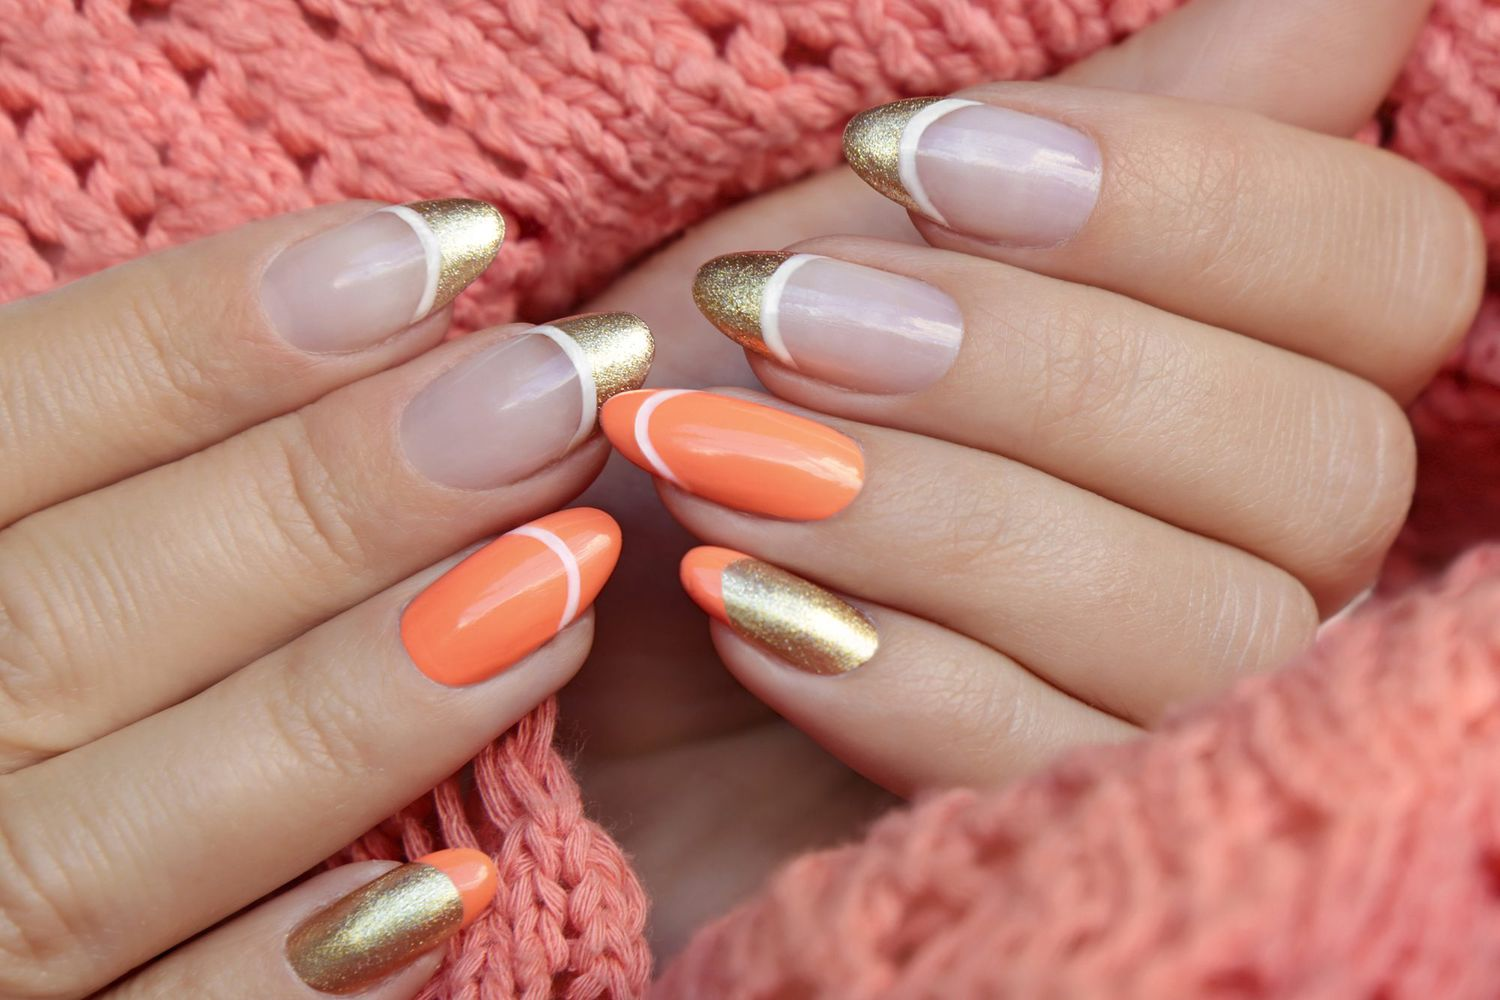
Get ready to fall in love with a festive twist on the classic French manicure! This adorable take combines timeless elegance with holiday cheer. Incorporating playful colors and designs, it’s the perfect way to add a touch of fun to your winter look.
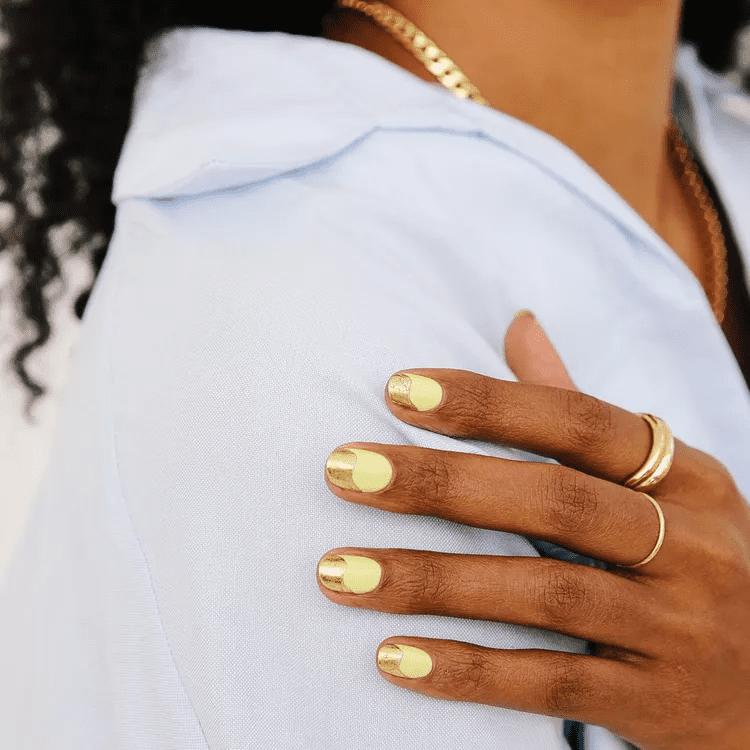
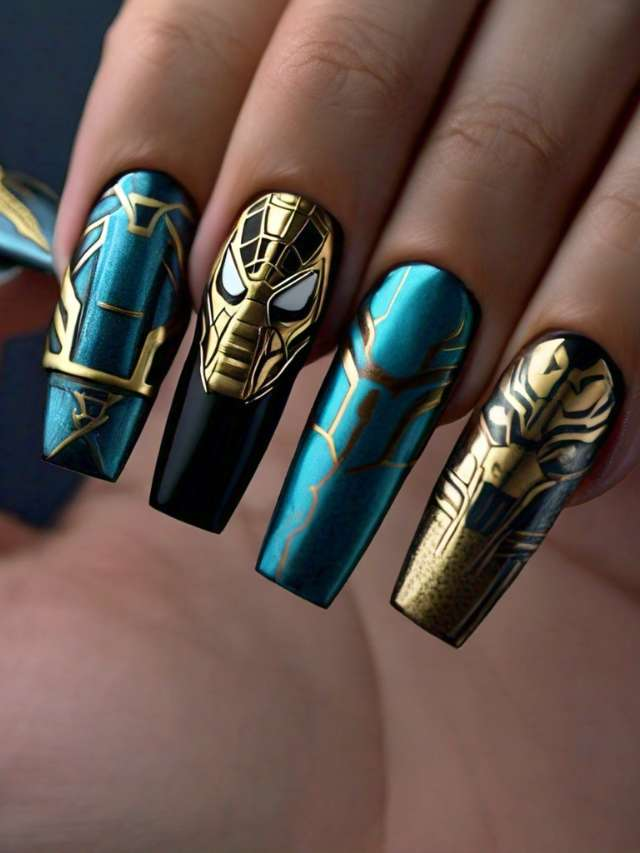
GOLDEN HOLIDAY GLAM
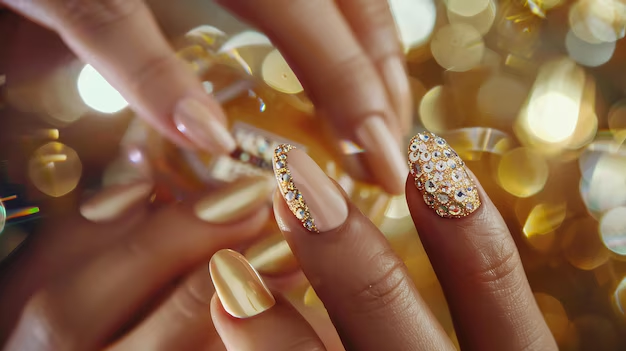
Unleash your inner diva with golden holiday glam nails. These luxurious and opulent designs are the epitome of festive elegance. With shimmering gold accents and dazzling details, your nails will command attention and make you feel like a star.
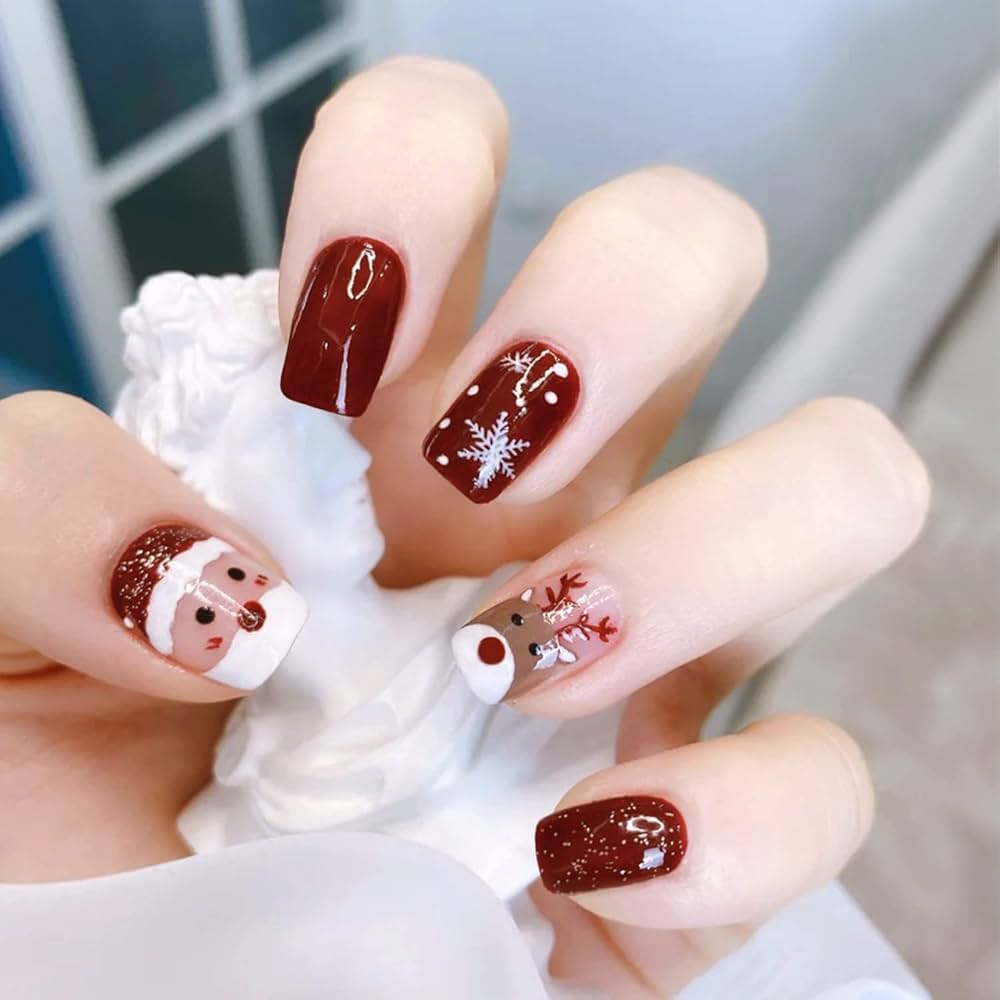
SANTA’S ENCHANTED TOUCH
Embrace the festive fun with nail art inspired by Santa Claus! From jolly red accents to playful beard details, these designs capture the magic of Christmas. Let your fingertips spread cheer and wonder with every glance.
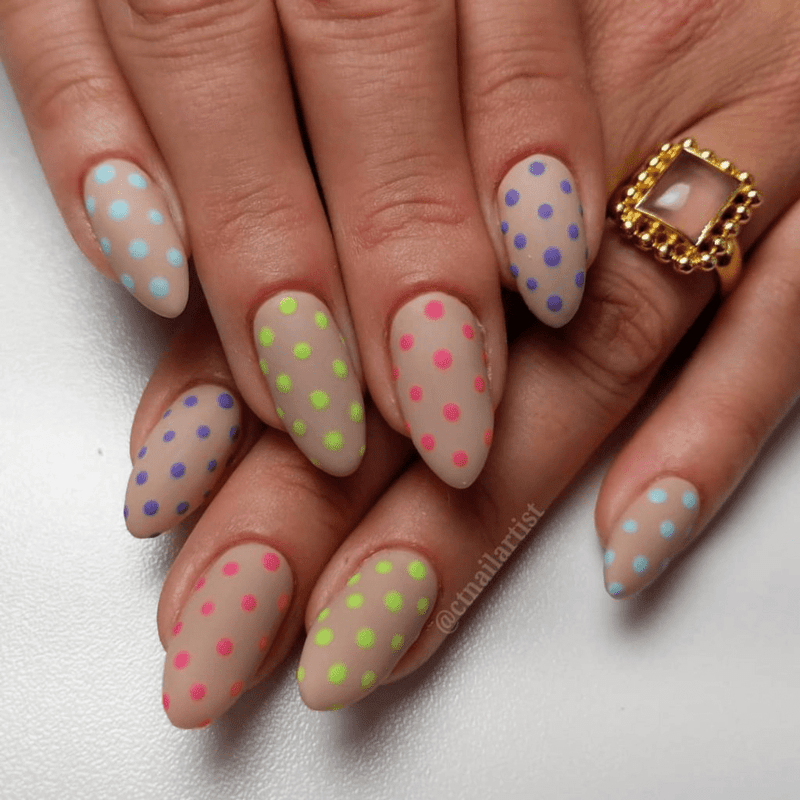
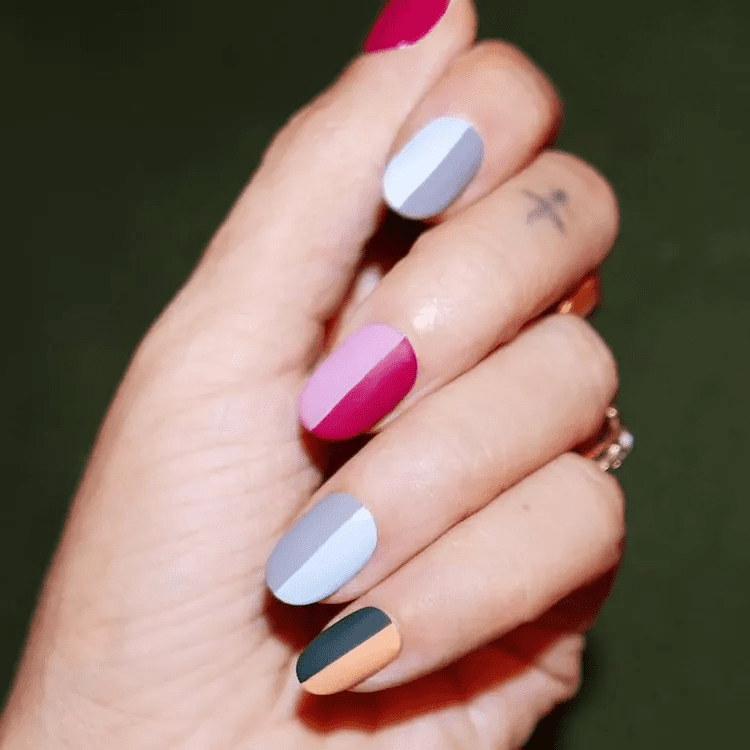
MIX ‘N’ MATCH MARVELS
Unleash your inner nail artist with a playful mix of festive designs! Combine snowflakes and candy canes, reindeer and ornaments for a truly unique and dazzling manicure. Let your creativity shine with this endless combination of holiday cheer.
MIX ‘N’ MATCH MARVELS
WHAT ARE SOME SIMPLE CHRISTMAS DESIGNS FOR SHORT NAILS?
For short nails, there are numerous simple yet eye-catching Christmas designs to try. Consider painting your nails with a candy cane-inspired striped pattern or adding delicate snowflakes for a wintry touch. Festive holiday decals or cute Christmas tree silhouettes also make charming options. Don’t forget to add a touch of sparkle with glitter or shimmer to ensure your manicure shines with holiday cheer!
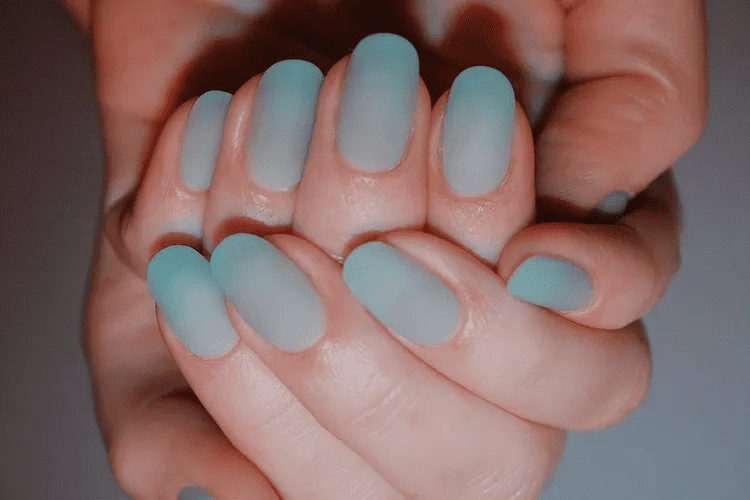
WHAT COLORS ARE MOST FLATTERING FOR SHORT CHRISTMAS NAILS?
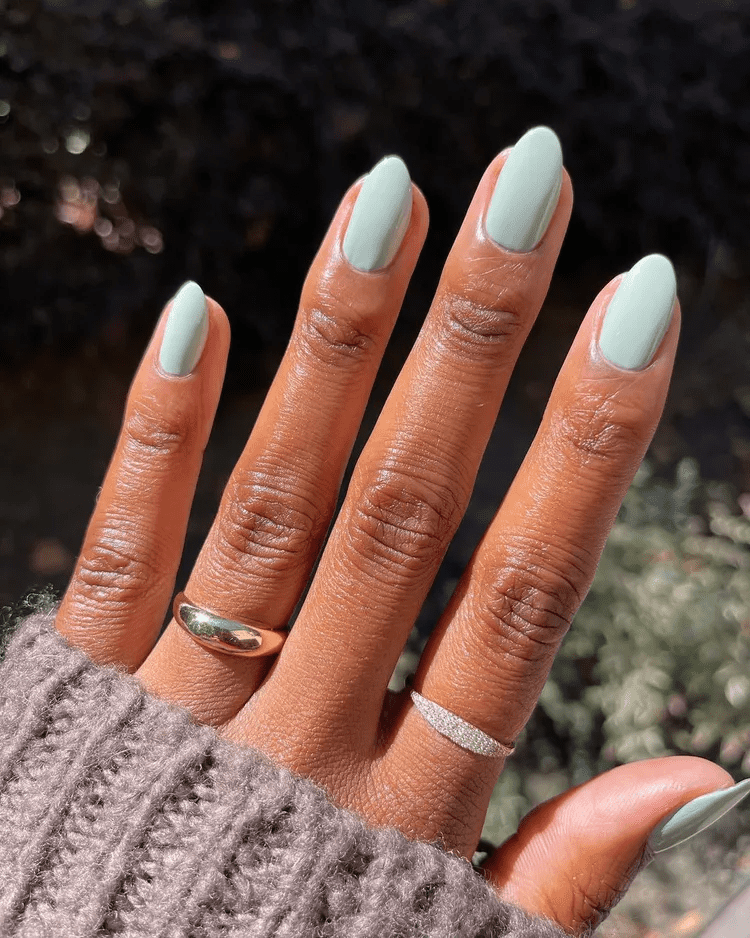
The most flattering colors for short Christmas nails are those that capture the festive spirit of the season. Classic shades like deep red, emerald green, and gold are timeless choices that never fail to impress. For a more subtle look, soft pastels or icy silver can add an elegant, wintry touch. Ultimately, choose colors that make you feel merry and bright!
WHICH NAIL SHAPES ARE BEST FOR SHORT CHRISTMAS NAILS?
When it comes to nail shapes that complement short Christmas nail designs, a few options stand out. Oval or rounded shapes can create the illusion of length while maintaining a natural and balanced appearance. Another flattering choice is square nails with rounded edges, offering a sleek and polished look. Feel free to experiment with different shapes to find the one that best suits your style and enhances your festive nail designs.
CONCLUSION
There you have it! We’ve taken you on a merry nail journey, showcasing over 55 adorable and imaginative short Christmas manicures that are sure to get you into the holiday spirit. From dazzling colors to charming designs, we hope you’ve discovered plenty of inspiration to make your nails shine this season. Now, it’s time to grab your favorite nail polish and prepare to spread joy and cheer through your festive fingertips. Still craving more Christmas nail ideas?