DIY CHAMOMILE AND COCONUT OIL BODY BALM

Chamomile is one of my favorite herbs to incorporate into DIY beauty products. Its use in skincare dates back to ancient civilizations, including Egypt, Greece, and Rome. Even today, chamomile remains a popular choice for its soothing, anti-inflammatory properties. In this balm recipe, we infuse coconut oil with chamomile over several hours to create a nourishing and skin-loving blend.

“Olive oil is blended with coconut oil to add extra softness, while yellow beeswax provides structure and ensures the balm stays solid in warmer temperatures. If you live in a particularly hot climate, consider adding more beeswax to raise the melting point. Prefer a softer balm? Simply reduce the amount of beeswax.

To test the balm’s consistency before pouring it into containers, try the frozen spoon trick—it’s a quick and effective way to check the texture when cooled. In our tests, this balm begins to melt at around 100°F.

Want even more ways to incorporate chamomile into your skincare routine? Explore the recipes below!”

Top Row: Chamomile Oat Melt & Pour BarsLavender & Chamomile Goat Milk Bath Tea
Bottom Row: Soothing Eye TeaYellow Chamomile Cold Process Soap

What You’ll Need:
Candle Tins
12 oz. Coconut Oil (10 oz. infused coconut oil)
0.5 oz. Chamomile Herb
2 oz. Olive Oil
1 oz. Yellow Beeswax

STEP 1: To begin, infuse the coconut oil with chamomile. In a heat-safe container, add 12 ounces of coconut oil and heat it in the microwave until it reaches approximately 150°F. You’ll only need 10 ounces of infused coconut oil for this recipe, but some oil will be absorbed or lost during the straining process. Be cautious when handling the hot container. Add the chamomile herb to the oil and let it steep for at least 2 hours, or up to overnight, to allow the beneficial properties of the chamomile to infuse fully. If the coconut oil solidifies as it cools, simply reheat it in the microwave to maintain a liquid state. Alternatively, you can use a crockpot to keep the oil at a consistent temperature during the infusion process.

STEP 2: After the infusion process, strain the coconut oil to remove the chamomile herb. Use a fine mesh strainer lined with a paper towel to ensure all small pieces are filtered out. You may need to repeat this step for thorough straining. Once strained, weigh the remaining oil. Some coconut oil will be absorbed by the chamomile or lost during the straining process, which is why extra oil was infused. For this recipe, you need 10 ounces of infused coconut oil. If you have less than that, supplement with un-infused coconut oil until you reach the required amount.

STEP 3: Combine the beeswax and olive oil with the infused coconut oil in a heat-safe container. Heat the mixture in the microwave using 30-60 second bursts, stirring between intervals, until the beeswax is fully melted. Beeswax has a high melting point, so handle the container with caution—it will become very hot. Avoid using a glass container with excessive empty space, as the heat can cause it to crack or even explode. Once the beeswax is melted, carefully remove the container from the microwave, ensuring safe handling of the hot mixture.

STEP 4: Stir the melted mixture thoroughly to combine all the ingredients, then pour it into the candle tins. Let the balm cool and harden completely, which may take several hours. Once set, you can use the balm by rubbing your fingers on the surface to warm and slightly melt it, then apply it to your skin wherever needed.

CONCLUSION

This DIY Chamomile & Coconut Oil Body Balm is a simple, soothing, and natural way to nourish your skin. Infused with chamomile’s anti-inflammatory properties and combined with the moisturizing benefits of coconut oil, olive oil, and beeswax, this balm provides a perfect balance of softness and firmness. Whether you’re battling dry skin or just need a gentle, all-natural remedy, this balm is an easy and effective solution. With just a few ingredients and steps, you can create a skin-loving product that’s both practical and luxurious. Enjoy the calming benefits of chamomile in your skincare routine!

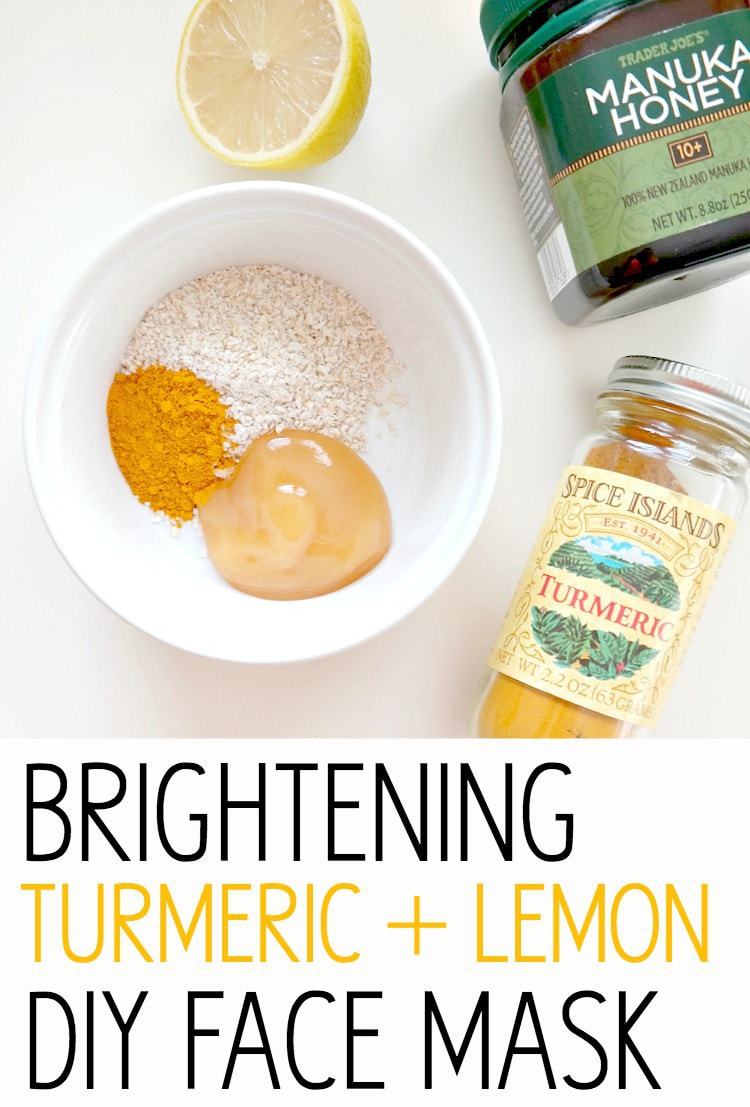
DIY TURMERIC & LEMON BRIGHTENING FACE MASK

With the colder months fast approaching, I thought it would be fun to kick off a beauty series to keep our skin glowing and hydrated all winter long. Over the next few weeks, I’ll be sharing my favorite DIY face masks, scrubs, winter skincare tips, and more! For a glimpse into my daily routine, check out my Natural Vegan Skincare Routine.

Wouldn’t it be nice to keep that summer glow all year round? This DIY mask is not only brightening but also perfect for acne-prone skin (or any skin type!) while giving you a healthy, radiant complexion.

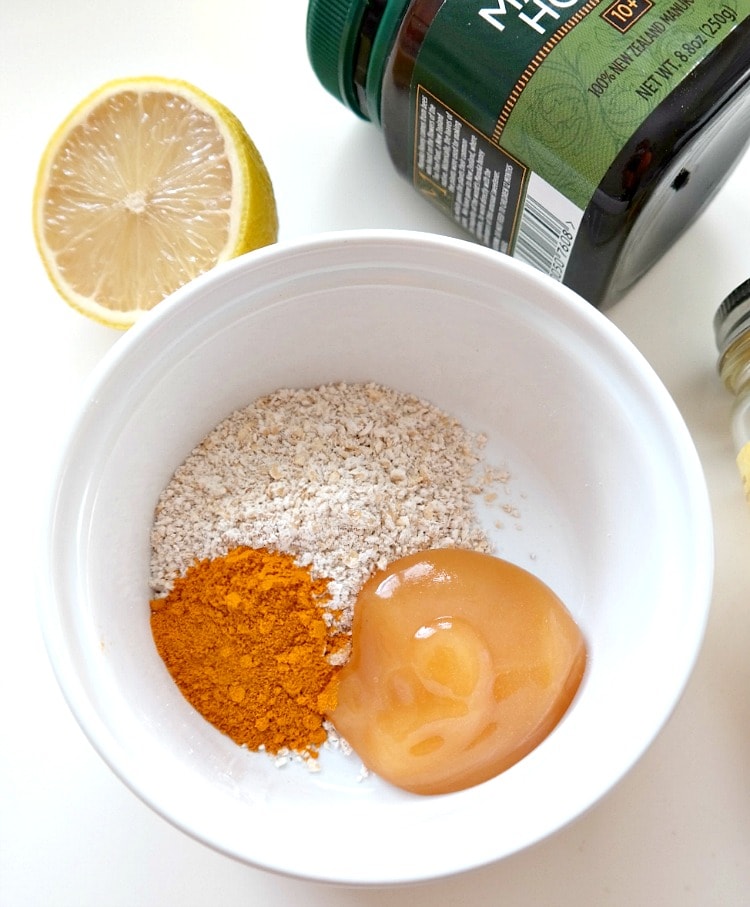
Now, a quick disclaimer: the vegan police might be after me for this one… While I don’t consume honey, I’ve always appreciated its medicinal properties for the skin, especially Manuka honey, which has endless healing benefits. I actually picked up a bottle of Manuka honey from Trader Joe’s over the summer without thinking much of it. But then I started feeling guilty, since vegans typically avoid honey. There’s a lot of debate within the vegan community about this, which I dive deeper into in my post about Plant-Based vs. Vegan. If you’re concerned, you can always swap out the honey for agave nectar to get that same sticky consistency!

Normally, I wouldn’t purchase products with honey, but I had this small bottle lying around, and instead of letting it go to waste, I’ve decided to use it for beauty purposes, like in this Brightening Turmeric DIY Face Mask.

A fun fact: Manuka honey comes from New Zealand, where bees feed on the nectar of the Tea Tree Plant. It’s the perfect addition to this mask for an extra glow boost!

THIS POTENT MANUKA HONEY IS ESPECIALLY GREAT FOR:

  • Healing acne and scarring
  • Fighting skin infections
  • Cleaning pores while naturally exfoliating
  • Helping skin retain moisture
  • Rejuvenating radiance and softness

NOT TO MENTION ITS:

  • Anti-bacterial properties
  • Anti-inflammatory effects
  • Anti-fungal qualities
  • High in antioxidants to protect the skin

What makes it even more special is its thicker consistency compared to regular honey, with a cloudy appearance. After soaking up some of this healing Manuka honey, my skin feels totally moisturized, balanced, and soft—it’s magical!

I’m no honey expert (I picked mine up from Trader Joe’s), but I know that higher-quality Manuka honey products are out there, like this one from Manuka Doctor, which has a higher UMF (Unique Manuka Factor) score, indicating more potency. You can really feel the difference with a higher UMF—it’s like a supercharged version of regular honey!

The next essential ingredient for this DIY face mask is turmeric – a true wonder spice, and not just for your curry recipes! This vibrant, golden powder is incredibly beautifying. I was inspired to include it in this mask from my Golden Glow Elixir Juice, which you all seemed to love as much as I did (plus, it’s great for boosting immunity during the winter months!).

Turmeric has been used for centuries in beauty rituals, especially by Indian brides who use turmeric body scrubs and masks before their weddings to achieve that head-to-toe glow. The spice is known for its anti-inflammatory and antioxidant properties, which help to brighten and even out skin tone, while also giving you a luminous, radiant complexion. It’s like liquid gold for your skin!

BENEFITS OF TURMERIC:

Turmeric is a powerhouse when it comes to skincare, offering a range of benefits:

  • Reduces redness
  • Treats breakouts
  • Helps with age spots
  • Reduces scarring and hyperpigmentation
  • Helps to heal psoriasis and eczema
  • Brightens and tones
  • Anti-inflammatory properties

While fresh turmeric would be even better for this mask, I only had ground turmeric on hand, which still works wonders. Just a heads-up—turmeric is known to stain, so be sure to wear a shirt you don’t mind getting a little messy and dry your face with a dark towel. The turmeric will leave a slight yellow tint on your skin, but don’t worry! I usually wash my face with my regular sulfur soap once or twice after the mask, and the yellow tint disappears with no problem. Just a little heads-up to ensure you’re prepared!

Next up is fresh lemon juice! Lemon is packed with vitamin C, which is essential for brightening and evening out your skin tone. It’s also anti-bacterial, making it especially helpful for breakouts, while acting as a natural exfoliant to give your skin that healthy radiance. Lemon is also known to help fade acne scars over time, making it a great addition to this mask. Don’t worry though—this mask won’t sting like lemon juice sometimes does on its own! It actually feels soothing and balancing on the skin.

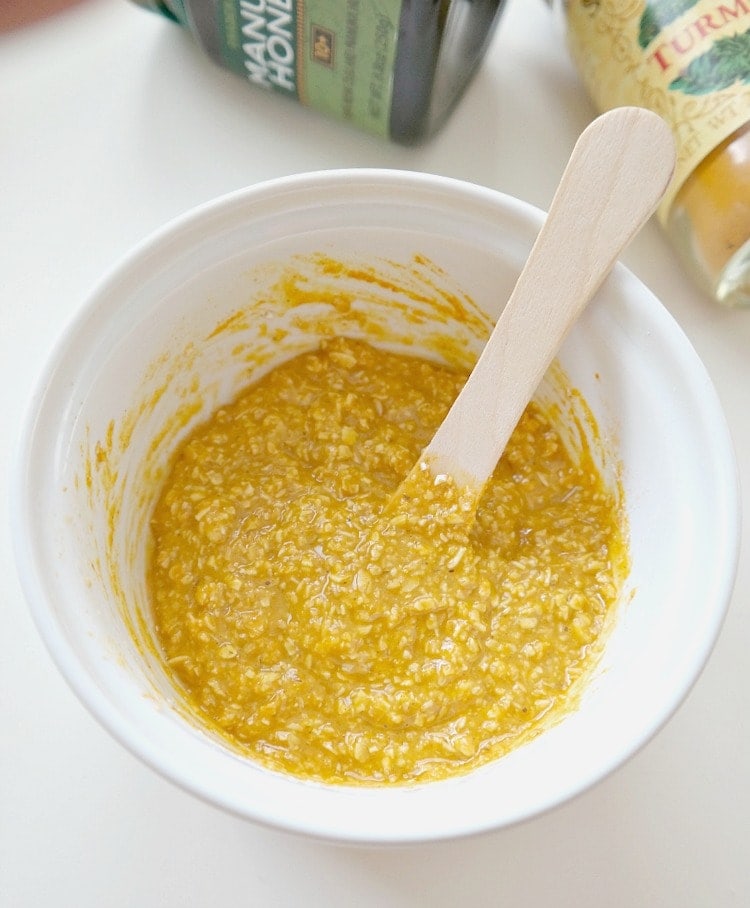
The final ingredient is oats, which are incredibly moisturizing, exfoliating, and softening. I blended my oats a bit in the food processor to make them finer, but you can also use oat flour if that’s easier. Just a heads-up, the mask can get a little messy depending on how finely ground your oats are, so be sure to apply it over the sink to make cleanup easier. The oats will help lock in moisture while gently sloughing off dead skin, leaving you with smooth, soft skin.

CONCLUSION

And there you have it—this Brightening Turmeric DIY Face Mask is the perfect way to keep your skin glowing and healthy throughout the colder months! With the power of Manuka honey, turmeric, fresh lemon juice, and oats, this mask works wonders to brighten, exfoliate, and heal your skin, all while leaving it soft, smooth, and balanced.

Whether you’re dealing with breakouts, acne scars, or just want to keep your skin glowing, this mask has got you covered. Plus, it’s natural, vegan (with the option to substitute for agave), and perfect for anyone looking for a simple yet effective skincare routine.

So, put on your favorite old shirt, get ready for a little mess, and treat your skin to some much-needed love and nourishment. Your skin will thank you, and you’ll be glowing all season long!

Let me know how you like it!