15 THE BEST OILS FOR HAIR GROWTH

In addition to shampoos that promote hair growth, many people are seeking hair oils to stimulate fast hair development. Currently, there are numerous hair oils on the market, making it challenging to choose.In this article, we will introduce 14 renowned hair care oil products known for delivering high effectiveness with each use. If you are not yet familiar with them, let’s explore the world of these fantastic oils together. Keep reading!

DO HAIR-GROWTH OILS REALLY PROMOTE HAIR GROWTH? 

Hair-growth oils can contribute to promoting hair growth by nourishing the scalp and hair follicles. These oils often contain beneficial ingredients that may support a healthy scalp environment, reduce dryness, and improve overall hair health. While they can be a valuable part of a hair care routine, it’s essential to note that individual responses may vary, and other factors such as genetics, lifestyle, and underlying health conditions also play a role in hair growth. It’s advisable to choose hair-growth oils with proven ingredients and to consult with a healthcare or hair care professional for personalized advice. 

MIELLE ROSEMARY MINT GROWTH OIL

With over 48,000 five-star reviews on Amazon and a devoted TikTok following, Mielle Rosemary Mint Growth Oil has become a sensation in the hair care community. Endorsed by dermatologists, it stands out for its key ingredient, rosemary oil, which has proven benefits in promoting hair regrowth and strengthening hair follicles. This affordable gem, priced under $10, boasts a powerful formula consisting of more than 30 different oils, including castor, peppermint, and lavender oils. The application is hassle-free, requiring only a few drops with each use. Mielle Rosemary Mint Growth Oil is not just a product; it’s a hair care phenomenon that combines efficacy, affordability, and a stamp of approval from professionals.

CEREMONIA ACEITE DE MOSKA

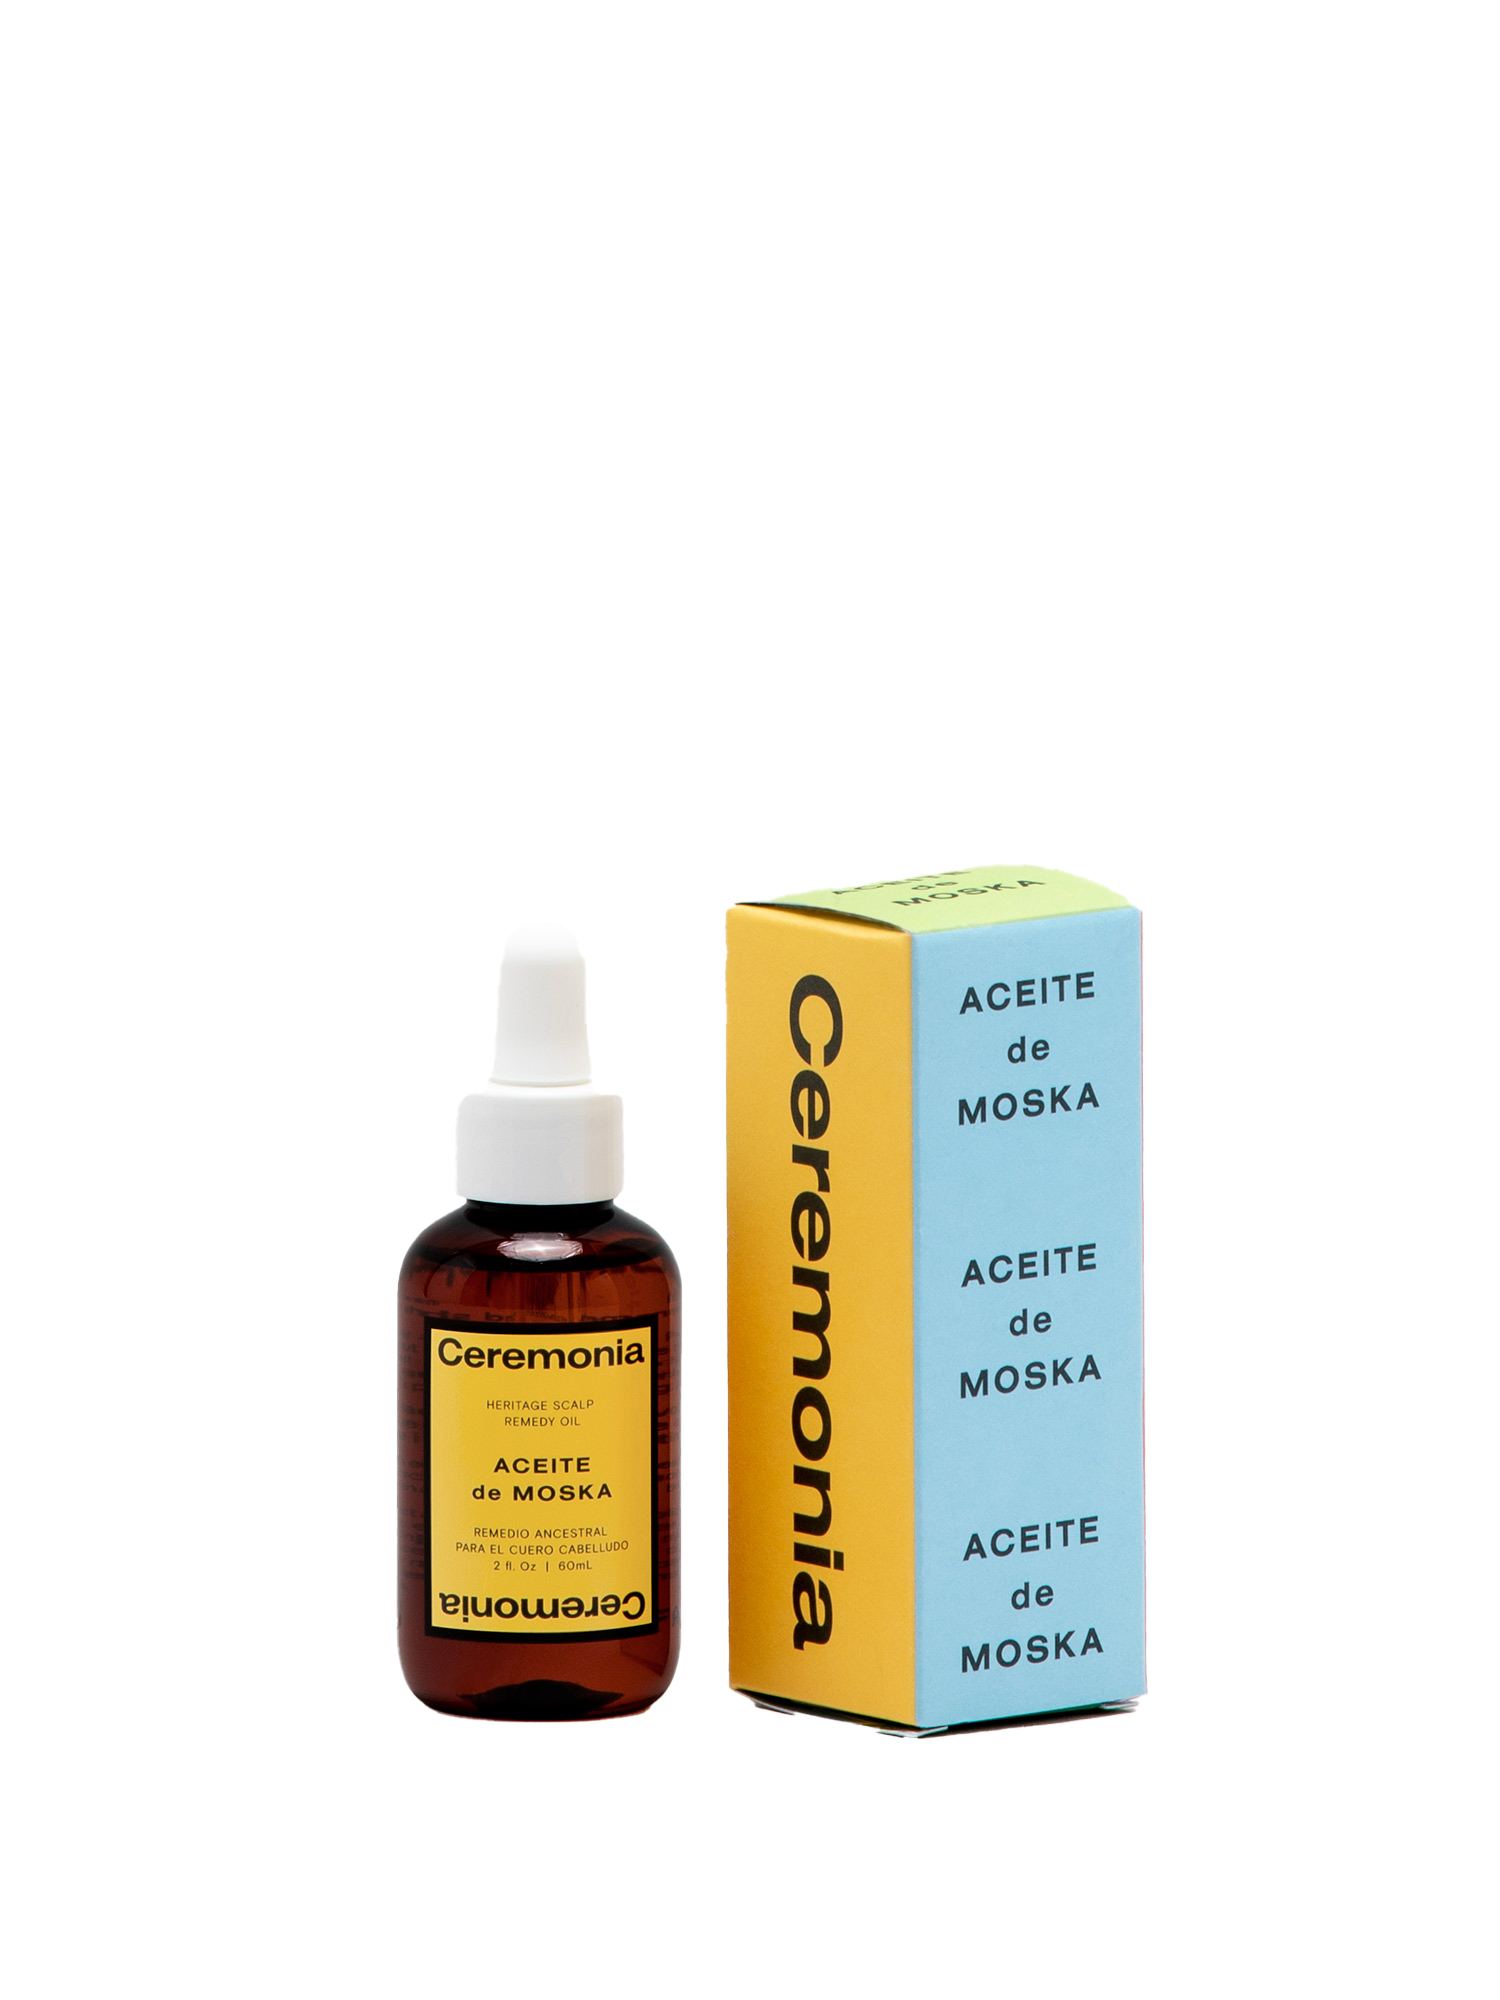
Ceremonia Aceite de Moska is a pre-shampoo treatment designed for addressing scalp issues and promoting hair growth. The recommended application involves massaging the oil into the scalp, using a scalp massager if possible, and leaving it on for 15 minutes or overnight for a deeper treatment before washing your hair. Beyond its hair care benefits, Ceremonia is a brand committed to sustainability, using packaging made from 30 to 100 percent post-consumer recycled materials and actively contributing to recycling efforts as a plastic-negative brand. Prioritizing Ceremonia not only benefits your hair but also supports a brand dedicated to sustainability and environmental responsibility.

RTHVI REVITALIZE

Rthvi’s scalp oil blends Ayurvedic principles with modern science for holistic hair care. With rosemary, peppermint, oils, and Indian gooseberry extract, it stimulates hair growth and addresses dryness. The amla extract promotes follicle stimulation and indirectly inhibits DHT, linked to androgenetic alopecia. Use it three times a week, leaving it on for three hours or as a leave-in treatment. Rthvi’s scalp oil harmonizes tradition and science, offering a comprehensive solution for healthier hair.

 PURA D’OR 16 OZ ORGANIC FRACTIONATED COCONUT OIL

Experience the magic of coconut oil for healthy hair growth, enhanced softness, and a dazzling shine. This natural elixir acts as a protective shield, guarding your hair against heat damage while diligently repairing damaged scalp and hair tissues.  To apply, gently heat a small cup of coconut oil, infusing it with the goodness of 10 curry leaves until they crackle. Allow the oil to cool until it reaches a comfortably warm temperature. Indulge in a luxurious massage, using circular strokes to lavish your scalp and hair for 10-15 minutes. Leave this elixir overnight and unveil revitalized locks by washing it off with a mild shampoo in the morning. For optimal results, integrate this routine into your bedtime ritual two to three times a week.

THE MANE CHOICE THE ALPHA MULTI-VITAMIN SCALP NOURISHING GROWTH OIL

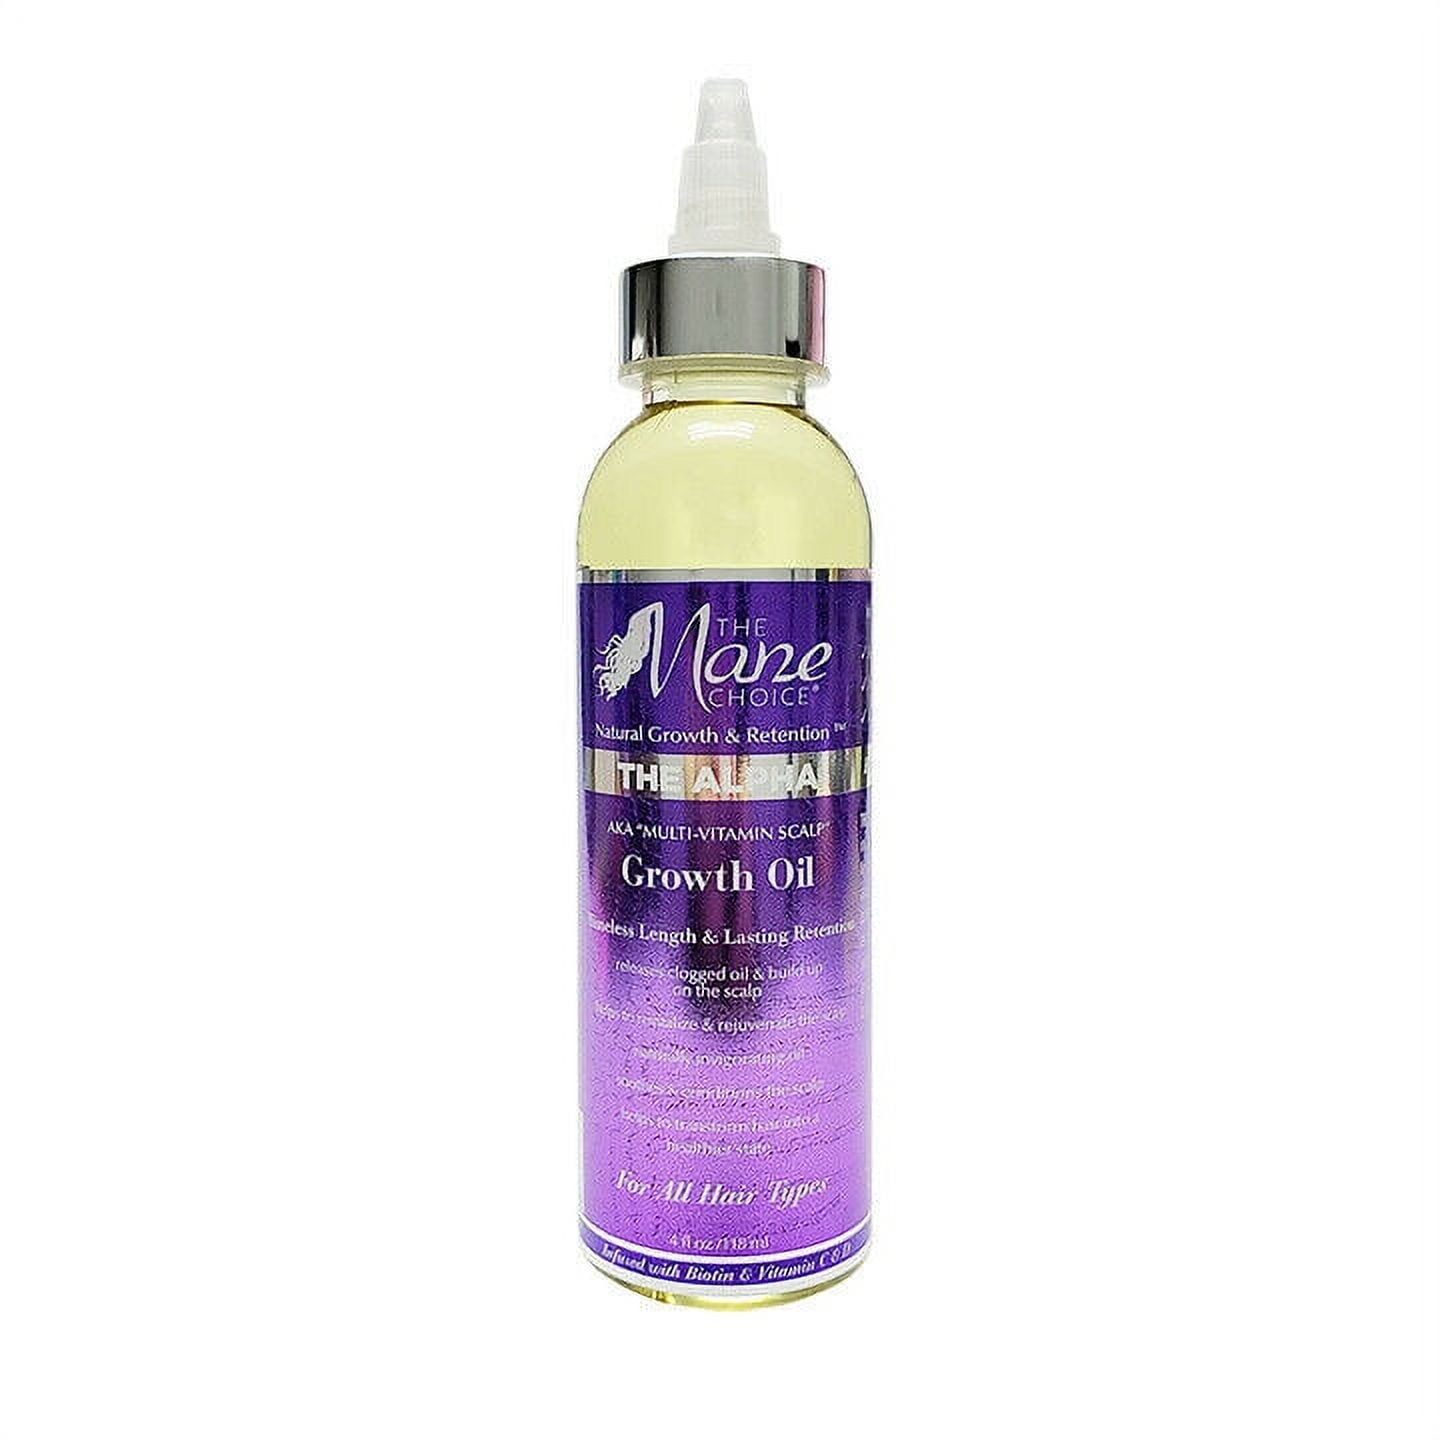
The Mane Choice’s The Alpha Multivitamin Scalp Nourishing Growth Oil is formulated for daily use, featuring ingredients such as rosemary extract, castor oil, and the beneficial addition of tea tree oil, known to potentially enhance the effects of minoxidil, a medication stimulating hair growth. Despite being one of the more affordable options, reviewers appreciate its fruity scent while advising that it’s best applied before washing due to its heavier consistency. This scalp growth oil from The Mane Choice offers an economical yet aromatic choice for those seeking to enhance their hair care routine.

Kiehl’s Magic Elixir Scalp

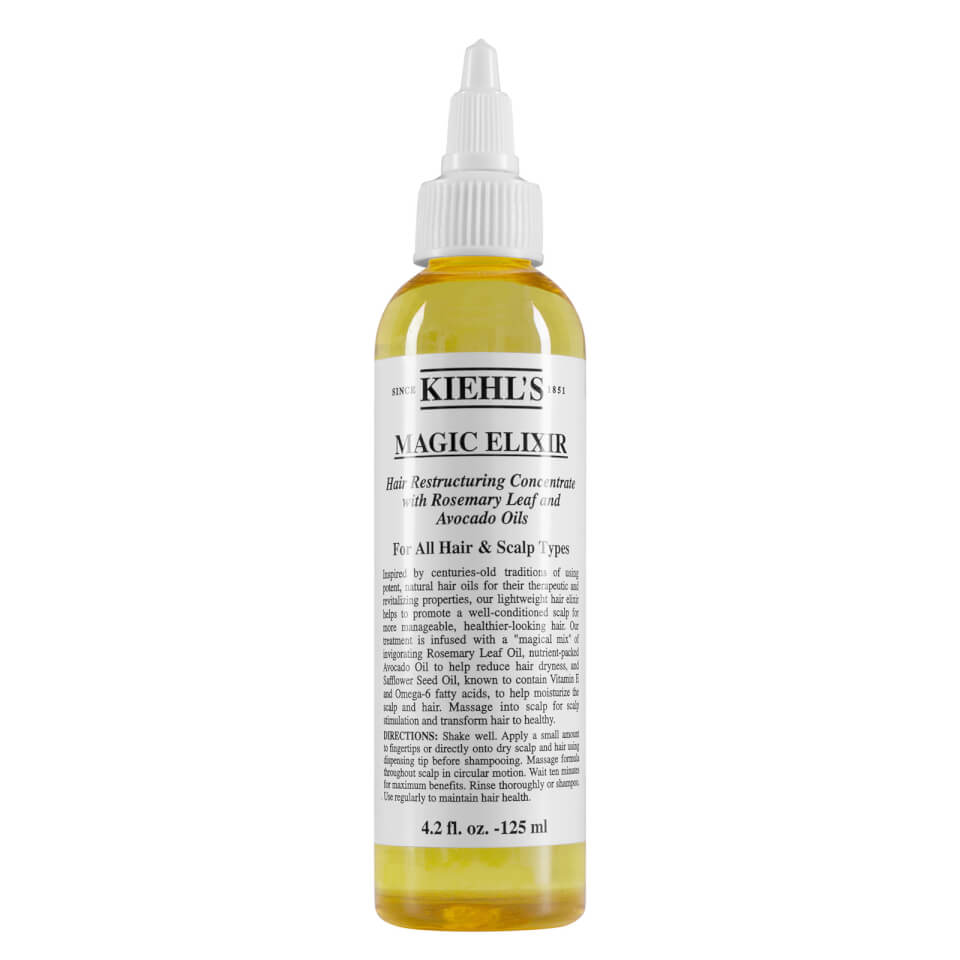
Crafted with a harmonious blend of avocado oil and rosemary oil, this hair treatment offers a unique approach to hair care. What sets it apart is its versatility—it can be applied prior to shampooing, enriching the scalp and hair with nourishment and contributing to the overall health of your locks. The application is straightforward; it’s designed to be applied to a dry scalp and left on for a mere 10 minutes before rinsing or proceeding with your regular hair washing routine. This convenience makes it an ideal treatment for various hair types, including fine hair, ensuring a hassle-free addition to your hair care regimen. Free from added fragrance, the oil boasts ingredients like rosemary oil and moisturizing avocado oil. The result is a hair treatment that not only prioritizes effectiveness but also creates a sensorial experience that caters to the well-being of your hair and scalp.

Leonor Greyl Régénérescence

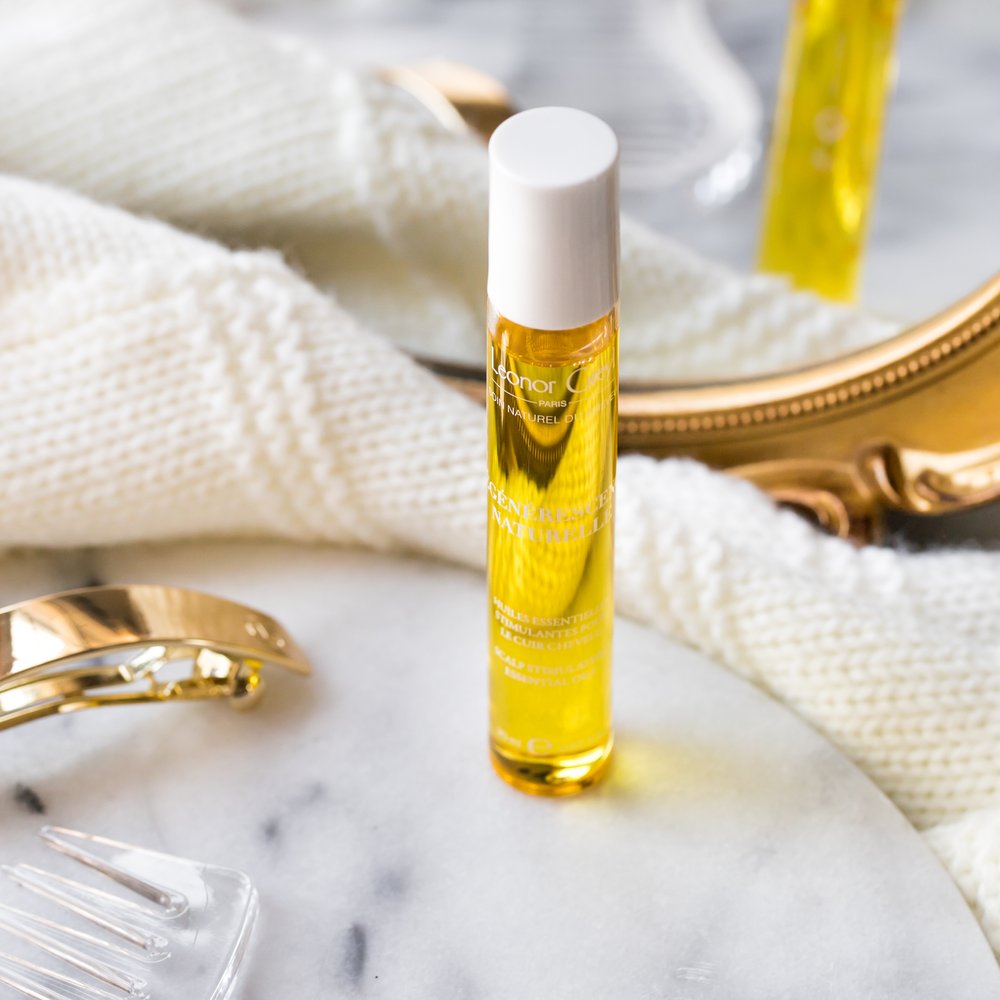
Leonor Greyl Régénerescence Naturelle is a potent blend of 16 oils, including organic varieties, aiming to nourish both hair and scalp while fostering hair growth. This treatment is best left on for 15 minutes to overnight for optimal results. It caters to those who prefer vegan, cruelty-free, silicone-free, and/or synthetic ingredient-free products. The oil is conveniently packaged in a vial with a rollerball, ensuring easy and mess-free application. Leonor Greyl’s Régénerescence Naturelle offers a comprehensive solution for those seeking a luxurious and effective hair care treatment.

Kitsch Rosemary Oil

Kitsch Pre-Wash Scalp Oil is thoughtfully crafted with rosemary oil extract and scalp-friendly ingredients, including castor oil, to effectively loosen buildup before shampooing. The naturally fragranced oil boasts a calming lavender scent, making the pre-wash experience delightful. With a recommended leave-on time of 10 minutes, it caters to those who prefer a shorter duration for oil application. The eco-conscious packaging includes a recyclable aluminum bottle and a dropper made from recycled plastic, aligning with sustainability practices. Kitsch Pre-Wash Scalp Oil not only prioritizes scalp health but also contributes to a more eco-friendly hair care routine.

Weleda Rosemary Conditioning

Weleda Rosemary Conditioning Hair Oil has garnered positive reviews for its ability to impart softness and smoothness to the hair. Tailored for all hair types, this rosemary-infused oil aims to enhance the shine and manageability of dry, damaged hair. It caters to individuals seeking a natural option, free from synthetic preservatives, fragrances, and silicone. Ideal for those prioritizing a holistic and gentle approach to hair care.

Mauli Rituals 

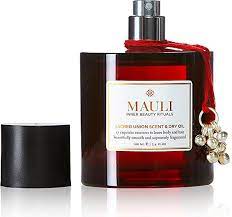
Mauli Rituals encourages a soothing application of its Grow Strong Hair Oil accompanied by a head massage, enhancing the overall experience. The oil is available with or without a comb, providing the option for additional scalp stimulation. The brand advises using a few drops of the oil twice a week for an initial six weeks, followed by once a week thereafter. Depending on your preference, you can leave it on for 20 minutes overnight before washing your hair, or alternatively, apply it to your strands to address dry ends. Enriched with potentially beneficial plant-derived ingredients such as amla and bhringraj oils, Mauli Rituals’ Grow Strong Hair Oil offers a nourishing and revitalizing solution for your hair care routine.

Camille Rose Rosemary

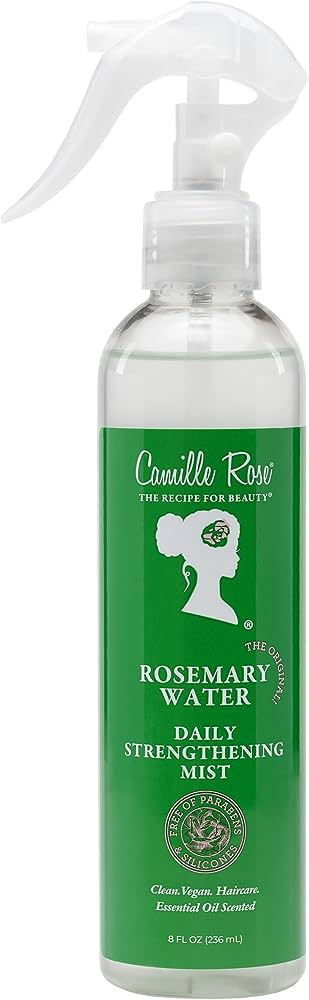
Camille Rose Rosemary Oil Strengthening Hair Drops cater to individuals of all hair types seeking improved growth and moisture retention. Formulated with rosemary oil, amla extract, and a blend of peppermint, castor, and lavender oils, the product addresses dryness and promotes overall hair health. The brand recommends applying two to three drops of the oil to wet or dry hair daily or as needed. Leaving it on supports its benefits. Beyond promoting hair growth when applied to the scalp, the oil can be used on the lengths of your hair, fortifying strands and reducing breakage for a comprehensive approach to hair care.

Holy Natural Organic Jamaican Black 

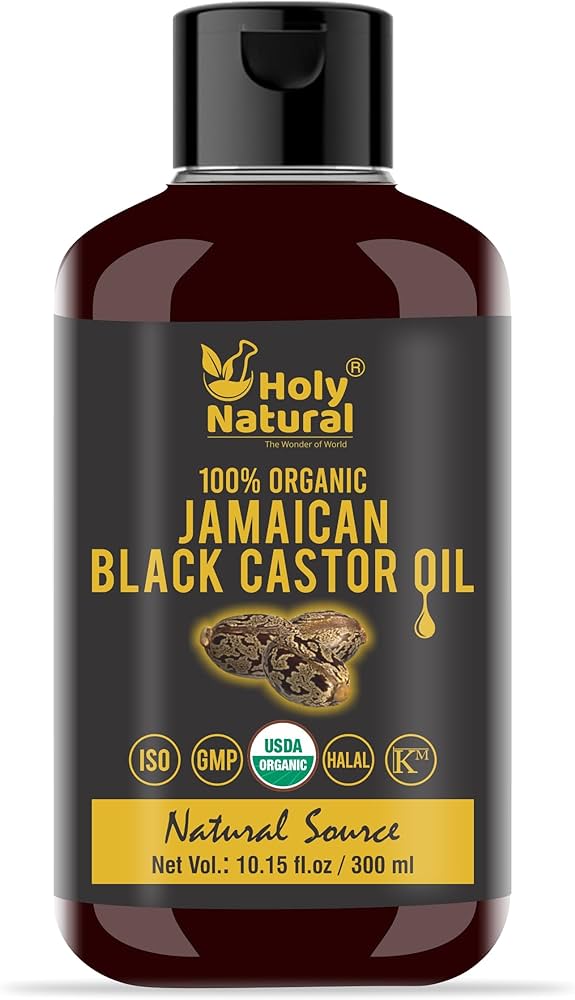
Leveraging the potential of ricinoleic acid to stimulate hair growth by enhancing circulation, pure castor oil stands out as a reliable choice, as suggested by Petrillo. Its versatility extends beyond hair care, as castor oil is often utilized as a popular DIY lash serum alternative. This particular castor oil is USDA-certified organic and ISO-certified, attesting to the company’s adherence to various quality assurance standards. Available in multiple sizes, starting at just under $7, it offers a cost-effective solution for those seeking the benefits of castor oil for hair and more.

Sarisha Nourishing

Sarisha takes pride in hand-blending its products in small batches, ensuring a personalized touch to each creation. Committed to cruelty-free and vegan principles, the Nourishing Hair & Scalp Oil by Sarisha is a harmonious blend of vitamin E and organic plant-based oils, featuring lavender, peppermint, and rosemary oils. Its lightweight consistency makes it suitable for daily use as a leave-in treatment. The versatility extends to applying it on the lengths of your hair to combat frizz, and it remains safe for color-treated hair. Embracing a holistic approach, Sarisha’s Nourishing Hair & Scalp Oil caters to both scalp health and overall hair care needs.

Wild Growth 

Wild Growth Hair Oil, a top choice recommended by cosmetic chemist David Petrillo, combines a blend of lavender, peppermint, castor, and jojoba oils. Particularly praised for its moisturizing properties, jojoba oil is known to nourish both the scalp and hair. While direct research on its impact on hair growth is limited, it is believed to contribute to overall hair health. The recommended usage involves applying a few drops of the oil one to three times per week, ensuring a lasting supply from the four-ounce bottle. Versatile in its application, you can incorporate it into shampoo, hot oil treatments, co-washes, or use it on its own post-hair wash. The oil’s richness makes it well-suited for individuals with thick hair, and for those preferring a lighter option, the brand offers an alternative formulation. Wild Growth Hair Oil offers a comprehensive solution for maintaining healthy hair and scalp.

Thicc Organics Thicc Hair Oil

Crafted with care, this organic oil is a potent blend of eight meticulously selected ingredients, each aimed at fostering robust hair growth. With essential oils like rosemary, tea tree, lavender, and peppermint, the formula goes a step further by incorporating green coffee bean oil, known for its caffeine content. Caffeine, recognized for counteracting the effects of DHT on hair follicles, adds an extra dimension to the oil’s hair-boosting capabilities. Designed for use as a pre-shampoo treatment, this versatile oil caters to all hair types. Produced in small batches in California, the brand’s commitment to hand blending and bottling ensures a quality product that aligns with natural hair care practices.

Briogeo Curl Charisma Organic + Cold-Pressed 100%

In the realm of castor oils for hair growth, Briogeo Curl Charisma Organic + Cold Pressed Castor Oil emerges as a top contender, endorsed . Renowned for its cold-pressed formulation, this castor oil is rich in humectants, vitamin E, and omega fatty acids, creating a synergistic blend that promotes the health and hydration of hair. Its versatile application extends beyond the hair to include eyebrows and eyelashes. Notably, this pure castor oil stands as a vegan, cruelty-free, and organic choice. A holistic and ethically sourced option, Briogeo’s castor oil aligns with natural care and responsible business practices.

HOW LONG DOES IT TAKE HAIR GROWTH OIL TO WORK?

While hair growth oils lack the potency to directly override your genetically determined hair growth rate (approximately 0.5 inches per month), hair growth oils can play a supportive role in fostering a healthy scalp environment conducive to optimal hair growth.

The potential benefits of consistent hair growth oil usage, typically taking 3-6 months to manifest, revolve around scalp health and hair nourishment. Oils rich in nutrients like argan, jojoba, and coconut can offer valuable hydration, preventing dryness and breakage that can hinder healthy growth. Additionally, certain oils like peppermint or rosemary may improve scalp circulation, potentially enhancing nutrient delivery to the follicles. Furthermore, some oils possess mild cleansing and anti-inflammatory properties, addressing dandruff and scalp irritation that can impede hair growth.

Conclusion 

The quest for the best oil for hair growth has unveiled a diverse array of options, each offering a unique blend of nourishing properties. From the restorative effects of rosemary oil to the soothing benefits of tea tree oil and the richness of castor oil, these formulations promise to be elixirs for healthy and voluminous hair. Whether you’re seeking to combat dryness, stimulate hair follicles, or simply enhance overall hair health, these  oils provide tailored solutions for every hair type and concern. After reading this article, we hope you discover a product that suits your needs perfectly!

HOW TO DO MAKEUP FOR BRIDE: A STEP-BY-STEP GUIDE TO DIY WEDDING MAKEUP

A wedding day is a moment people daydream about and meticulously plan well in advance before meeting the person they will eventually marry. When the moment finally arrives, numerous aspects need careful consideration and execution, including selecting the ideal make up for bride. This process involves various steps, such as preparing the skin for a radiant appearance, deciding on the makeup artist, and scheduling time for a trial-run application (or two). It also entails mastering the art of applying makeup that complements the desired look for the bride on her wedding day.

DO A RESEARCH

The internet is brimming with beauty inspiration for your wedding day. If you’re uncertain about the kind of look you want, initiate some research. Explore your favorite celebrity’s latest red carpet appearances through a search engine or visit a professional makeup artist’s Instagram page to peruse photos of their clients.

You can also turn to TikTok or YouTube for comprehensive tutorials that you can recreate. Kim suggests identifying someone with similar facial features for a more personalized guide. Following makeup trends that don’t compliment your face may result in an awkward appearance. Don’t replicate a look just because it’s trending online. Instead, ensure that you genuinely like the chosen style.

CONSIDER YOUR THEME

Your final appearance will be significantly shaped by your overall aesthetic. Prior to applying your makeup, it’s crucial to decide whether a natural, sun-kissed glow, or a blend of both aligns better with you and your event. Taking into account your color scheme, floral decorations, venue, and ambiance. Aligning your makeup with the overarching theme enhances the harmonious and elegant atmosphere of your wedding day.

DETERMINE THE RIGHT SHADES

To achieve a smoother end result, it’s essential to determine which color will best complement your skin tone, whether it’s a warm bronze tone or a cool blue tone. Attention should be paid to the importance of finding the right shade for your skin, suggesting the possibility of mixing different shades to create the perfect combination. Instead of relying on guesswork, consider seeking advice from a professional who can determine the color that best suits your skin tone.

STAY OUT OF THE SUN

In the countdown to your wedding day, one crucial piece of beauty advice is to stay out of the sun. Prolonged exposure to sunlight can lead to skin damage, including sunburn, premature aging, and uneven skin tones, all of which might affect your desired wedding day look. To maintain a radiant and flawless complexion, it’s advisable to minimize sun exposure in the weeks leading up to the big day. Consider using sunscreen with a high SPF, wearing protective clothing, and seeking shade whenever possible. By taking these precautions, you can help ensure that your skin looks its best and remains picture-perfect for your wedding, allowing you to confidently showcase your natural beauty on this special occasion.

PRACTICE MAKEUP FREQUENTLY

In the buildup to your wedding, one valuable beauty tip is to practice your makeup frequently. Regularly experimenting with different looks allows you to refine and perfect the ideal style that enhances your features and complements your wedding theme. Schedule trial runs to familiarize yourself with the application process, ensuring that your chosen makeup look not only suits your preferences but also stands up to the demands of the long-awaited day.

Frequent practice not only builds your confidence in achieving the desired outcome but also enables you to identify any potential challenges and address them well in advance. With each practice session, you’ll gain valuable insights into the products and techniques that work best for you, ensuring that you step into your wedding day with the expertise to create a stunning and long-lasting makeup look.

BOOK A VIRTUAL APPOINTMENT

In the modern landscape of wedding preparations, booking a virtual appointment has become an invaluable step, especially in the era of convenience and technology. Prior to your wedding, consider scheduling virtual appointments with key vendors, such as your wedding planner, photographer, or even beauty professionals. These virtual consultations provide a convenient and efficient way to discuss details, share ideas, and make crucial decisions without the need for in-person meetings. 

Whether it’s finalizing the event timeline, reviewing photography preferences, or discussing your desired bridal look, virtual appointments allow for seamless communication from the comfort of your own space. Embracing this digital approach not only streamlines the planning process but also accommodates busy schedules, ensuring that every detail is meticulously addressed, and your vision for the perfect wedding day is brought to life.

PREP YOUR SKIN

On your wedding day, stick with your tried-and-true skincare routine! A clean, familiar canvas is key to achieving natural, beautiful makeup. Skip experimenting with new products and simply cleanse, moisturize (lightly!), and gently exfoliate (if you normally do). Leave any blemishes alone unless you have a trusted spot treatment, and you’re all set for a picture-perfect complexion.

CHOOSE FAMILIAR PRODUCT

When it comes to your wedding day, selecting familiar makeup products is key. The familiarity of these products offers a sense of comfort and confidence since you already know how they perform on your skin. Opting for tried-and-true makeup items ensures that you avoid any potential surprises or adverse reactions that could occur from experimenting with new products. By sticking with the cosmetics you are familiar with, you can trust that they will provide the desired results and enhance your natural beauty. It’s essential to feel at ease and radiate confidence on your special day, and relying on familiar makeup products plays a significant role in achieving that peace of mind.

HOW TO DIY YOUR OWN BRIDAL MAKEUP

STEP 1: PREP YOUR SKIN

Whether you’re applying your makeup on your own or relying on a professional, on your wedding day, start by washing your face and applying a light moisturizer. Stick to your regular skincare routine; now is not the moment for drastic changes. If you usually exfoliate, choose a gentle exfoliating cleanser instead of a harsh scrub. Address any blemishes by lightly dabbing on an appropriate product like Visine, but avoid unnecessary interventions. The goal is to have a clean and soft canvas, providing the perfect base for achieving naturally beautiful skin with your makeup.

Consider your skin’s undertones, whether they lean towards cool or warm, when selecting colors that both match and complement. To identify your undertone, try a simple trick. Place a piece of silver and a piece of gold jewelry on the back of your hand. If the gold appears to blend seamlessly, you likely have warm undertones. Conversely, if the silver seems to harmonize better, you probably have cool undertones.

STEP 2: KNOW THAT PRIMER IS REQUIRED

From the moment you start applying your makeup until you bid farewell to your guests, a multitude of events will unfold. To make sure your makeup withstands the ceremony, dancing, tears, and toasts, consider incorporating a primer into your routine. While occasional touch-ups may still be necessary, they will be significantly reduced. Moreover, a primer serves to even out fine lines, and wrinkles, and conceal open pores. Apply a small amount after moisturizing, but before your foundation, ensuring even coverage across your face and eyelids. This sets the stage for a flawless base for all that follows.

STEP 3: APPLY FOUNDATION

For those with a cool undertone, seek out foundations with a rosier, redder, or blue base. If your undertone leans warm, opt for a foundation with a yellow or golden base. To verify if the shade is suitable, apply a small amount on the center of your lower jawline using a Q-tip. If it seamlessly blends in, you’ve found the right match.

Apply your foundation in thin layers, starting from the center of your face and blending outward with a foundation brush. Ensure a seamless finish, paying particular attention to blending beneath your jaw and along your neck to avoid visible lines. Avoid caking on the foundation, as it can give an overdone appearance and may lead to smearing or streaking.

STEP 4: ADD CONCEALER 

Applying concealer before the foundation can lead to much of it rubbing away during the foundation blending process. To address red areas or dark circles, use a concealer brush to apply a liquid concealer, matching your skin tone or going one shade lighter, to problematic areas. Dot the concealer and gently pat the brush against your skin to spread it. If needed, use a makeup sponge dampened with water to blend the concealer further.

For concealing blemishes, start by applying foundation, followed by concealer, and set it with powder. If the blemish is still visible, add more concealer and powder. Ensure you pat the concealer onto the blemish rather than rubbing to achieve a seamless finish.

STEP 5: APPLY HIGHLIGHTER

Highlighter might not be a staple in everyone’s makeup collection, but its purpose is to enhance specific facial features, making eyes appear larger and adding a radiant, youthful dewy look. However, using too much or a formulation with sparkle or glitter can lead to photo disasters, so apply it with a light touch. Highlighters are available in both liquid and powder forms.

When using a liquid highlighter, apply it with a brush after your foundation, forming a check mark shape. Begin near your inner eye, angle down toward your nostril, and then move up your cheekbone, blending toward your temple. Repeat the process above your brows, down the center of your nose, on the center of your forehead, and on your chin.

For powder highlighter, apply it after powdering and brush it under your brows, lightly in the corner of your eyes, and on the tops of your cheekbones. Avoid using powder highlighter under your eyes or over your mouth to prevent a sweaty appearance in photos.

STEP 6: SET YOUR BASE

Now, you face a decision. You can either opt for a cream blush instead of a powder blush or set your base with powder. If you choose the latter, begin by using a translucent powder to set your base and manage any shine. When it comes to powder, remember that less is more; aim for a luminous look rather than a heavy one. With a medium-sized brush, lightly dust over your forehead, the sides of your nose, and on your chin.

Following this, apply a powder bronzer that’s a shade or two darker than your foundation. Brush it in the shape of a 3 on both sides of your face. Begin at your hairline, move down the side of your face, then under your cheekbone, back to the side of your face, and finally below your jaw.

Keep pressed powder handy for those moments when certain areas shine and need a quick dab before a photo or while in the restroom.

STEP 7: BRING COLOR TO YOUR EYES

Wedding experts typically advise against a heavily dramatic eye, suggesting instead the use of eyeliners in shades other than black, along with paler or muted eye shadows that complement your eye color. Highlighters can also be applied to create the illusion of larger eyes. Experiment with brown, grey, and green eyeliners, applying them to both your upper and lower eyelids to enhance your eyes. For a longer-lasting effect, use a cream eye shadow on your eyelids, reserving powder for the crease of your eye. Apply a powder highlighter in the corners of your eyes and under your brow.

Consider the following color recommendations based on your eye color: bronze shades for green eyes, mocha for hazel eyes, navy and dark brown for blue eyes, and purples and grays for brown eyes. If you want to line your eyes with eye shadow, dampen an eyeliner brush with water and brush it into the eye shadow for a defined look.

STEP 8: ADD MASCARA

Given that tears are likely, it’s essential to use waterproof mascara for your wedding day. If you’re not accustomed to wearing false eyelashes regularly, your wedding day is not the ideal time to start. Instead, ensure you have a reliable eyelash curler, a volumizing mascara, and a lengthening mascara. Prior to applying mascara, curl your lashes for added lift. When applying mascara, begin at the root of your eyelashes and wiggle the wand from side to side as you move up to the top. Opt for black mascara, as it complements everyone.

Complete your eye makeup by framing your face with a brow powder slightly darker than your natural color. Brush it along the natural line of your eyebrows, working outward toward the end of your eyes. This final touch will enhance your overall look on your special day.

STEP 9: CREAT LIPS

Much like your facial skin, well-moisturized lips are crucial before applying makeup to prevent dryness or cracks that may emphasize lines once color is added. To achieve this, use a lip hydrator, allowing it to absorb for a couple of minutes before applying color. Select a shade that complements your blush and consider the following tips. While many lipsticks claim lasting hours, opting for a lip stain is a more reliable choice on your wedding day.

For fair skin with cool undertones, consider nude, light mocha, and light mauve. If you have warm undertones, explore sand, nude peach, or shell, steering clear of bright pinks, dark bronzes, and deep mochas. If your skin tone is medium with cool undertones, opt for rosy pink, pomegranate, or cranberry; for warm undertones, go with bronze, copper, and cinnamon, avoiding nudes. Deep skin with cool undertones can experiment with raisin, wine, or ruby red, while warm undertones may prefer honey, ginger, or a coppery bronze, avoiding shades close to orange.

CONCLUSION

In conclusion, mastering the art of bridal makeup involves careful consideration and skill. These 8 tips provide valuable insights to help you become the most beautiful bride on your special day. Remember, when it comes to achieving a flawless finish, exploring techniques like air brush make up can elevate your bridal look to new heights. With attention to detail and a touch of creativity, you’re sure to radiate confidence and beauty as you walk down the aisle on your unforgettable day.