Heading off to college is such an exciting milestone, and preparing for dorm life is all part of the adventure. I still remember how much fun it was to gather everything I needed to create a space that felt truly my own—it was like the first real step into independence.
For freshmen ready to transform their dorm into a cozy retreat or returning students looking to refresh their setup, having the right essentials makes all the difference. From practical must-haves that bring comfort and convenience to little luxuries that elevate the everyday, creating a functional and inviting space lays the foundation for an unforgettable college experience.
BED SHEETS
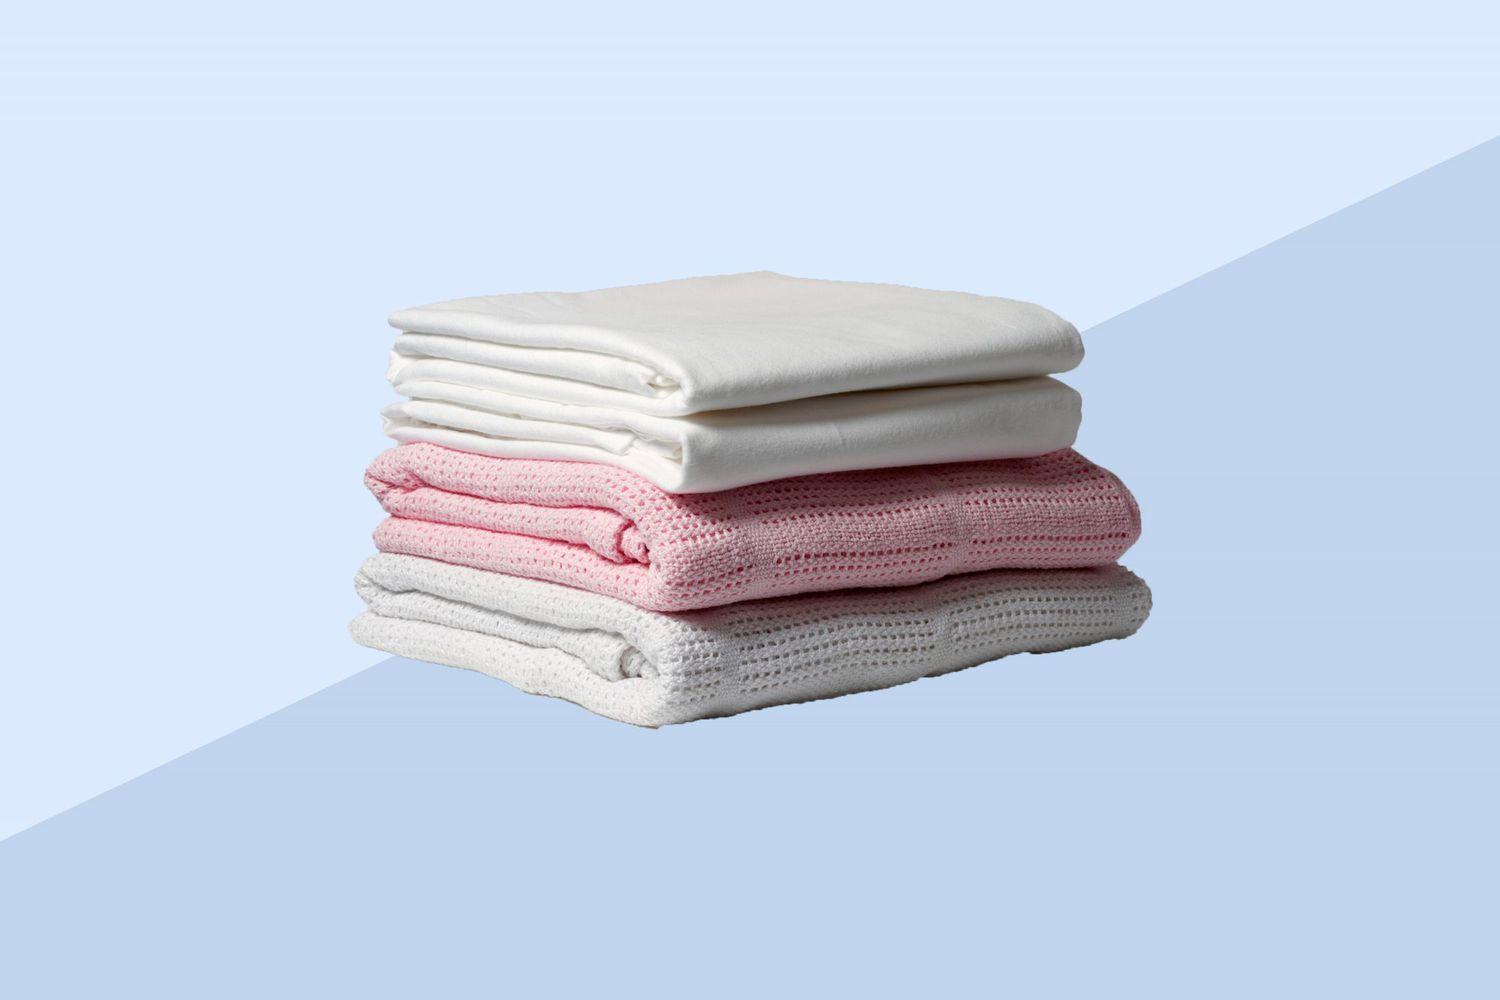
Comfortable and easy-to-care-for bed sheets are essential for dorm living. Opt for soft, breathable materials like cotton or microfiber. Make sure to select twin XL sheets to fit most dorm mattresses.
Examples:
- Amazon Basics Lightweight Microfiber 3-Piece Bed Sheet Set, Twin XL, Blush Pink
- Linen Market Ultra-Soft & Cooling 3-Piece Twin Bedding Sheet Set, Light Blue Floral
PILLOWS
A quality pillow ensures restful sleep. Choose one based on your sleeping style—side, back, or stomach. Memory foam or down alternatives are versatile and popular choices.
Examples:
- HIMOON Bed Pillows for Sleeping, Cooling, Set of 2
- Amazon Basics Down Alternative Pillow, Soft Density, Pack of 2
PILLOWCASES
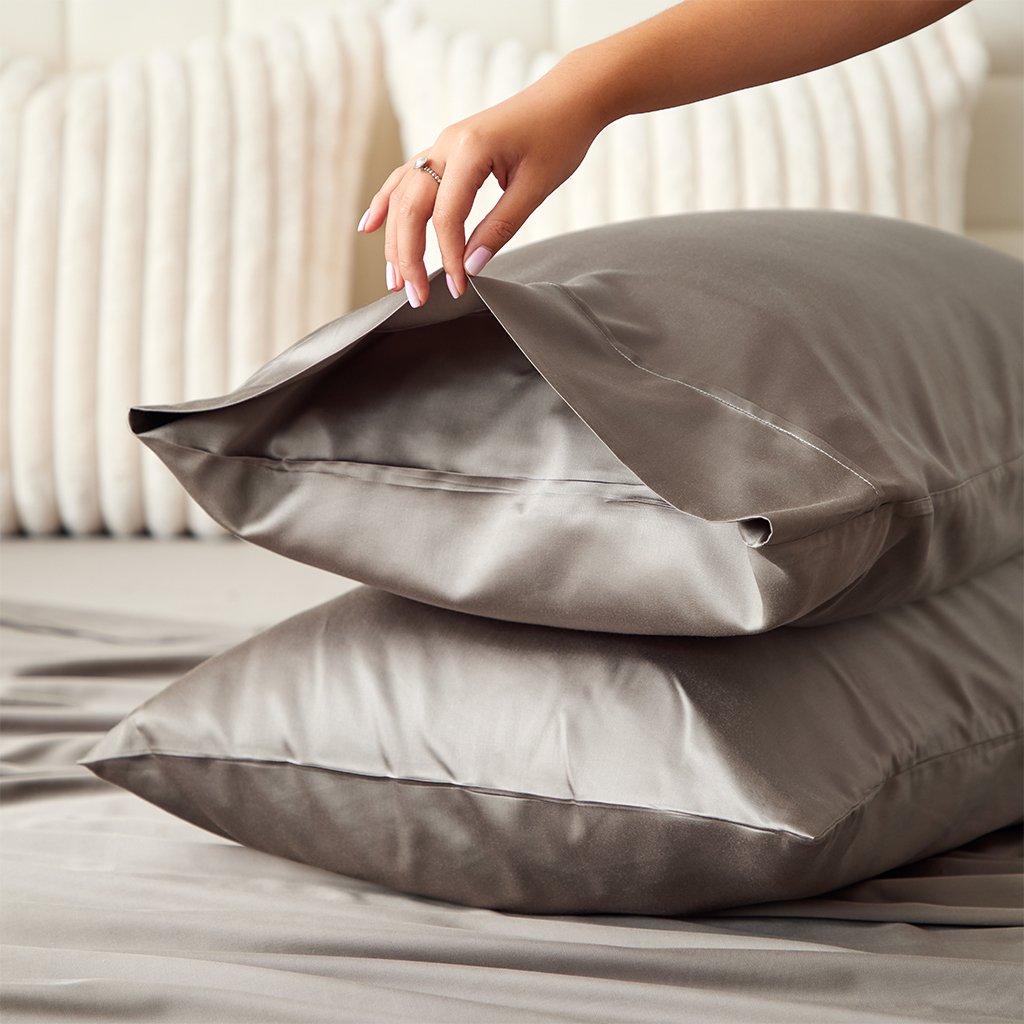
Pillowcases protect your pillows while adding a decorative touch. Match them to your sheets or mix and match for a pop of color.
Examples:
- FLXXIE Microfiber Pillowcases, Wrinkle-Resistant, 20×30, Blush Pink
- FLXXIE 6-Pack Microfiber Pillowcases, Ultra-Soft, 20×30, White
DUVET SET
A duvet set transforms your bed and keeps it cozy. Look for one that includes a removable, washable cover for easy cleaning.
Examples:
- BELADOR All-Season Down Alternative Duvet Insert, Twin
- DOWNCOOL Lightweight Pink Comforter, Twin Size
AREA RUG
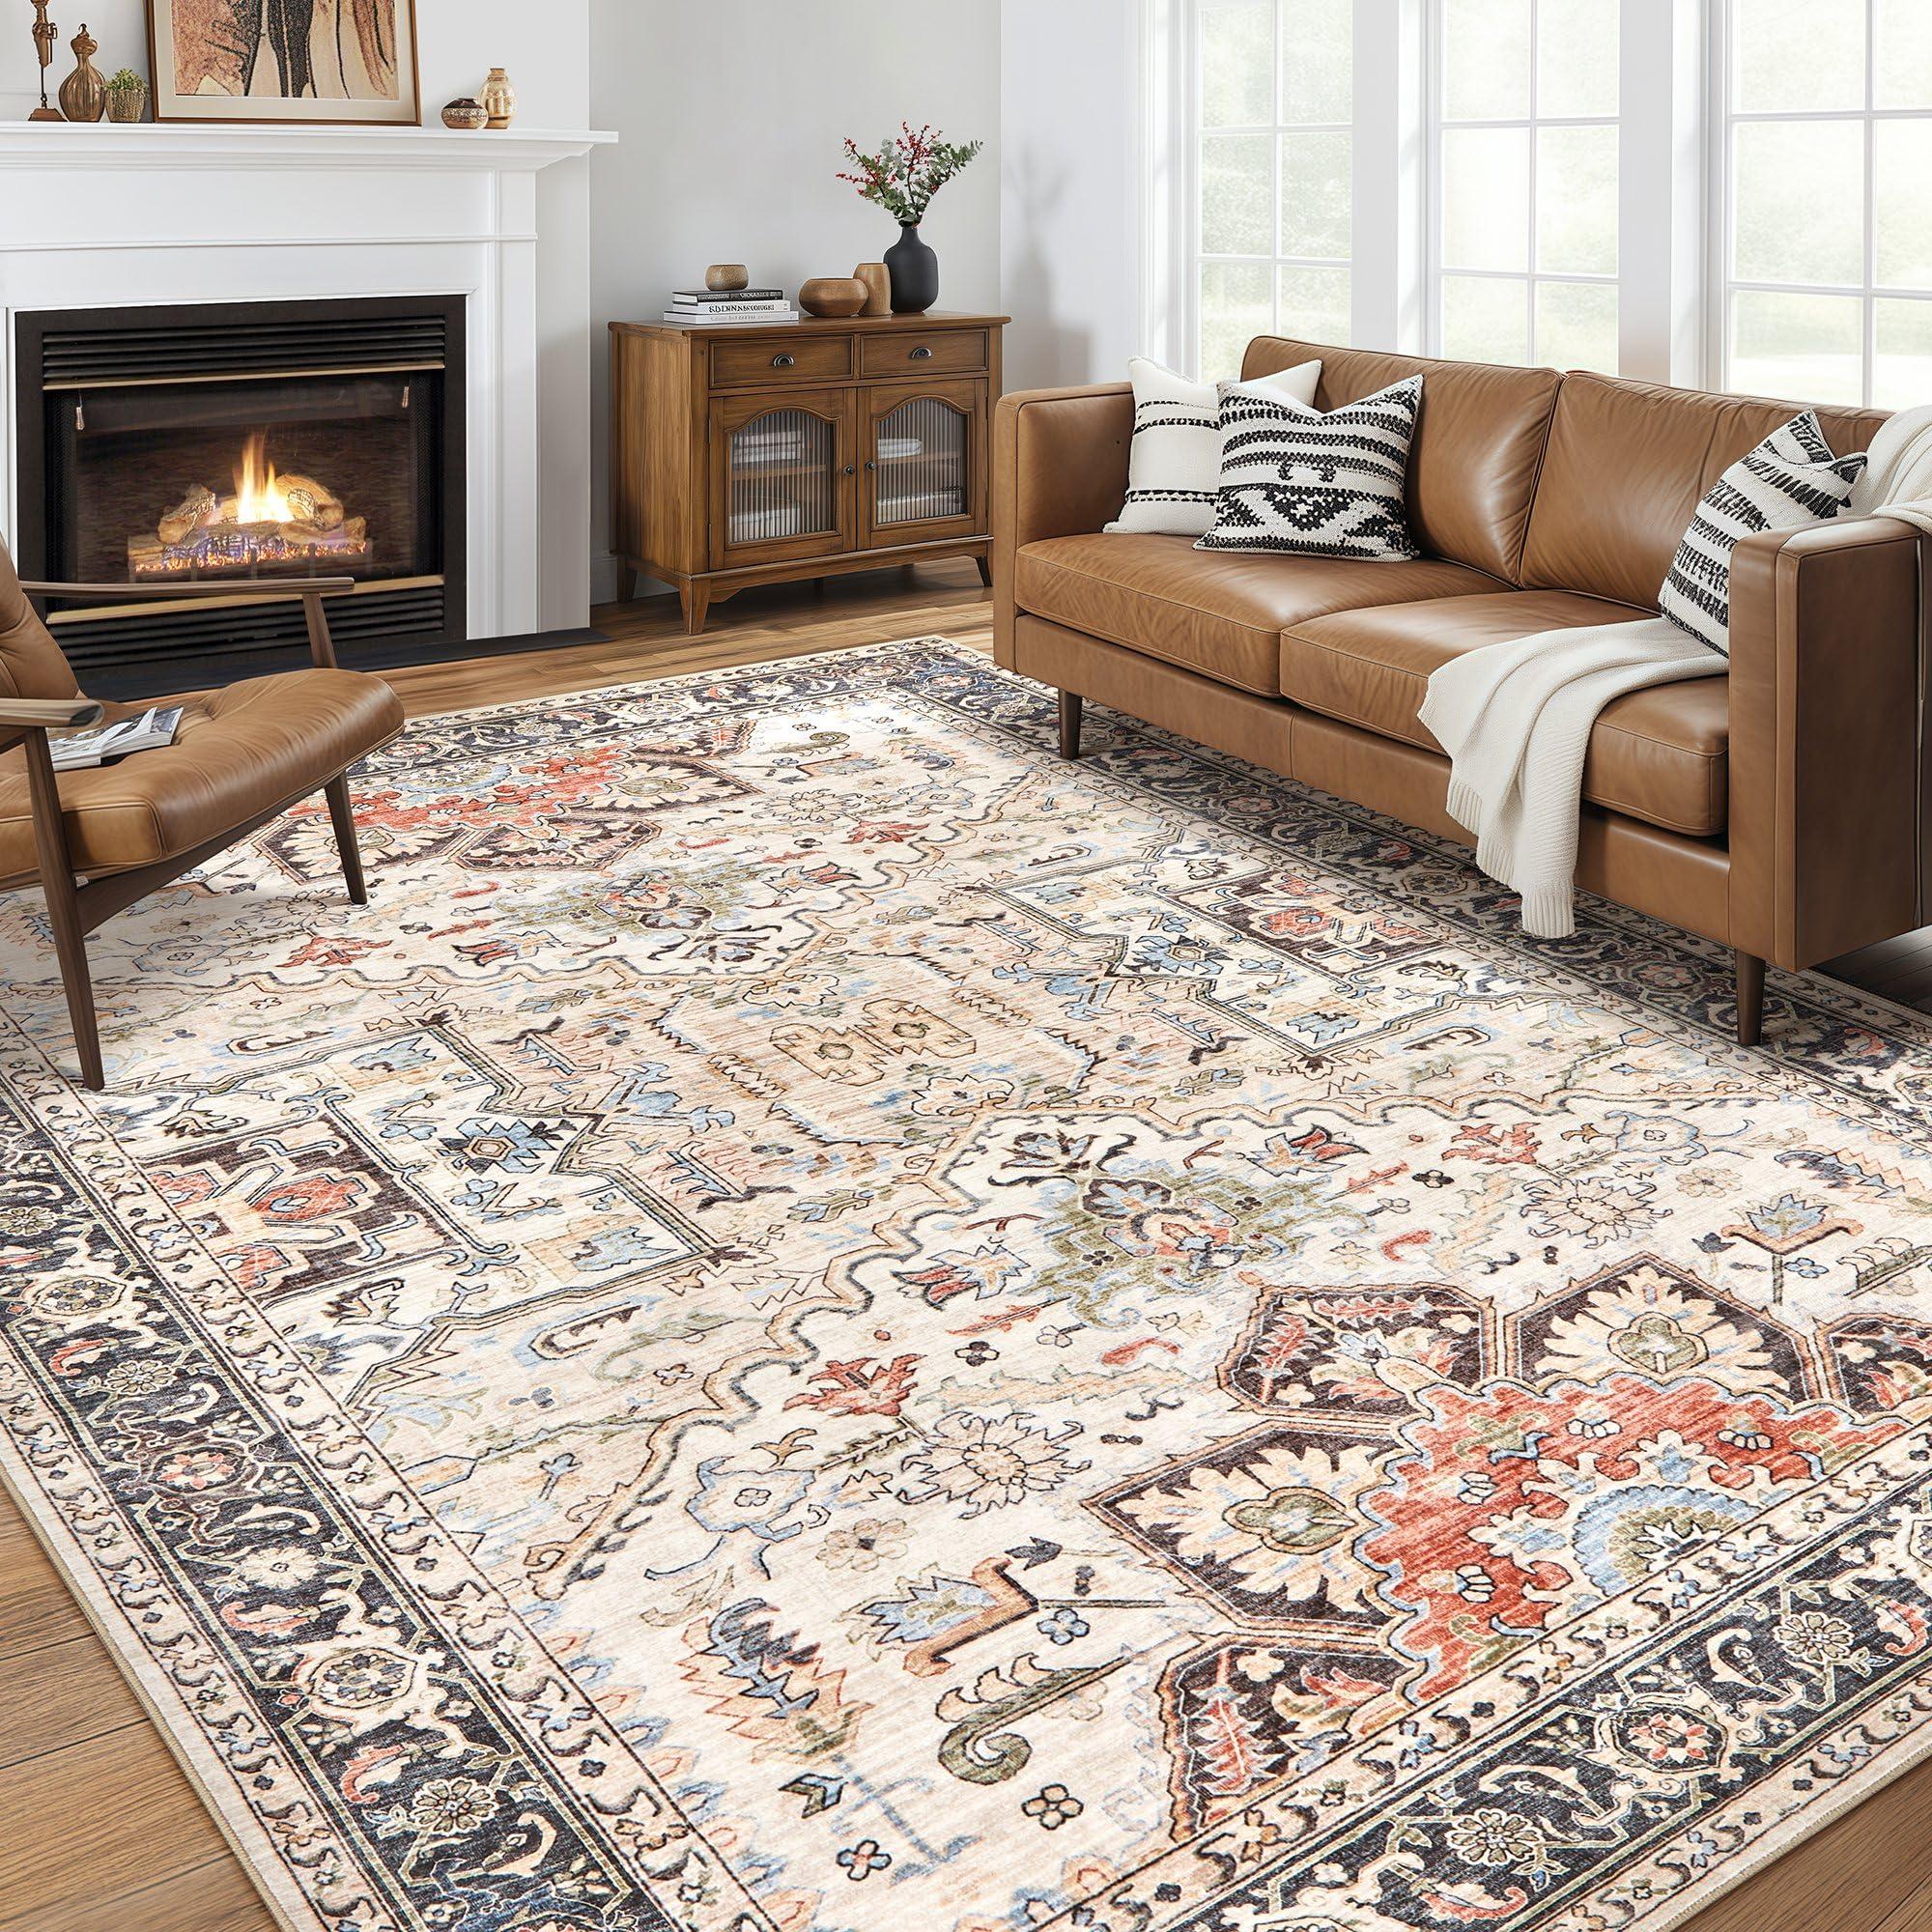
An area rug adds warmth and style to your dorm. Go for durable, easy-to-clean options with a low pile for high-traffic areas.
Examples:
- SAFAVIEH Moroccan Tassel Shag Area Rug, Ivory & Beige
- Fortsea Washable Non-Slip Area Rug, 5×7, Vintage Design
HEADBOARD
A headboard enhances your bed’s look and provides back support. Choose one that’s both stylish and functional.
Examples:
- Modway Annabel Velvet Tufted Twin Headboard, Pink
- Modway Emily Upholstered Twin Headboard, Ivory
THROW BLANKET
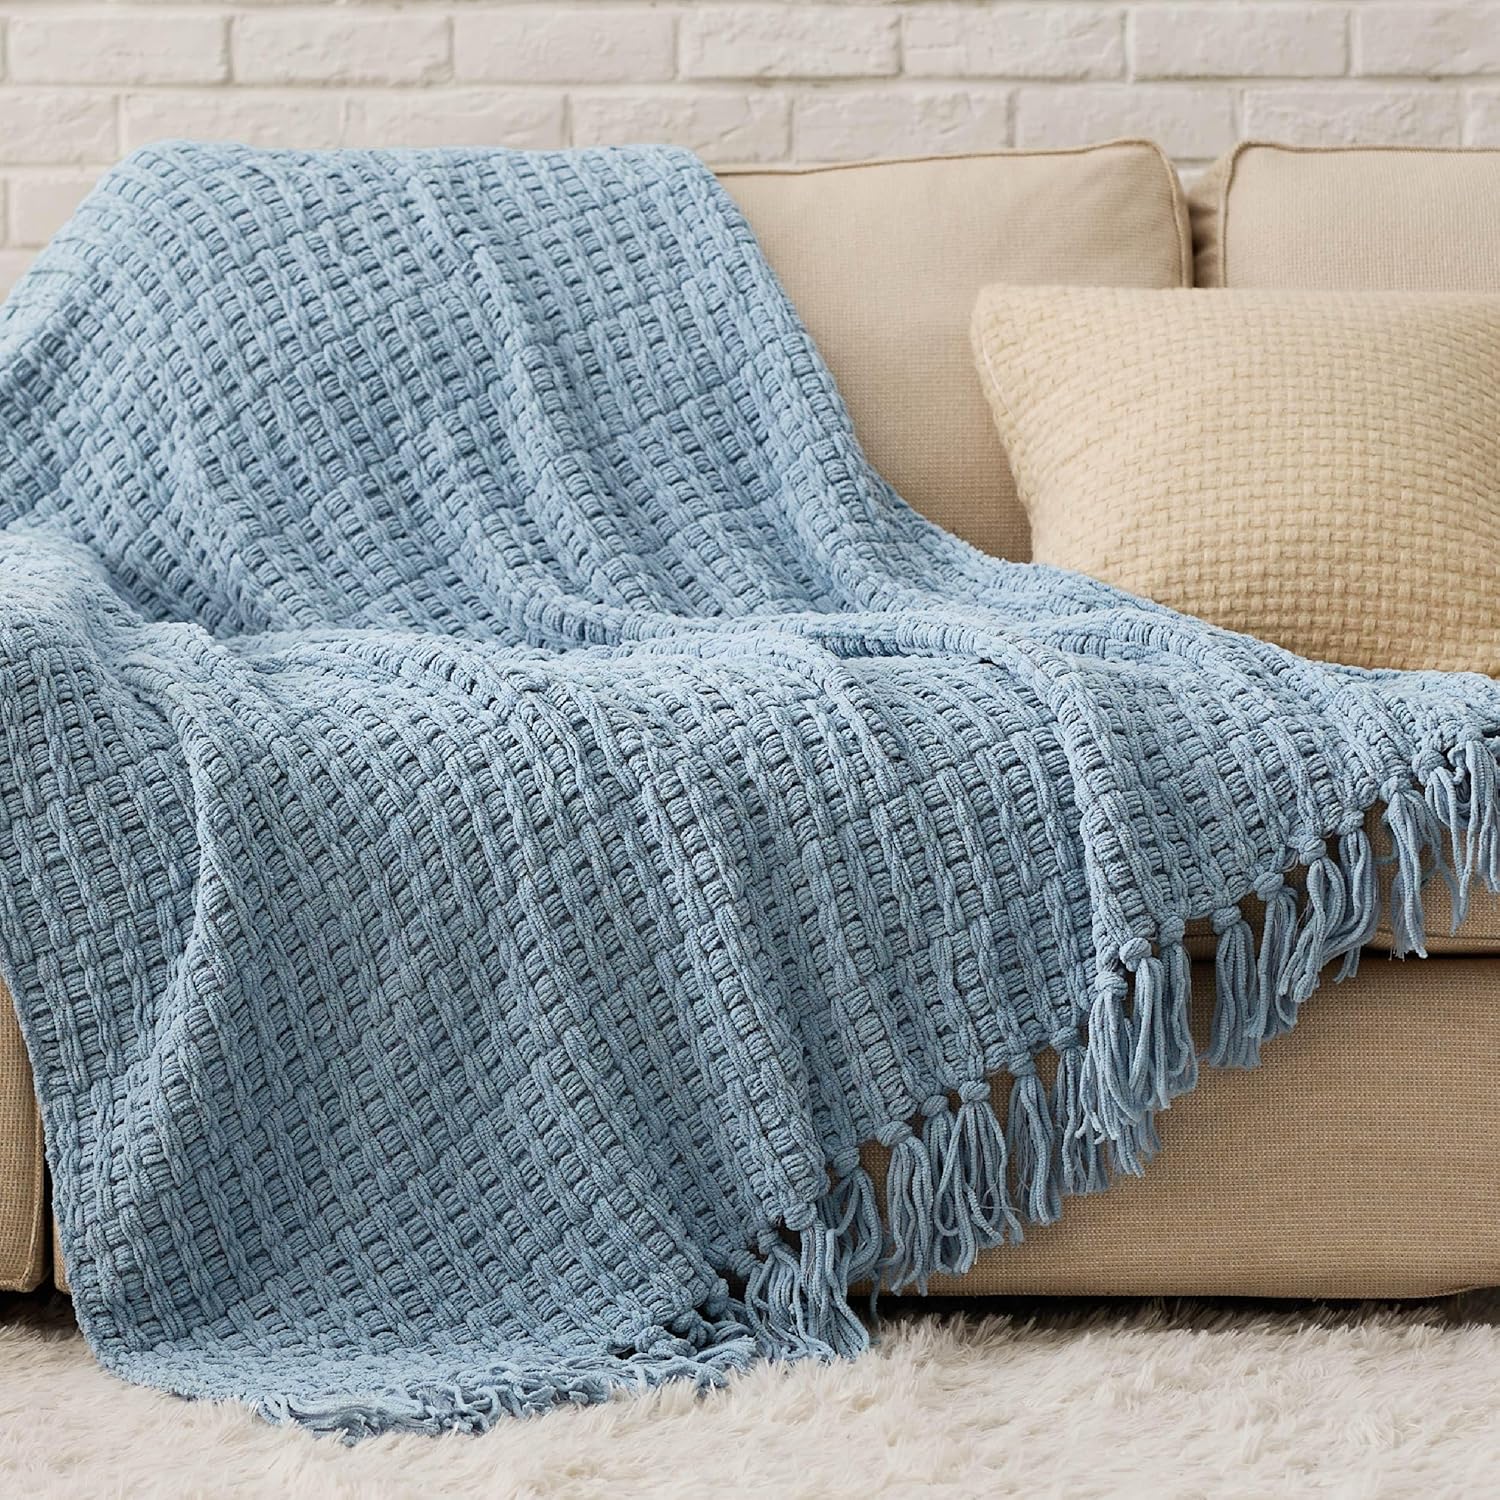
A throw blanket is perfect for added warmth and decor. Look for soft, lightweight designs that are easy to care for.
Examples:
- NEWCOSPLAY Silky Flannel Fleece Blanket, Ivory Checkered
- FY FIBER HOUSE Fuzzy Throw Blanket, Beige Heart Checkered
NIGHTSTAND
A nightstand keeps essentials like a phone, lamp, and books within reach. Choose compact designs with storage features.
Examples:
- Huuger Nightstand with Charging Station and Fabric Drawers
- Yoobure Modern Nightstand with Open Storage Shelf
DESK LAMP
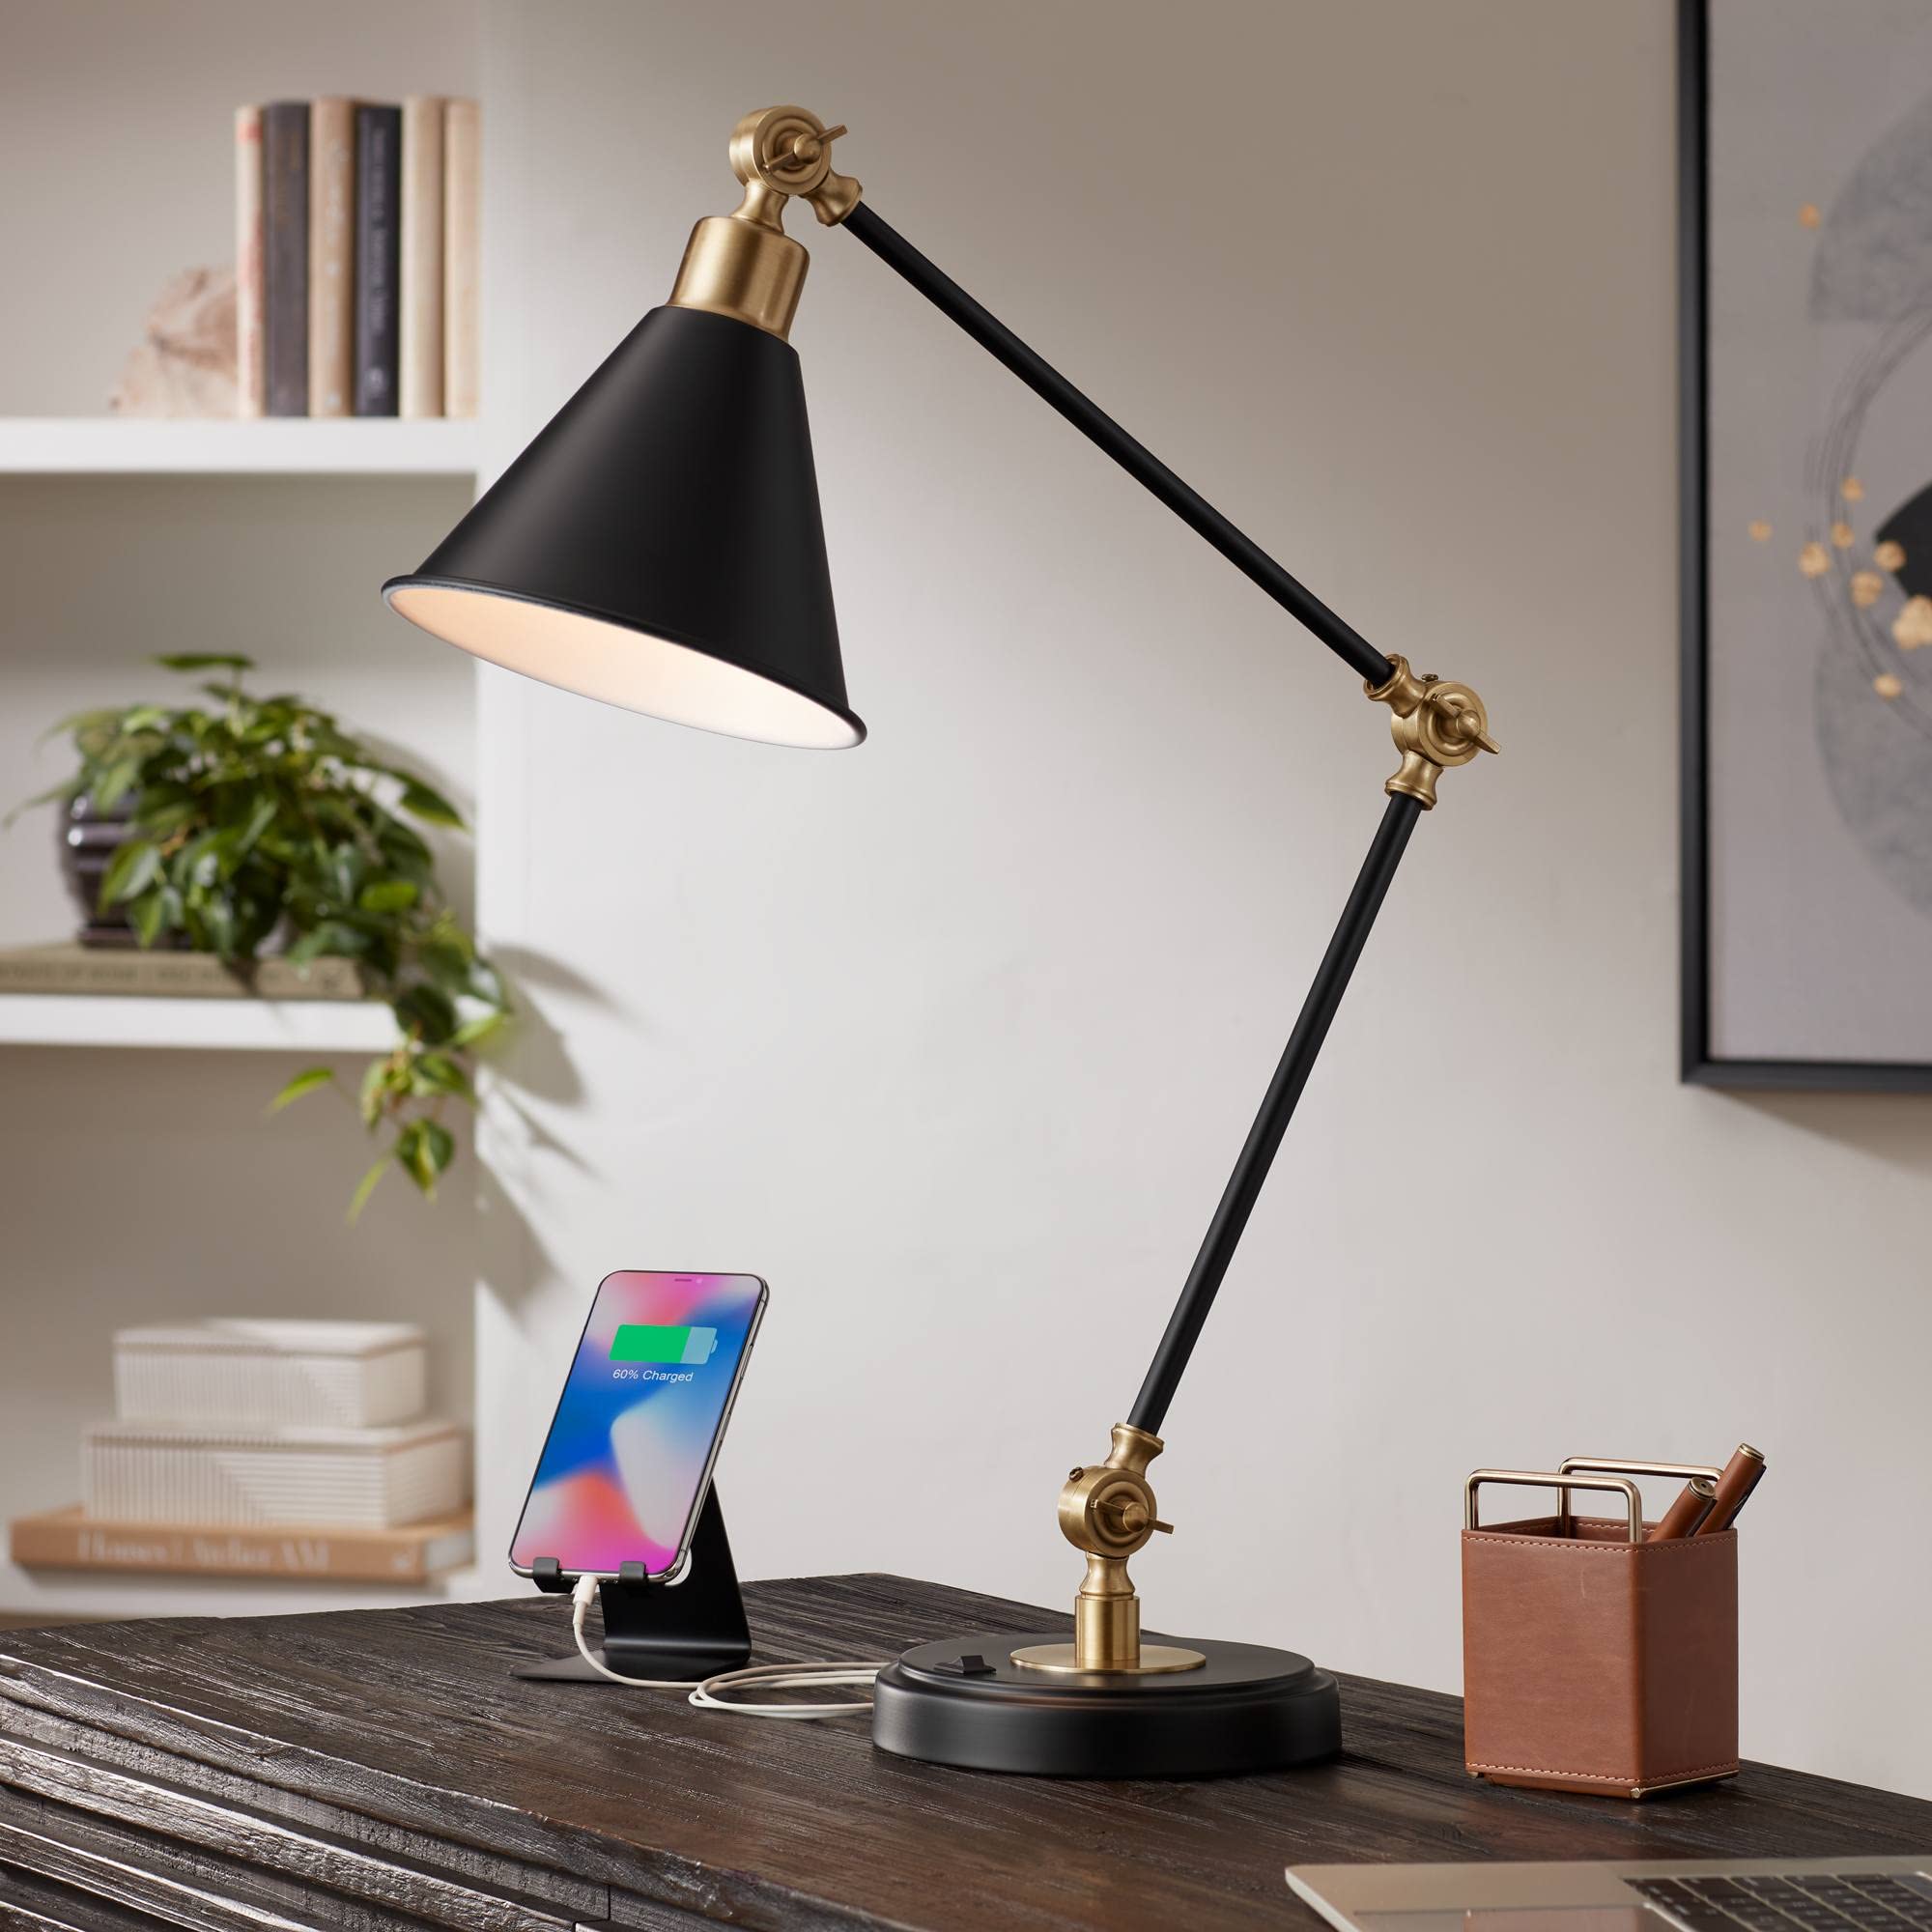
An adjustable desk lamp is a must for late-night studying. Look for features like brightness levels and eye-caring light.
Examples:
- Vicsoon LED Desk Lamp with Wireless Charger, Pink
- DEEPLITE LED Desk Lamp with Touch Control, White
LAUNDRY BASKET/BAG
A sturdy, portable laundry basket or bag makes trips to the laundry room hassle-free. Collapsible designs are great for saving space.
Examples:
- Simple Houseware Double Laundry Hamper with Removable Bags
- 75L Tall Laundry Hamper with Handles, Waterproof
UNDER-BED STORAGE
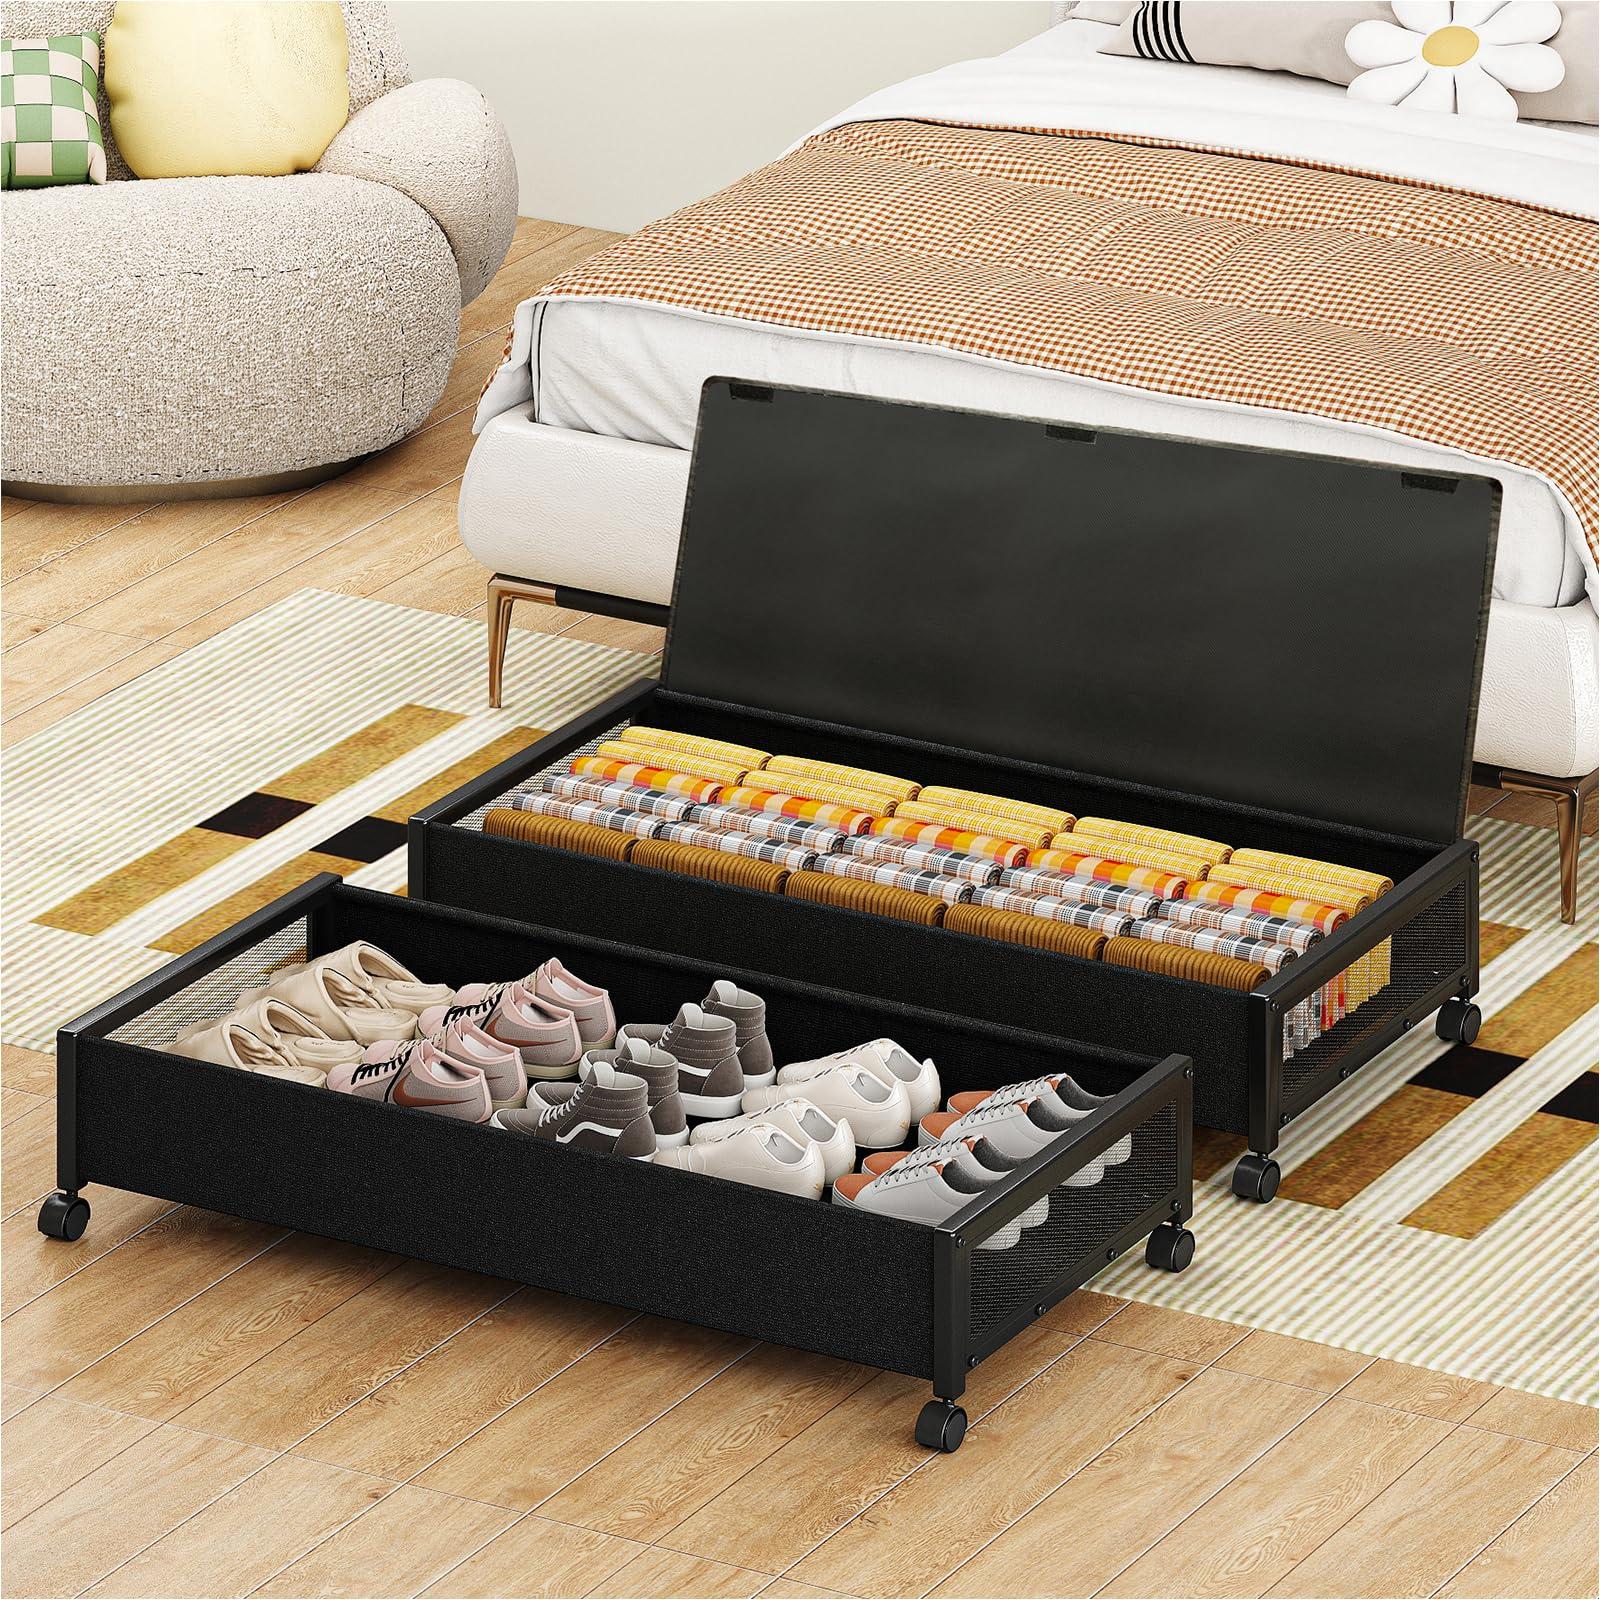
Maximize dorm space with under-bed storage containers for clothing, shoes, or seasonal items. Containers with wheels are extra convenient.
Examples:
- Rubbermaid 68-Quart Rolling Under-Bed Storage Box
- PHINOX Under-Bed Storage with Wheels, 2-Pack
STORAGE OTTOMAN
A storage ottoman doubles as a seat, footrest, and hidden storage for books or electronics. Select one that fits your dorm decor.
Examples:
- Amazon Basics Tufted Storage Ottoman, Burlap Beige
- SONGMICS Velvet Foldable Storage Bench with Extra Compartments
CLOSET ORGANIZERS
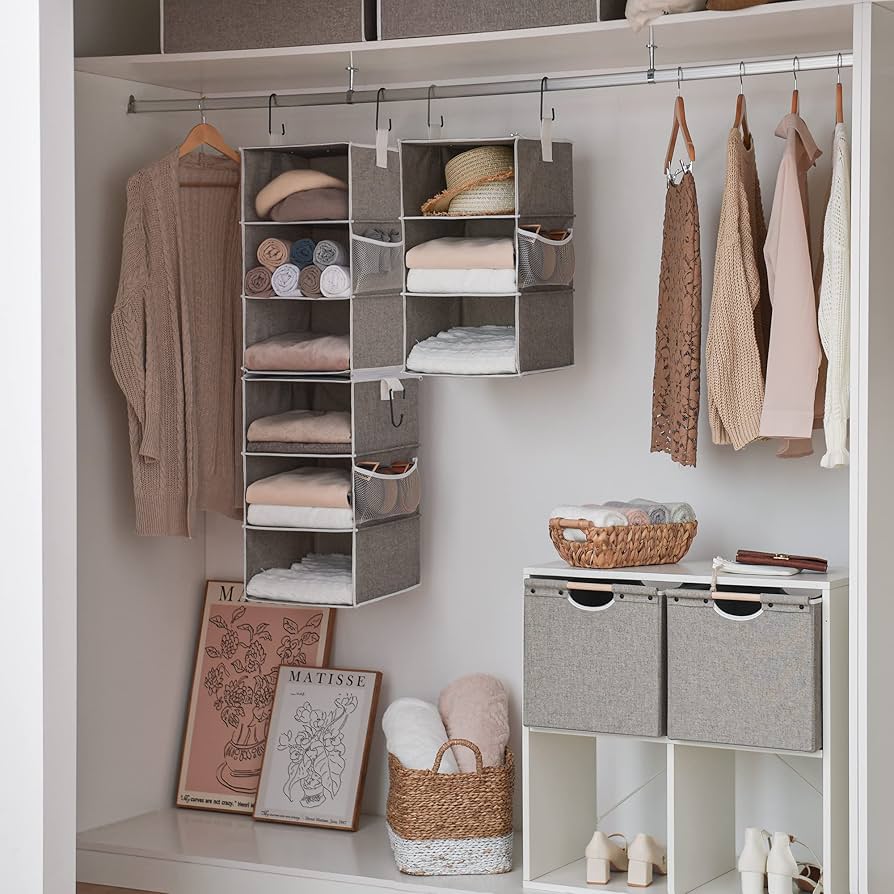
Maximize your dorm closet with hanging organizers for clothes, shoes, and accessories. Compact designs help keep things neat.
Examples:
- Simple Houseware 6-Shelf Hanging Closet Organizer, Grey
- MAX Houser Hanging Shoe Organizer with Pockets, Beige
SHOWER CADDY
A portable shower caddy is essential for keeping your toiletries organized during dorm bathroom trips.
Examples:
- Attmu Mesh Shower Caddy Tote with 8 Pockets
- Casabella Plastic Shower Tote with Drainage Holes
BATH TOWELS
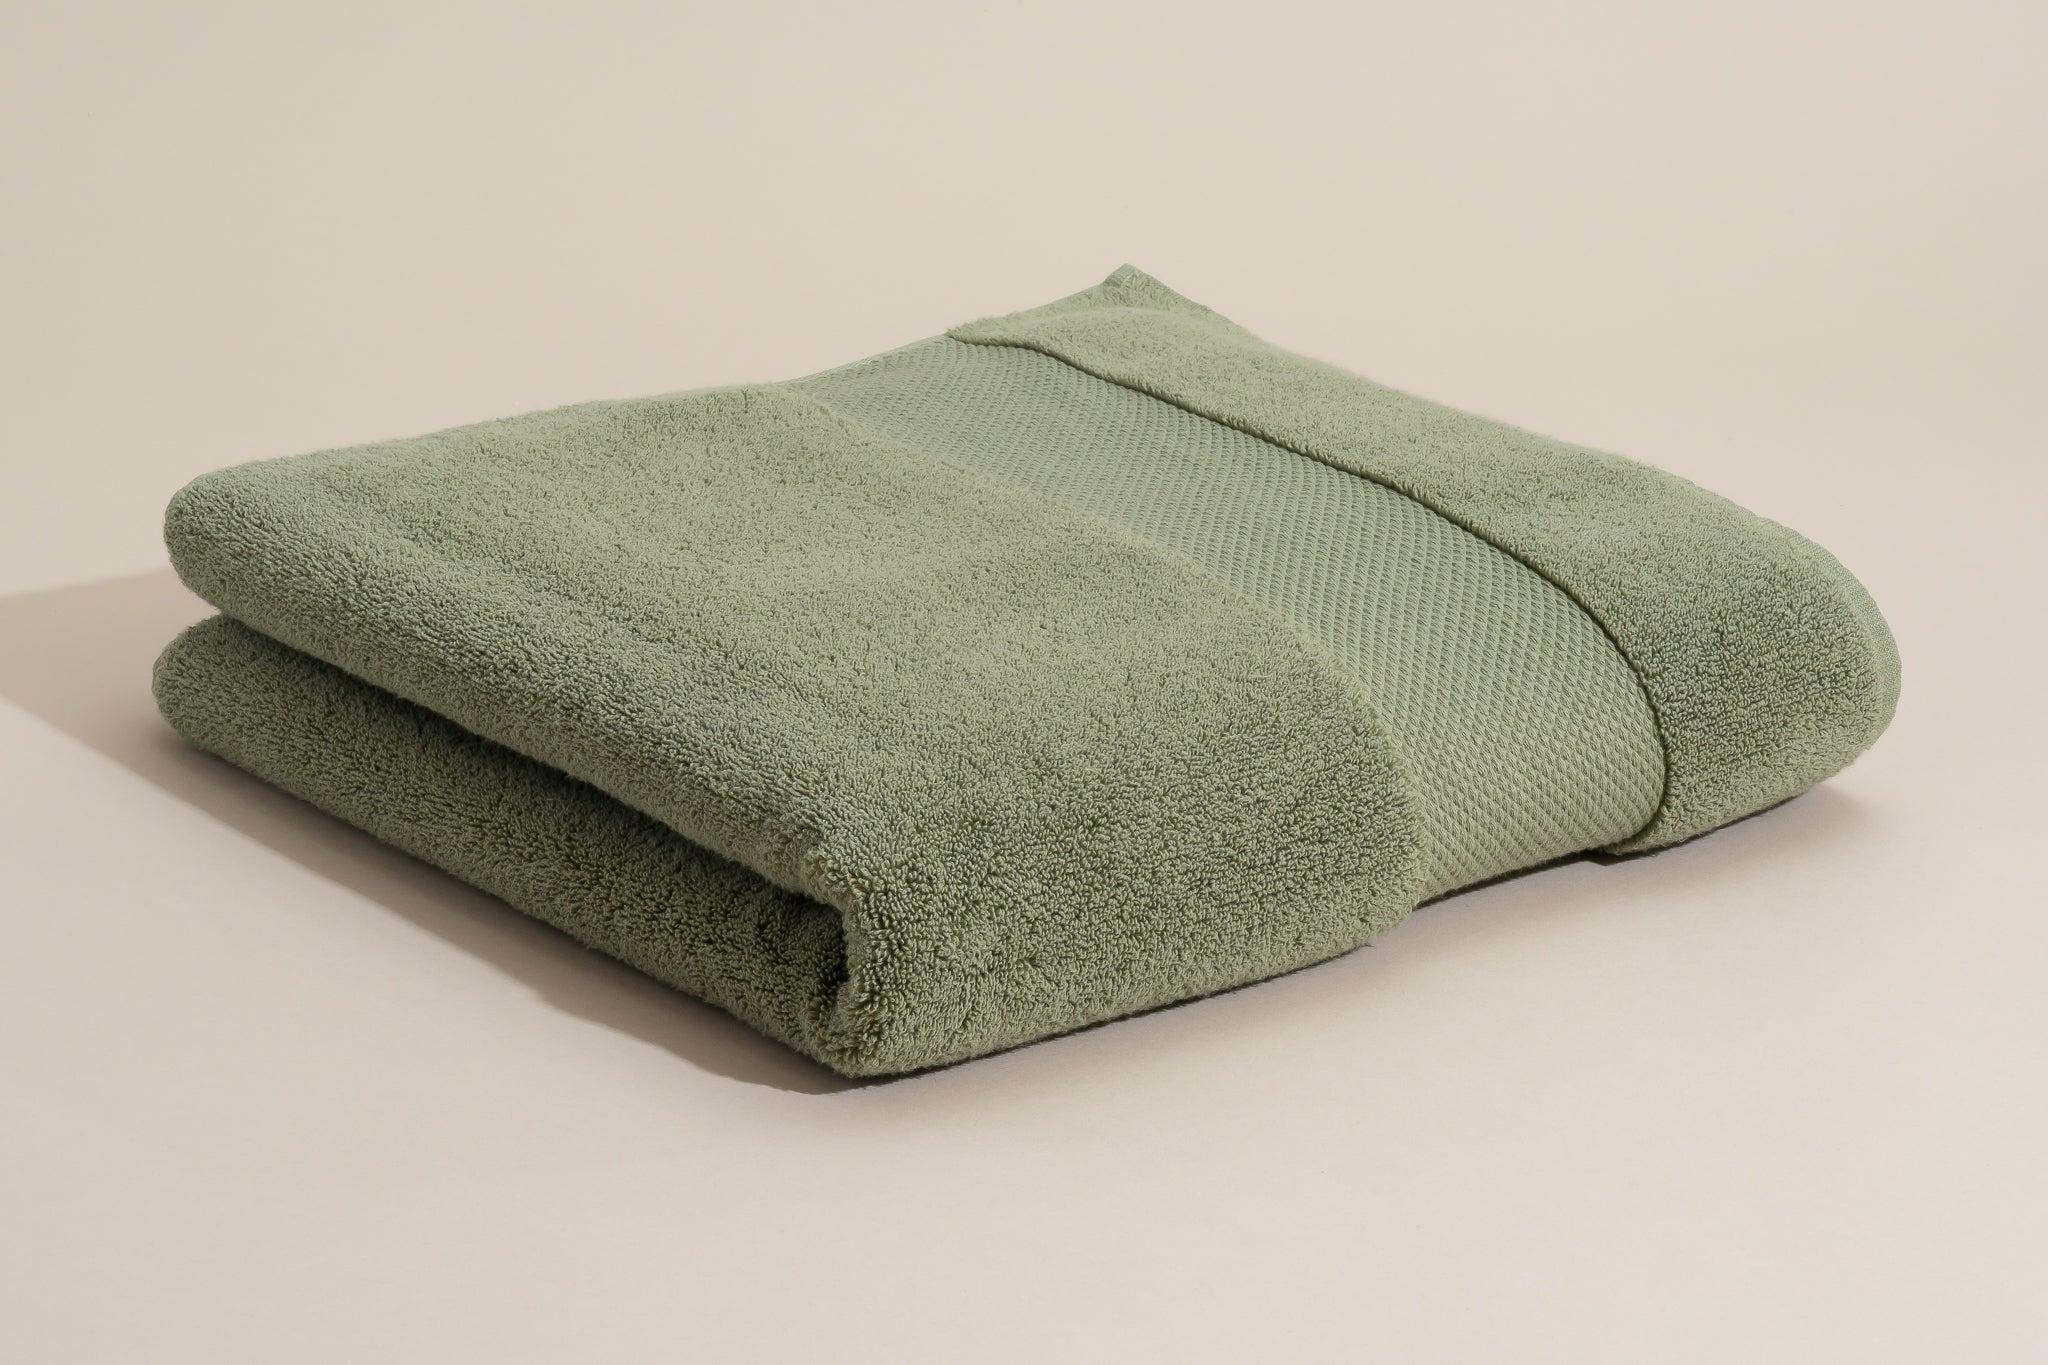
Invest in soft, quick-drying bath towels for daily use. Microfiber options save space and dry faster than cotton.
Examples:
- JML Microfiber Quick-Dry Bath Towels, 2-Pack
- Amazon Basics Quick-Dry Cotton Bath Towels, White, Set of 4
DESK ORGANIZER
Stay productive with a desk organizer to store pens, notebooks, and other essentials. Compact designs help reduce clutter.
Examples:
- SimpleHouseware Mesh Desk Organizer with Drawer
- Marbrasse Rotating Desk Organizer with Compartments
EXTENSION CORD WITH USB PORTS
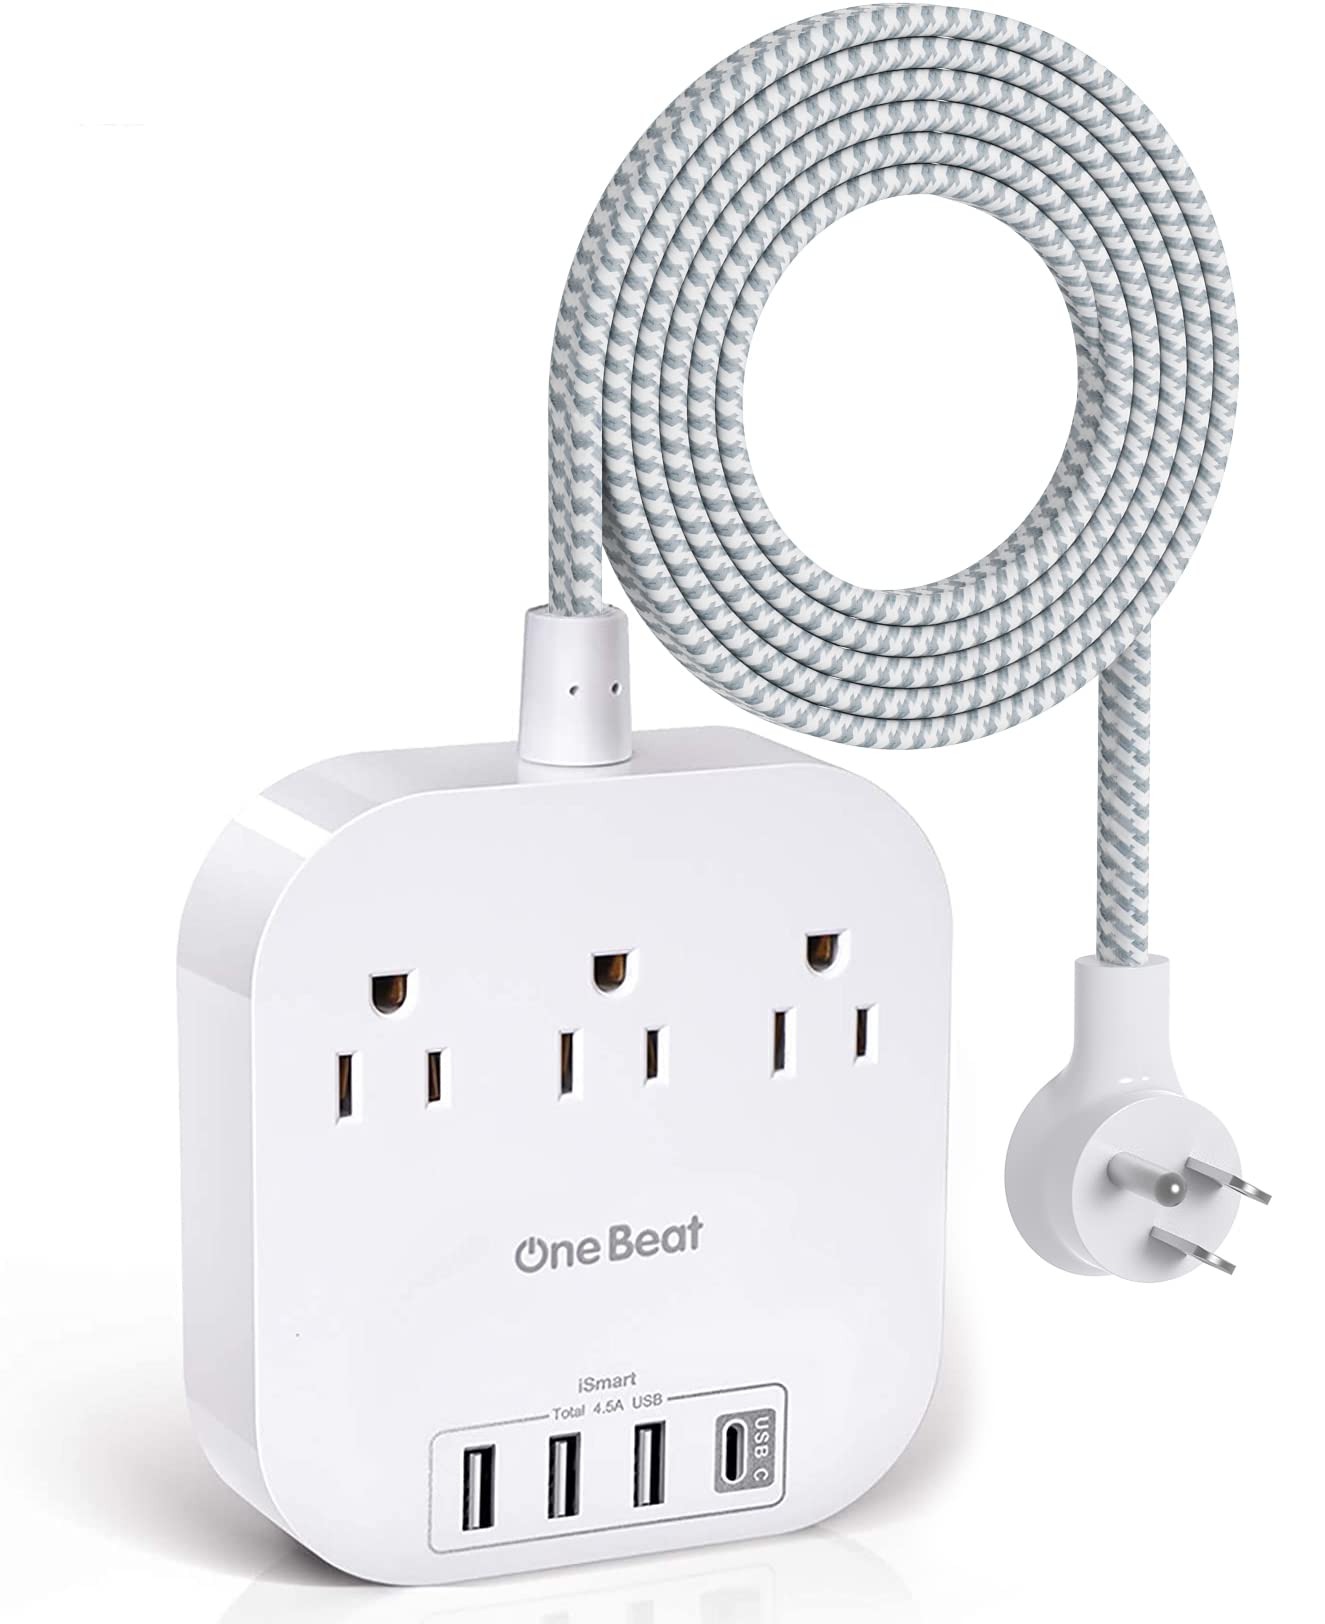
Keep your devices charged and accessible with an extension cord featuring USB ports. A must-have for dorm life!
Examples:
- Anker PowerExtend USB-C Power Strip with Surge Protection
- Belkin Surge Protector Power Strip with USB Ports, 6 Outlets
MIRROR
A full-length or over-the-door mirror is great for getting ready in the morning and making your space feel larger.
Examples:
- NeuType Full-Length Mirror with Aluminum Frame, Gold
- Mkono Over-The-Door Mirror with Hooks, Black
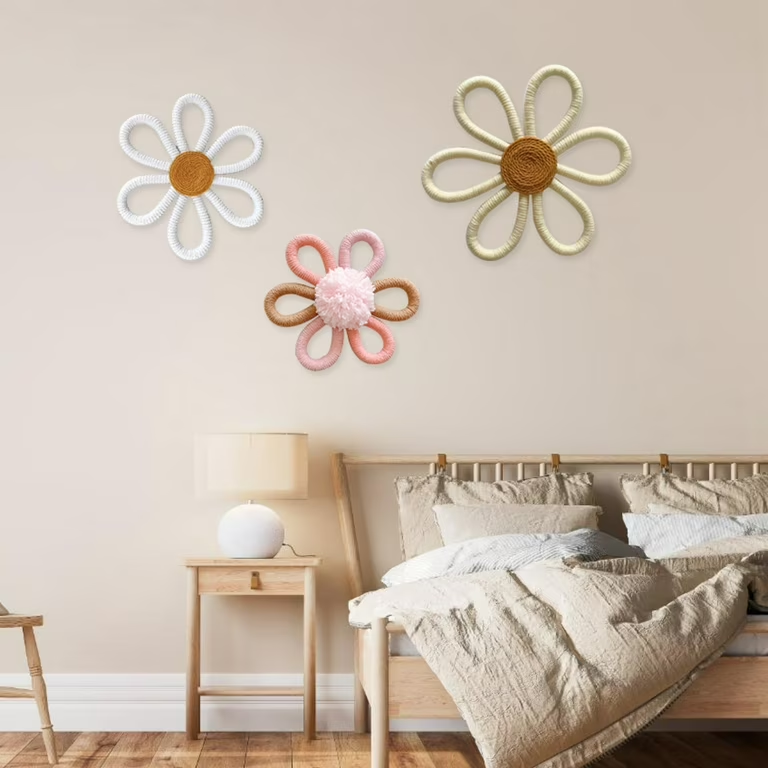
WALL DECOR
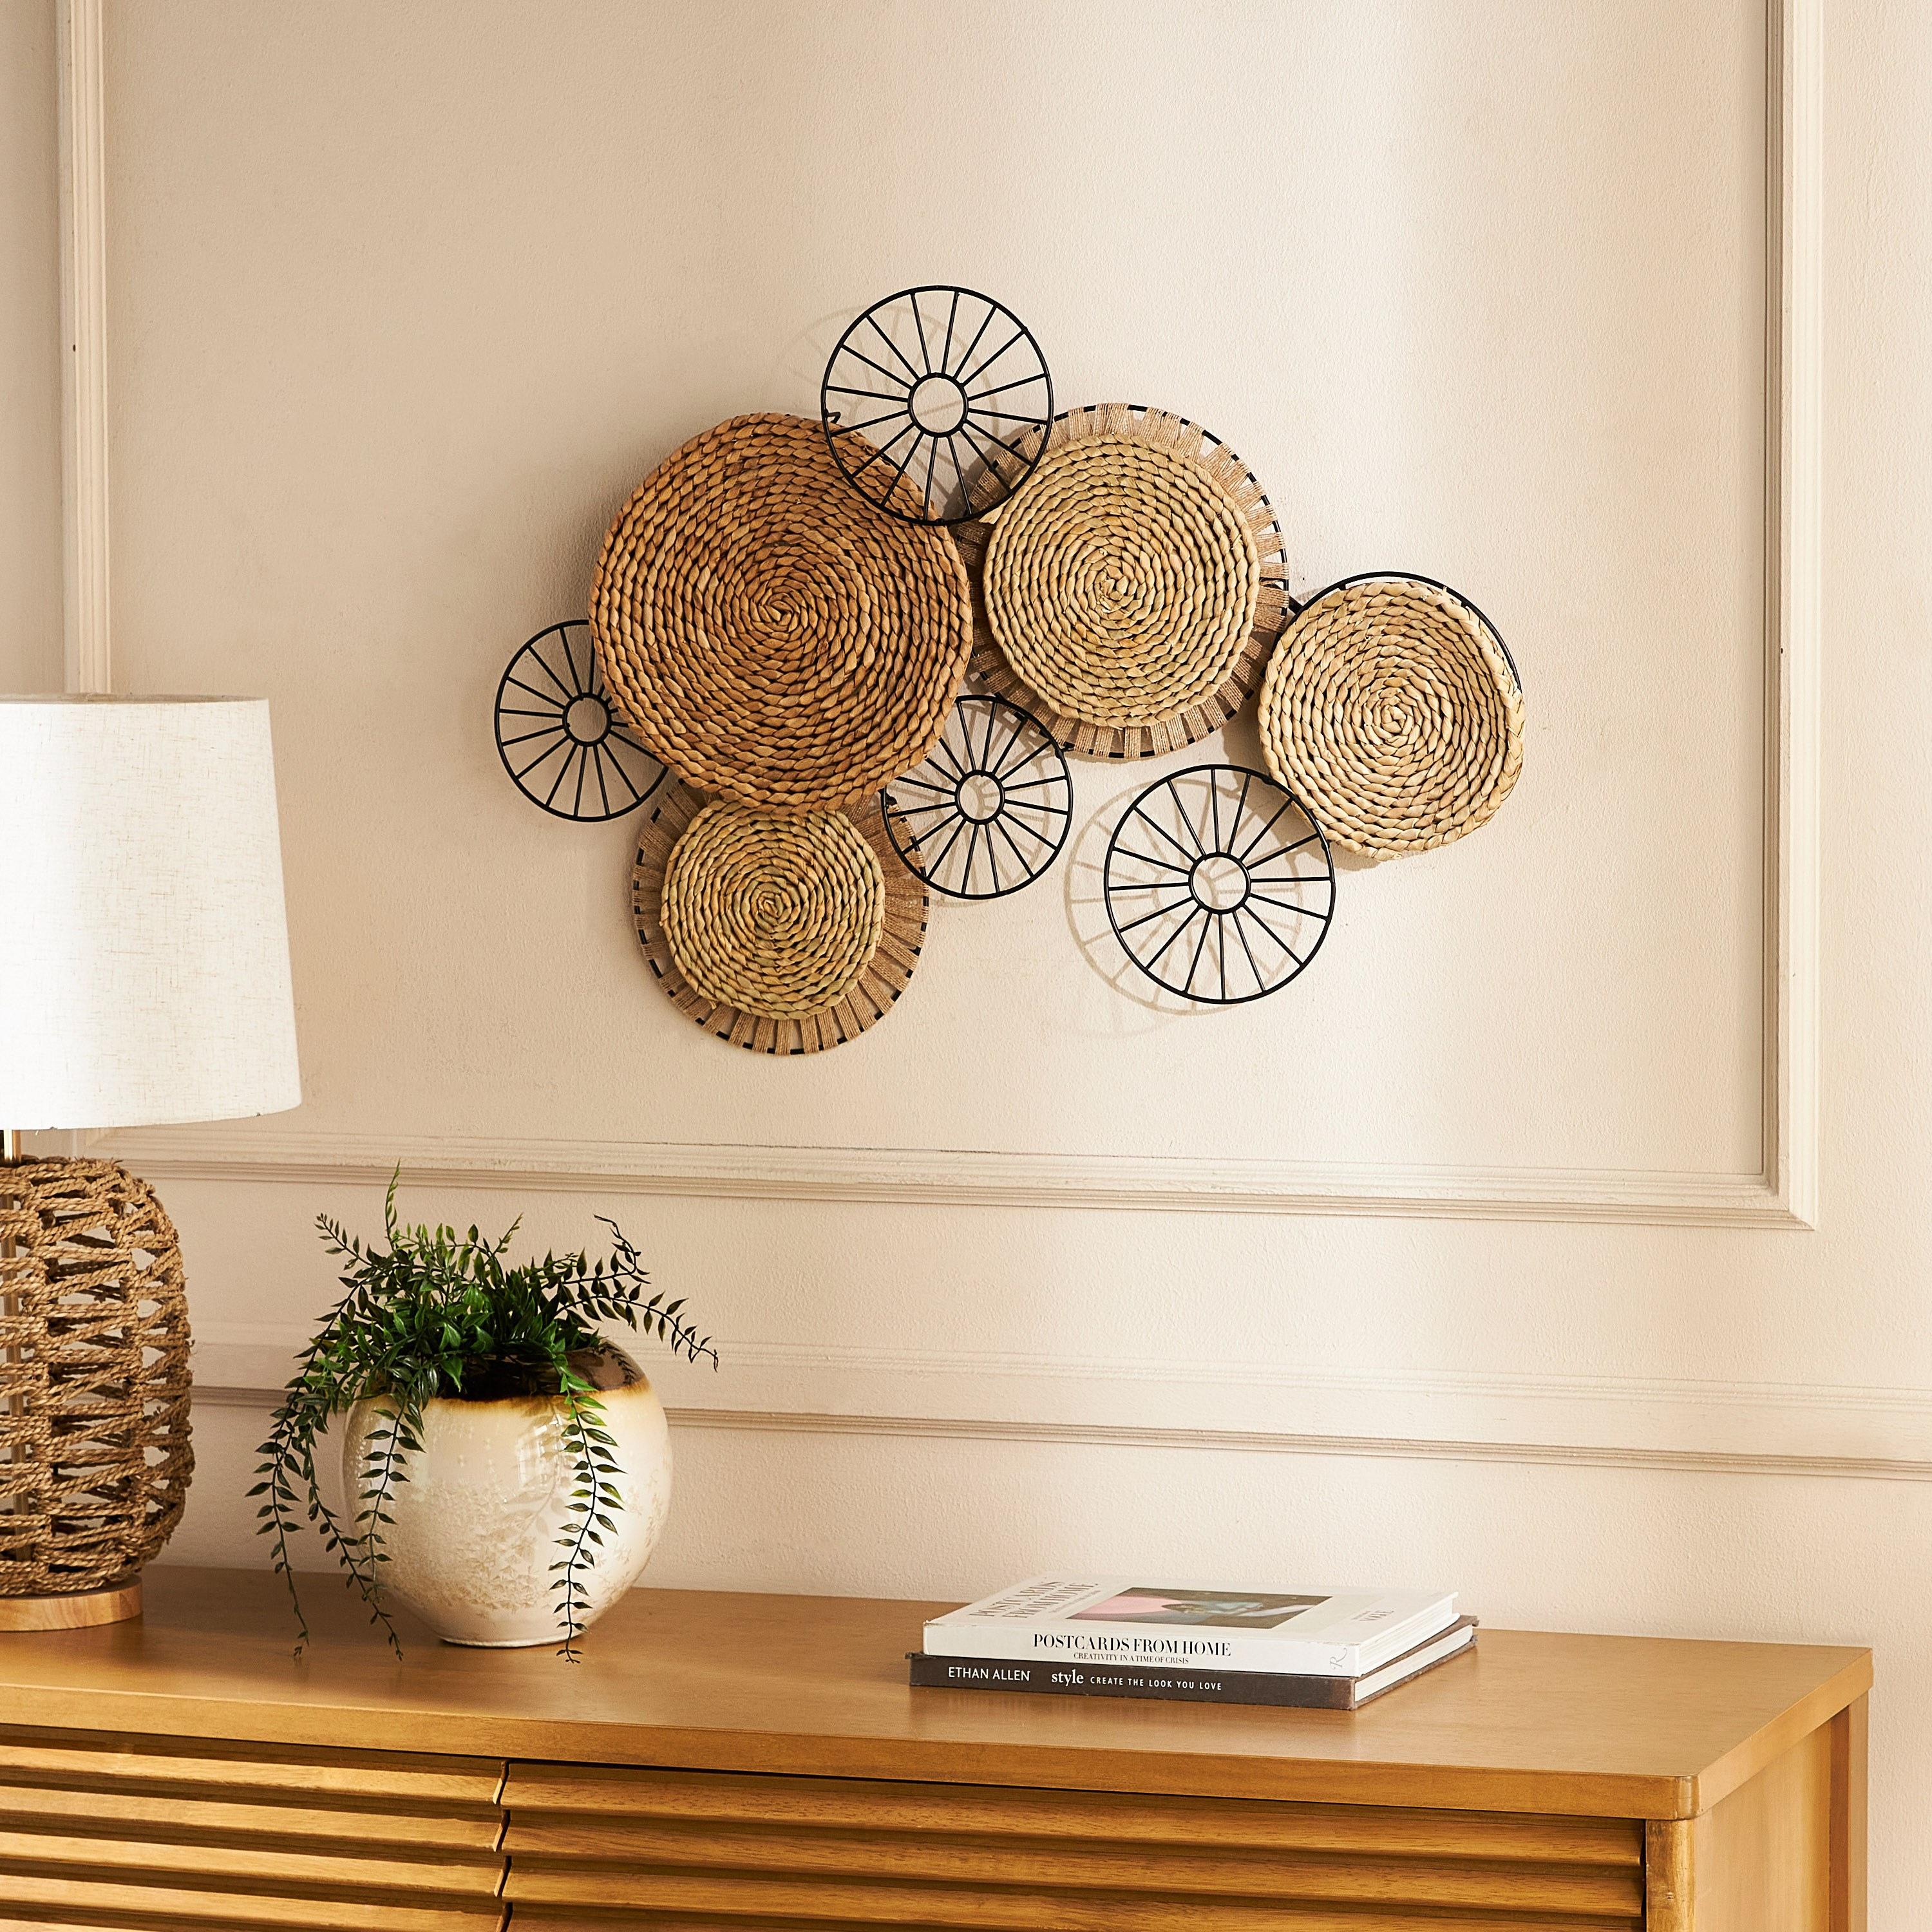
Personalize your dorm with posters, tapestries, or string lights to make it feel cozy and inviting.
Examples:
- Mkono Hanging Photo Display with Lights, Wooden
- Lush Decor Bohemian Mandala Tapestry, Blue
INSULATED WATER BOTTLE
Stay hydrated throughout your busy day with a durable, insulated water bottle that keeps drinks hot or cold.
Examples:
- Hydro Flask Wide Mouth Water Bottle with Straw Lid, 32 oz
- Contigo Autoseal Chill Stainless Steel Water Bottle, 24 oz