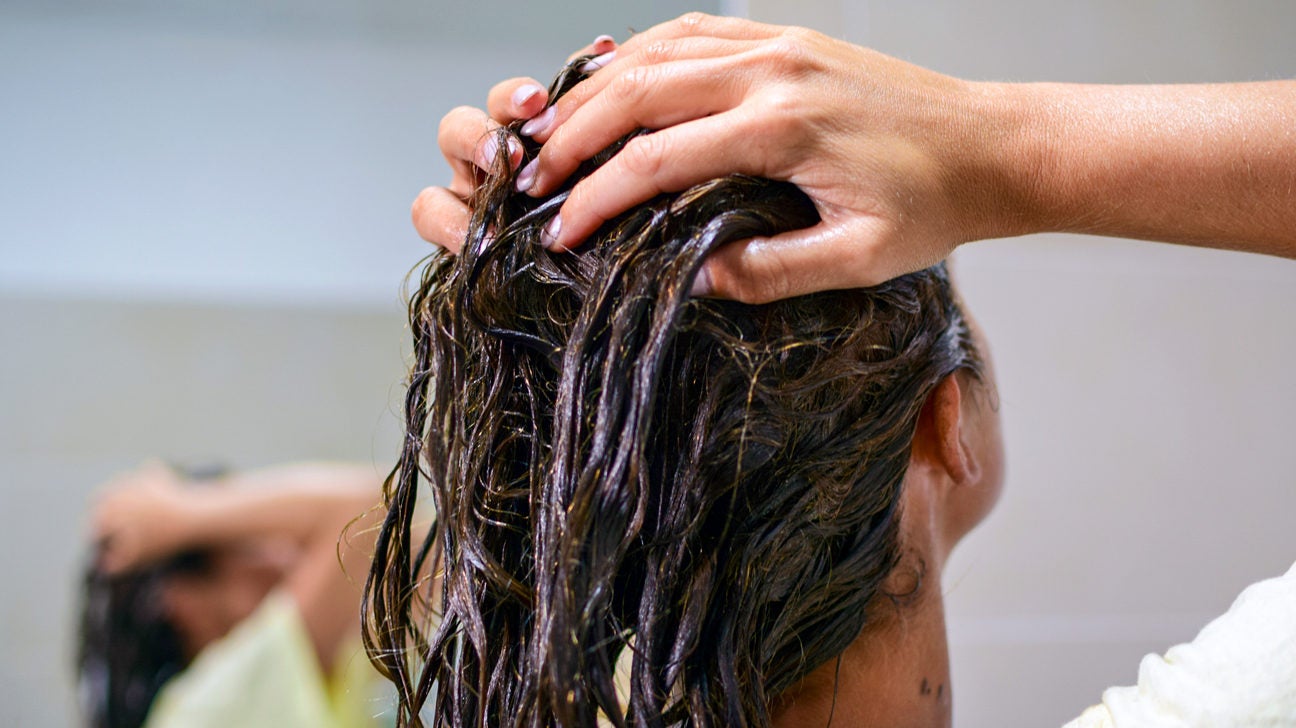
Taming those beautiful curls can be a constant battle between definition and frizz. But fear not, curly-haired friends! A deep conditioning hair mask can be your secret weapon for soft, manageable, and oh-so-defined curls. In this guide, we’ll unveil the best hair masks for curly hair, helping you find the perfect pick to smooth, condition, and enhance your natural bounce.
BEST HAIR MASKS FOR CURLY HAIR
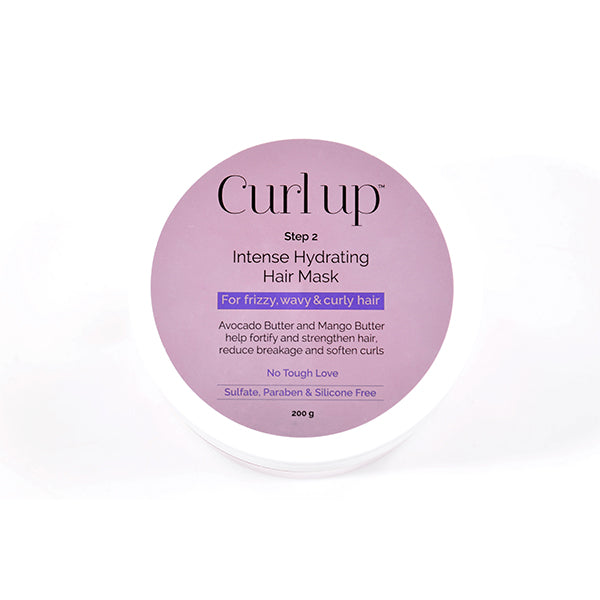
CURL UP INTENSE HYDRATING HAIR MASK
Are you tired of battling dry, unruly curls? Meet your potential hair care savior: the Curl Up Intense Hydrating Hair Mask. Designed specifically for those with dry, frizzy curls, this mask boasts the ability to transform your locks into beautifully defined tresses. Let’s delve into what sets this product apart:
Firstly, its key ingredients – avocado, mango, and shea butter – are moisture marvels renowned for their hydrating prowess. They work synergistically to quench the thirst of your curls while imparting a healthy sheen.
Moreover, this mask prides itself on its creamy goodness. Free from harsh chemicals such as sulfates, parabens, and silicones, it offers a gentle yet luxurious experience during application, suitable for a wide range of hair types.
But the benefits don’t stop there. Beyond mere hydration, the Curl Up mask also doubles as a curl enhancer. By defining and amplifying your natural curl pattern, it bids farewell to frizz and welcomes smoother, more buoyant curls.
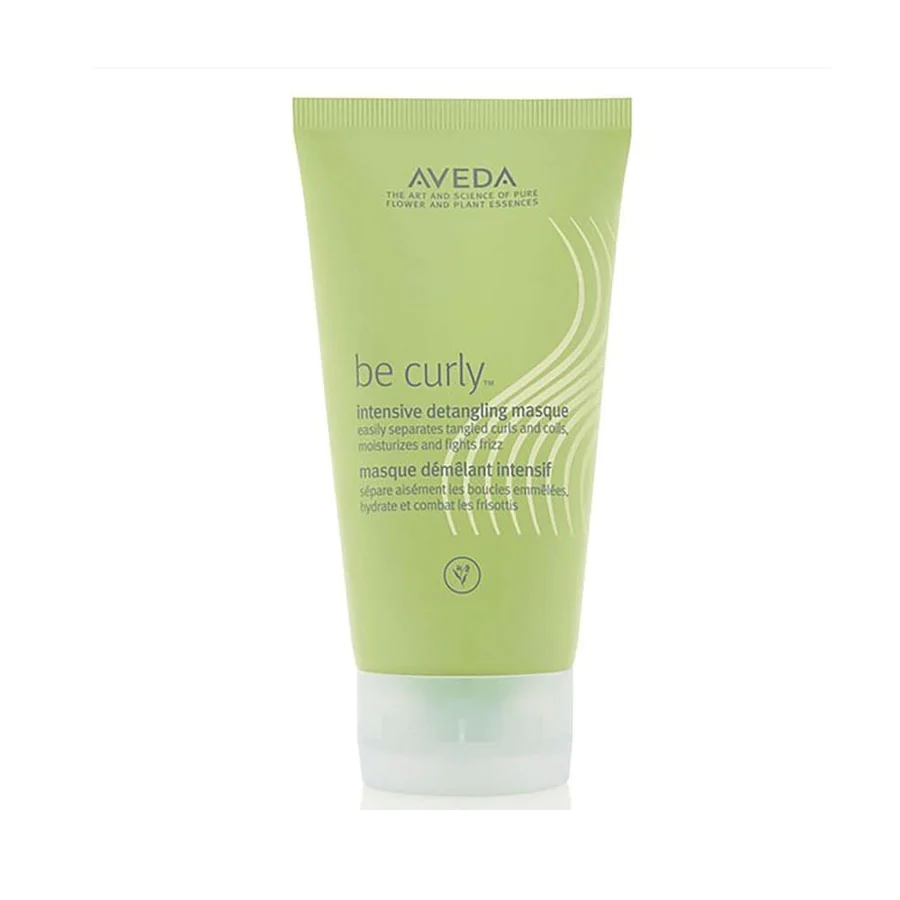
AVEDA BE CURLY INTENSIVE DETANGLING MASQUE
Tailored specifically for curly textures, this masque promises to unravel even the most stubborn knots with ease. At its core are certified organic babassu oil and shea butter, renowned for their detangling and moisturizing properties, offering a deep dive into hair hydration.
But the benefits of this masque extend beyond mere detangling. It also steps up to the plate in the fight against frizz and aims to elevate the overall appearance of your curls. By infusing moisture and definition, it sets the stage for your natural curl pattern to take center stage, enhancing its beauty.
Moreover, embracing the ethos of natural power, the Aveda Be Curly masque is formulated with up to 98% naturally derived ingredients. This characteristic not only aligns with the preferences of those seeking a more natural hair care routine but also underscores Aveda’s commitment to environmental consciousness.
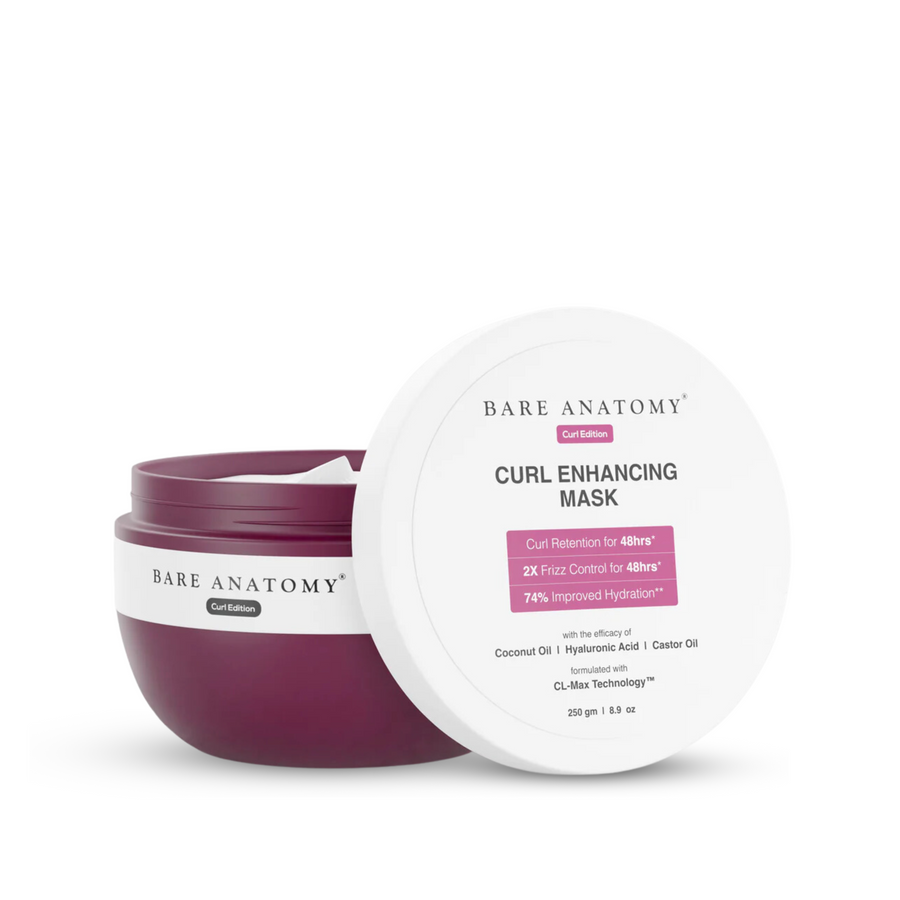
BARE ANATOMY CURL ENHANCING HAIR MASK
Enriched with a blend of nourishing elements including coconut oil, hyaluronic acid, and castor oil, Bare Anatomy’s Curl Enhancing Hair Mask offers a rejuvenating experience for your curls. These potent ingredients work in harmony to deeply nourish your scalp, delivering profound hydration and resulting in effortlessly defined curls. Coconut oil contributes its detangling and curl-defining properties, while hyaluronic acid steps in to moisturize and combat frizz effectively.
One of the standout features of this hair mask is its commitment to clean beauty. By excluding sulfates, parabens, and other harmful chemicals from its formulation, Bare Anatomy ensures that your hair receives only the best care without any compromise on safety or quality. For individuals inclined towards a natural approach to hair care, this product offers a promising solution worth exploring.
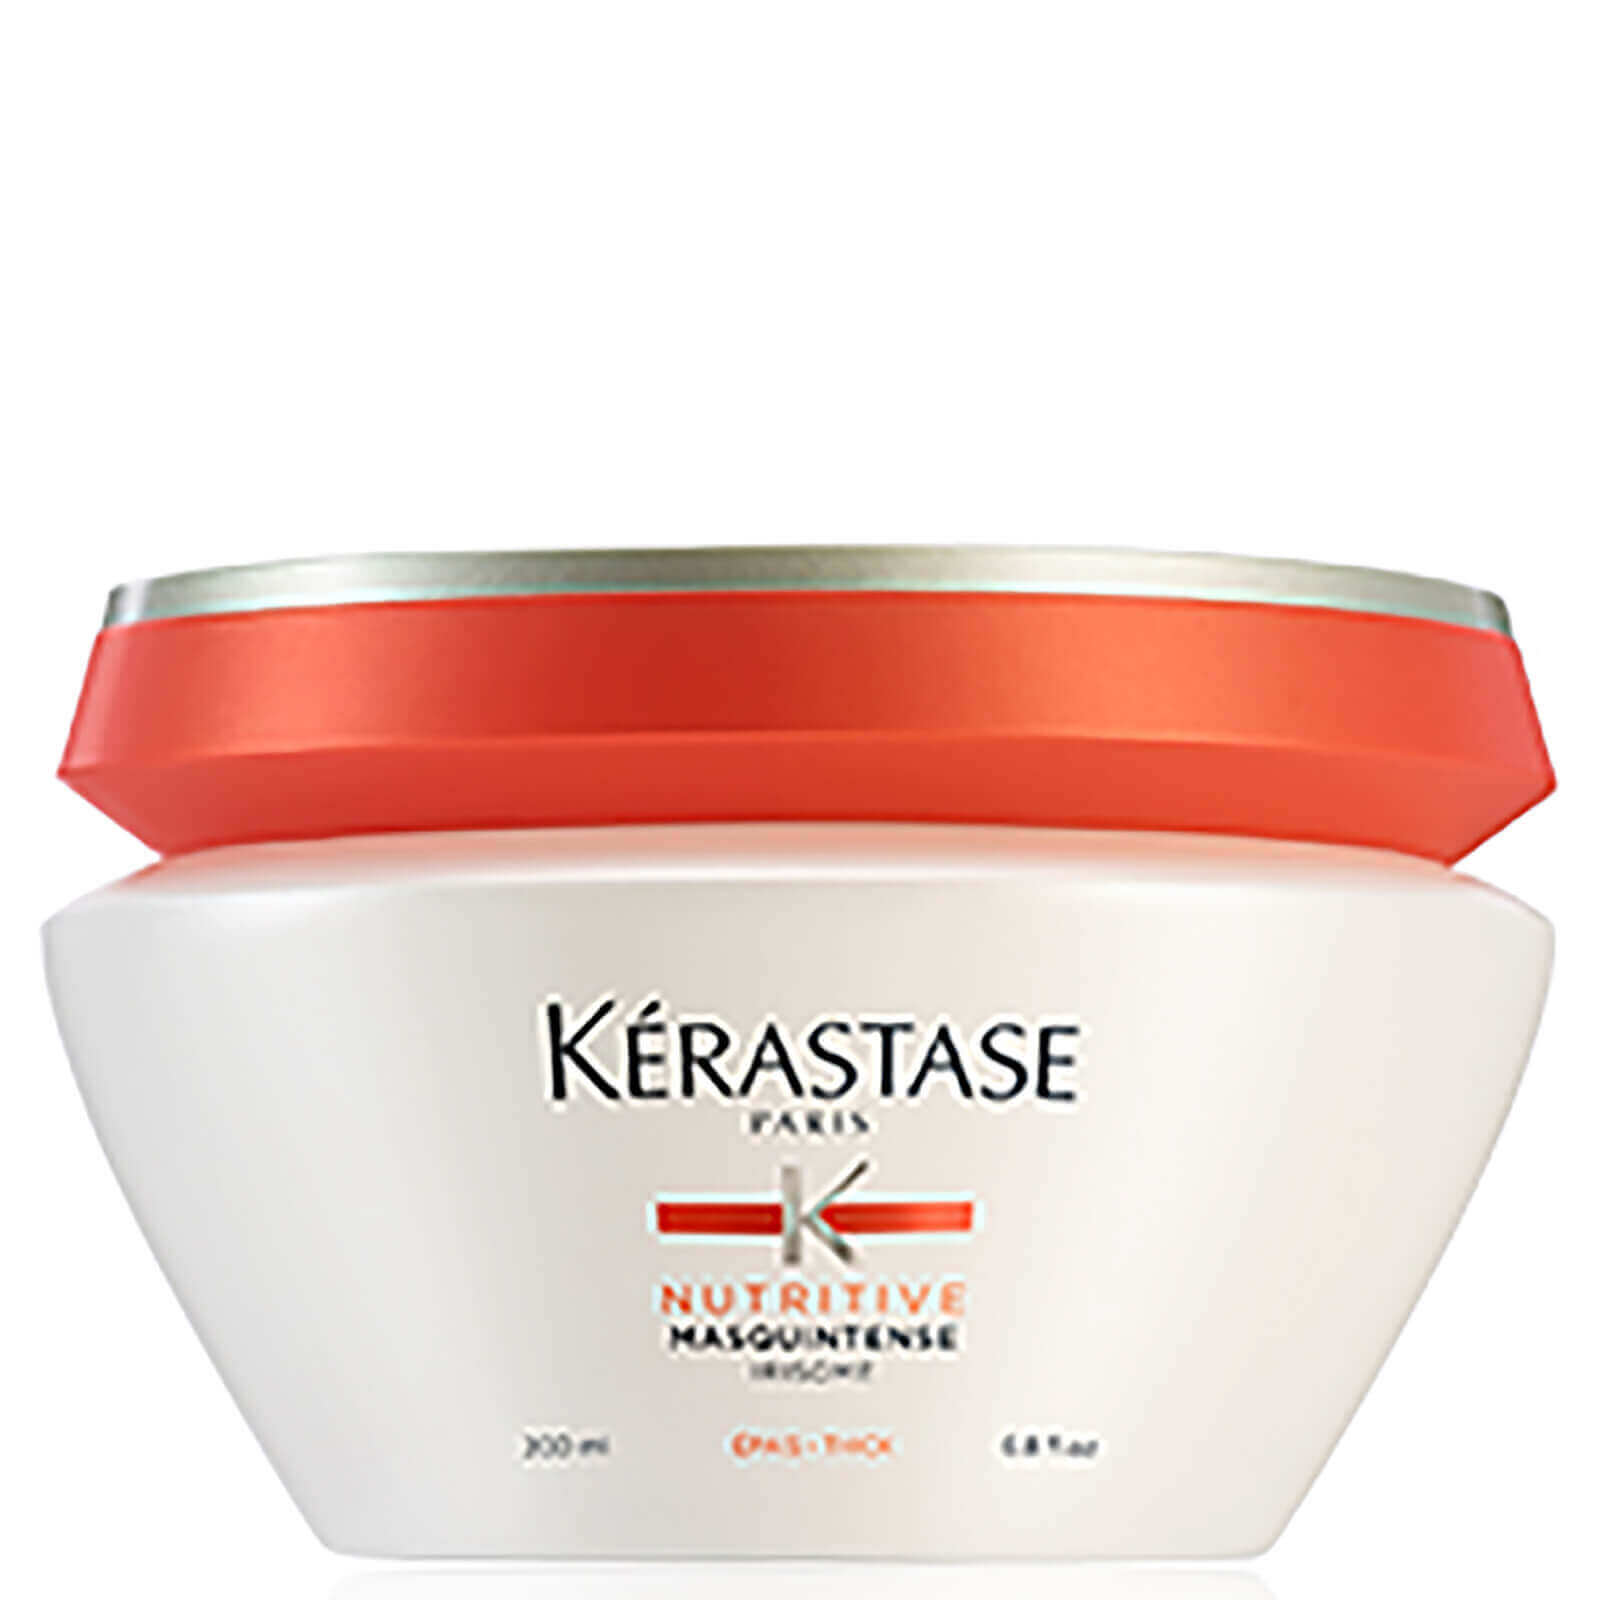
KÉRASTASE NUTRITIVE HAIR MASK FOR DRY THICK HAIR
Kérastase offers two options in their Nutritive Masquintense line, catering to different hair textures and needs. The Nutritive Masquintense for Dry Hair is designed for very dry, fine to medium-thick hair. It contains plant-based proteins and niacinamide to provide intense nourishment and strengthen hair. However, it may not be the best fit for very thick hair as it could potentially weigh down the strands.
On the other hand, the Nutritive Masquintense Riche variant is tailored specifically for dry, thick hair. Its formula is enriched with anti-dryness polymers aimed at maintaining hair volume and manageability, addressing a key concern for thick hair types. Similar to its counterpart, it also boasts plant-based proteins and niacinamide for deep nourishment without compromising on lightness. Additionally, it promises to enhance shine, suppleness, and manageability, leaving hair feeling luxurious.
Keep in mind that both Kérastase masks are intended for deep conditioning and should ideally be used once or twice a week. As with many high-end brands, Kérastase products do come with a premium price tag, reflecting the quality and efficacy of the formulations.
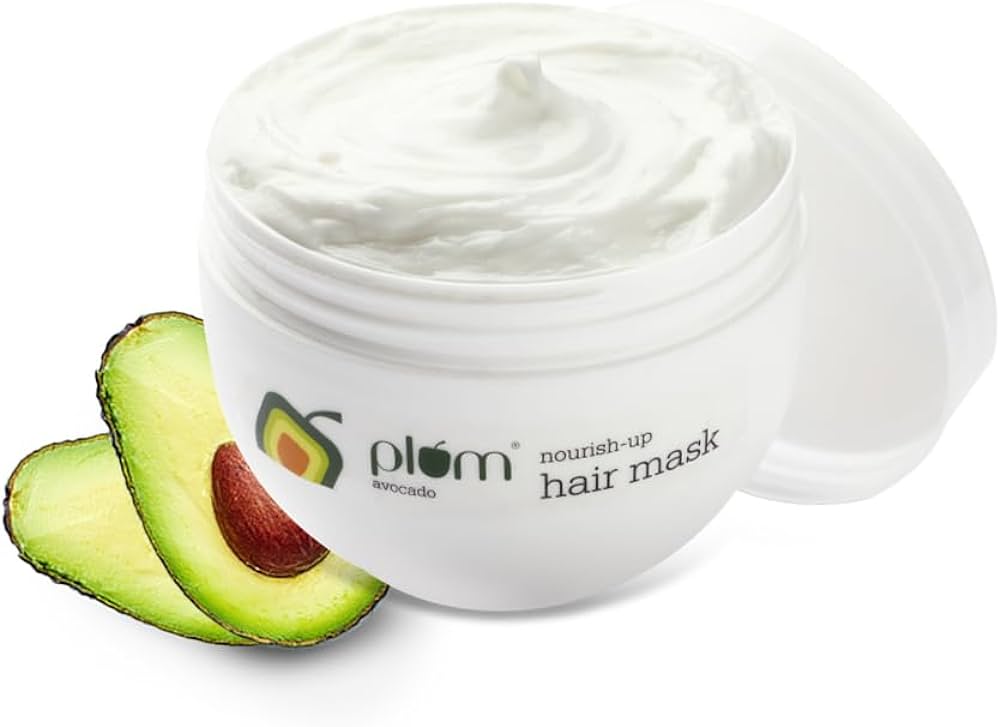
PLUM AVOCADO HAIR MASK FOR DRY AND FRIZZY HAIR
Plum’s Avocado Hair Mask is infused with a blend of nourishing elements, including argan oil and avocado oil, to combat dryness and frizz effectively, resulting in smooth and well-moisturized curls. Designed for both women and men, this hair mask offers deep conditioning to replenish moisture levels and minimize hair breakage. Its formula not only softens and adds shine to curls but also works to prevent excessive dryness. With the added benefits of shea butter, it seals in moisture and guards against split ends, enhancing the overall health and appearance of your hair.
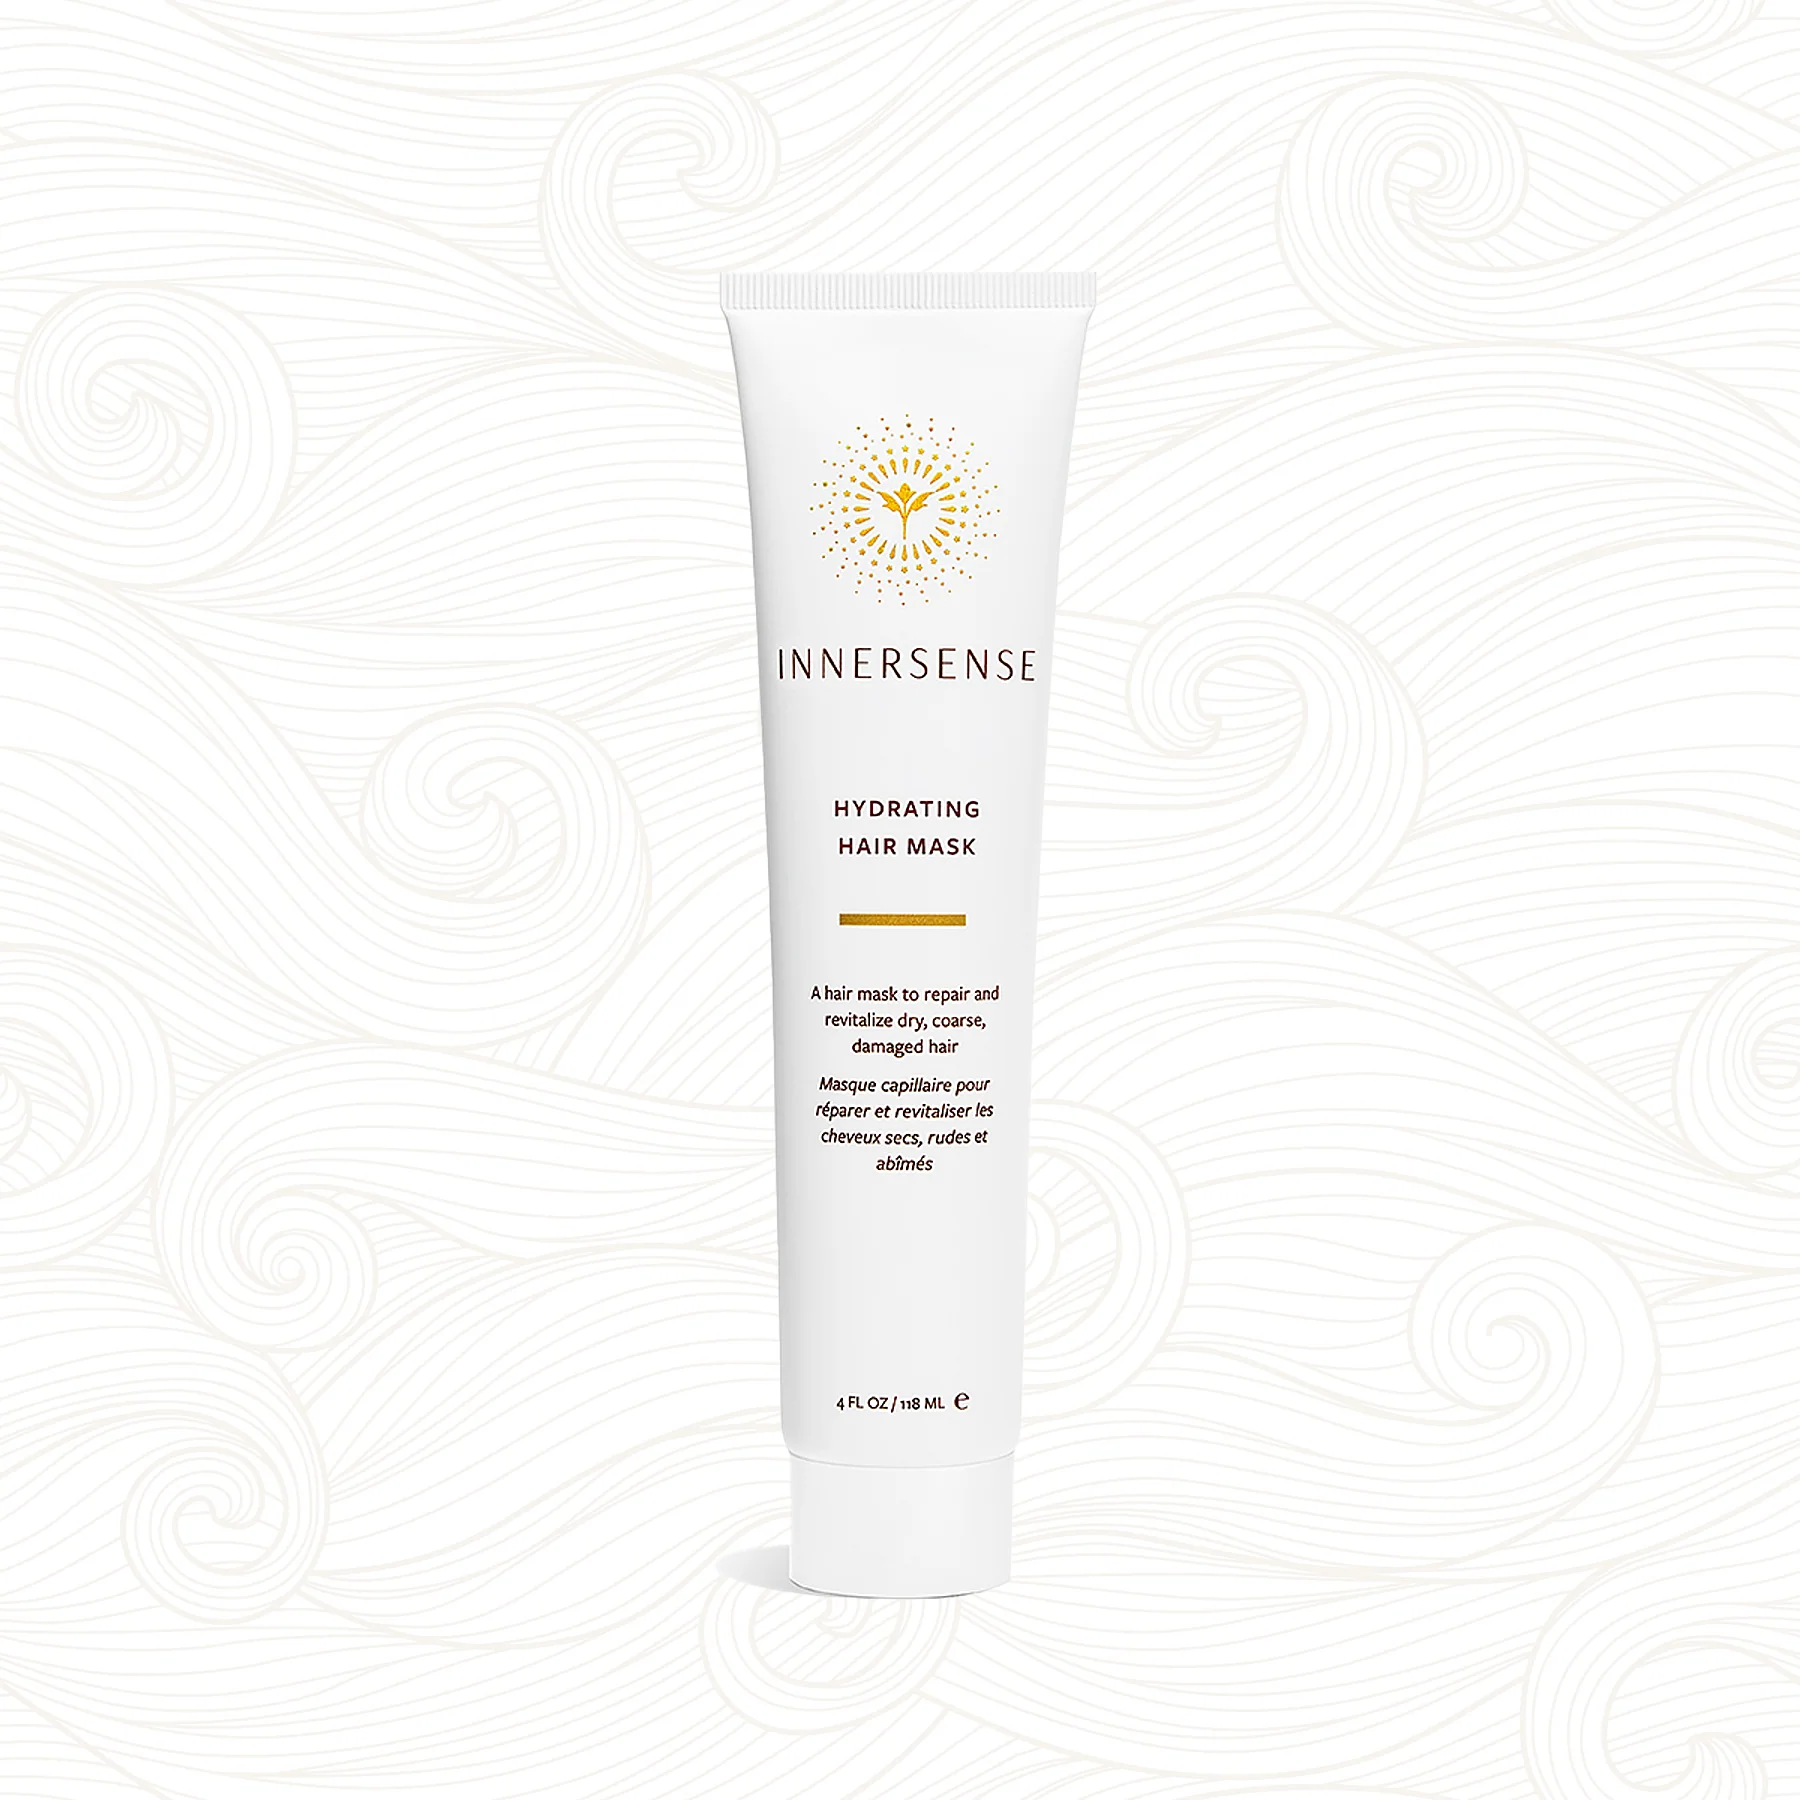
INNERSENSE HYDRATING HAIR MASK
For people with dry, rough, or damaged curls, the Innersense Hydrating Hair Mask is a natural solution that deeply hydrates and repairs. It’s made to bring life back to thirsty curls by using a mix of nourishing oils like flaxseed, shea butter, coconut, monoi, and tamanu. These oils work together to give intense moisture and revive dry, brittle curls. But this mask does more than just hydrate. It also has quinoa protein, which strengthens hair and enhances natural curl shape. So, it doesn’t just soften curls; it makes them look lively, bouncy, and defined.
Innersense cares about using clean, natural ingredients. They don’t include sulfates, parabens, silicones, or artificial fragrances in their mask. This makes it a good choice for people with sensitive scalps or those who prefer natural hair care products. Though there aren’t many online reviews, the Innersense mask suits different hair types, including dry, thick, and curly hair. While it’s great for adding moisture and nourishment to curls, it might not fix curls that are damaged as well as some other options.
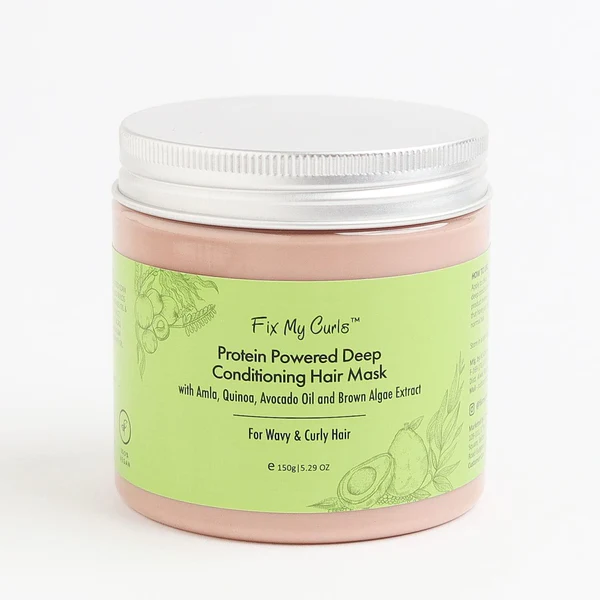
FIX MY CURLS PROTEIN POWERED DEEP CONDITIONING MASK
Containing enriching elements such as avocado oil, amla, and cocoa butter, this hair mask is specially formulated to suit the distinct requirements of curly, wavy, dry, and colored hair types. Combining hydration and protein, it effectively tackles the common issues encountered by curly hair. Besides ensuring optimal hydration for your curls, this mask also works to minimize hair fall and fortify your strands. Additionally, it imparts bounce and shine to your curls, enhancing their volume without causing heaviness. Moreover, it possesses the ability to manage scalp infections.
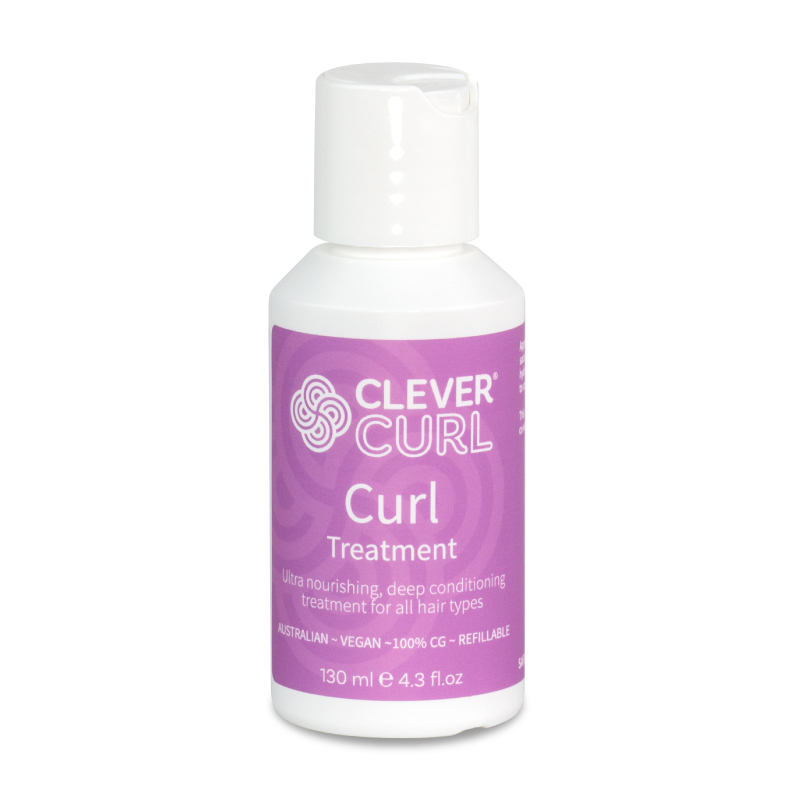
CLEVER CURL CURL TREATMENT
The Clever Curl Curl Treatment is great for curly hair because it can do two jobs in one. You can use it as a deep conditioner or leave-in conditioner, depending on what you need. It’s made specifically for curls, so it doesn’t have harsh stuff like sulfates or silicones that can dry out your hair. Instead, it has natural ingredients that keep your curls healthy and hydrated. But there’s not a lot of info online about what exactly is in it, so it might be helpful to check out user reviews to see if it works well for different kinds of curls. Overall, if you want something that’s good for your curls and can be used in different ways, the Clever Curl Curl Treatment could be a good choice for your hair care routine.
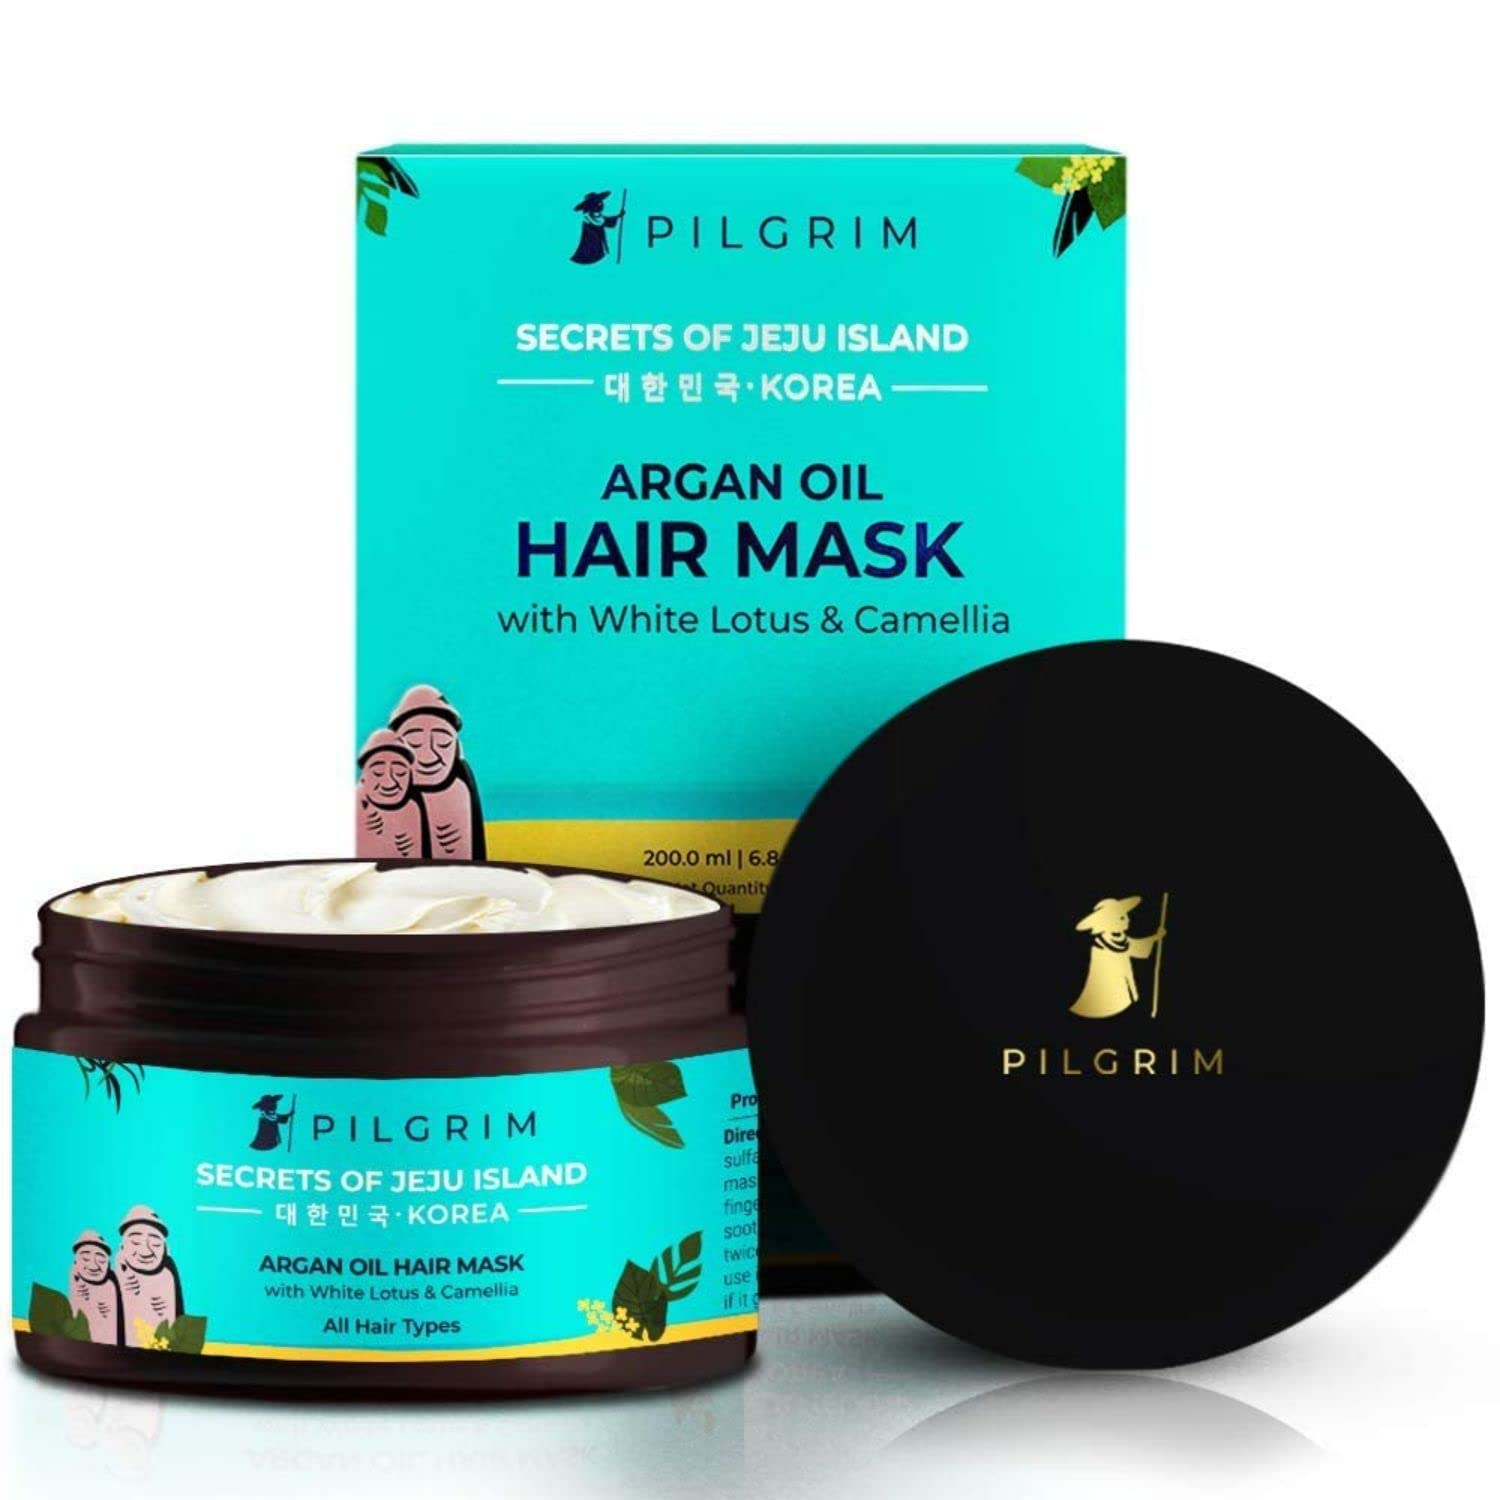
PILGRIM KOREAN ARGAN OIL HAIR MASK
The Pilgrim Korean Argan Oil Hair Mask is designed to combat dryness and frizz, specifically targeting dry and frizzy hair types. It contains argan oil, a natural source of moisture, to intensely hydrate and soften hair. Fortified with white lotus and camellia flower extracts, this mask aims to repair and strengthen damaged strands. Pilgrim emphasizes a clean approach, formulating the mask free of parabens, sulfates, and mineral oils.
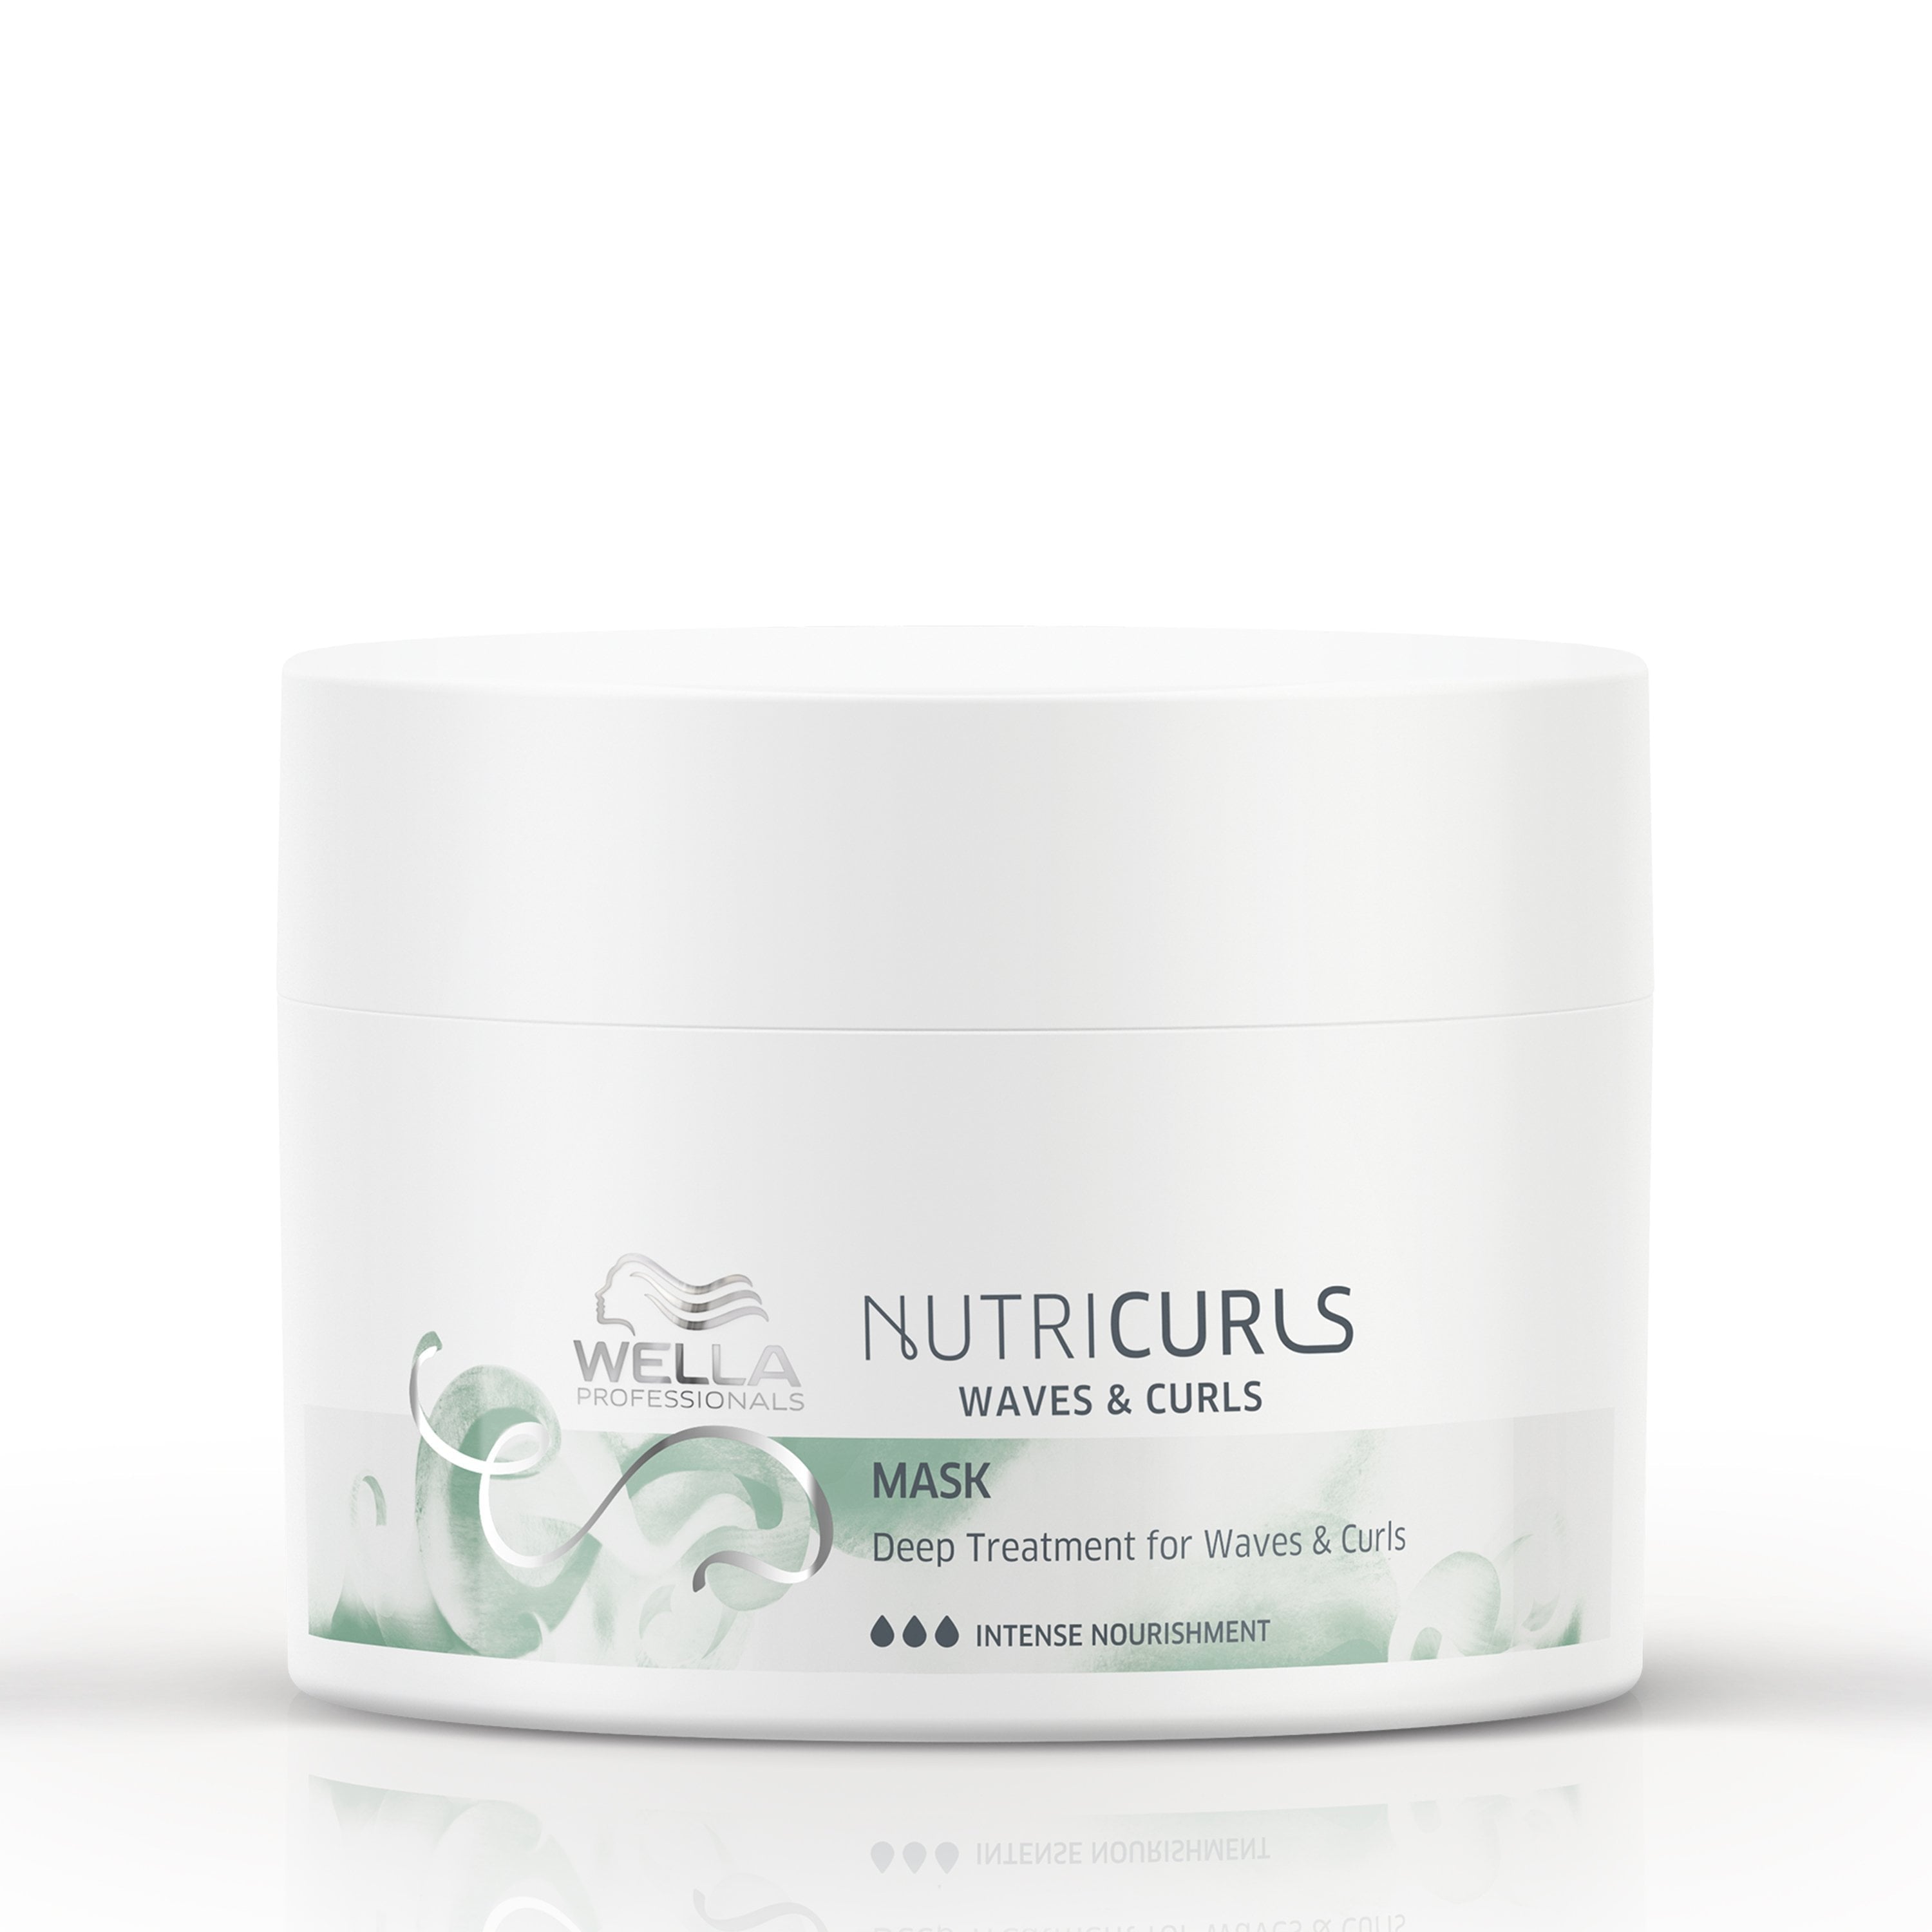
WELLA NUTRICURLS DEEP TREATMENT FOR WAVES & CURLS
Wella NUTRICURLS Deep Treatment for Waves & Curls is a hair mask designed to address the specific needs of wavy and curly hair. This deep conditioner aims to deliver intense nourishment, helping to tame frizz and boost manageability. Fortified with the brand’s Nourish-In Complex containing wheat bran extract and jojoba oil, it aims to define and soften curls while leaving them feeling touchably soft. This Wella mask caters to those seeking a professional salon-quality treatment at home for their wavy or curly locks.
HOW OFTEN SHOULD SOMEONE USE A HAIR MASK?
Determining the frequency of hair mask usage depends on several factors, including hair type and specific concerns. As a general guideline, starting with once a week application is suitable for most hair types. However, for those with dry, damaged, or thick hair experiencing excessive dryness or straw-like texture, increasing usage to 2-3 times a week may offer added benefits.
Conversely, fine or oily hair types may find that less frequent application, such as once every two weeks, is sufficient to prevent hair from feeling weighed down. It’s crucial to consider the severity of your hair concerns when determining the frequency of mask application. For instance, if your hair is severely damaged or exceptionally dry, more frequent use may be necessary until improvements are noticeable.
Additionally, the type of hair mask being used plays a role in determining its frequency. Some masks are formulated for regular use, while others are intended for occasional deep conditioning treatments. Adhering to the instructions provided on the product label ensures optimal results and prevents overuse, which can lead to greasiness or heaviness in the hair.
Ultimately, paying attention to how your hair responds to the mask is essential. If it feels greasy or weighed down after use, it may indicate that the mask is being applied too frequently. Adjusting the frequency based on your hair’s individual needs ensures that you achieve the desired results without compromising hair health.
WHAT INGREDIENTS TO LOOK FOR IN A HAIR MASK
FOR DRY OR DAMAGED HAIR
For those dealing with dry or damaged hair, opting for hydrating oils such as argan oil, coconut oil, jojoba oil, avocado oil, and shea butter can provide deep nourishment and moisture. Additionally, humectants like glycerin, honey, and aloe vera help attract and retain moisture in the hair shaft, combating dryness. Strengthening proteins like keratin and wheat bran extract aid in repairing and fortifying damaged strands.
FOR FRIZZY OR UNMANAGEABLE HAIR
Frizzy or unmanageable hair benefits from emollients such as shea butter and mango butter, which smooth the hair cuticle and reduce frizz. Optional conditioning silicones can temporarily reduce frizz and enhance shine, but caution is advised regarding buildup with frequent use. Humectants continue to play a crucial role in maintaining hydration and manageability.
FOR CURLY HAIR
Curly hair, prone to dryness, requires moisturizing ingredients for optimal curl definition and manageability. Alongside hydrating oils and humectants, balancing protein levels with ingredients like hydrolyzed wheat protein or quinoa protein strengthens curls without causing brittleness. Butters such as shea butter and mango butter provide deep conditioning and definition without weighing down the curls.
FOR ADDITIONAL BENEFITS
For additional benefits, individuals with sensitive scalps can benefit from masks containing soothing ingredients like aloe vera or chamomile. For color-treated hair, choosing masks specifically formulated to be color-safe is essential to preserve hair color, while avoiding harsh ingredients that may strip color. By understanding the role of these beneficial ingredients, individuals can select the most suitable hair mask to address their specific needs effectively.
CONCLUSION
Keep in mind that finding the perfect hair mask depends on your unique curl type and hair concerns. By familiarizing yourself with beneficial ingredients and taking into account the factors discussed above, you can start your quest to find the ideal mask for achieving your healthiest, most vibrant curls. Furthermore, don’t overlook the option of homemade hair masks for addressing damaged hair. With the right care, you can confidently flaunt your beautiful curls!