Embrace your age with style! Short hair can be incredibly flattering and rejuvenating for women over 50. Whether you have fine, thick, curly, or straight hair, there’s a perfect short hairstyle to enhance your features and boost your confidence. Let’s explore a variety of chic and refreshing options that will inspire you to make a stylish statement. Get ready to discover the perfect short haircut to compliment your unique beauty!
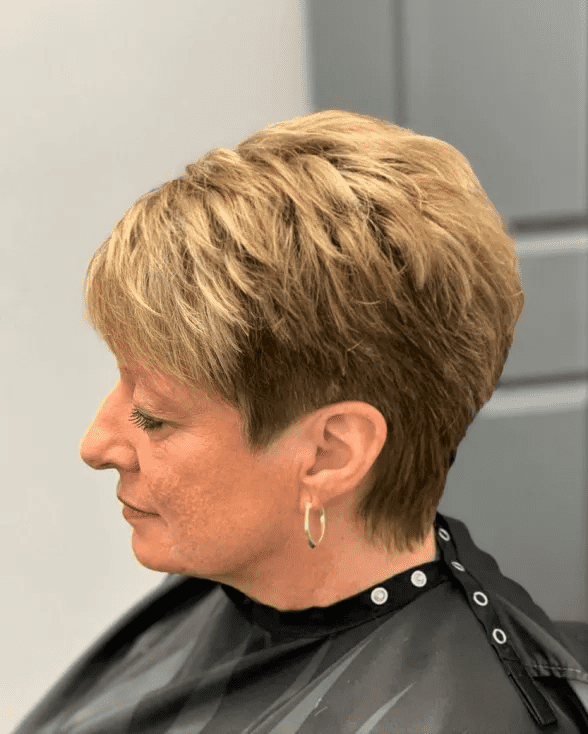
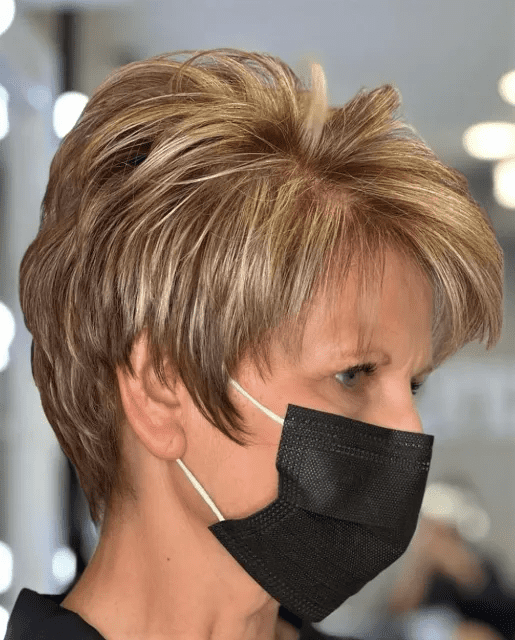
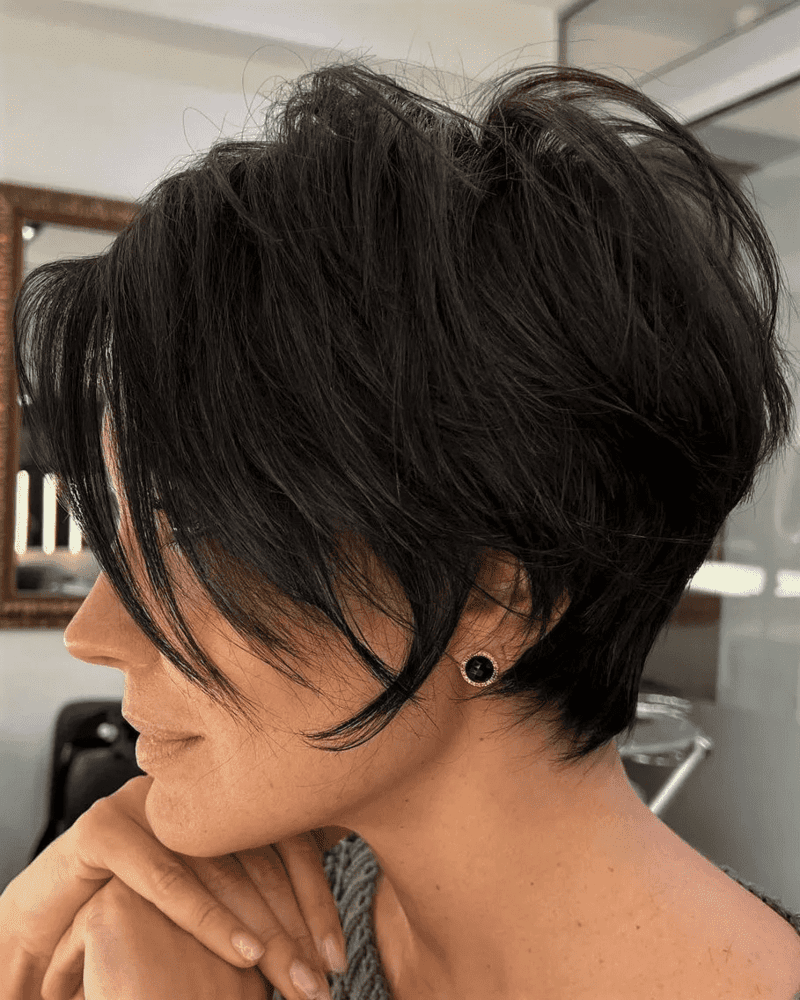
CHOPPY PIECE-Y PIXIE
A choppy pixie cut is a popular choice for women, offering a perfect blend of classic and modern vibes that showcase your personality. Women of all ages want to remain stylish and fabulous. Just as we thoughtfully select wardrobe pieces based on the latest trends, our hairstyles deserve the same attention. With these chic cuts, you’ll not only look great but also feel amazing!
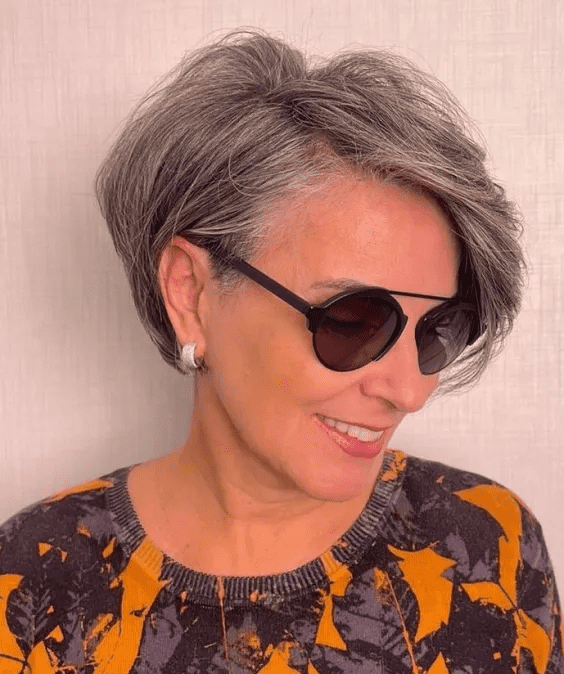
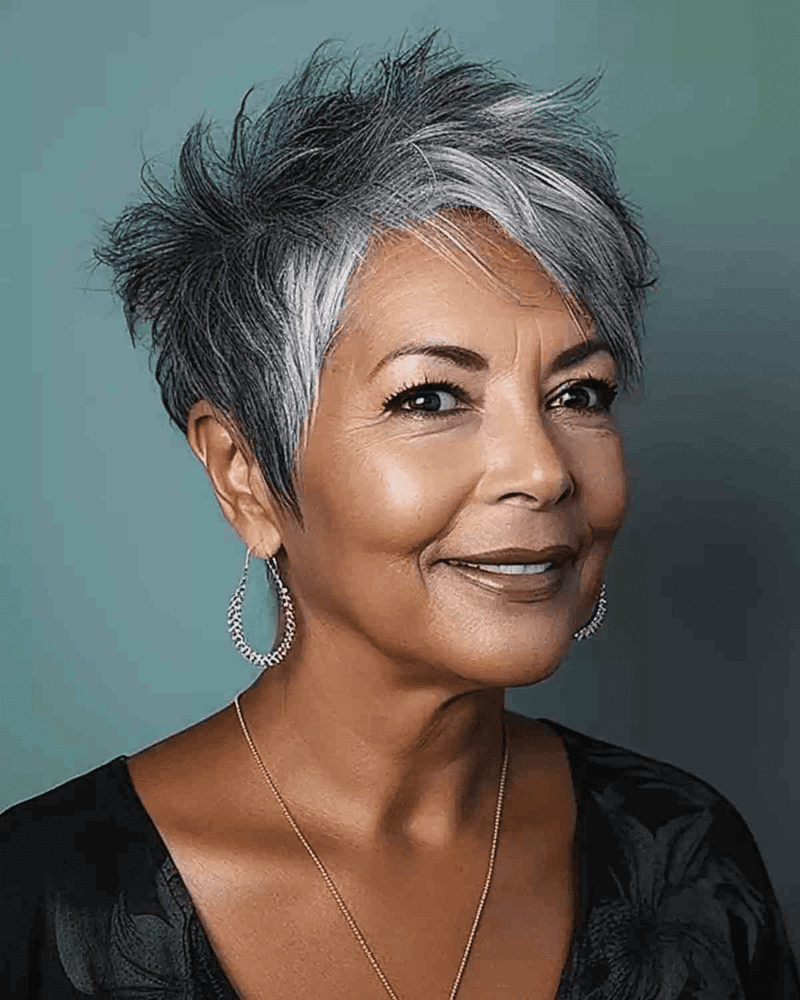
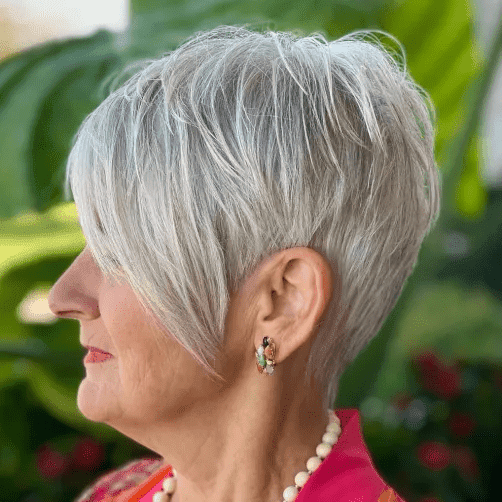
SALT-AND-PEPPER FEATHERED PIXIE
There are countless ways to style your pixie cut. For a standout look, try spiky layers at the crown paired with side-swept bangs. Adding highlights can also make a significant impact.
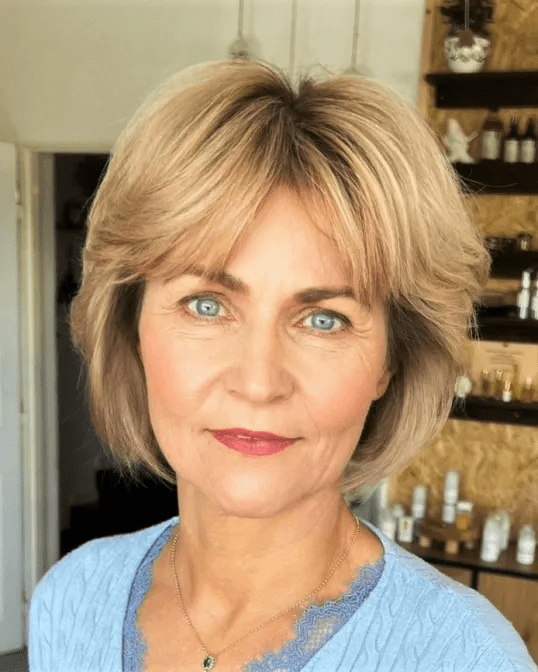
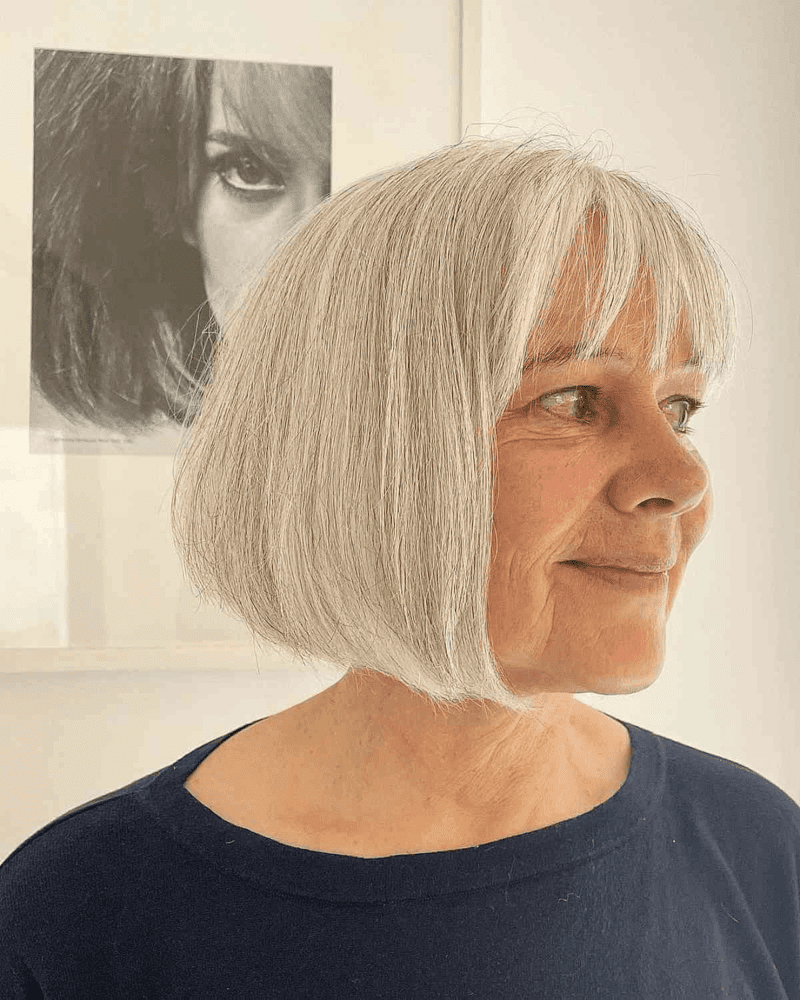
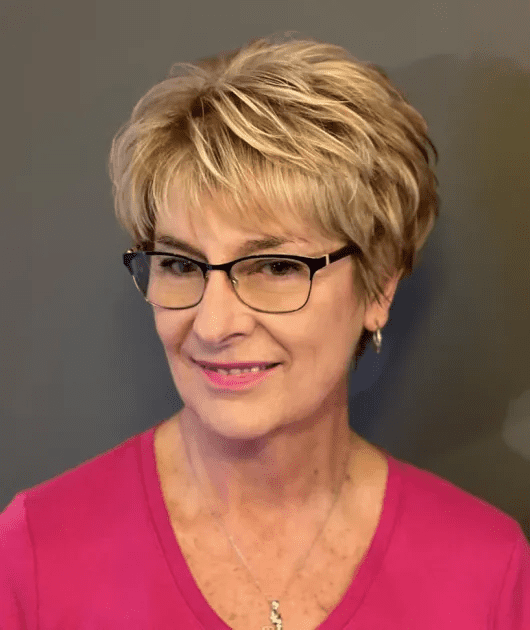
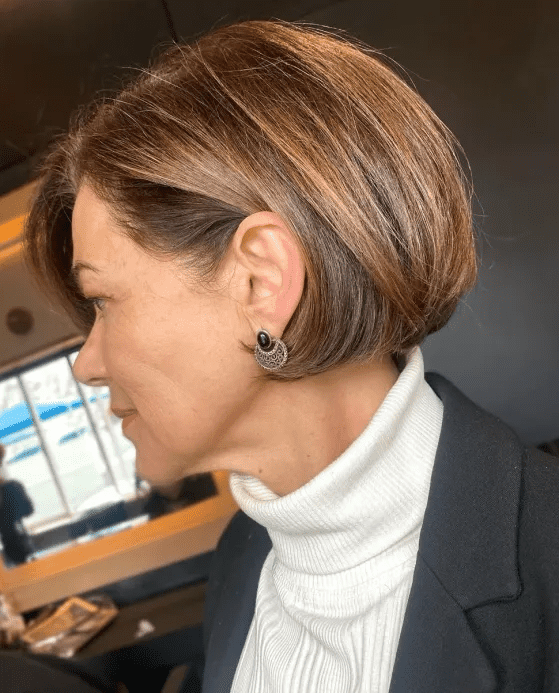
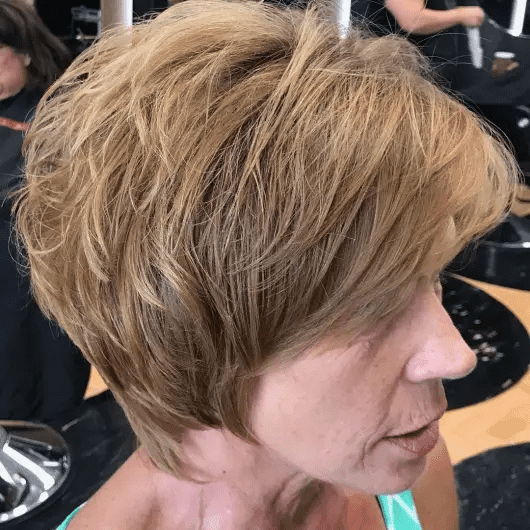
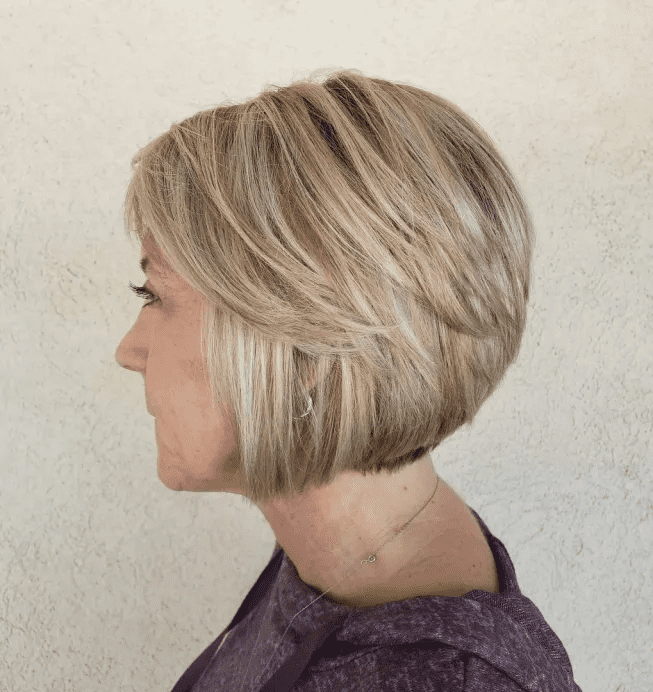
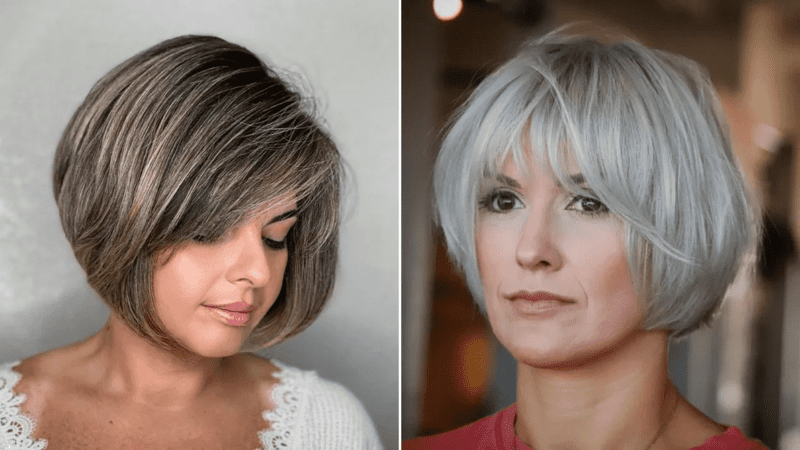
SOFT BOB WITH SIDE BANGS
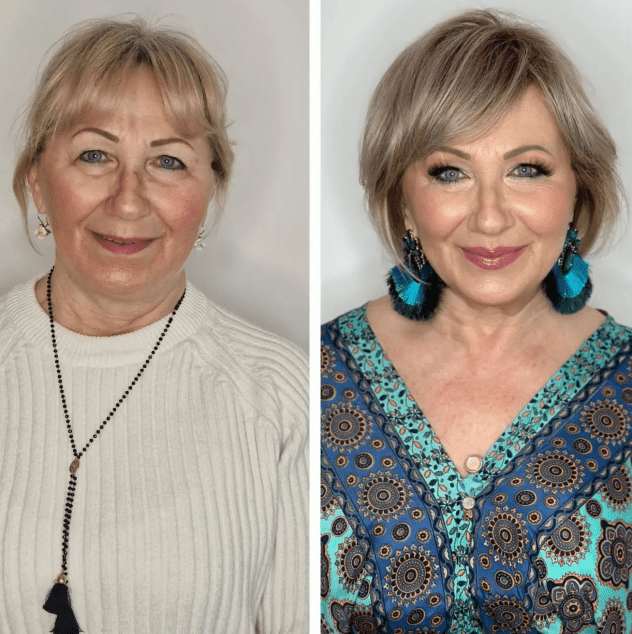
The best hairstyles are those that are comfortable, suit your lifestyle, and make you look fabulous. Consider replacing your everyday bun or ponytail with a chic, youthful bob. Embrace style and elegance as you age gracefully!
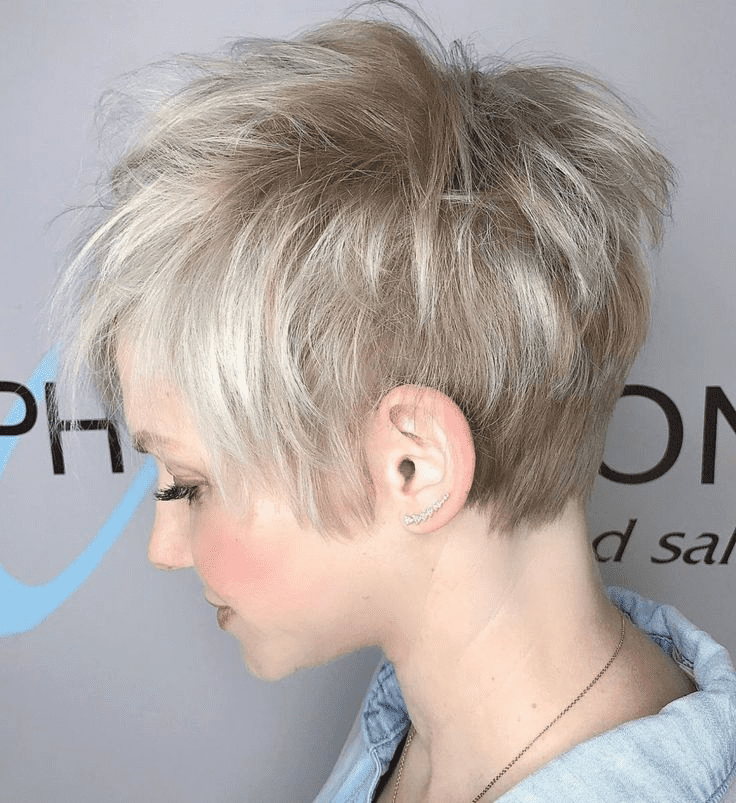
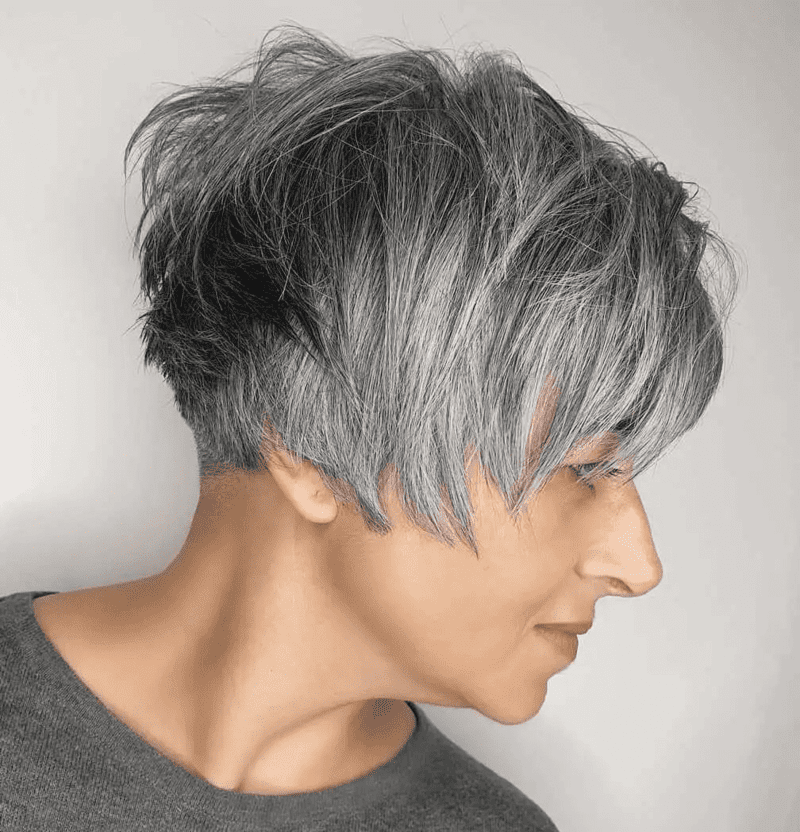
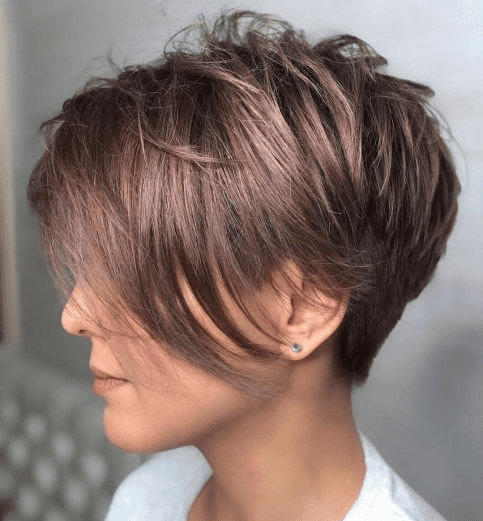
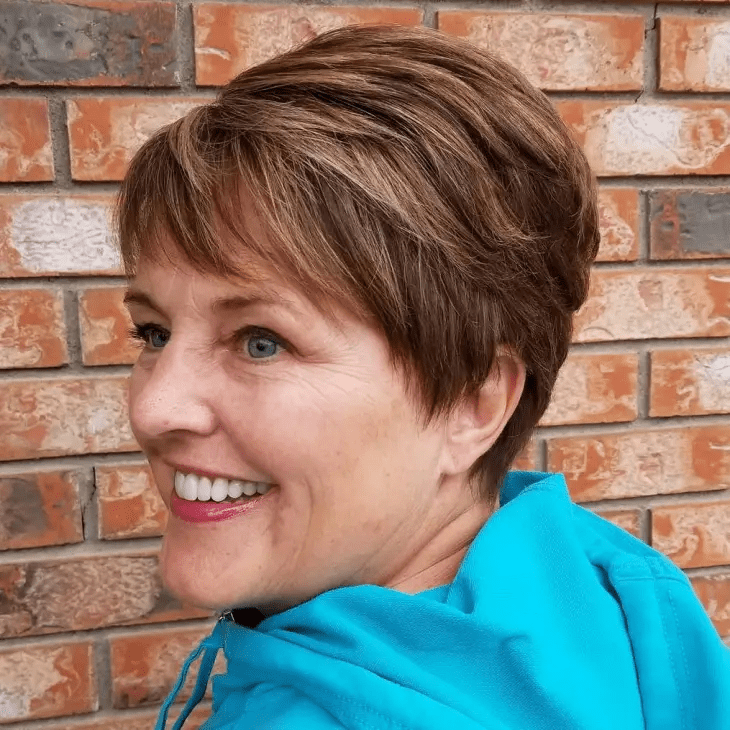
TWO-TONE TEXTURED PIXIE
You’ve likely seen plenty of cute pixie cuts, but this standout style is truly exceptional. With layers all around, charming feathered bangs, and a striking blonde color with dark roots, it combines femininity and class in a stunning way.
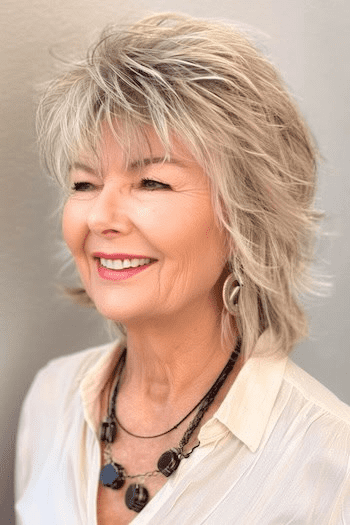
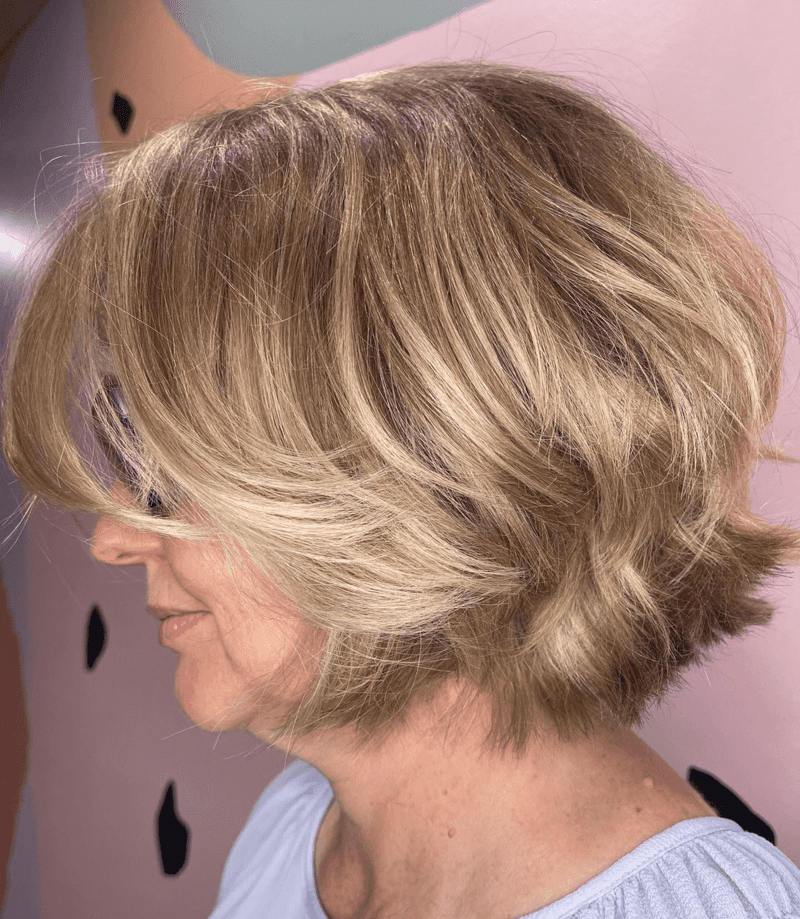
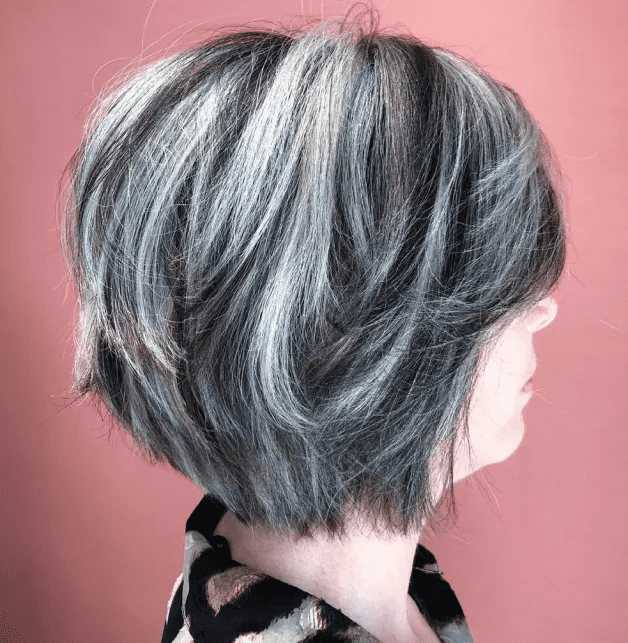
SHAGGY BOB WITH CURTAIN BANGS
A shag cut on straight hair exudes a modern, sophisticated vibe. The swoopy curtain bangs blend seamlessly with the rest of the hair, creating a stunning look. The rooted blonde color adds an extra touch of allure, making this style even more irresistible.
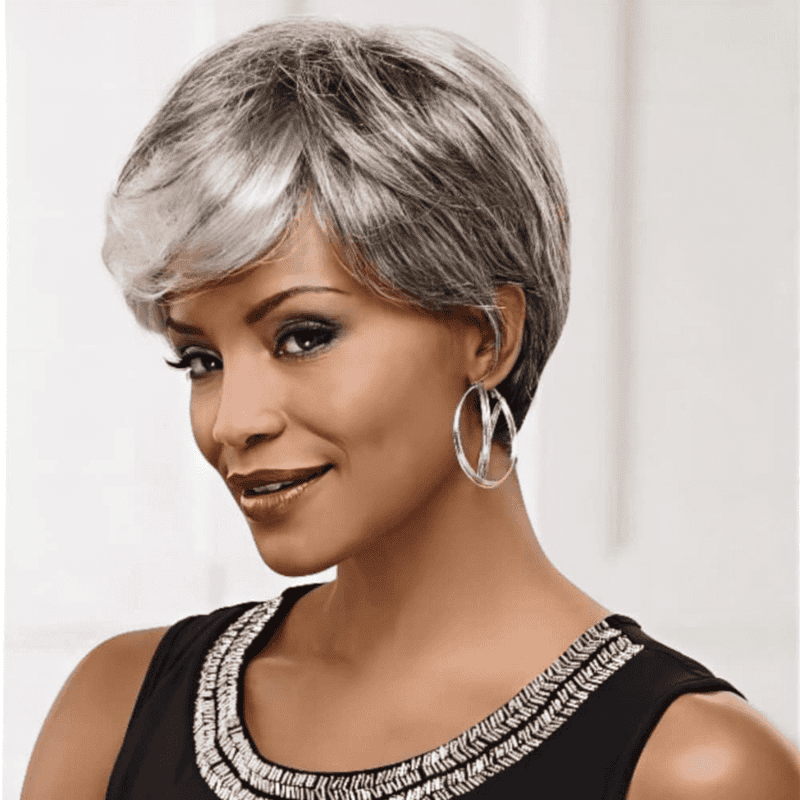
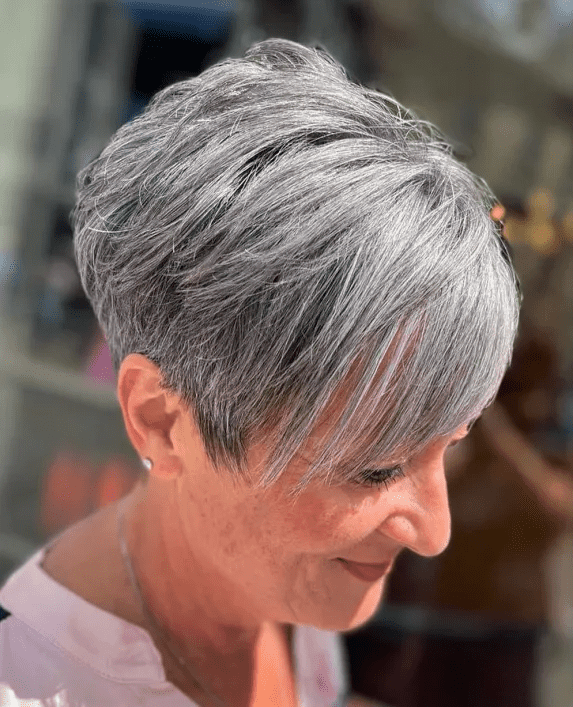
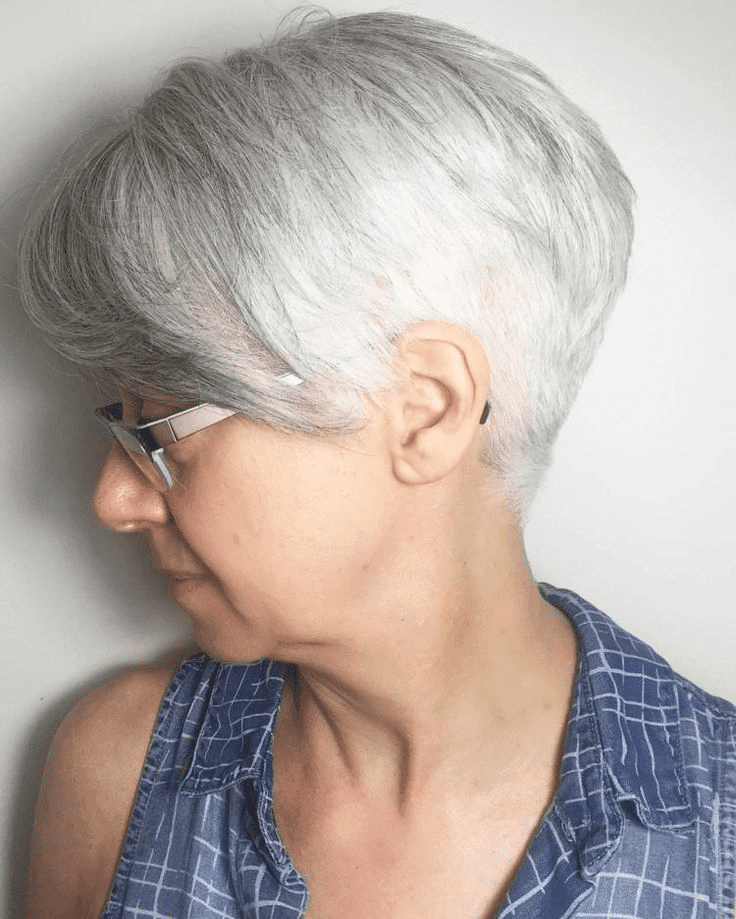
SIGNATURE SMOKY GRAY PIXIE
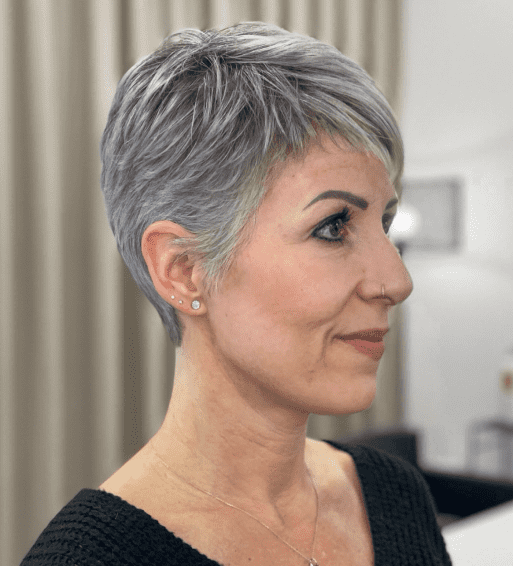
Everyone should discover their signature look that reflects their personal style, personality, and lifestyle while highlighting their best features. This gray pixie cut could become her unique X factor.
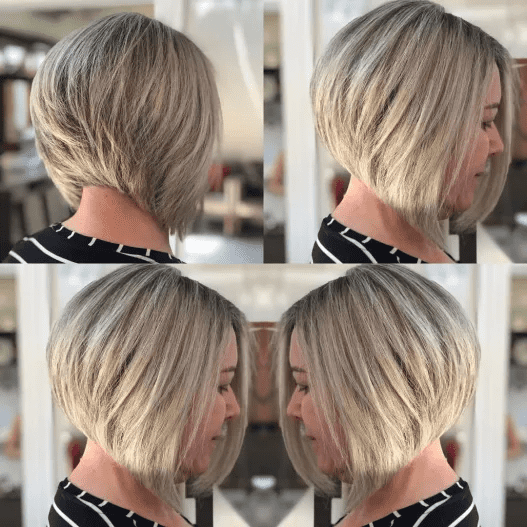
NECK-LENGTH POLISHED LIFTED BOB
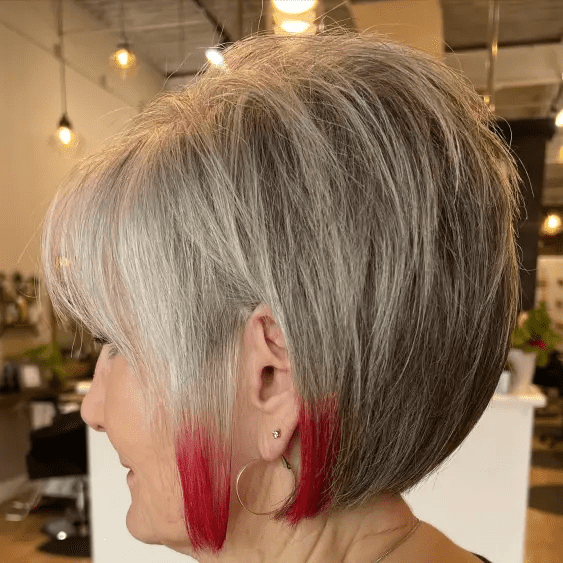
Is edgy your style? A new stacked shape, plenty of texture, highlights, and a splash of bright color can make a bold statement and leave you as thrilled with the result as this stunning model. Short cuts don’t have to be boring!
BOB WITH PIECE-Y BANGS
Layered styles are perfect for achieving a softer look. Choppy bangs add definition and dimension, while the A-Line bob shape brings an element of grace and sophistication to your hairstyle.
SALT-AND-PEPPER BIXIE WITH LONG BANGS
Here’s a great example of gray blending that appears completely natural and requires minimal maintenance. However, regular salon visits are essential to keep the temples neatly trimmed.
BLONDE PIXIE WITH POMPADOUR BANGS
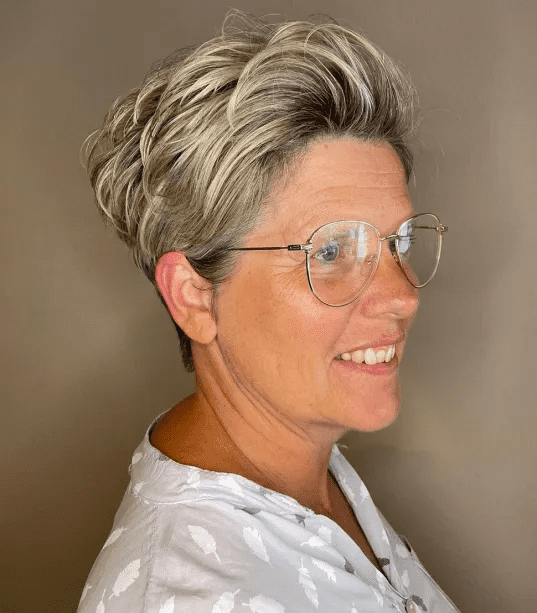
This beautifully textured style is ideal for those with a high forehead. It opens up the face and gives the impression of hair swept back by a breeze, enhancing the volume and dynamic quality of the look.
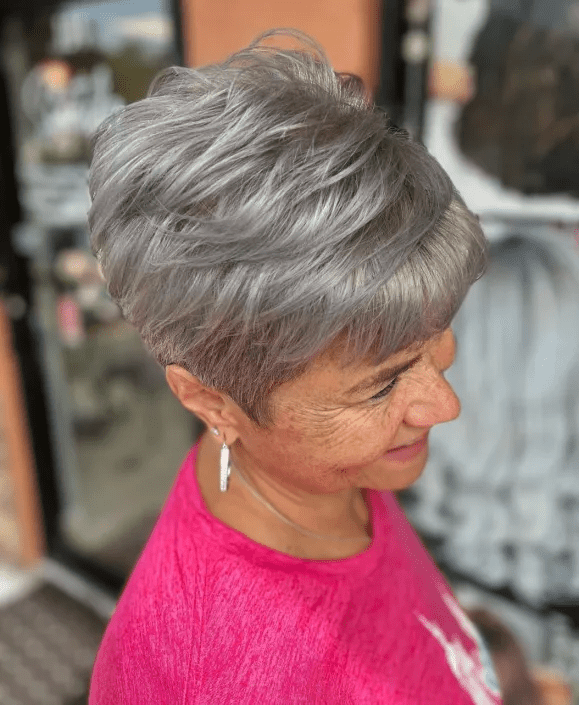
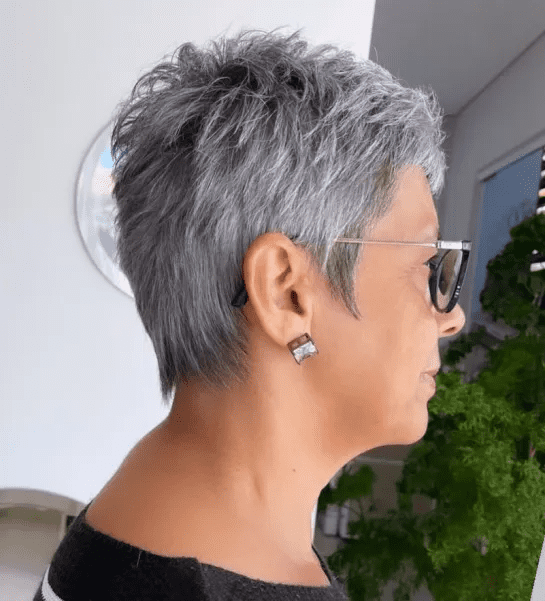
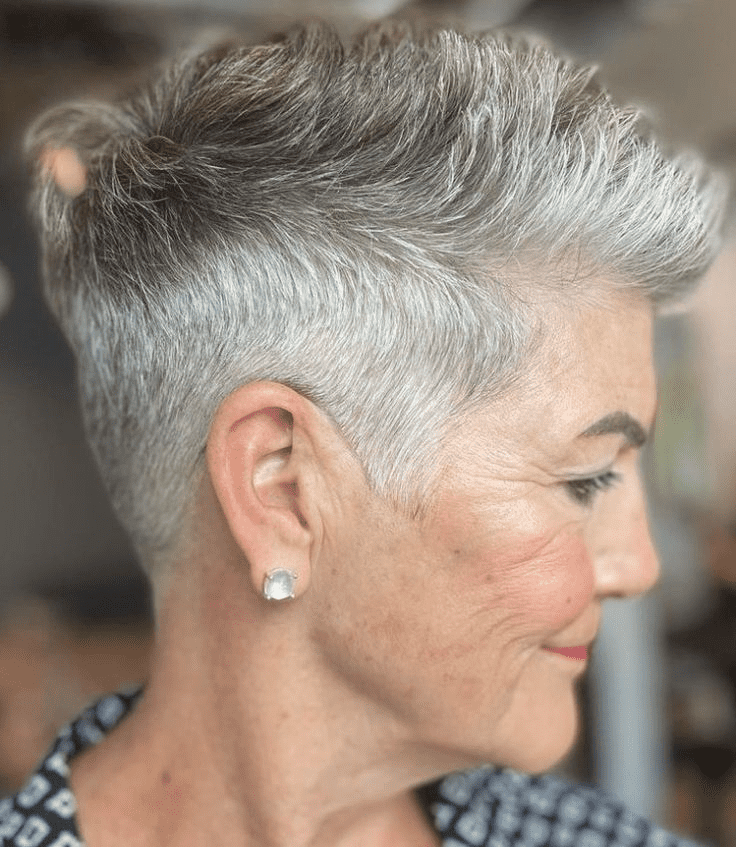
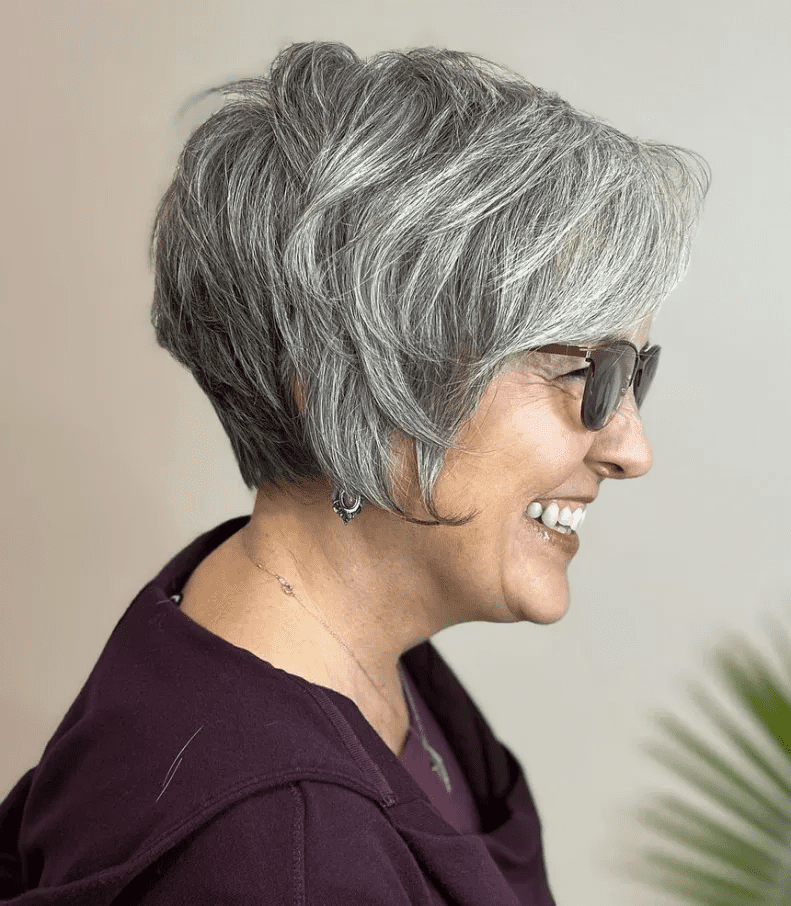
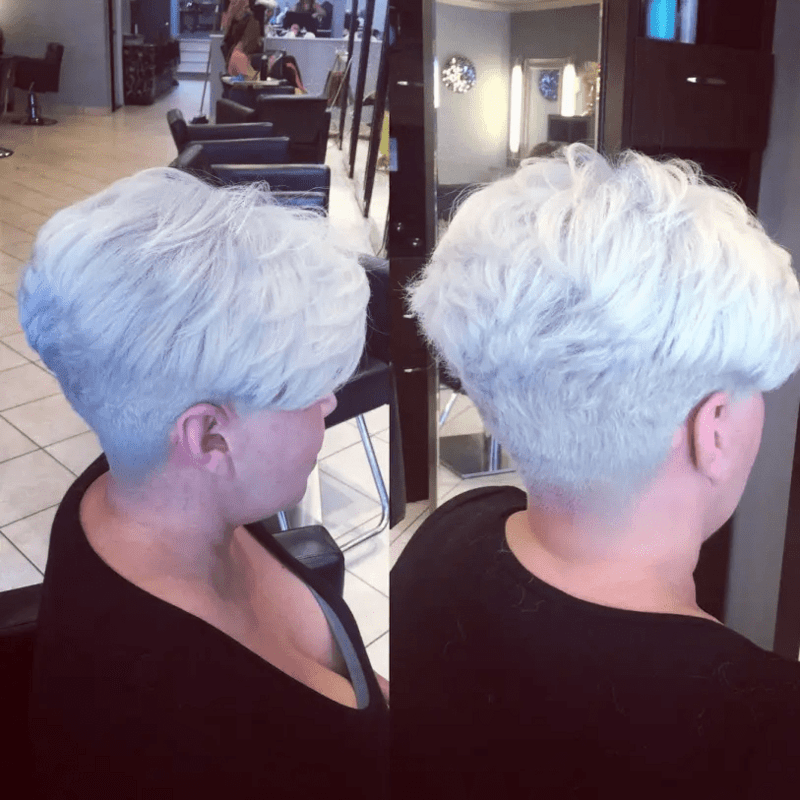
SPIKY GRAY PIXIE
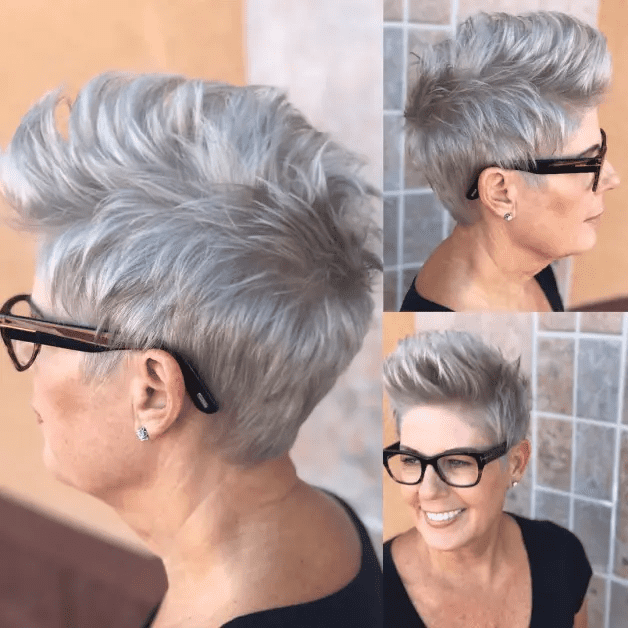
This pixie cut looks fantastic from both the front and back! It features voluminous hair on top while staying close to the scalp in the back. Adding glasses will make the look perfectly complete!
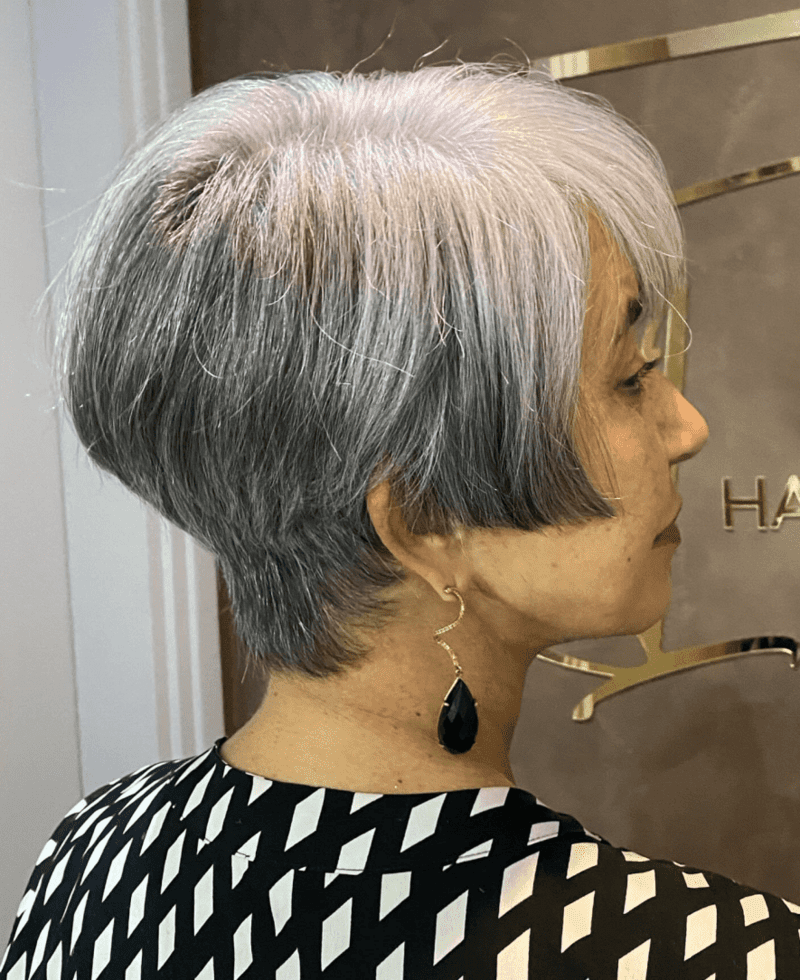
SALT-AND-PEPPER UNDERCUT PIXIE
A tight pixie with long top layers is a delightful choice. It strikes the perfect balance between youthful and mature, offering a chic and elegant appearance.
PLATINUM SHAG WITH CURTAIN BANGS
This refreshing messy hairstyle beautifully combines choppy ends and trendy curtain bangs, with the outer edges cascading into longer strands on the sides to elegantly frame the face.
GORGEOUS STACKED BRONDE BOB
Among the many hairstyle options, the stacked bob remains a timeless choice for women of all ages. When paired with the “bronde” trend, which blends brown and blonde hues, it offers a chic variation of this classic bob. Originating in the 60s, this versatile bob suits all hair textures and face shapes, thanks to its endless variations!
CLASSIC BOB WITH DARK UNDERNEATH

Don’t hesitate to choose a bob—it offers endless possibilities. Adding layers can enhance the movement of your bob, and cutting the hair to just at the nape of your neck will expose and elongate your neck for a flattering effect.
FEATHERED PIXIE PLUS FULL BANGS
The innovative blend of wispy side-swept strands on the crown with dense straight bangs across the forehead makes this one of the most edgy styles on our list. It also adds impressive fullness to the front.
BLONDE PIXIE WITH SHORT BANGS
Incorporating a short, thinned-out fringe into a voluminous crop is a great choice. It highlights the eyes and conceals forehead wrinkles without creating harsh lines.
LAYERED HAIR FULL OF WAVES
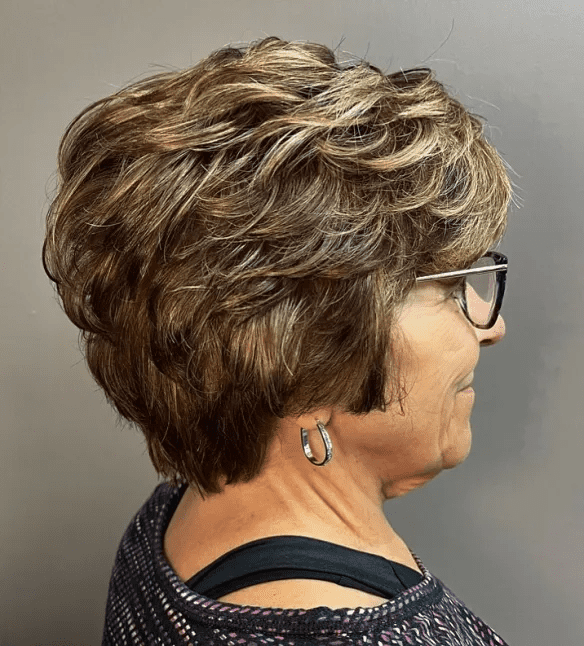
This heavily layered hairstyle is ideal for thick hair, as it reduces bulk and adds texture. The highlights further enhance the movement and brighten the face.
PIXIE SHAG FOR THICK HAIR
Embrace a casual and playful vibe with this trendy, messy crop. Its sassy, disheveled look ensures you’re always ready for any occasion!
CHOPPY SILVER FOX PIXIE
This chic crop is low-maintenance and effortless. Simply dampen your fingers with mousse or gel, run them through your hair, and flaunt one of the boldest pixie cuts around.
CLASSY JAW-LENGTH FRENCH BOB
This elegant chestnut brown bob features slightly curled ends, making it versatile for both casual and business settings. To switch to a more relaxed style, simply replace the curled ends with beachy waves.
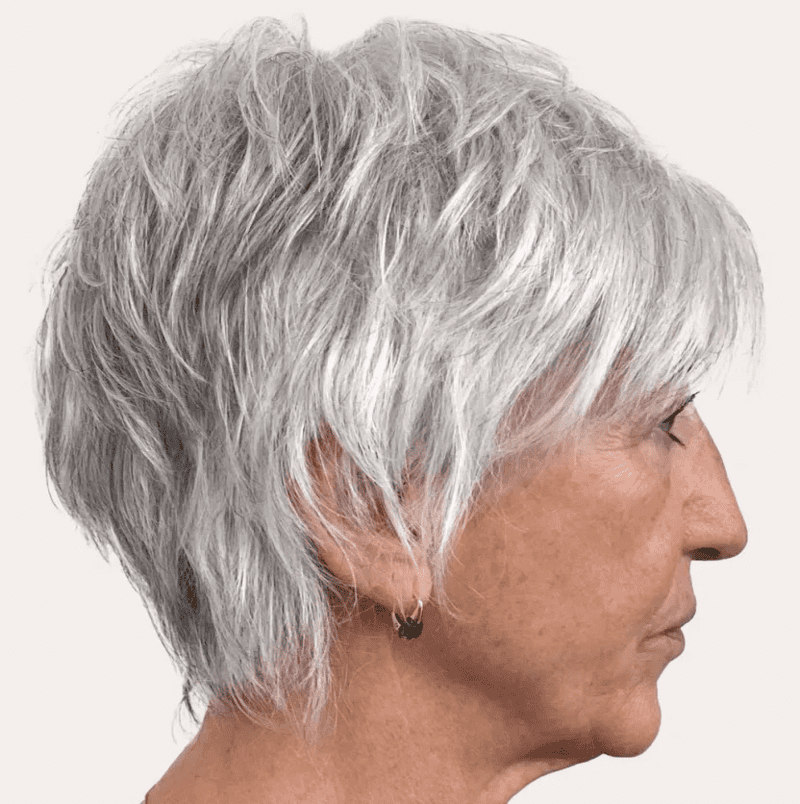
SLENDER GRAY FEATHERED PIXIE
A wispy crop with feathered layers can give fine hair a thicker, fuller appearance. Add side bangs for a chic and elegant finish.
LAYERED BOB WITH HIGHLIGHTS AND LOWLIGHTS
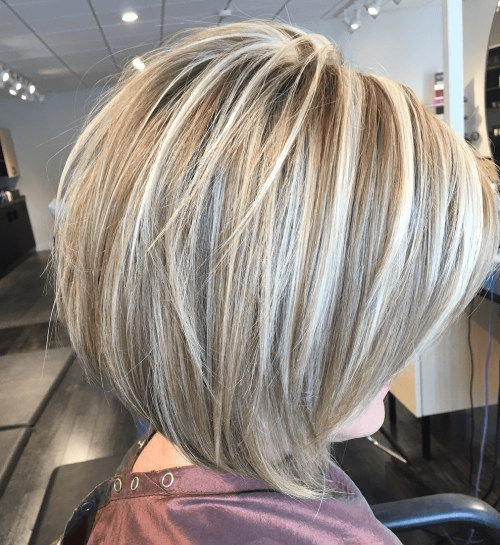
Highlights and lowlights are frequently used in hairstyles for good reason. Highlights add a graceful, touchable quality, while lowlights create depth and dimension. This fabulous, no-fuss bob breaks away from traditional sleekness with its funky layers and defined ends, exuding a super modern vibe. It’s also an excellent choice for those looking to flatter a fuller figure.
LONG JAGGY PIXIE
Let your hairstyle reflect your personality at all times. If you’re aiming for an edgy look, go for it! Choppy layers throughout your pixie cut will give it a captivating, edgy vibe.
PIXIE BOB WITH WISPY LAYERS
A shag cut can be sexy, professional, or romantic, depending on how you style it. If you have a bright and playful personality, don’t hesitate to give it a try.
FLY AWAY SHAGGY BOB WITH BANGS
For a messy yet stylish appearance, opt for a shaggy bob! Although it originated in the 70s, the shaggy bob remains as trendy as ever. It’s ideal for oval face shapes and works well with both thick and fine hair.
SOFT CURLY BIXIE

This elegant coif is perfect for naturally curly hair. The bixie cut turns your everyday curls into a stylish and stunning curly crop. Typically paired with an undercut or tapered back, it highlights a slender neck and adds volume to your hair. Additionally, a curly pixie is an excellent choice for thin hair, as the textured curls create a fuller, more sophisticated look.
CUTE GRAY PIXIE WITH BANGS
Styling your gray hair into a pixie cut is a great way to maintain a fashionable and polished look as you age. Neat feathered layers and face-framing bangs can help conceal a thinning hairline.
TAPERED GILDED GRAY PIXIE
Looking for a bolder option than a bob? The tapered pixie is perfect for you. Add texture by slicing the hair to resemble bird feathers, a technique inspired by the 1980s Charlie’s Angels that continues to be trendy today. Embrace the daring look of a tapered, feathered pixie!
DELICATE FEATHERED CROP

Hair can be playful, and this is the perfect example! Opt for soft feathered layers to add volume and babylights for a touch of subtle sparkle. Keep your look youthful and vibrant!
TAPERED GRAY PIXIE

Make the most of volume and shape with the stunning tapered pixie. Opt for a glamorous metallic gray for added flair, or stick with your natural color for a classic look.
NEAT CHIN-LENGTH BOB WITH LAYERS
True to its name, this chin-length bob highlights your cheekbones and jawline, enhancing the natural contours of your face and giving you a youthful appearance. Layers are a popular choice, as they are achieved by cutting the hair at varying lengths to add texture and dimension.
DEBULKED CHOPPY SALT-AND-PEPPER BOB
If you’re after a head-turning look, this is it. Enhance your classic bob with uneven choppy layers to add captivating dimension. Combine this with blunt-cut edges for a striking finish. Gorgeous blonde highlights, particularly in ashy or silver tones, provide a stunning twist to the style.
HONEY BLONDE LAYERED BOB
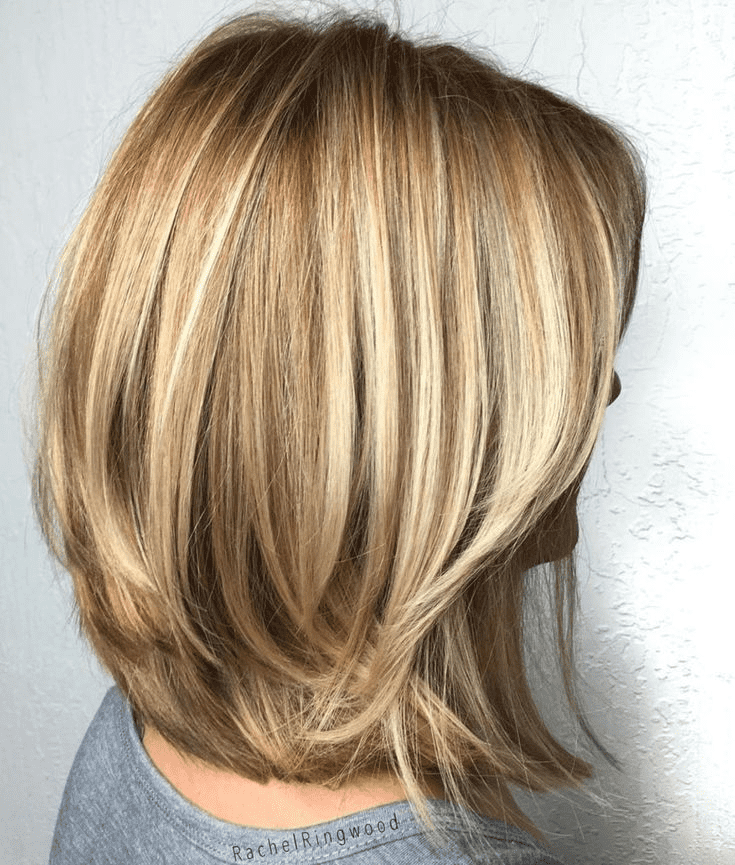
Bobs are timeless and suit women of all ages. Long bobs, in particular, are especially captivating. Adding multiple layers can give your hair beautiful movement and dimension.
VOLUMINOUS LAYERED SILVER BOB
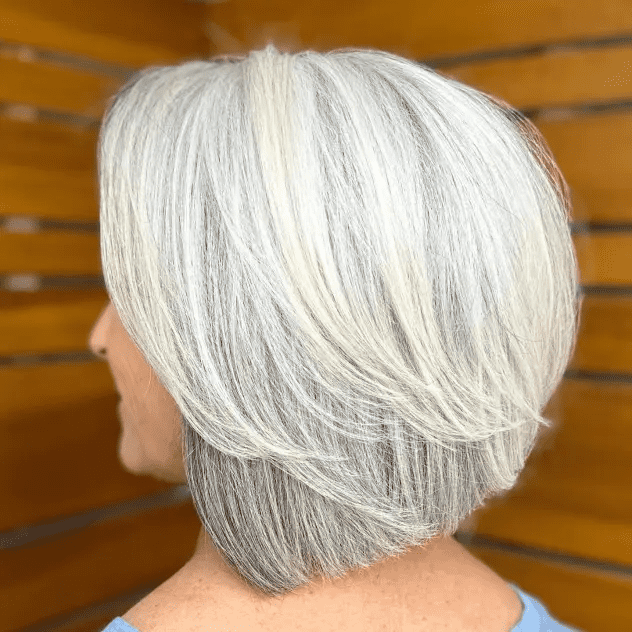
Embrace your natural gray hair and elevate it with a silver balayage bob! While this style has been a hit with younger generations, there’s no reason you can’t be a standout. It’s fluffy, modern, and complements any aesthetic you’re drawn to.
LACONIC GRAY BLONDE PIXIE

The pixie cut is a fantastic and low-maintenance choice for straight hair. It also complements elegant facial features and a slender figure, adding a refreshing touch to your look.
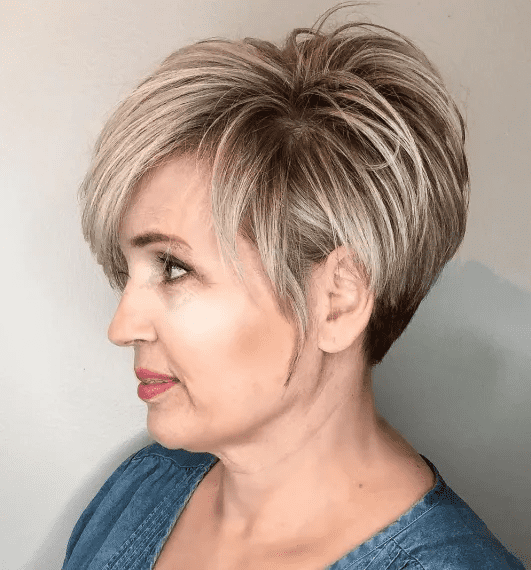
HIGHLIGHTED TAPERED PIXIE

If you’re a fan of low-maintenance living, you’ll adore this sassy crop that requires minimal styling. The secret is straightforward: razor-cut layers add volume without needing a blowout, and highlights allow you to extend the time between color appointments.
CRISP LAYERED ROUNDED BOB
Nothing exudes grace and elegance like a neatly rounded bob with layers. As you gain experience with age, this hairstyle reflects your sophistication while keeping you stylish and timeless.
SPIKY SILVER PIXIE
Stay stylish with this stunning crop that’s sure to make you stand out. Lavender shades are perfect for cool skin tones, but they can also complement warmer undertones depending on your personal style!
SALT-AND-PEPPER TAPERED BIXIE
As gray blending gains popularity, gray hair is no longer something to hide. Challenge stereotypes with fresh and unique hair color techniques and trends!
SHATTERED BRUNETTE LONG PIXIE
The pixie cut is a timeless and easy choice that appears on any list of hairstyles for all ages. It’s a nod to the 1960s Twiggy pixie while remaining suitable for any generation. Achieving a “shattered” look, the pixie features texturized ends created with a razor, adding and defining the hair’s texture.
ELONGATED PIXIE WITH SIDE BANGS
We adore playful pixies for their youthful charm, and this grown-out version is styled with trendy asymmetry. It features bangs swept to one side, blending seamlessly with the longer strands at the temples.
SILVER FEATHERED PIXIE
Pixie cuts are undoubtedly among the trendiest and most low-maintenance styles. Opt for a light blonde shade to cover grays, adding a fashionable and youthful touch. The silver hair color also gives fine hair a thicker, fuller, and more captivating appearance.
SALT-AND-PEPPER PIXIE SHAG
Embrace your natural hues with a refreshing crop that’s both minimalist and easy to maintain. Stay classy and graceful with various shades of salt and pepper.
UNIVERSAL PIXIE WITH HIGHLIGHTS
Pixie cuts are a timeless choice that suits any age. Embrace this classic style and add highlights for extra dimension to keep your look vibrant and fresh.
WHITE UNDERCUT PIXIE
These bold crops work beautifully with both sleek straight hair and stubborn curls. Plus, they have a slimming effect that enhances your overall look.
GRAY BOB WITH DARK ROOTS
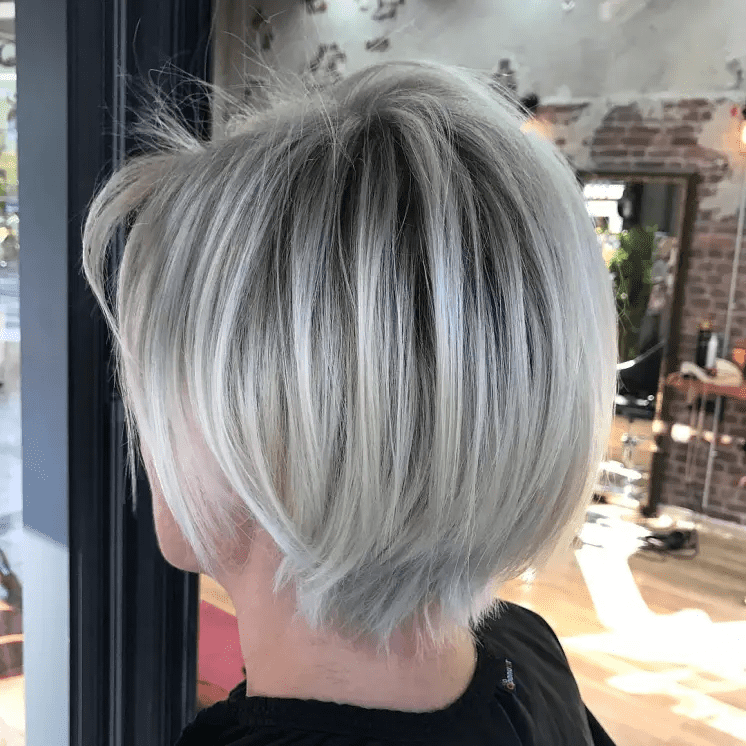
The stacked bob is a chic, casual, and low-maintenance style. Dark roots add a touch of sophistication to silver hair, giving it a more polished and youthful appearance.
WEDGE TO LOOK YOUNGER
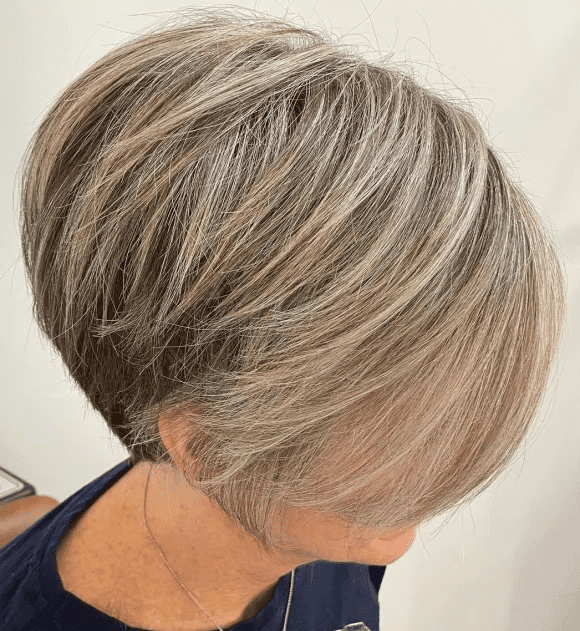
Modern wedges are a top choice for straight hair, offering a sophisticated flair for both thick and thin locks. This style features stacked layers in the back and long, wispy pieces in the front. Don’t underestimate the impact of highlights—they add an extra touch of elegance to your crop!
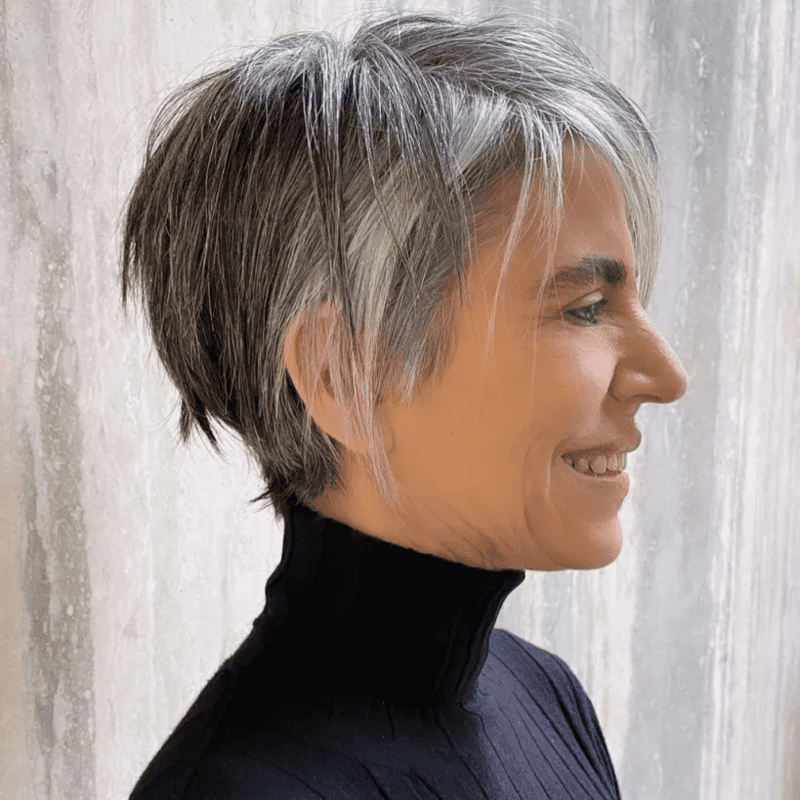
FEATHERED LONG UNDERCUT PIXIE
An undercut pixie is a fantastic age-defying choice. Tousled long pixies offer a youthful and sassy vibe, perfect for a fresh look. Sweep the bangs to one side for a chic touch. The layered pixie adds fullness to your hair, while the side-swept fringe helps conceal forehead wrinkles. Opt for a light hair color or highlights to achieve a trendy, picture-perfect finish.
BOYISH TAPERED FEATHERED PIXIE
It has a noticeable rejuvenating effect, as it enhances the contours of the face and gives the cheekbones a lifted appearance.
CONCLUSION
Embracing a chic and refreshing hairstyle after 50 can be a liberating experience. With countless options available, there’s a perfect short haircut to suit every face shape, hair texture, and personal style. So, embrace your age, experiment with different looks, and enjoy the freedom and versatility that short hair offers.