5 SIMPLE STEPS ON HOW TO CUT AND STYLE CHIC KOREAN SIDE BANGS

Are you looking to refresh your look with a subtle yet chic hairstyle? Korean side bangs are the perfect choice for adding a touch of elegance and softness to any haircut. Whether you’re aiming for a cute and casual vibe or a more polished and sophisticated appearance, side bangs can effortlessly frame your face and highlight your best features. In this guide, we’ll walk you through five simple steps to cut and style Korean side bangs, helping you achieve that sleek, trendy look at home. Let’s dive into this easy and fun hair transformation!

WHAT ARE KOREAN SIDE BANGS?

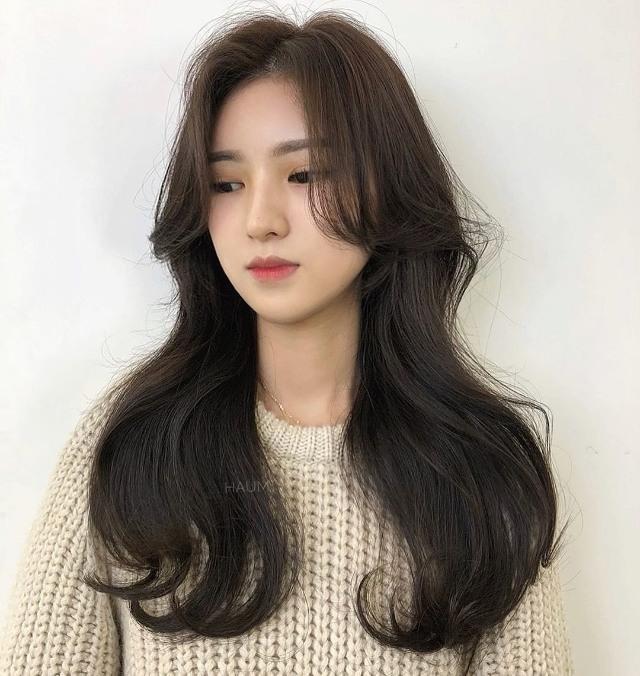
These flattering Korean bangs are all the rage right now! But what exactly are they? Think of them as a stylish mix of classic curtain bangs and modern face-framing styles, resulting in a trendy fringe.

Unlike traditional curtain bangs, Korean side bangs have a more relaxed and casual vibe. They’re parted in the center and naturally drape to the sides of your face, giving you that effortlessly chic look.

The wispy, soft ends add a natural and flowy feel that’s hard to resist.

One of the best things about Korean side bangs is their versatility. Whether your hair is straight or curly, long or short, these bangs can complement any style.

WHAT DO YOU NEED FOR KOREAN SIDE BANGS?

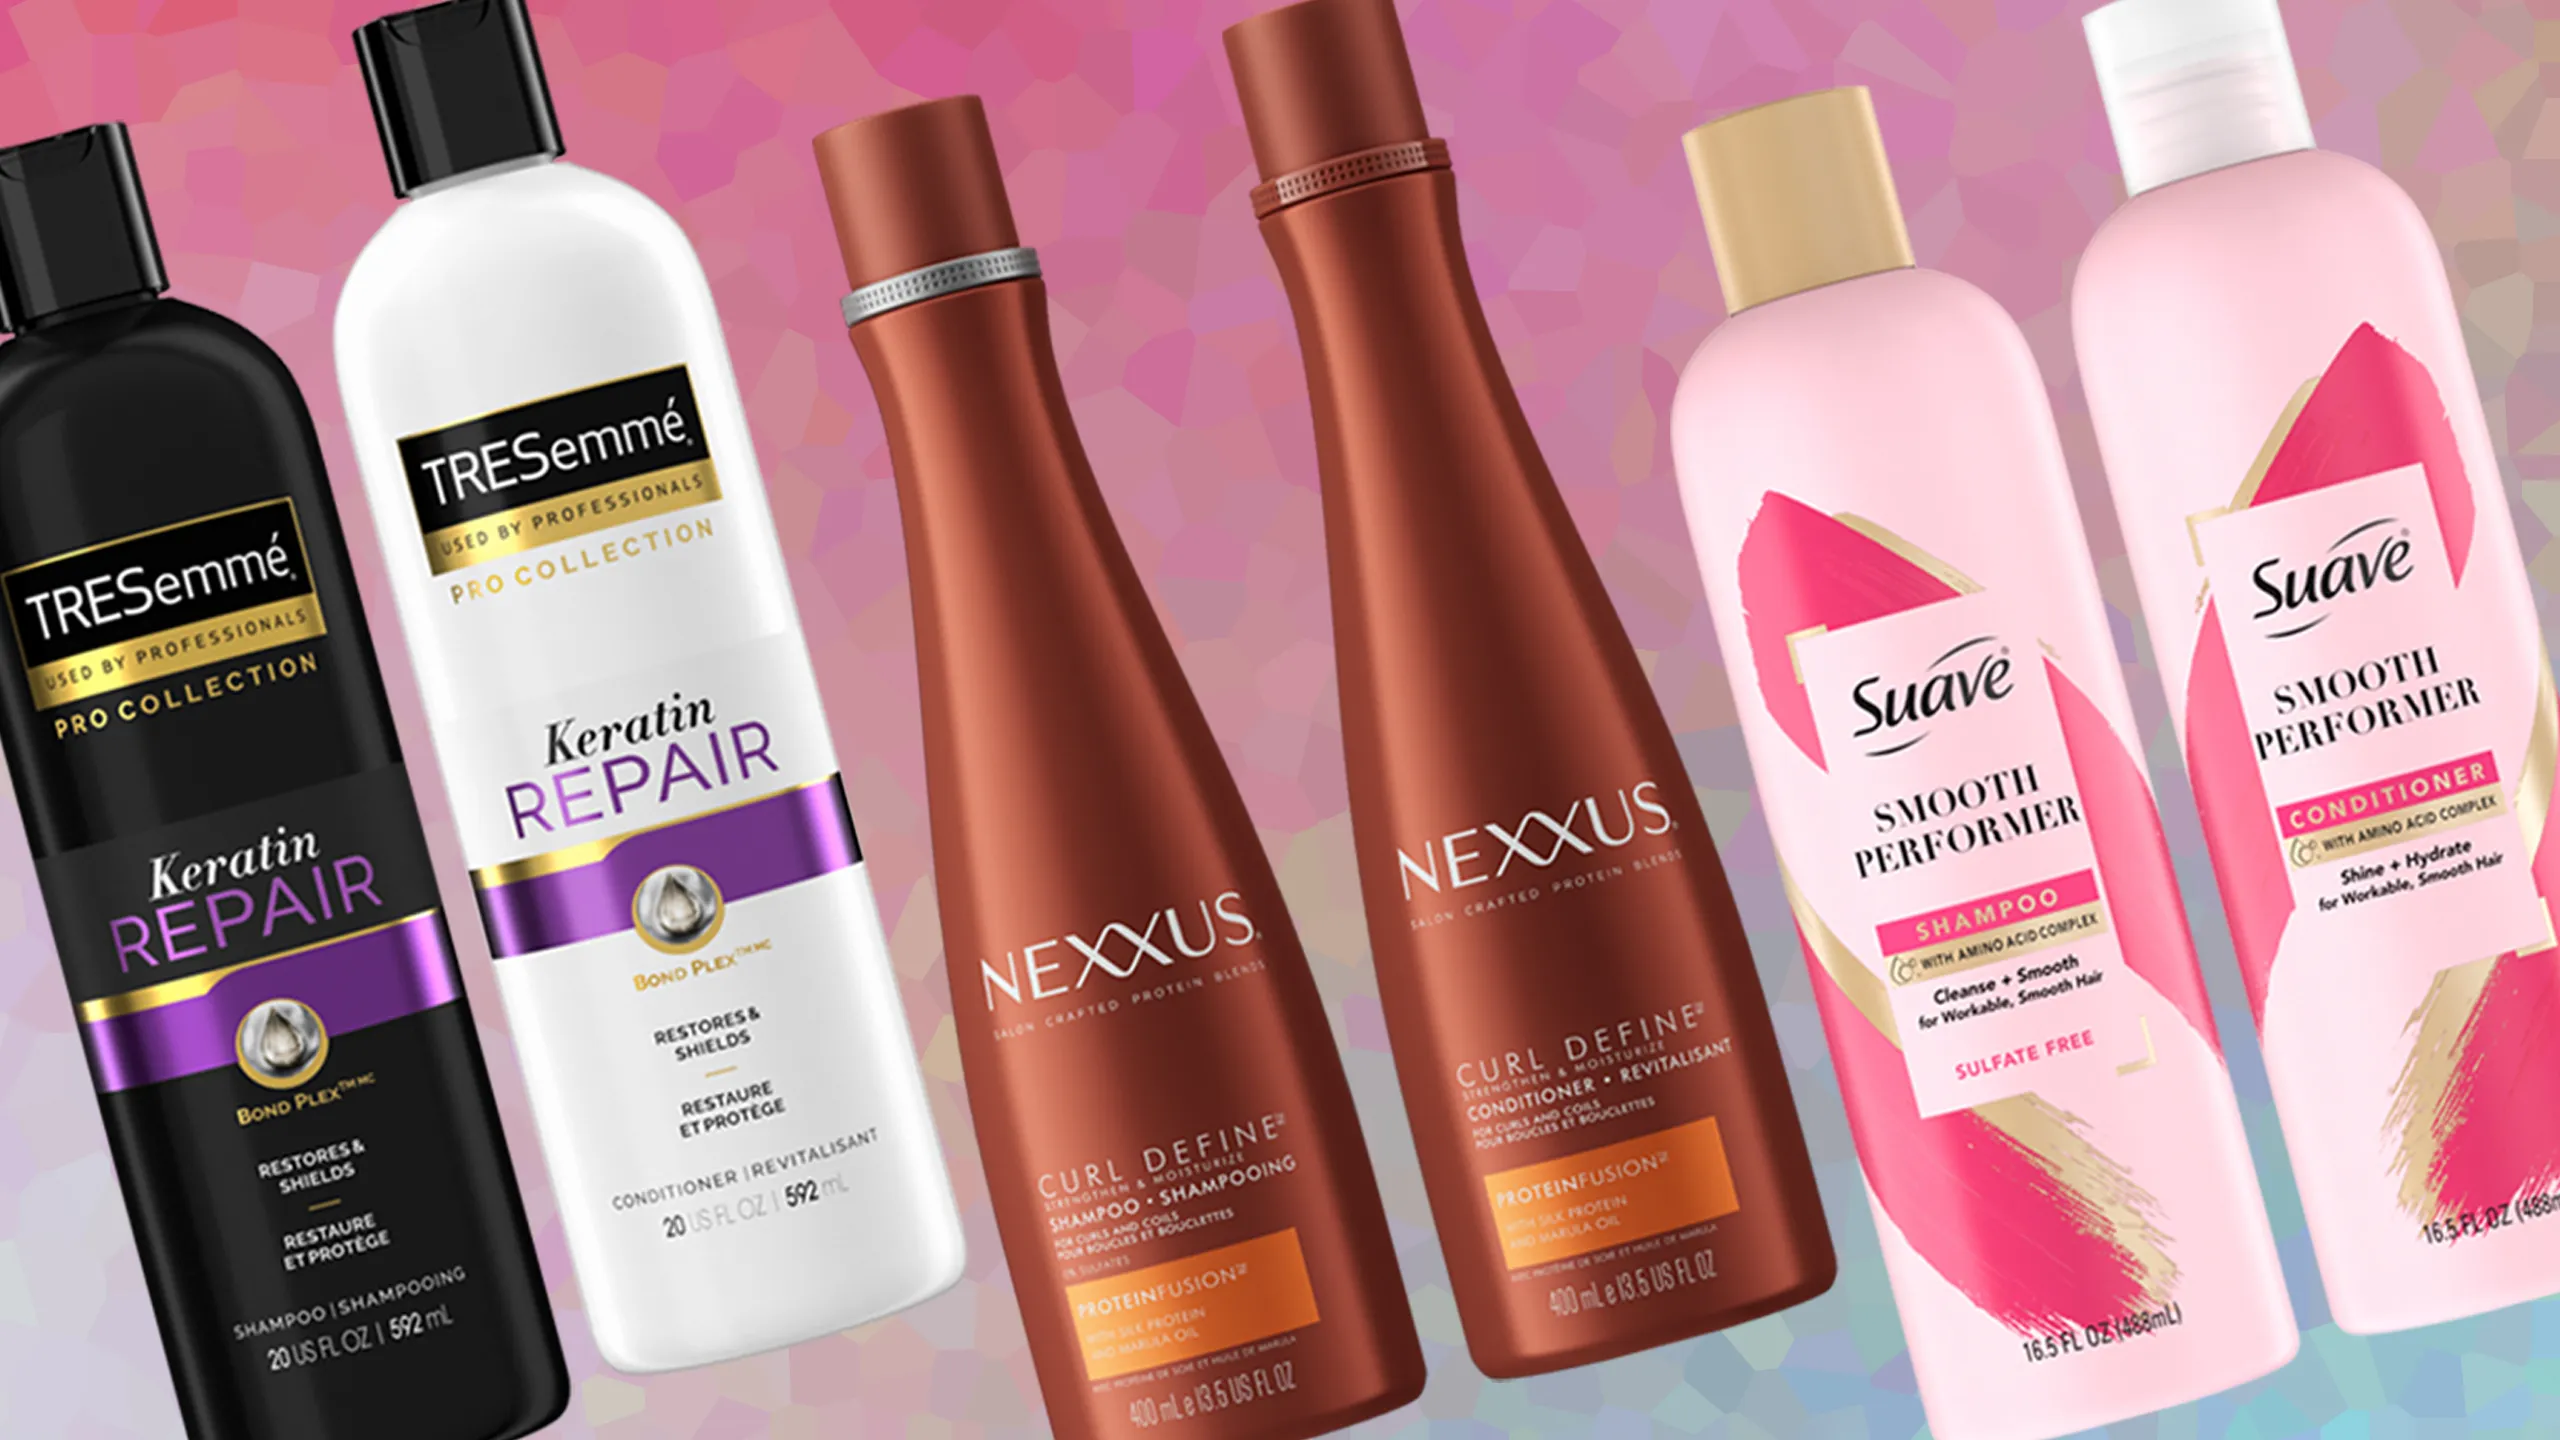
Before we begin, let’s ensure you have all the essential tools and materials ready. You’ll need a quality pair of scissors (ideally hair-cutting scissors), a comb, hair clips, hair rollers, a blow dryer, and a mirror.

HOW TO CUT YOUR OWN SIDE BANGS

Ready to elevate your hairstyle with those chic bangs? Follow these simple steps, and you’ll have the look in no time.

STEP 1: PREP AND MARK YOUR BANGS

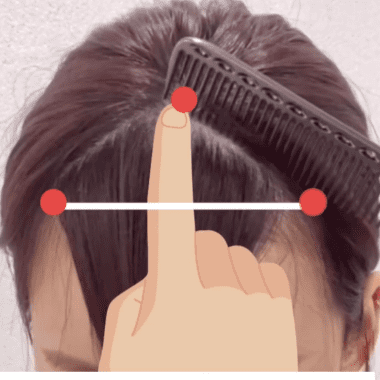
Start by sectioning off the front part of your hair, and decide on the length and width of your bangs. To create the ideal triangular shape, begin the section about 1.5 inches from your hairline, with each point of the triangle ending at your brow’s edge. This will ensure your bangs perfectly frame your face.

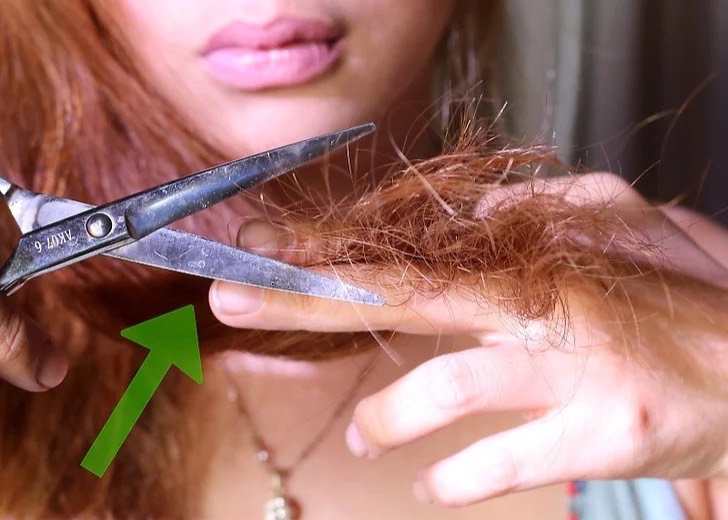
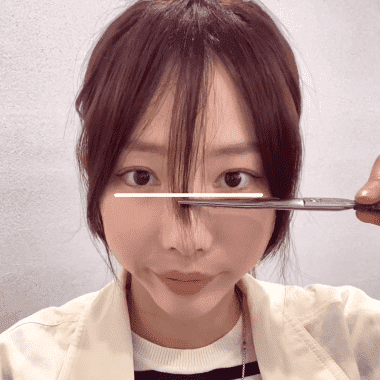
STEP 2: CUT YOUR BANGS

With your hair sectioned and marked, it’s time to trim the bangs. Hold your scissors correctly and cut straight across, following the measurements you’ve set. It’s best to start with a small amount and cut gradually to reach the desired length. For a shorter style, cut your bangs at lip level. For a longer, relaxed look, trim them to chin level.

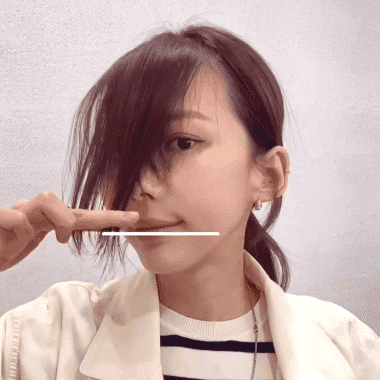
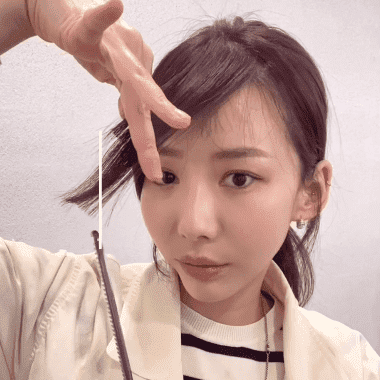
STEP 3: CUT THE CENTER PART 

Now, create the center part. Use a comb to make a part that’s about 1 cm wide, positioned in the middle of your nose (or at the tip of your nose for a longer style).

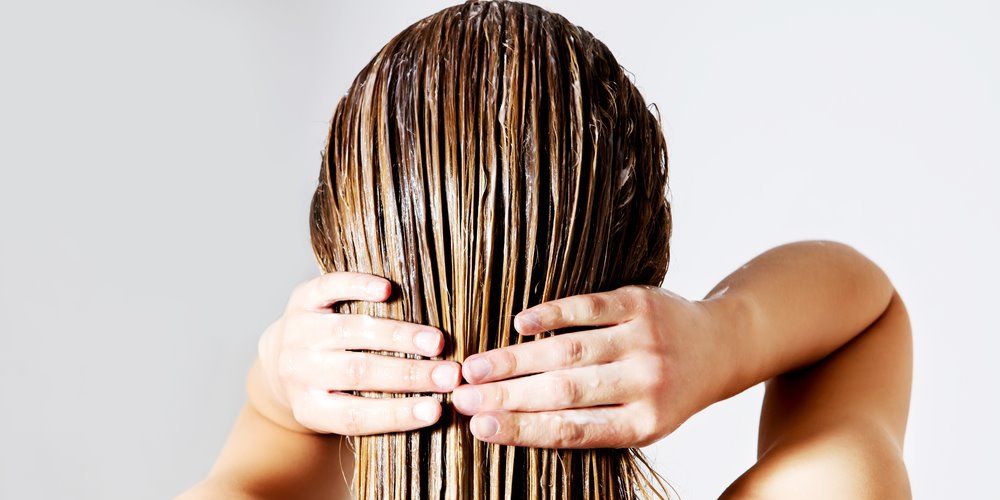
STEP 4: BLEND YOUR BANGS

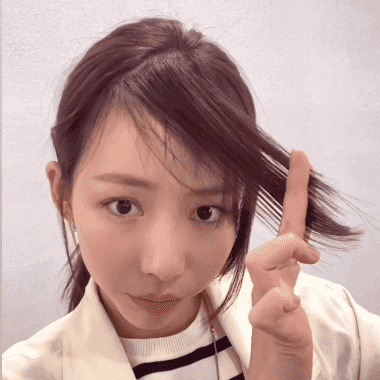
Next, blend your bangs for a natural, effortless look. Bring both sections together and move them to the opposite side. Using the point-cutting technique, cut vertically into the hair rather than straight across. This will create a smooth, seamless transition between the sections and give your bangs a soft, textured finish.

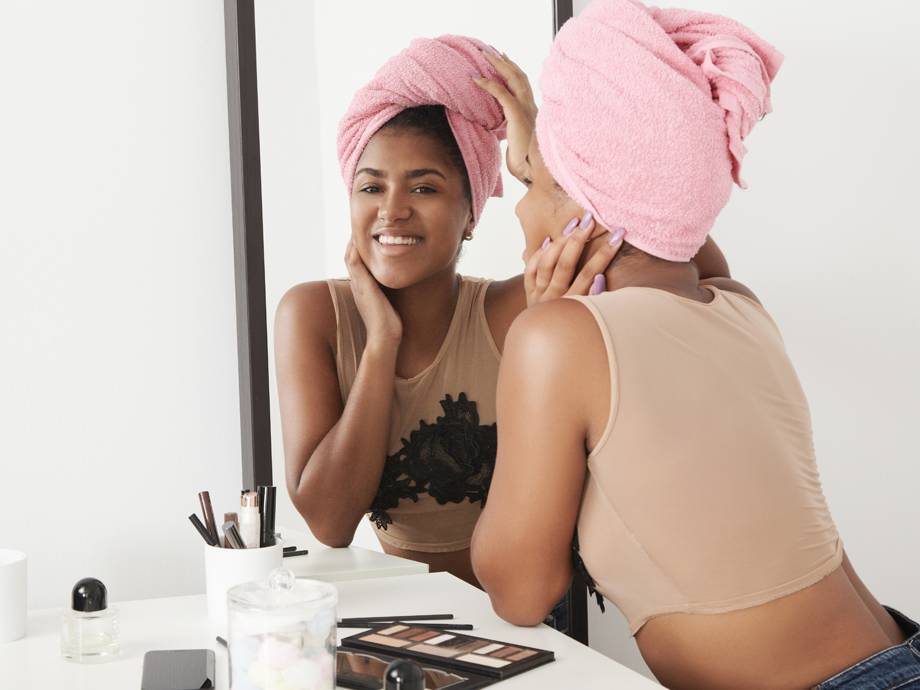
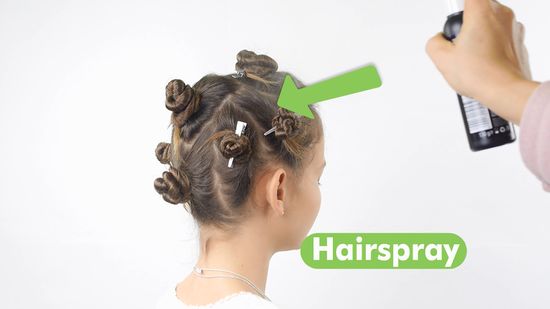
STEP 5: STYLE THE BANGS 

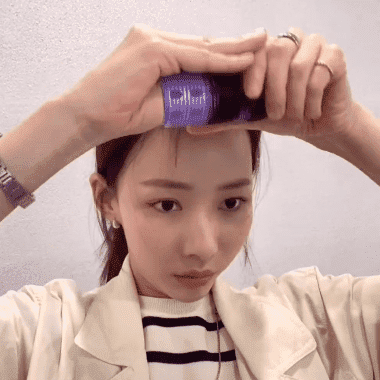
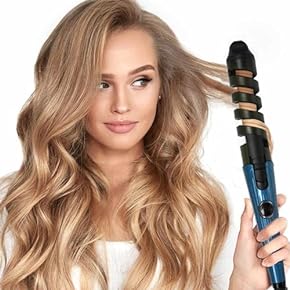
With your new side bangs cut, it’s time to style them to perfection! To add volume, try using hair rollers, and set them with hairspray or your favorite styling products. Style them in a way that complements your face shape, and flaunt your fabulous new look with confidence!

KOREAN SIDE BANGS: FAQS

1.  Korean Side Bangs vs. Curtain Bangs Korean side bangs 

The difference between Korean side bangs and curtain bangs comes down to their length and style.

Korean side bangs are shorter and cut at an angle to softly frame the face. They usually have a light, wispy look and can be styled with both short and long hair.

Curtain bangs are longer and are cut straight across, creating a fuller, thicker appearance. They part in the middle, resembling curtains, and can be styled with many hairstyles, like updos and ponytails.

2. Are There Any Face Shapes That Should Avoid Korean Side Bangs? 

While Korean side bangs suit many face shapes, those with round or square faces might want to skip them. Side bangs can make round or square faces look wider. However, if you have an oval or heart-shaped face, Korean side bangs can be a great fit.

CONCLUSION

By following these five simple steps, you can easily cut and style chic Korean side bangs at home. This trendy look is perfect for adding a touch of elegance to any hairstyle, whether you have short or long hair. With just a little practice and the right tools, you’ll be able to achieve stylish bangs that frame your face beautifully. Now, enjoy your new look and show off those fabulous side bangs with confidence!

HOW TO STYLE CURLY HAIR: 15 TIPS FOR CURLY HAIR 

If you have curly hair, you certainly understand that curly hair possesses distinct characteristics compared to straight or wavy hair. Curly hair strands are often unpredictable and challenging to manage, sometimes leaving you feeling unable to control their wild nature. Proper hair care can make a noticeable difference between a good hair day and a less-than-desirable one. The key disparity lies in the daily hair care habits—whether you approach your curls with a battle mindset or one of affection. In this article, you’ll explore simple tips designed for curly hair. 

Keep Your Curly Hair Type In Mind

Curly hair varies widely, encompassing loose waves to tight, kinky curls. Wavy hair tends to lay flatter on the crown, providing an ideal canvas for shaping your wavy hairstyle. When dealing with kinky hair, it’s crucial to cut it without causing undue tension on the strands. Opting to trim the hair while it retains its natural curl formation is the most straightforward method to achieve the desired shape.

Wash Your Hair Before You Go

Arrive at your haircut appointment with clean and dry hair. Cutting curly hair is most effective when the hair is dry, so it’s advisable to ensure your hair is clean before the appointment. Prioritize having your hair well-moisturized; you might want to consider applying a deep moisturizing treatment in the week leading up to your appointment. This approach allows your stylist to observe your natural curls in their healthy, optimal state, providing them with a clear vision to sculpt your hair with precision.

Cut Before You Color

In contrast to straight hair, it’s recommended to cut curly hair when it’s dry before undertaking any coloring or highlighting procedures. The application of color or dye can potentially leave the hair damp, altering its natural curl pattern and not reflecting its typical level of curliness.

Layer Your Hair

When curly hair is all one length, it tends to become weighed down, resulting in a flattened top and a bottom that flares out in various directions. The layering doesn’t need to be too drastic, but for longer hair, incorporating more layers is beneficial. Long layers, in particular, can be considered, focusing on the bottom section of your hair from the mid-strand to the ends. This approach assists in preserving your hair’s curly texture without succumbing to frizz.

Find A Shampoo And Conditioner With Keratin

Curly hair naturally has lower levels of keratin, the key “ingredient” in straight hair that imparts a frizz-free and straight appearance. To minimize frizz and enhance shine, opt for a sulfate-free shampoo and conditioner specifically designed for curly hair. Ensure you check the label and prioritize products where keratin is listed as a prominent ingredient. If a keratin-infused shampoo is not available, seek alternatives labeled as smoothing and moisturizing, as curly hair tends to be prone to dryness.

Leave A Little Conditioner In Your Hair

During your shower, avoid rinsing your hair too thoroughly after applying conditioner. It’s acceptable to leave a portion of the residue on your hair to maintain conditioning throughout the day. Another excellent choice is leave-in conditioners, especially beneficial on excessively dry days. Consider carrying a leave-in conditioner with you to help retain moisture in your hair throughout the day.

Dry Your Hair With A T-Shirt

Avoid using a towel, as it can generate excessive friction and static, potentially leading to frizz in your hair. Instead, after showering, put a shirt on over your head. Position your forehead through the neck opening of the shirt, allowing your hair to rest within the body of the shirt. This method minimizes friction and helps prevent static, promoting a smoother finish for your hair.

Check The Forecast

Prior to determining your hairstyle for the day, it’s wise to check the daily weather. The day-to-day shifts in the outdoor dew point can significantly influence your hair, affecting the potential amount of frizz you should be prepared to manage.

Have A Backup Plan

Headbands, updos, and braids offer convenient solutions when you’re pressed for time or your hair isn’t cooperating. For those with curly hair, exploring different hair accessories or mastering various braiding patterns can be a smart approach to manage and style your hair effectively.

Avoid Brushing Your Hair

     If you want to tame curly hair, don’t brush it. This may seem like the opposite thing to do when trying to eliminate frizz, but it really works. When you brush naturally curly hair, the brush is essentially splitting apart those curls and turning them into individual hair strands, which can result in exaggerated volume. If you take a shower, then let your hair air dry without brushing it, those curls will stay compact and less frizzy.

    Select Your Hair Product

    Choose a humectant product for dry weather to combat frizz and an anti-humectant for damp conditions. Keep alternative products handy for unpredictable weather. Dew points strongly affect curls, dropping below 30 degrees in winter. Avoid humectants in low dew points; opt for leave-in conditioners. Experiment with products in the 30-40-degree range. The ideal dew point for manageable curls is 40-60 degrees. Use regular moisturizing treatments and consider humectants. In high dew points (60+ degrees), skip leave-in conditioners and use firm-hold products like pomades, avoiding additional humectants due to high moisture levels.

    Apply The Curl Cream, Gel, Or Mousse.

    When your hair is damp, take a small amount of product and apply it to the back of your head, where the hair is thicker. Then, work your way towards the sides and top, adding small amounts of product as needed. If you have longer hair, consider draping a towel over your shoulders to prevent any product from getting on your clothes.

     Allow The Hair To Dry Completely. 

    After applying the product, your hair might still look wet and feel a bit crunchy. Avoid touching it, as this can create friction between the hairs and lead to frizz. Opt for a diffuser to speed up the drying process. Choose high heat and low speed settings on the diffuser – the high heat aids quick drying, while the low speed prevents excessive movement of the hair.

    Scrunch The Curls

    Once the hair is completely dry, scrunch curls to break the gel layer. Grab and handful of your curls and scrunch them using the same motion you would to crumple a piece of paper. Do this until the hair feels soft again then stop. Excessively touching the hair will be more likely to give you frizz.

    Use A Curling Iron To “Fix Up” A Few Curls If Needed

    If you notice a single curl not behaving as desired, grab your curling iron to make adjustments. However, keep in mind that heat can be detrimental to curly hair, so it’s crucial to use a heat protectant and minimize heat usage whenever possible.

    Use A Curl Refresher Throughout The Day

    If it seems like your product is losing its effectiveness, consider spritzing a mixture of water and leave-in conditioner onto your hair. This can help reinvigorate the product and maintain the bounce in your curls throughout the day.

    CONCLUSION

    In conclusion, styling curly hair can be a delightful and creative process with the right techniques and products. The key lies in understanding your unique curl pattern, adopting a suitable hair care routine, and selecting products that enhance your curls. From choosing the right haircut to navigating the challenges of different weather conditions, the journey to well-styled curly hair involves a combination of care, experimentation, and embracing the natural beauty of your curls