Straight hair offers endless versatility for men’s hairstyles, serving as a perfect foundation for cuts that range from sleek and refined to bold and textured. As trends evolve, men’s haircuts for straight hair are embracing fresh, innovative styles that blend modern flair with classic appeal. In this article, we explore 10 trendsetting hairstyles, offering fashion-forward men a unique combination of cutting-edge looks and timeless elegance.
The Classic Combed Back

This hairstyle remains a classic for its timeless simplicity and refined elegance. Ideal for the gentleman who values a clean, polished appearance, the combed-back style radiates confidence. The sides are kept short to highlight the volume and flow of the hair on top, which is styled back with meticulous precision.
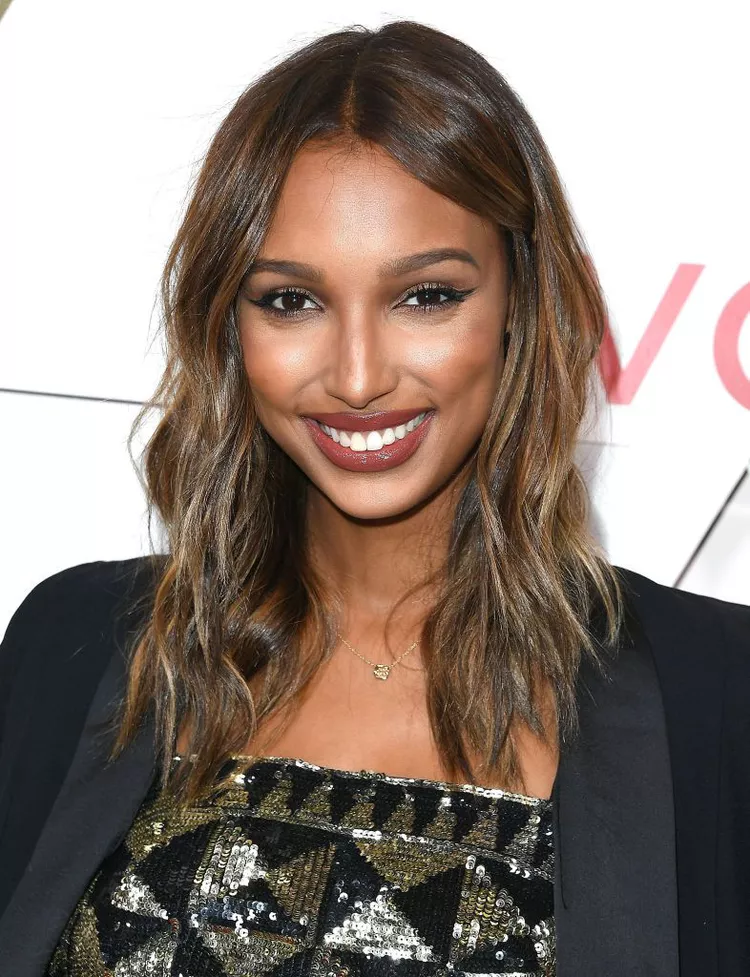
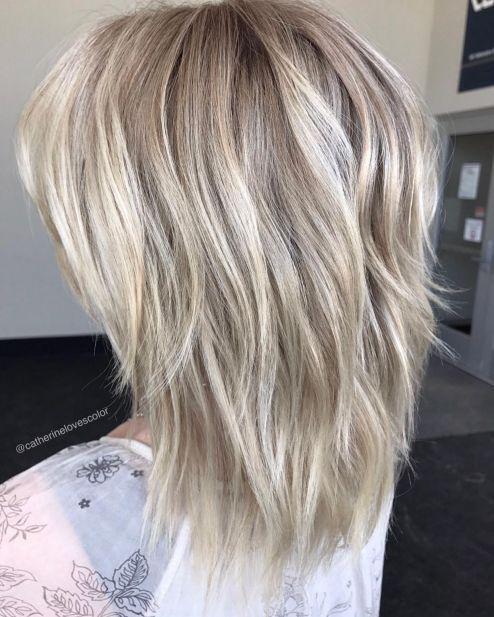
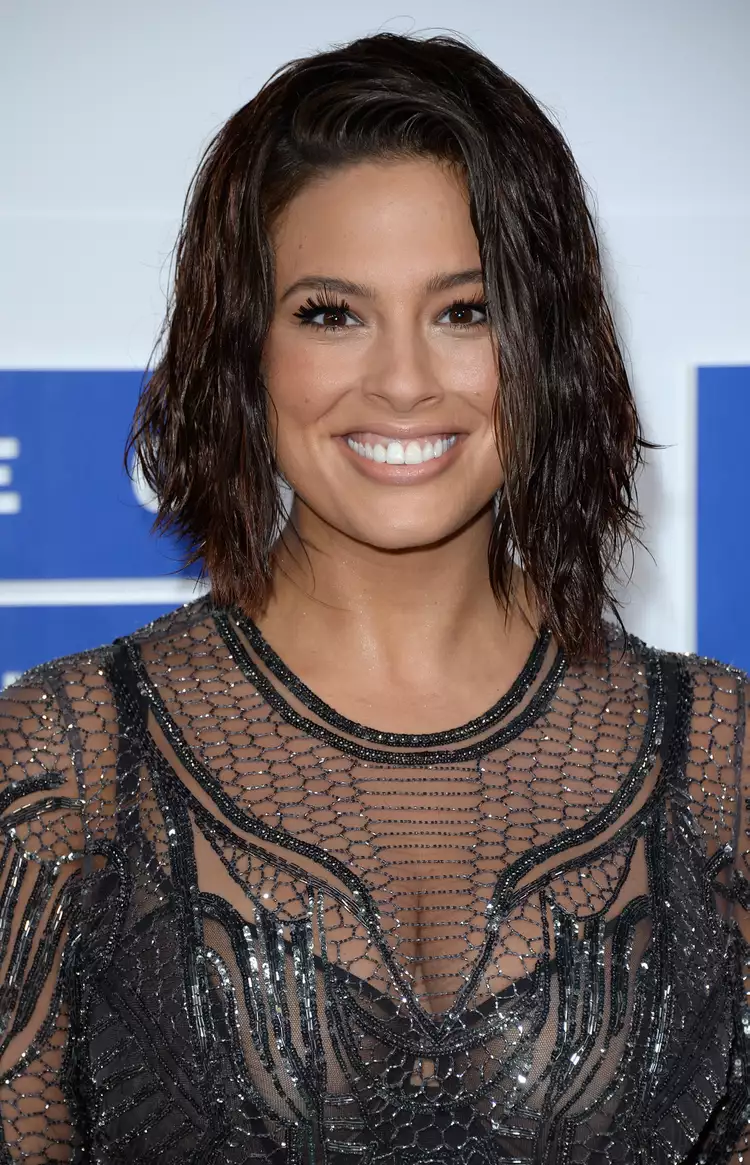
The Textured Wave

A textured wave brings depth and dimension to straight hair, offering a laid-back yet fashionable look. This hairstyle features medium-length hair with layers that create natural movement and a soft, wavy texture. It’s an ideal choice for individuals with round faces, providing a flattering shape that enhances their features.
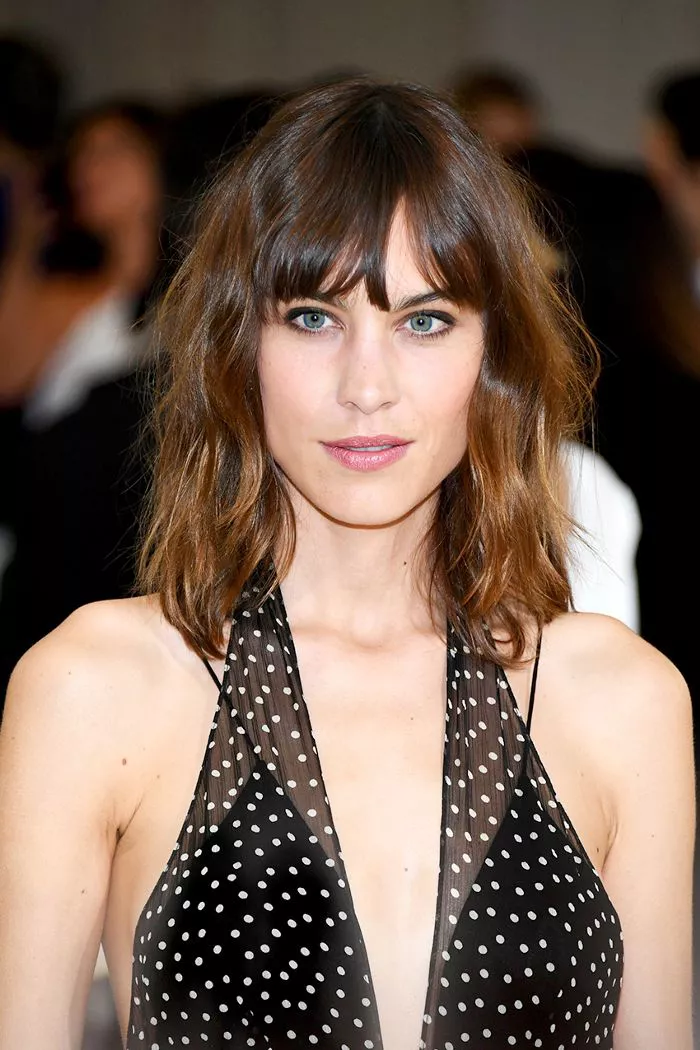
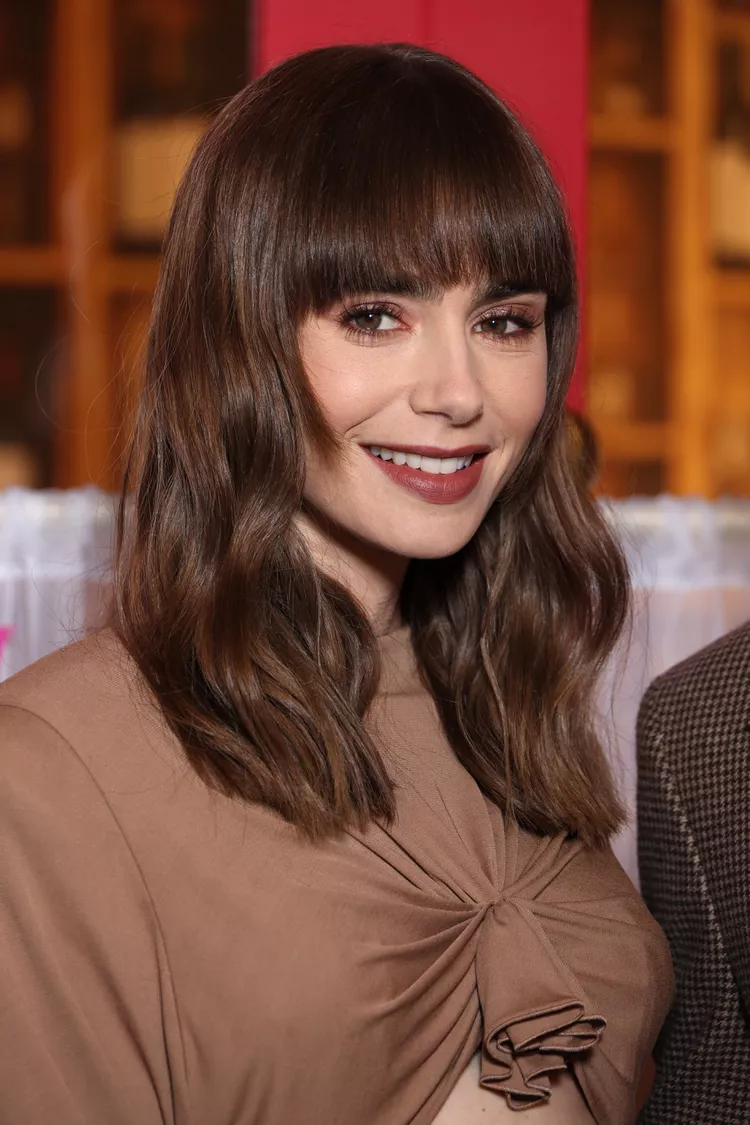
The Side-Swept Fringe
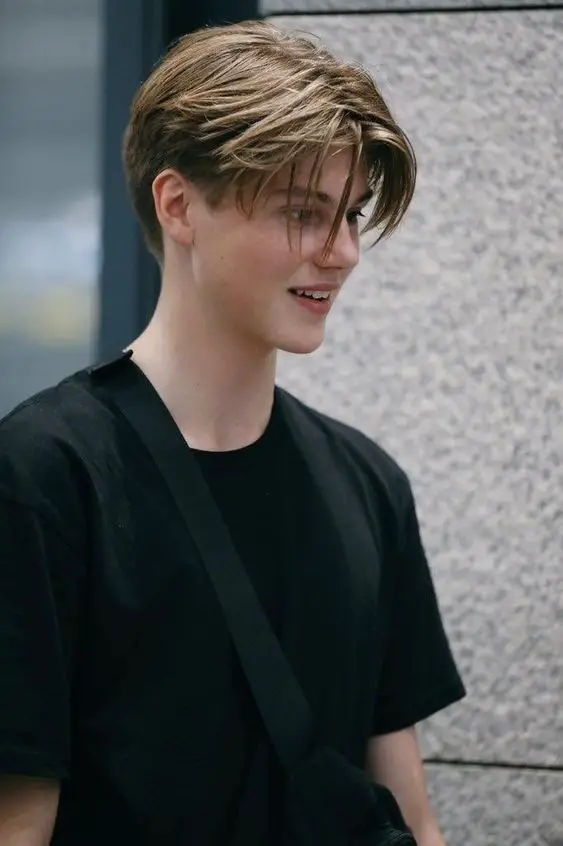
For those with a prominent forehead or a diamond-shaped face, the side-swept fringe is a perfect option. It offers coverage while creating a youthful, dynamic look. The fringe is expertly cut to sweep across the forehead, blending seamlessly with the rest of the hair for a smooth, flattering finish.
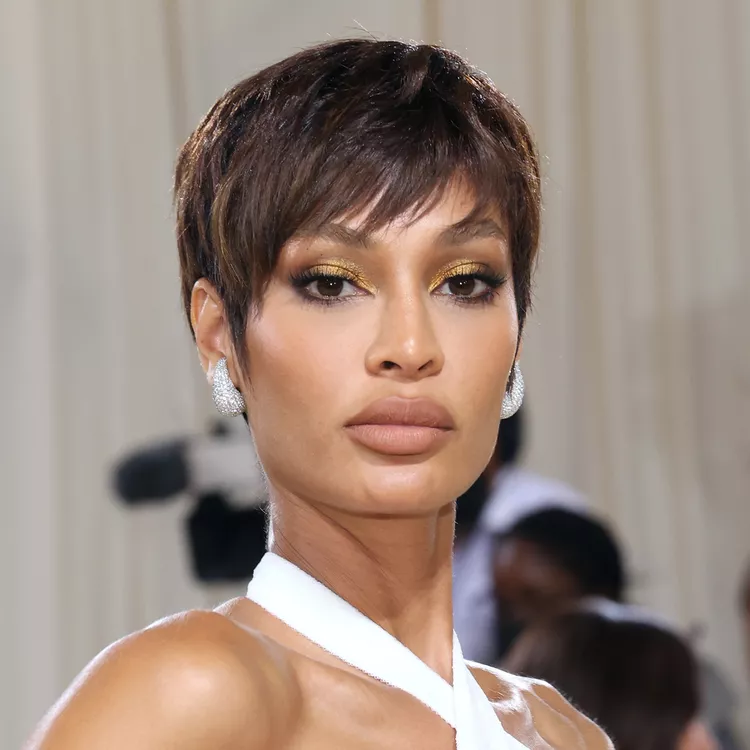
The Modern Crew Cut

A modern take on the classic crew cut, this hairstyle emphasizes precision and geometry. Featuring sharp lines and defined angles, it’s a look that exudes a cool, contemporary vibe. The top is left slightly longer to add texture, making it a versatile style that can easily be dressed up or down.
Timeless Taper: Classic Meets Modern

The timeless taper haircut continues to be a reliable choice for men with straight hair. This classic style is refreshed with modern updates, delivering a versatile look that transitions effortlessly from professional to casual. The hair gradually shortens from the top to the nape, creating a clean, tailored appearance that flatters a round face. It’s a confident, effortless style that makes a statement without appearing overdone.
Sleek Side Part: Polished Perfection
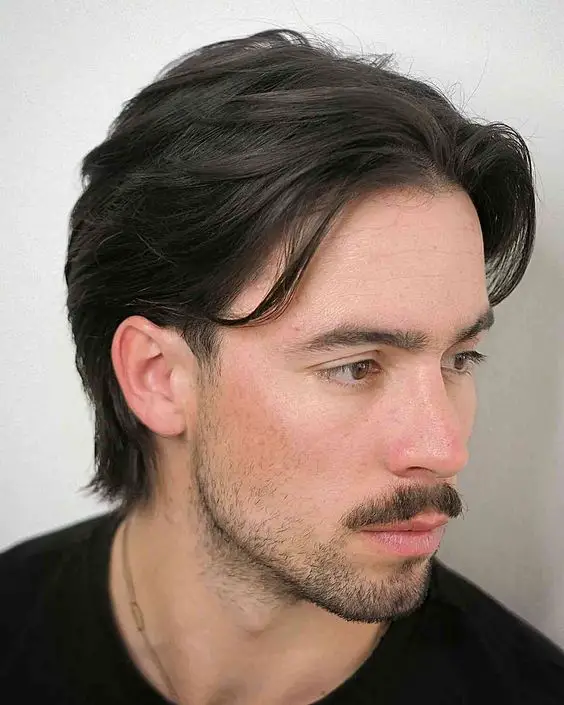
For those who favor a polished look, the sleek side part is the ultimate in refined style. Perfect for medium-length straight hair, this haircut features a sharp part that divides the hair, with one side neatly combed over. Favored by trendsetters in the men’s fashion world, it brings a sophisticated edge to anyone who wears it.
Textured Quiff: Modern Edge

Inject modern edge into your style with a textured quiff. Ideal for men with short to medium straight hair, this hairstyle delivers a playful yet structured appearance. The quiff is styled to stand tall at the front, while the rest of the hair is carefully styled for a dynamic, sharp finish.
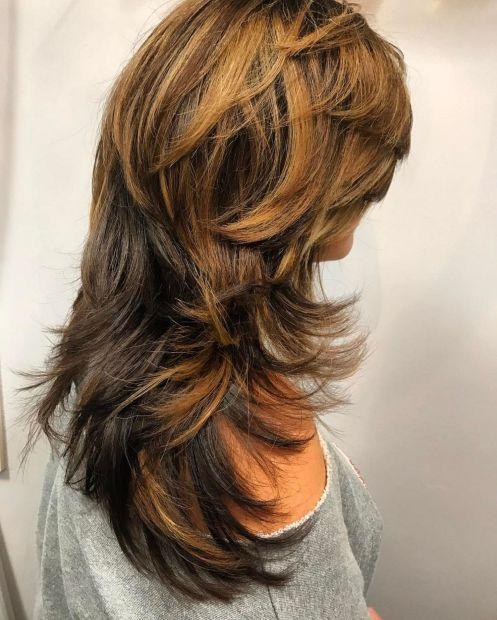
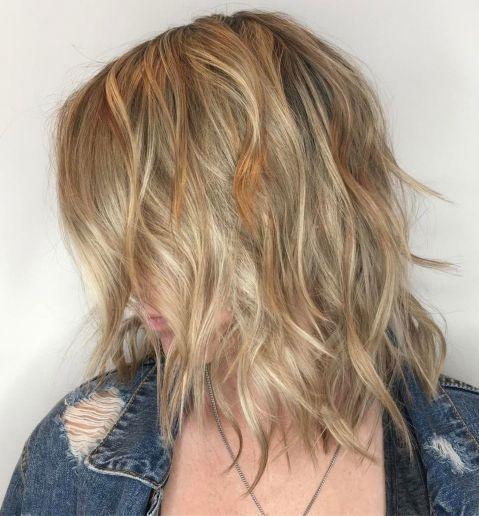
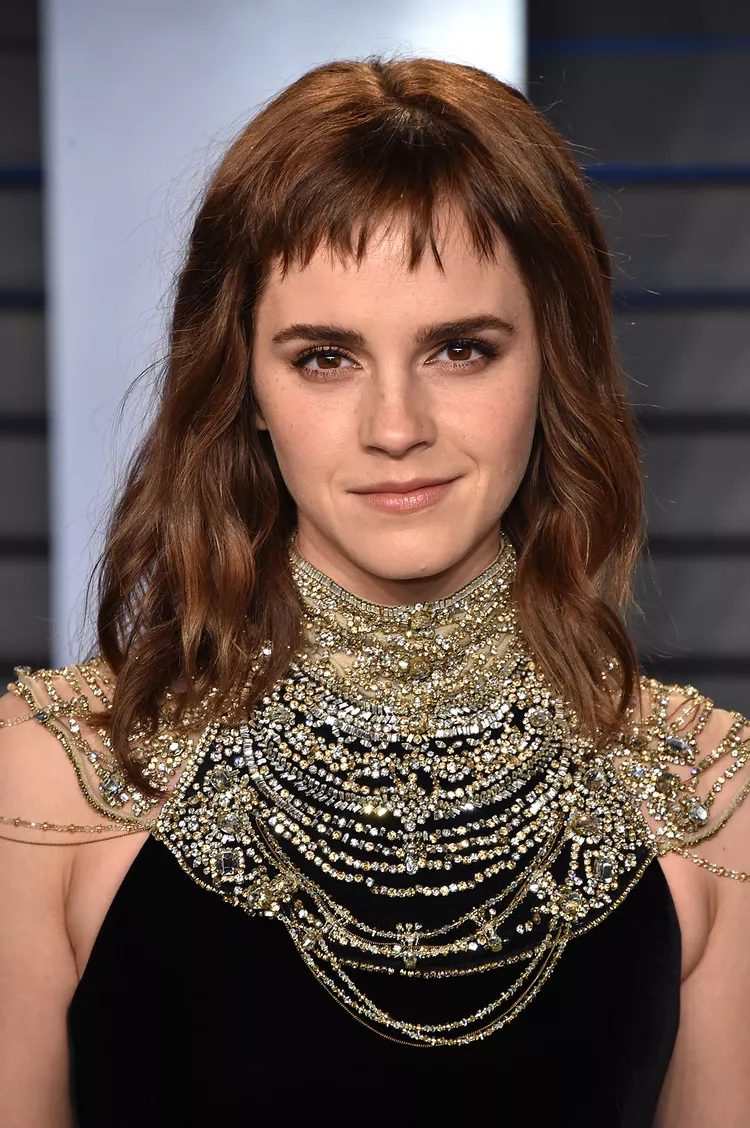
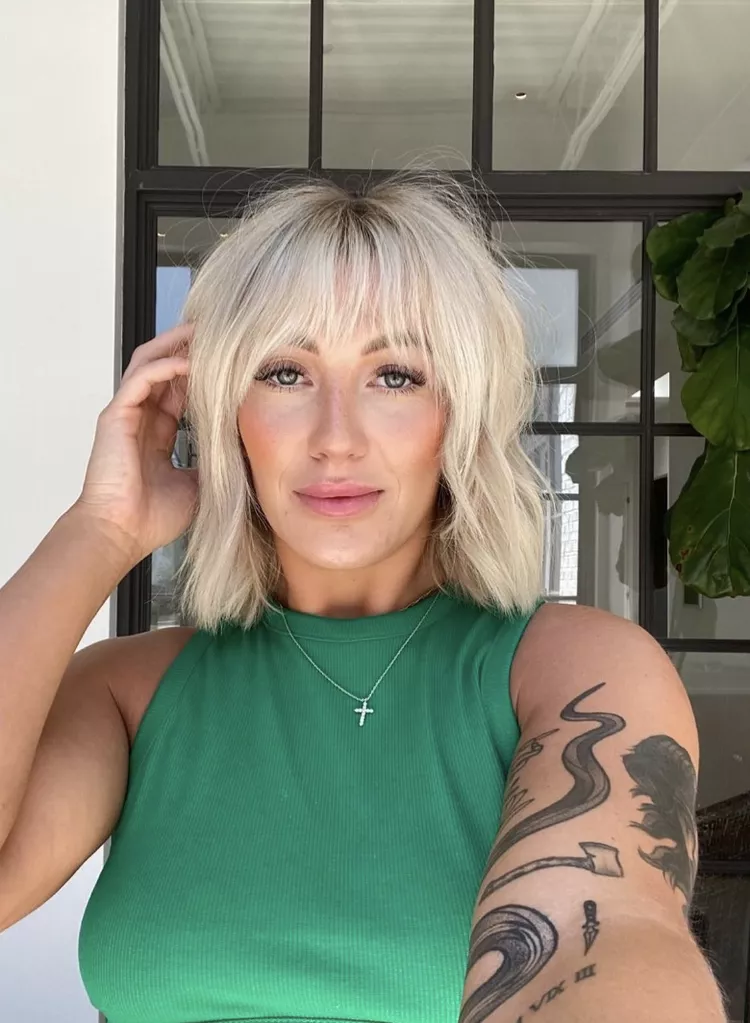
Volume And Movement

Next, we have a cut that combines volume and movement, ideal for medium-length straight hair. The top layers are cut to create a textured effect that can be styled either messy or sleek, depending on the occasion. This style is especially flattering for those with a prominent forehead, as it draws attention upwards, helping to balance facial proportions.
Refined Fade: Sharp And Sophisticated

The refined fade continues to dominate short men’s haircuts for straight hair. This style creates a sharp contrast between the nearly bare sides and the fuller hair on top, making a bold statement. It perfectly complements the cool and composed persona of the modern man, offering a clean, practical cut that remains effortlessly stylish.
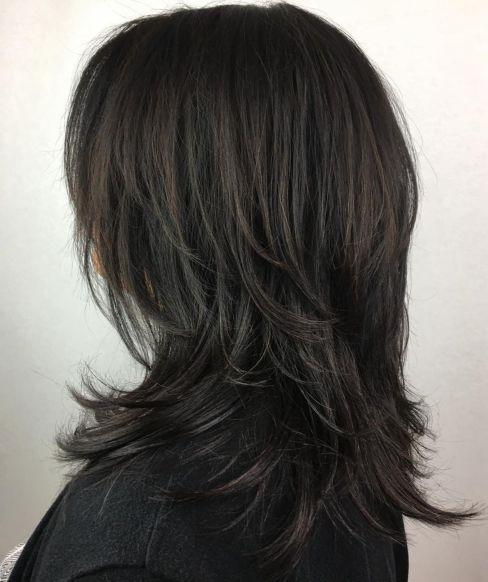
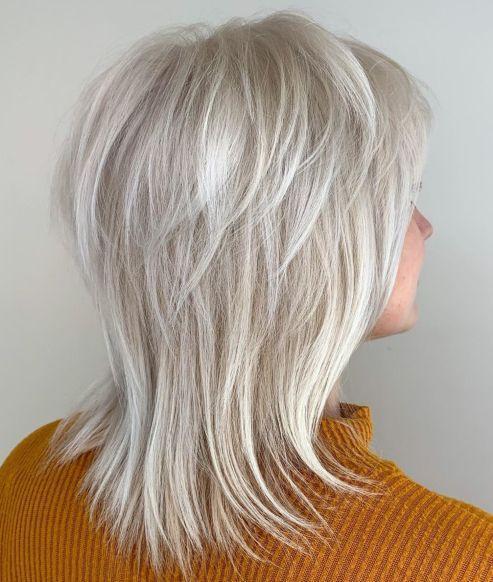
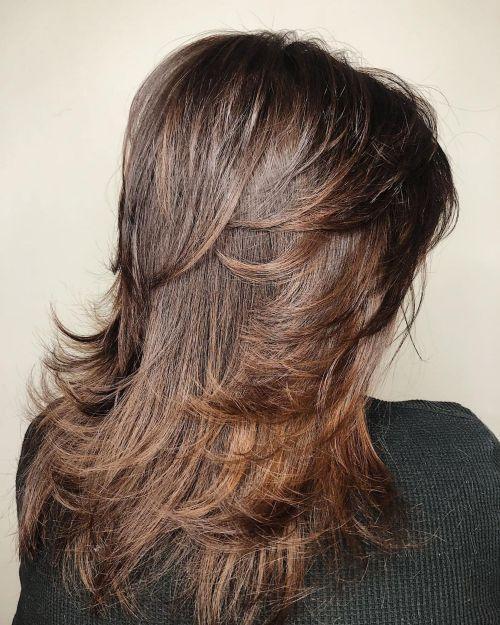
Shaggy Layers: The Effortless Cool

For those who favor a more relaxed look, shaggy layers are the perfect choice for long straight hair. This cut exudes an effortless, carefree vibe, ideal for the free-spirited individual. It’s versatile, easily adaptable to a beachy look or a more refined style. Additionally, it’s a great option for those with a diamond-shaped face, as the layers add width to the cheekbone area, creating a balanced and flattering silhouette.
CONCLUSION
The world of men’s hair is constantly evolving, and straight hair remains a key player in the latest trends. From subtle fades to bold statement cuts, there’s always something new to try. Explore these styles and find the perfect blend of classic and contemporary to create a truly unique look.