Embracing the silver in your hair can be a stylish and empowering choice. Gray hair has gained significant popularity in recent years, with many women opting to showcase their natural beauty rather than covering it up. One of the most elegant ways to transition to gray is through blending techniques. Gray blending for dark hair involves strategically incorporating shades of gray into your existing color, creating a seamless and harmonious look.
In this article, we’ll explore 25 stunning gray blending ideas specifically tailored for dark hair. Whether you’re looking for a subtle touch of gray or a dramatic transformation, there’s a blending technique to suit your personal style. From highlights and lowlights to balayage and ombre, we’ll provide inspiration and guidance to help you achieve the perfect gray blend for your dark hair.
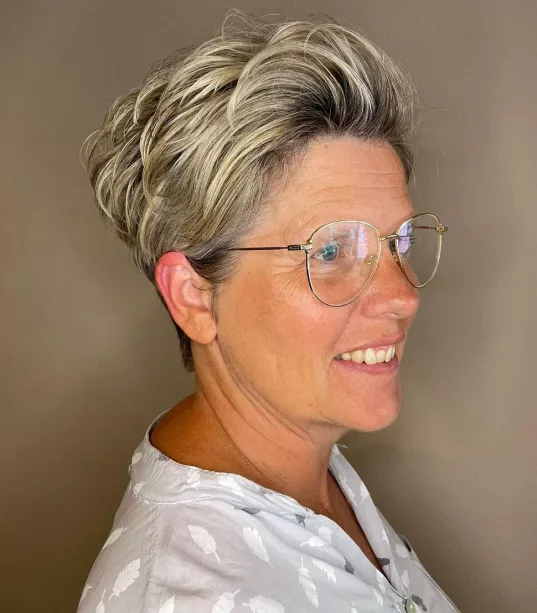
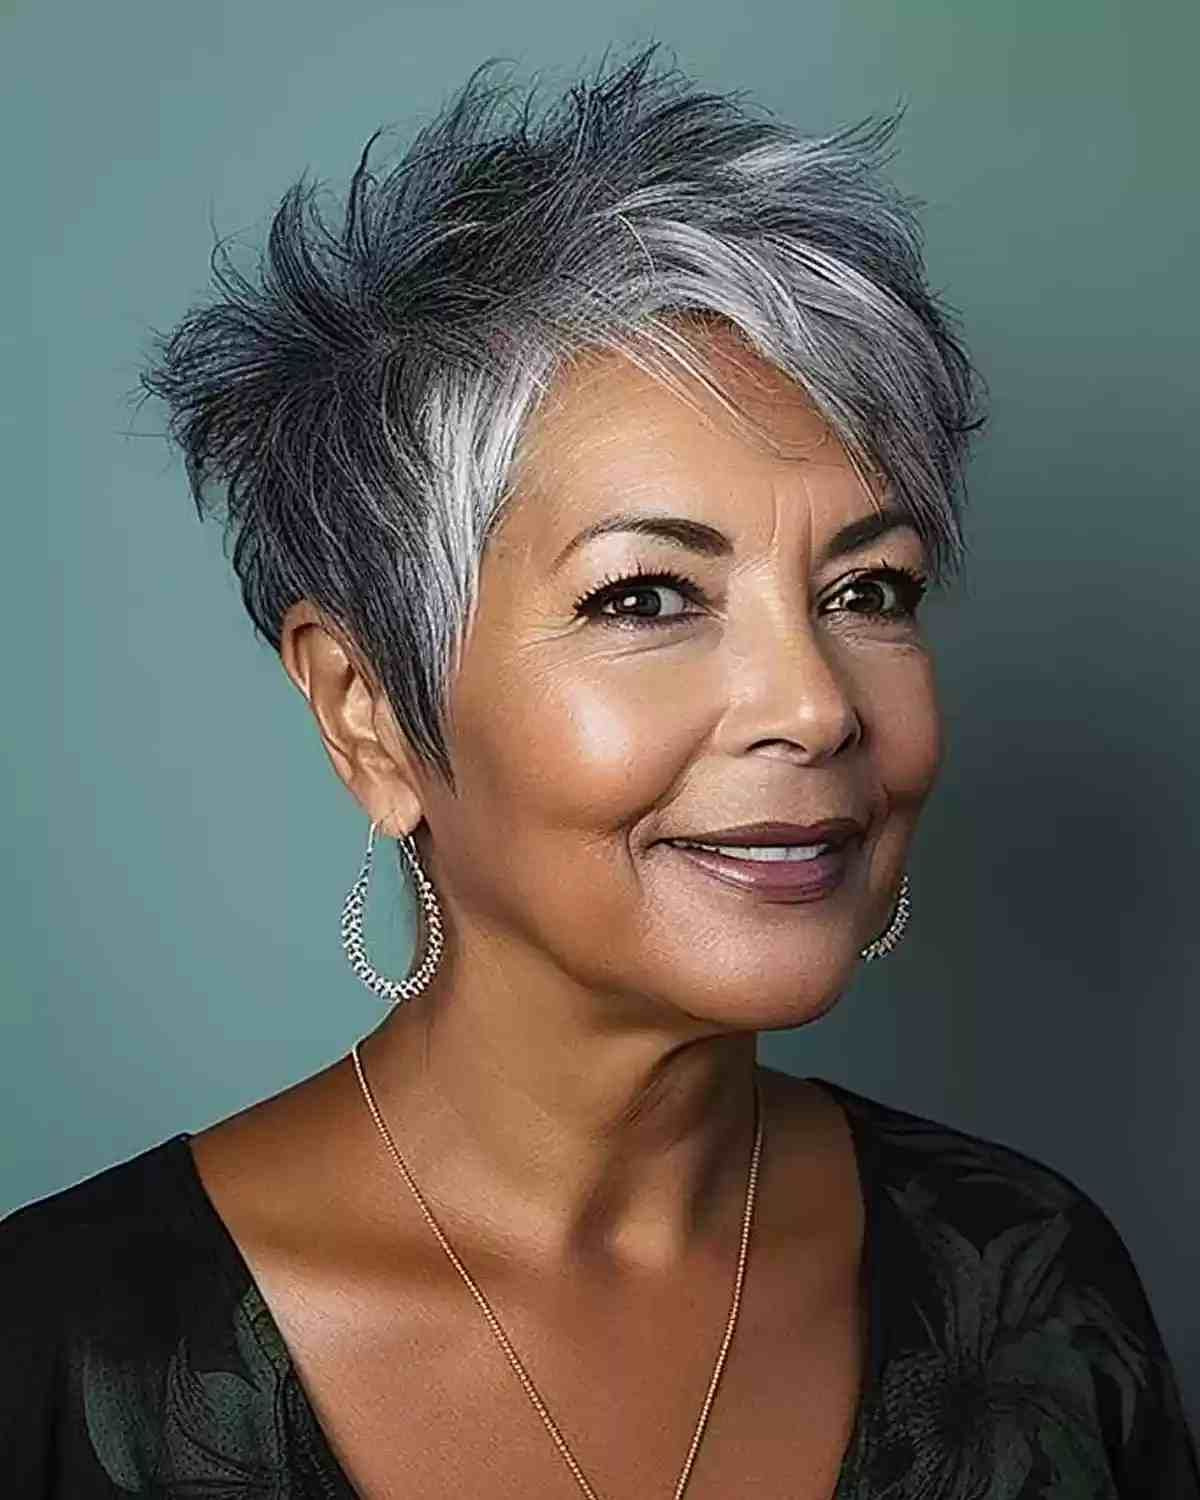
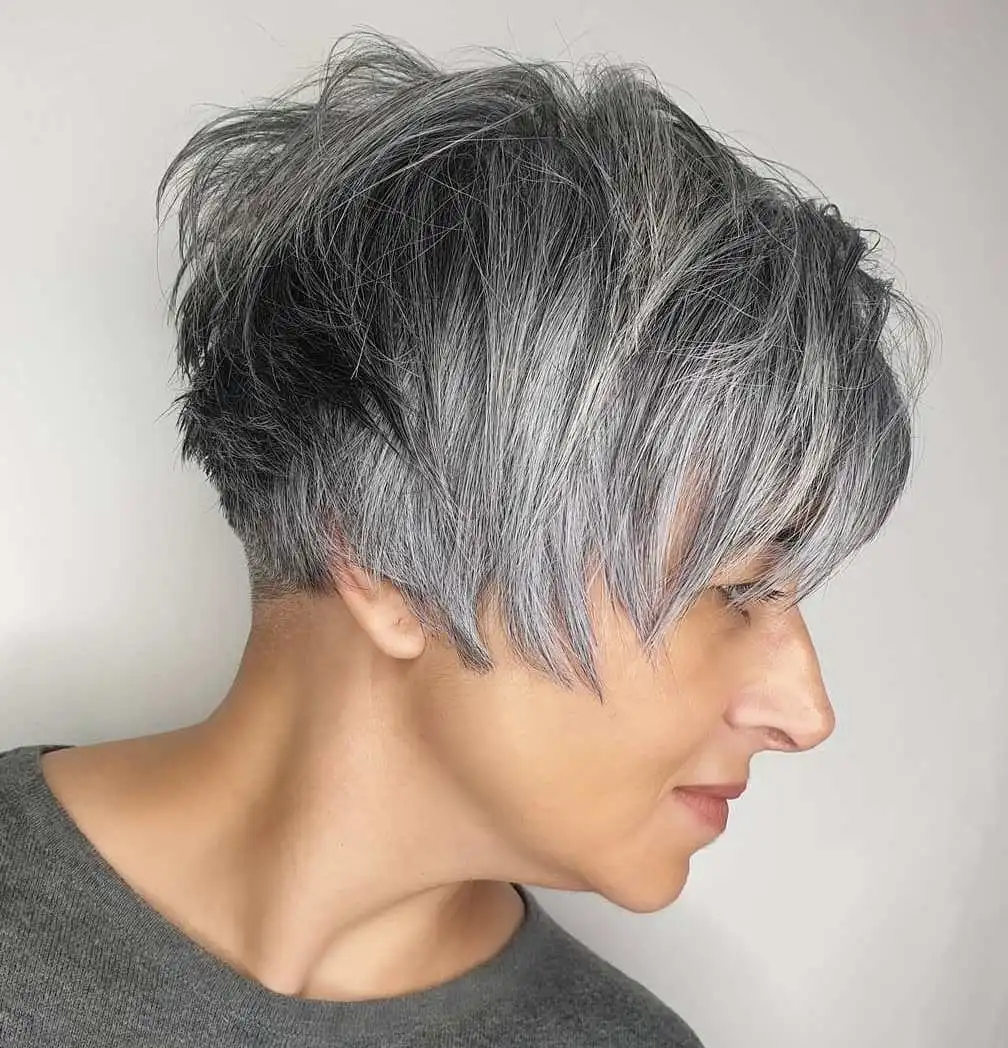
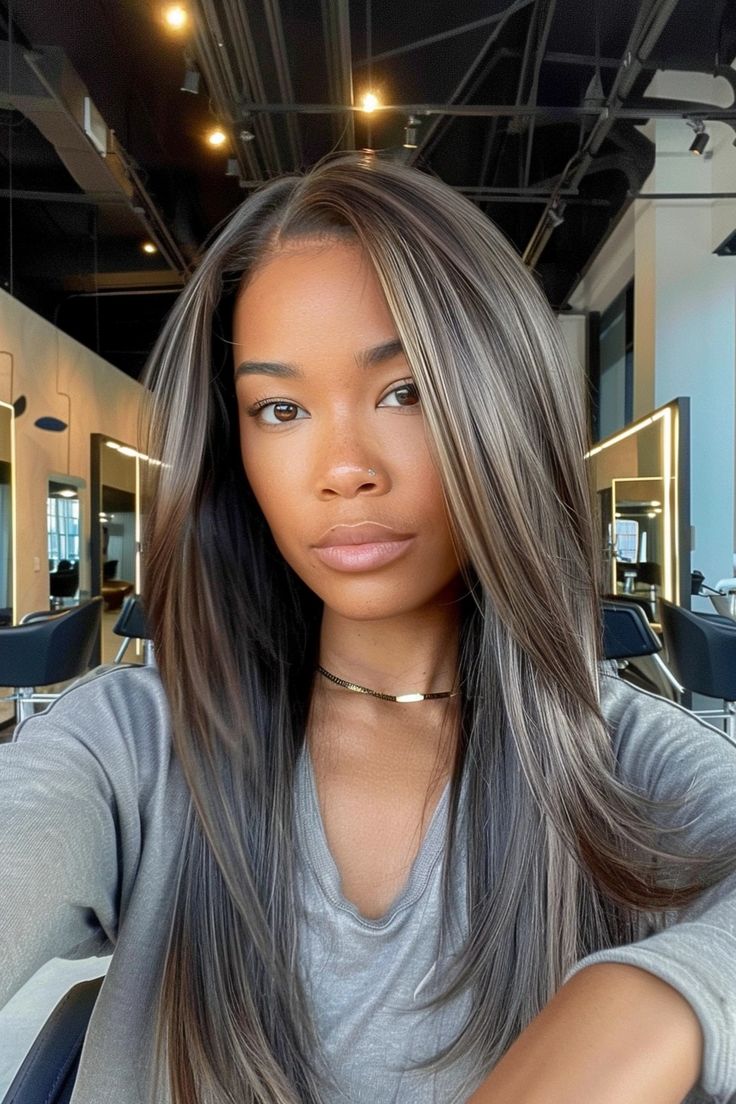
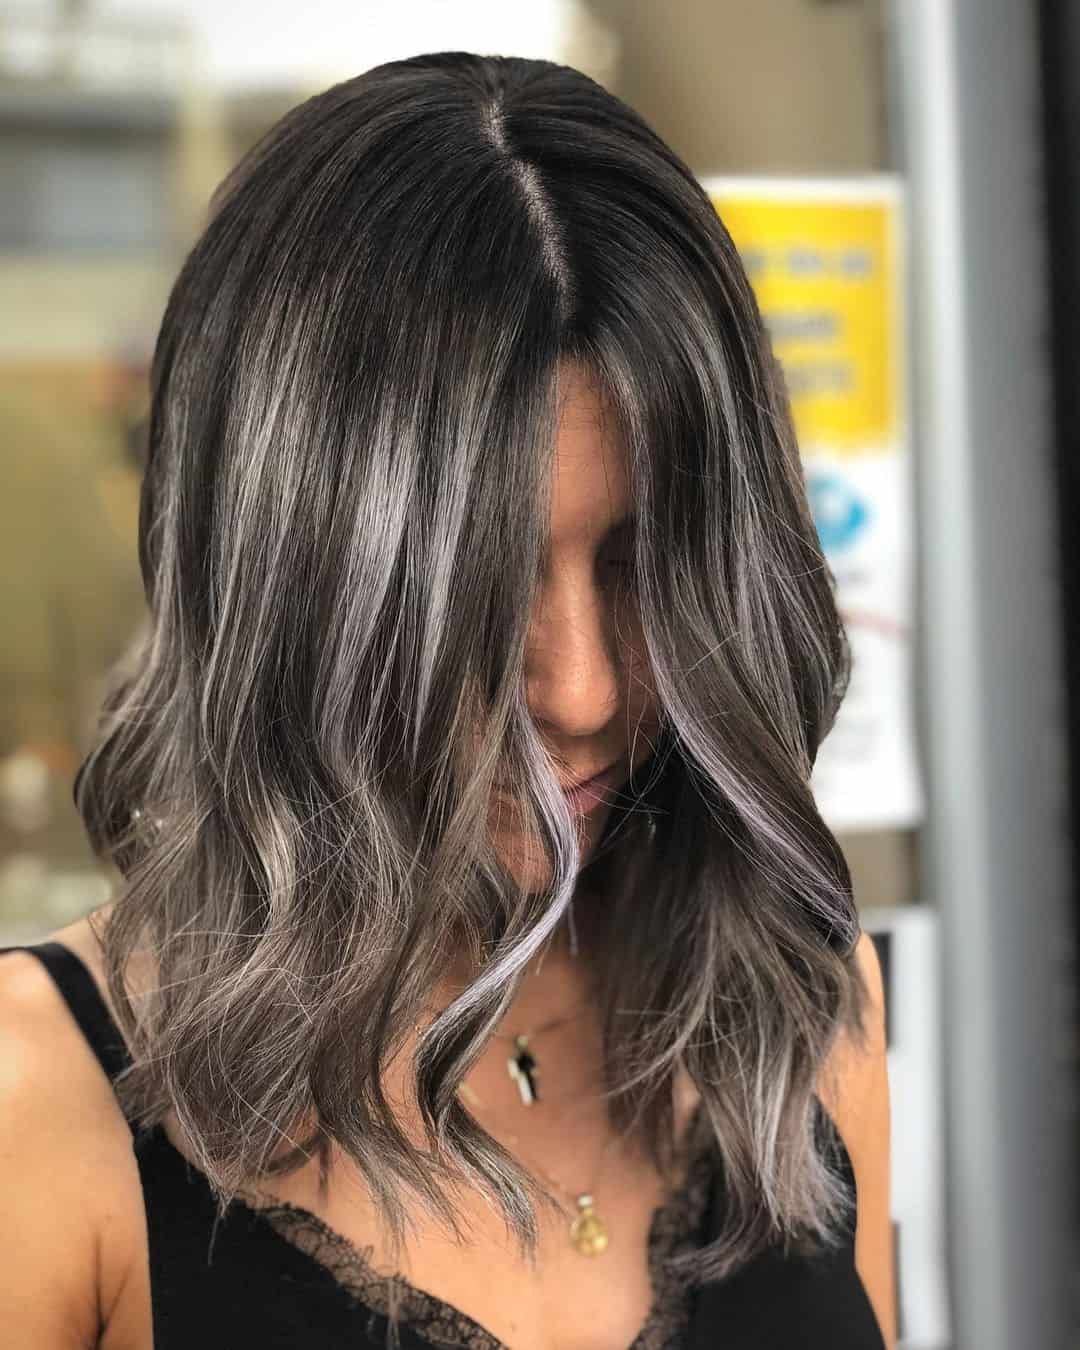
GRAY BLENDING BALAYAGE
Reserve the most captivating blend for the finale. Incorporate your grays in a way that’s both stylish and exciting. This look is truly mesmerizing and has me completely captivated.
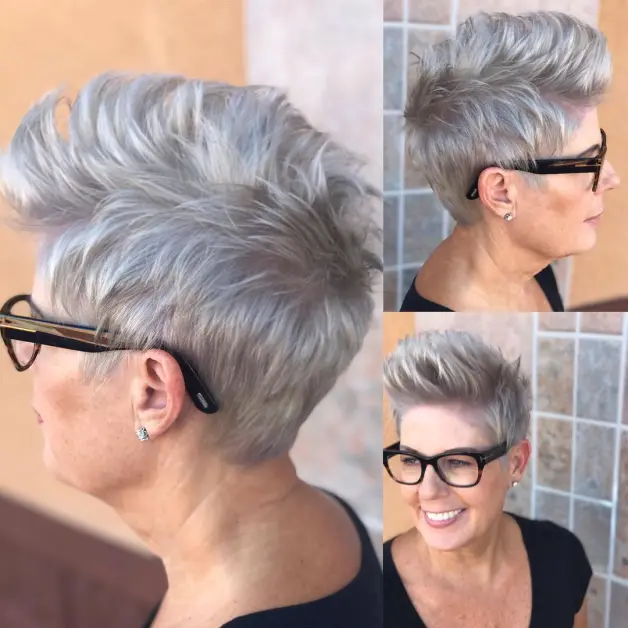
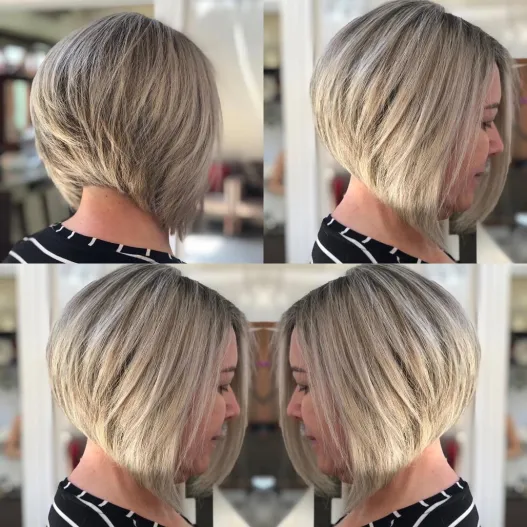
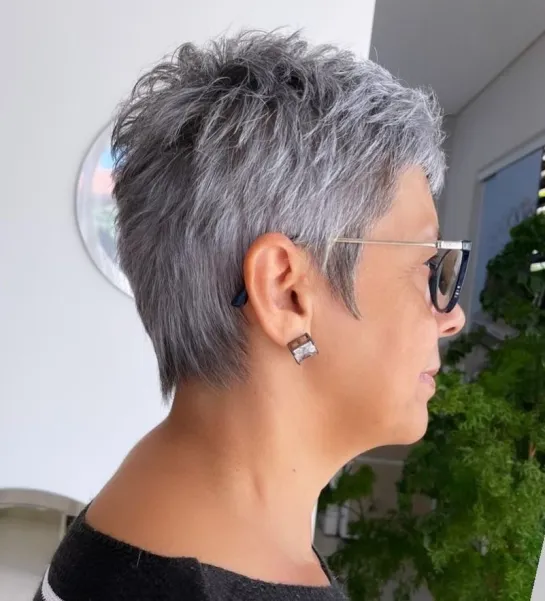
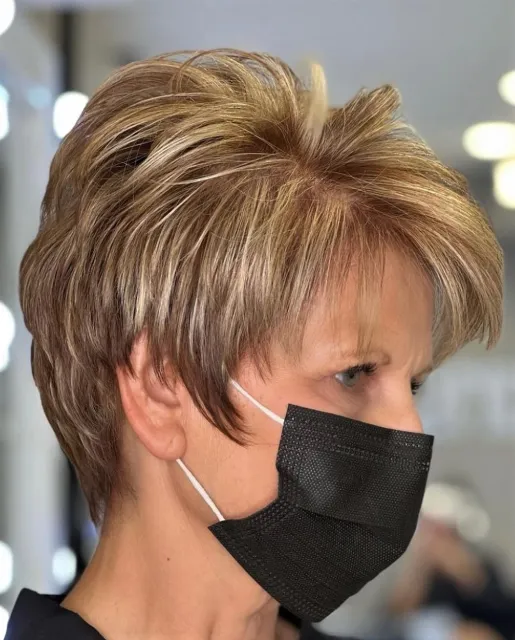
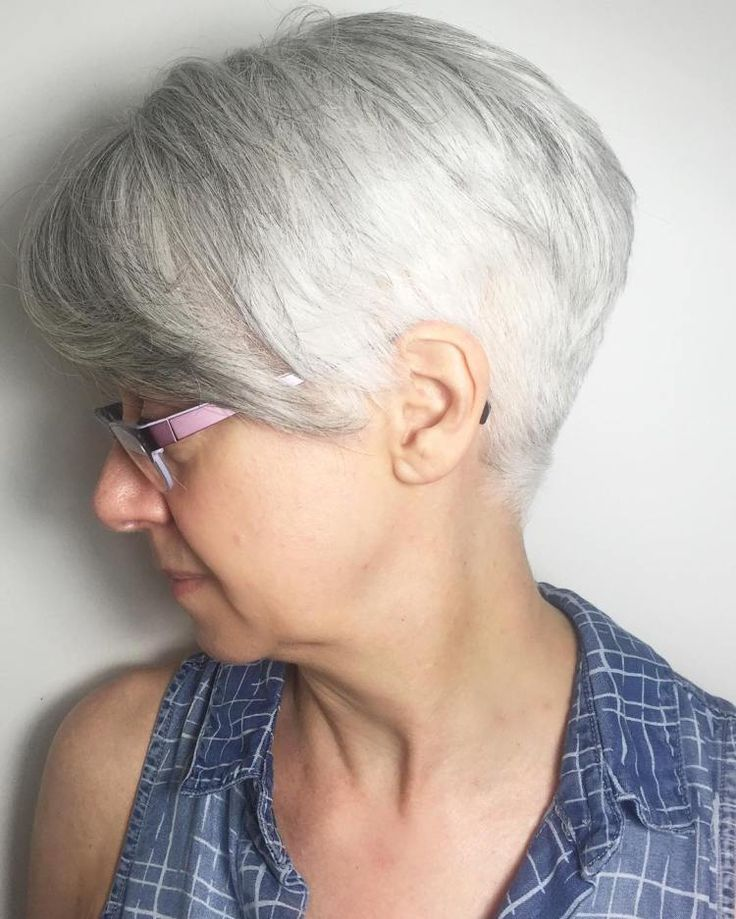
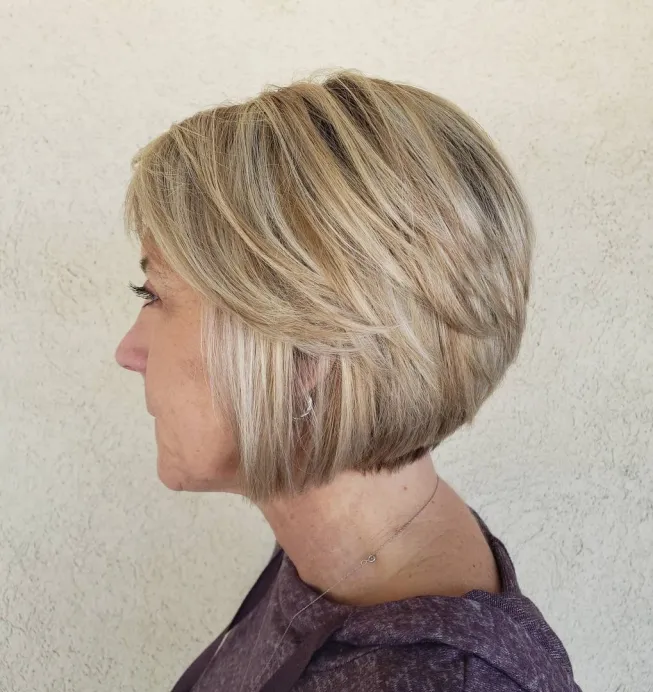
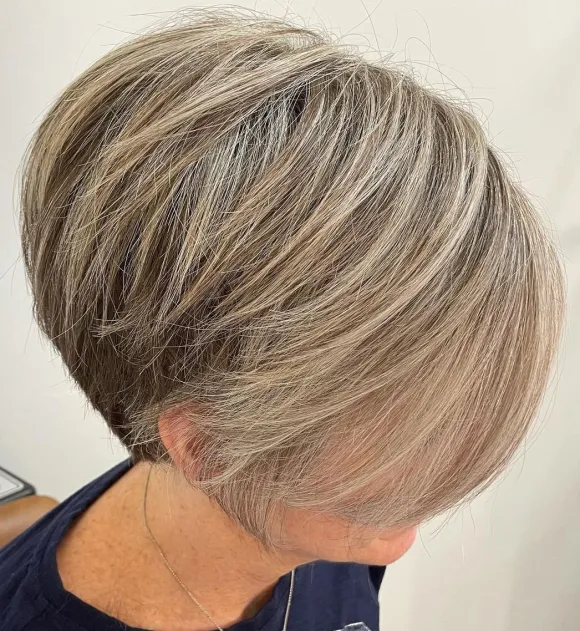
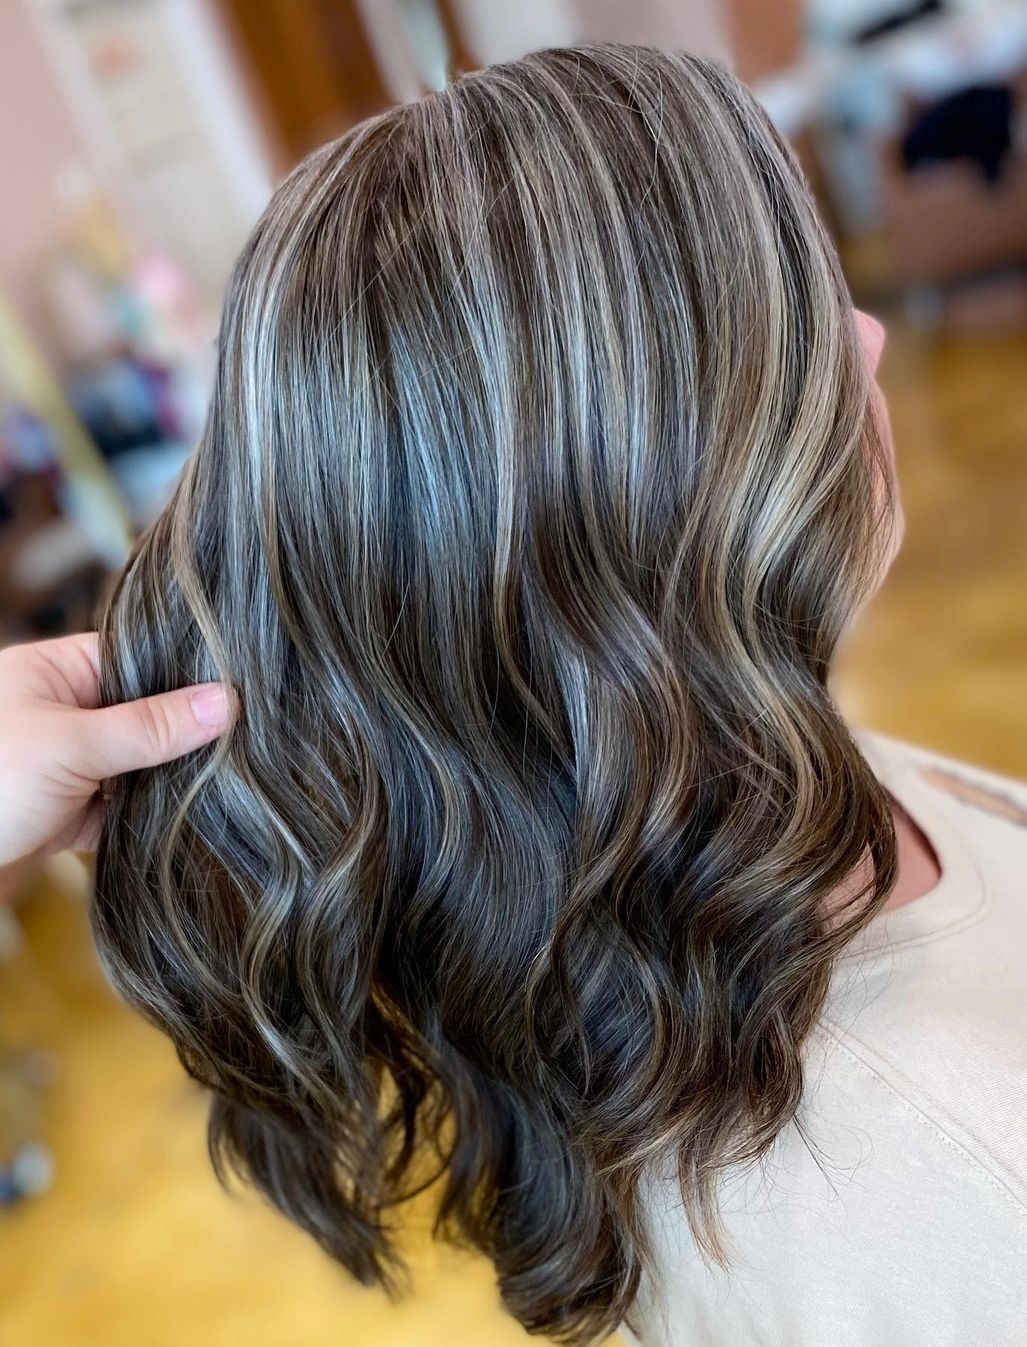
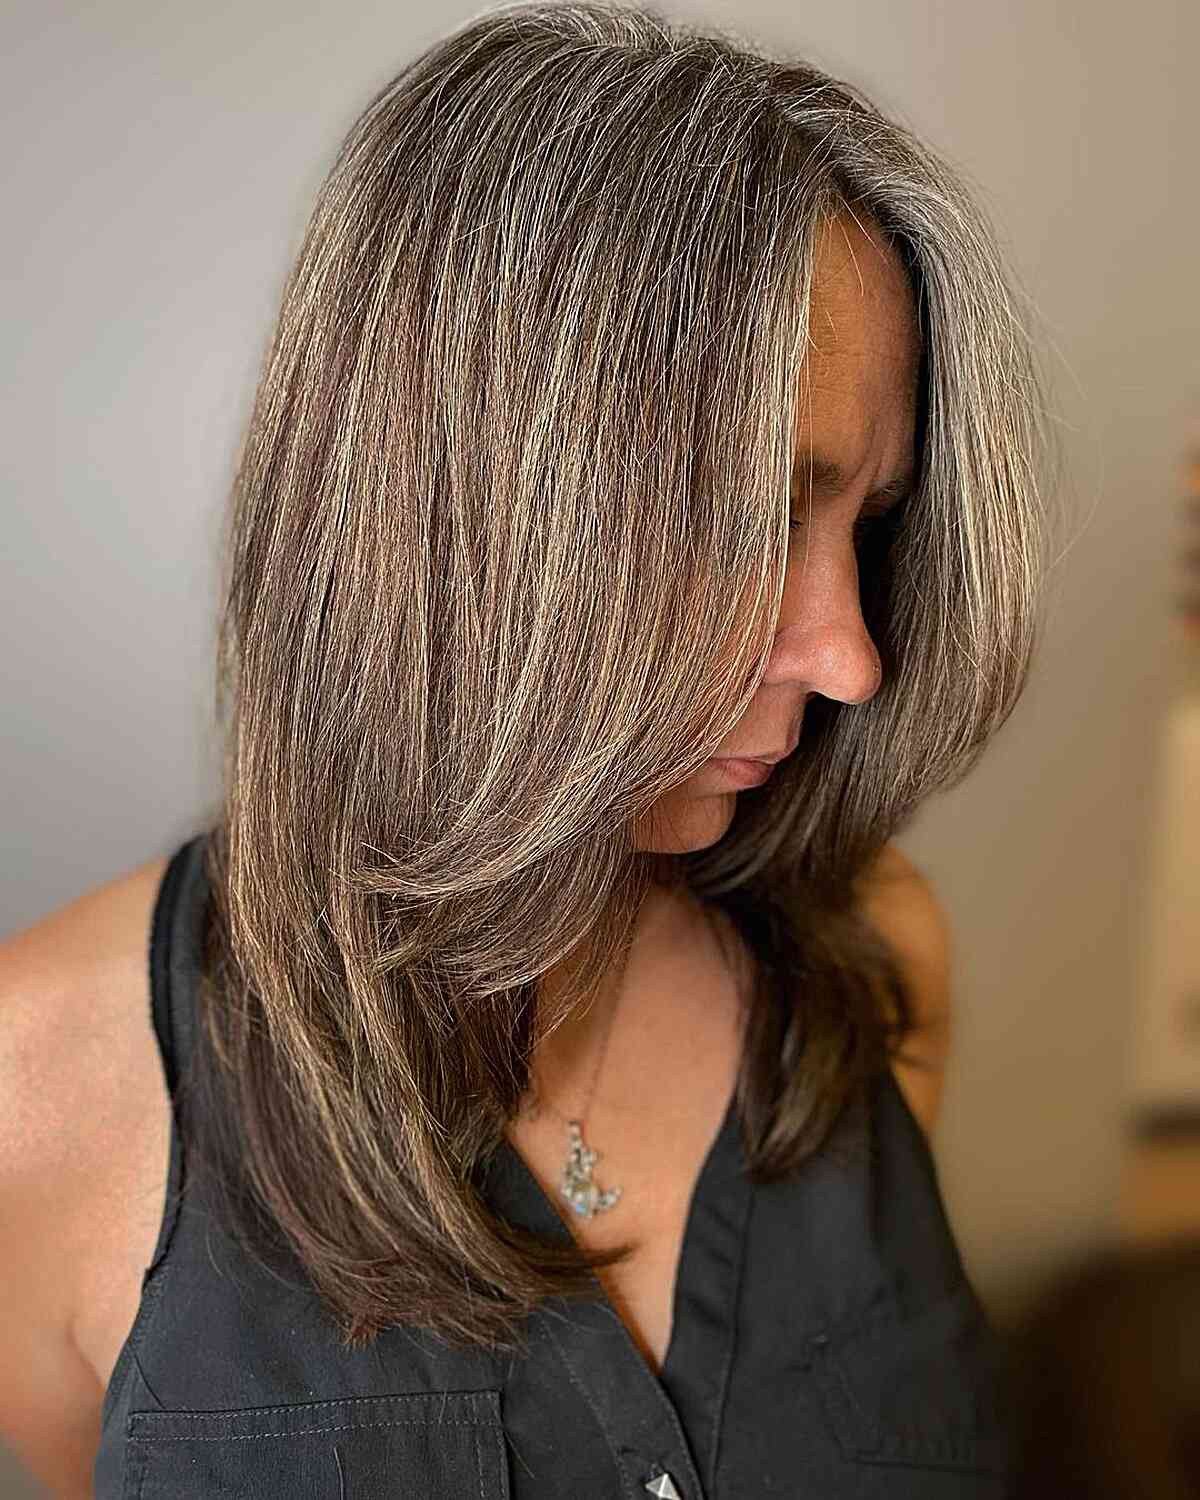
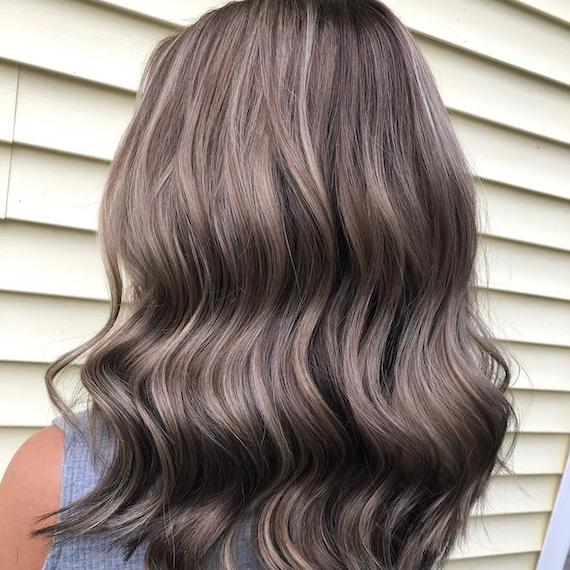
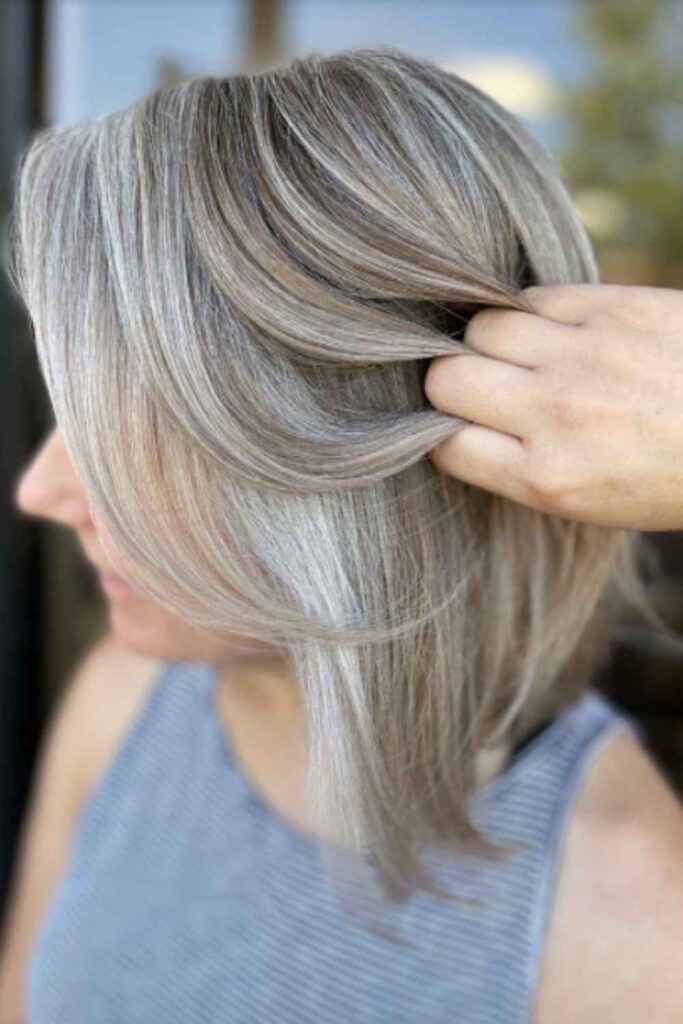
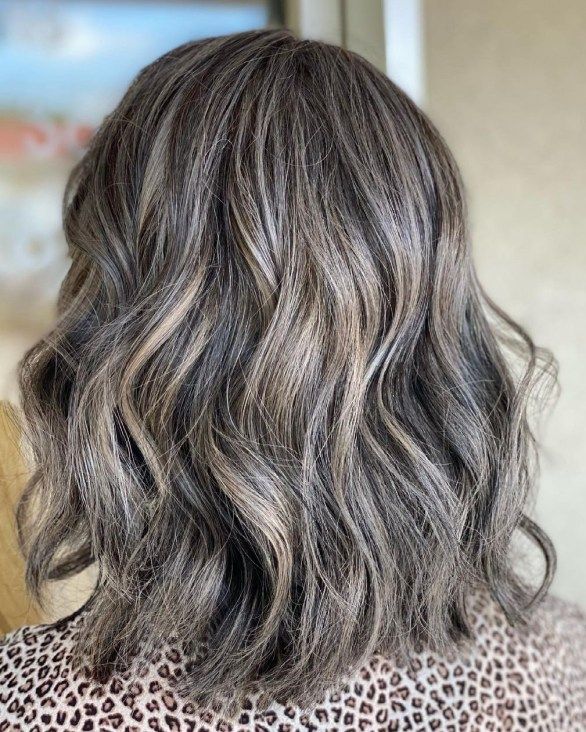
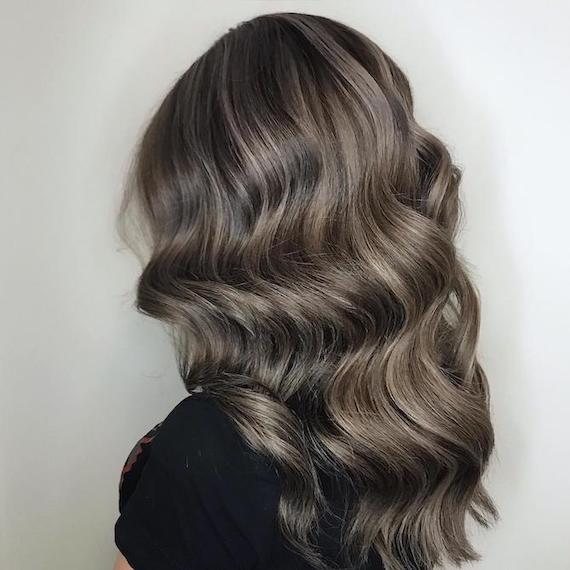
GRAY LOWLIGHTS AND HIGHLIGHTS
In contrast to the previous example, this client desired an overall lighter hair color. This was achieved by strategically incorporating ash-toned highlights and lowlights. The result is absolutely stunning.
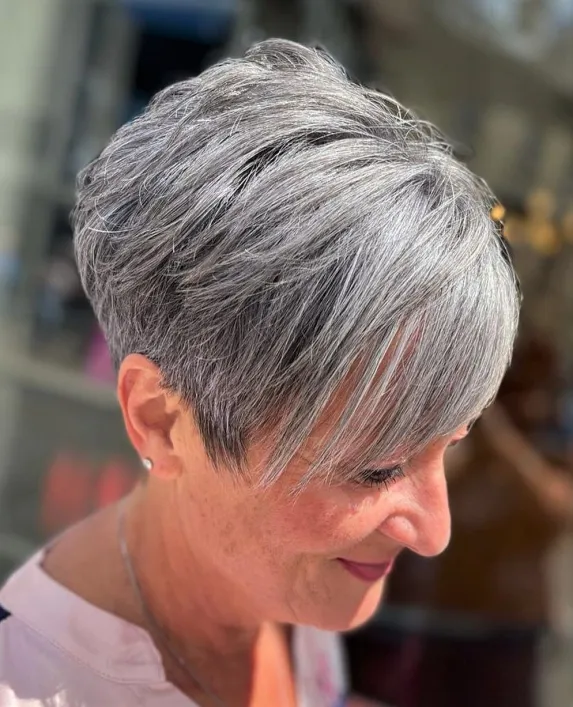
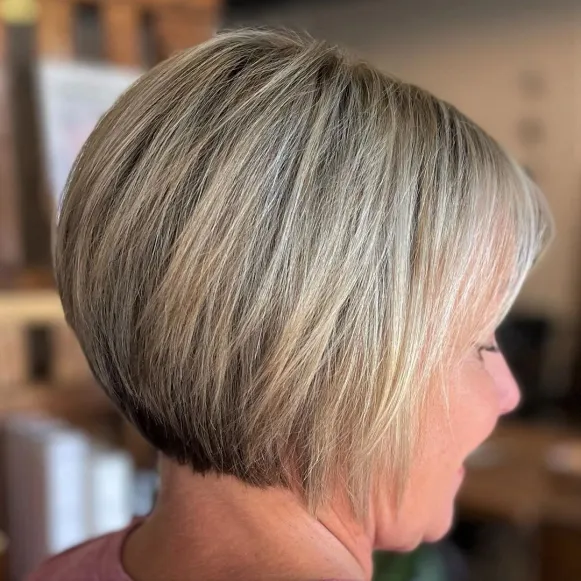
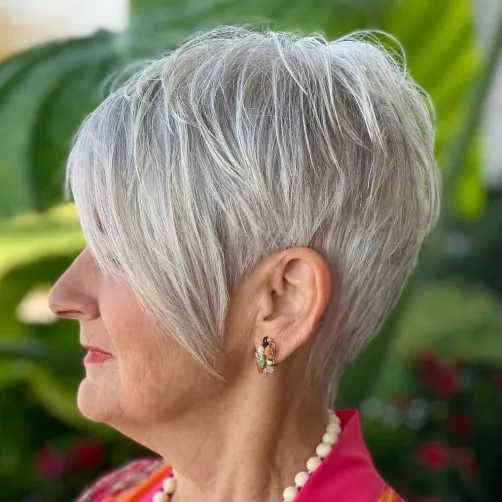
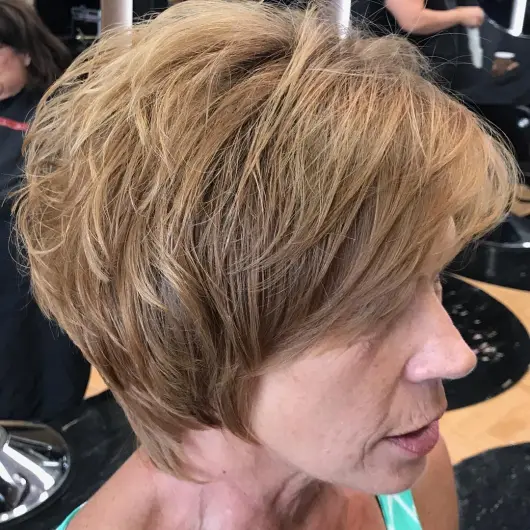
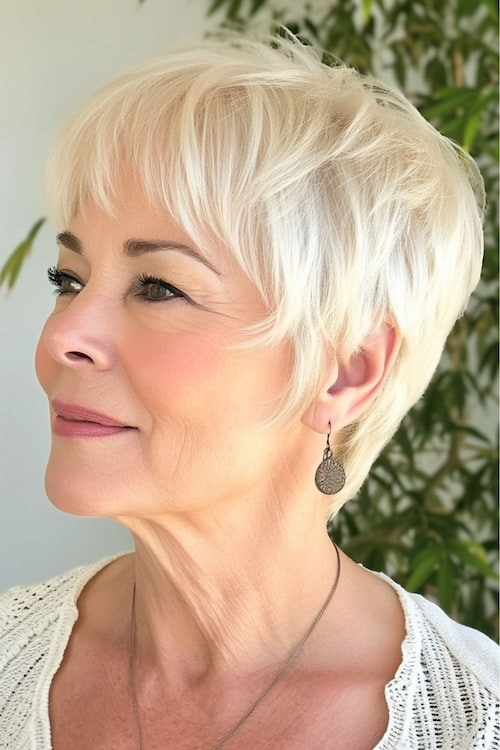
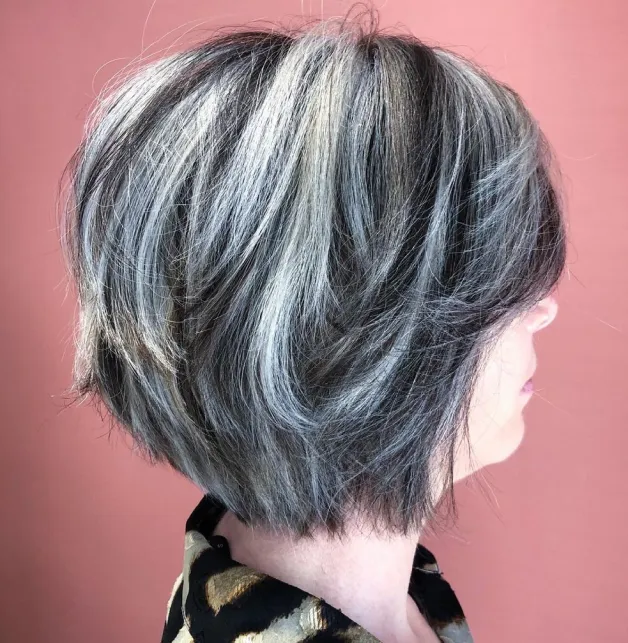
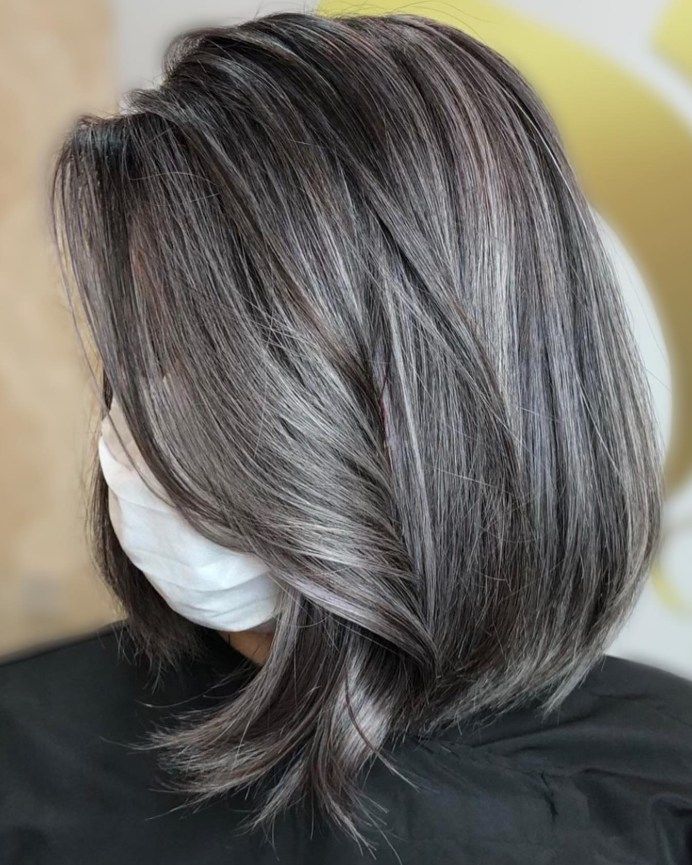
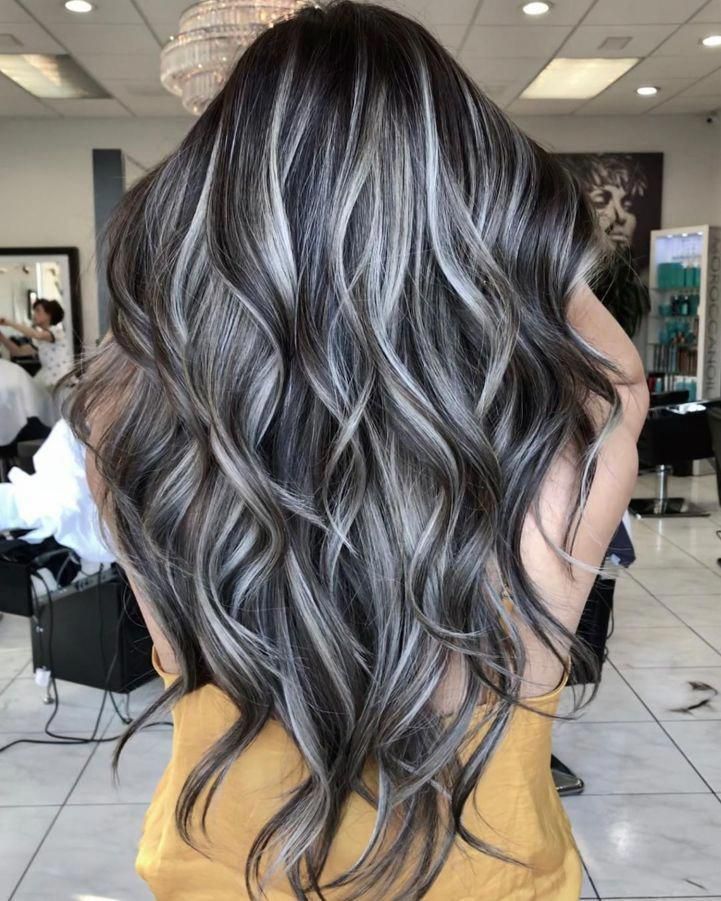
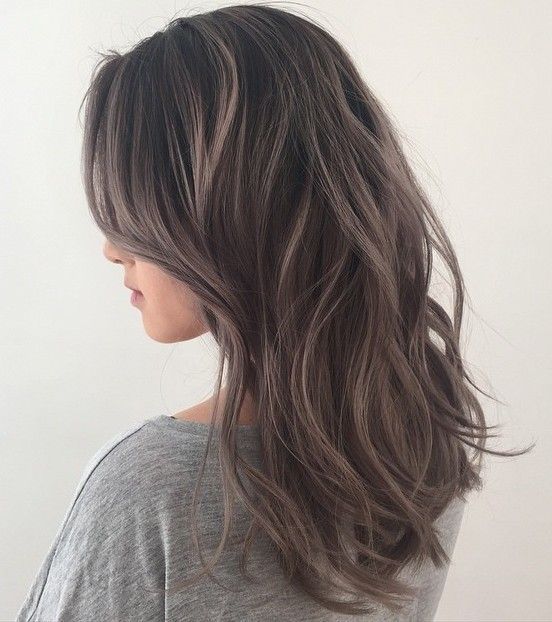
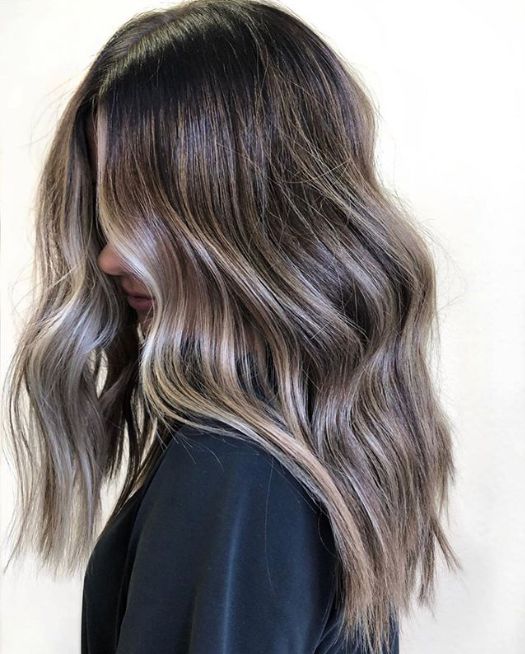
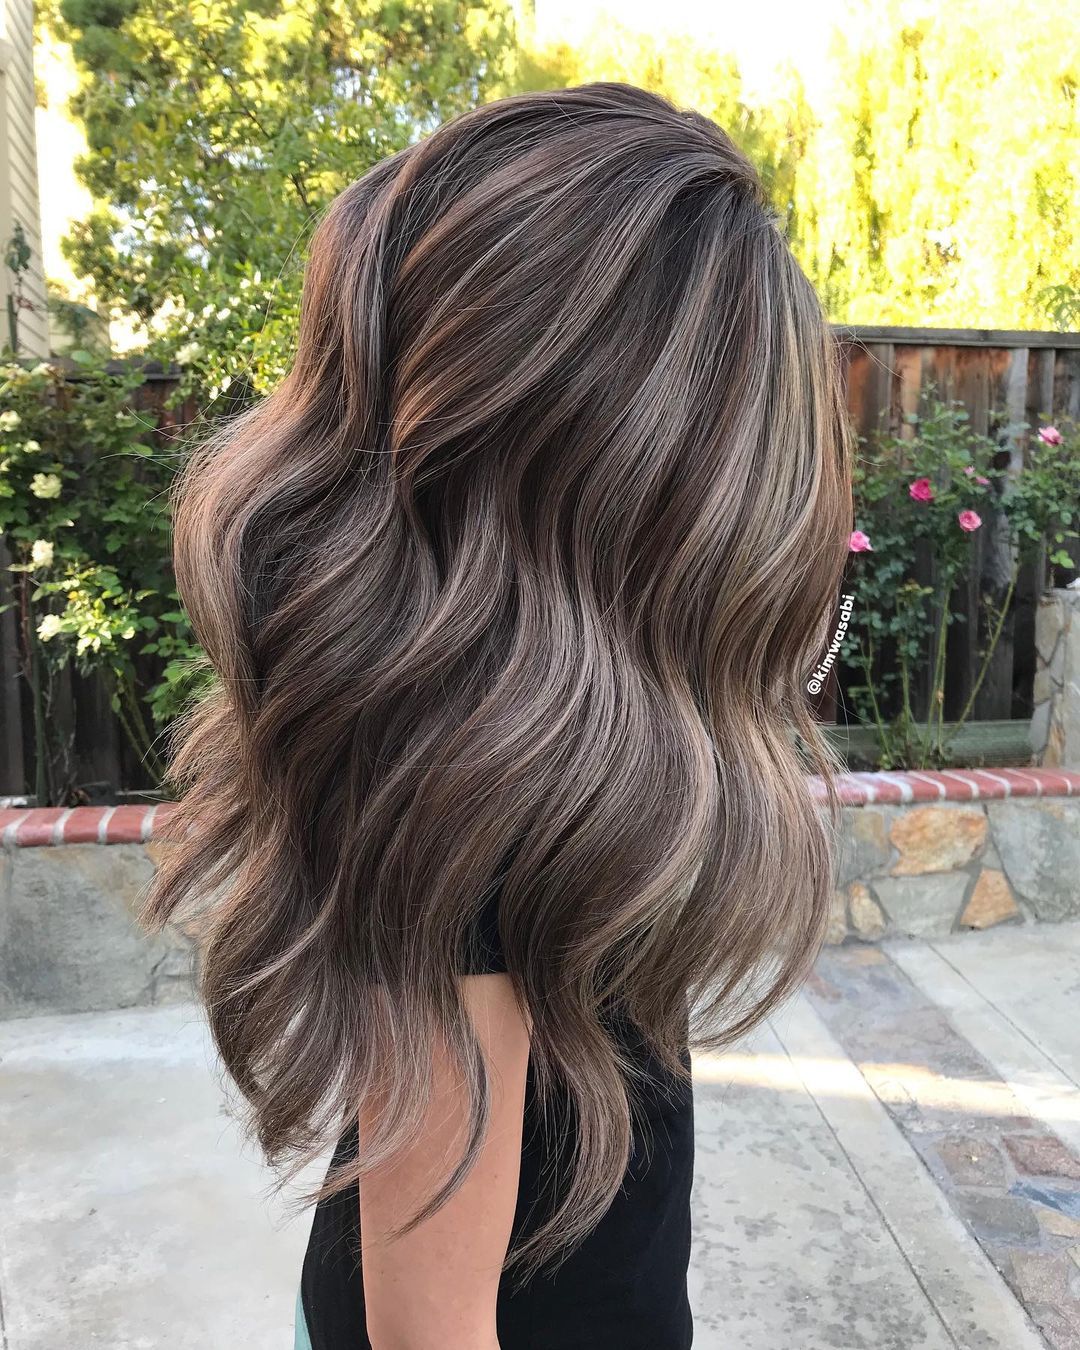
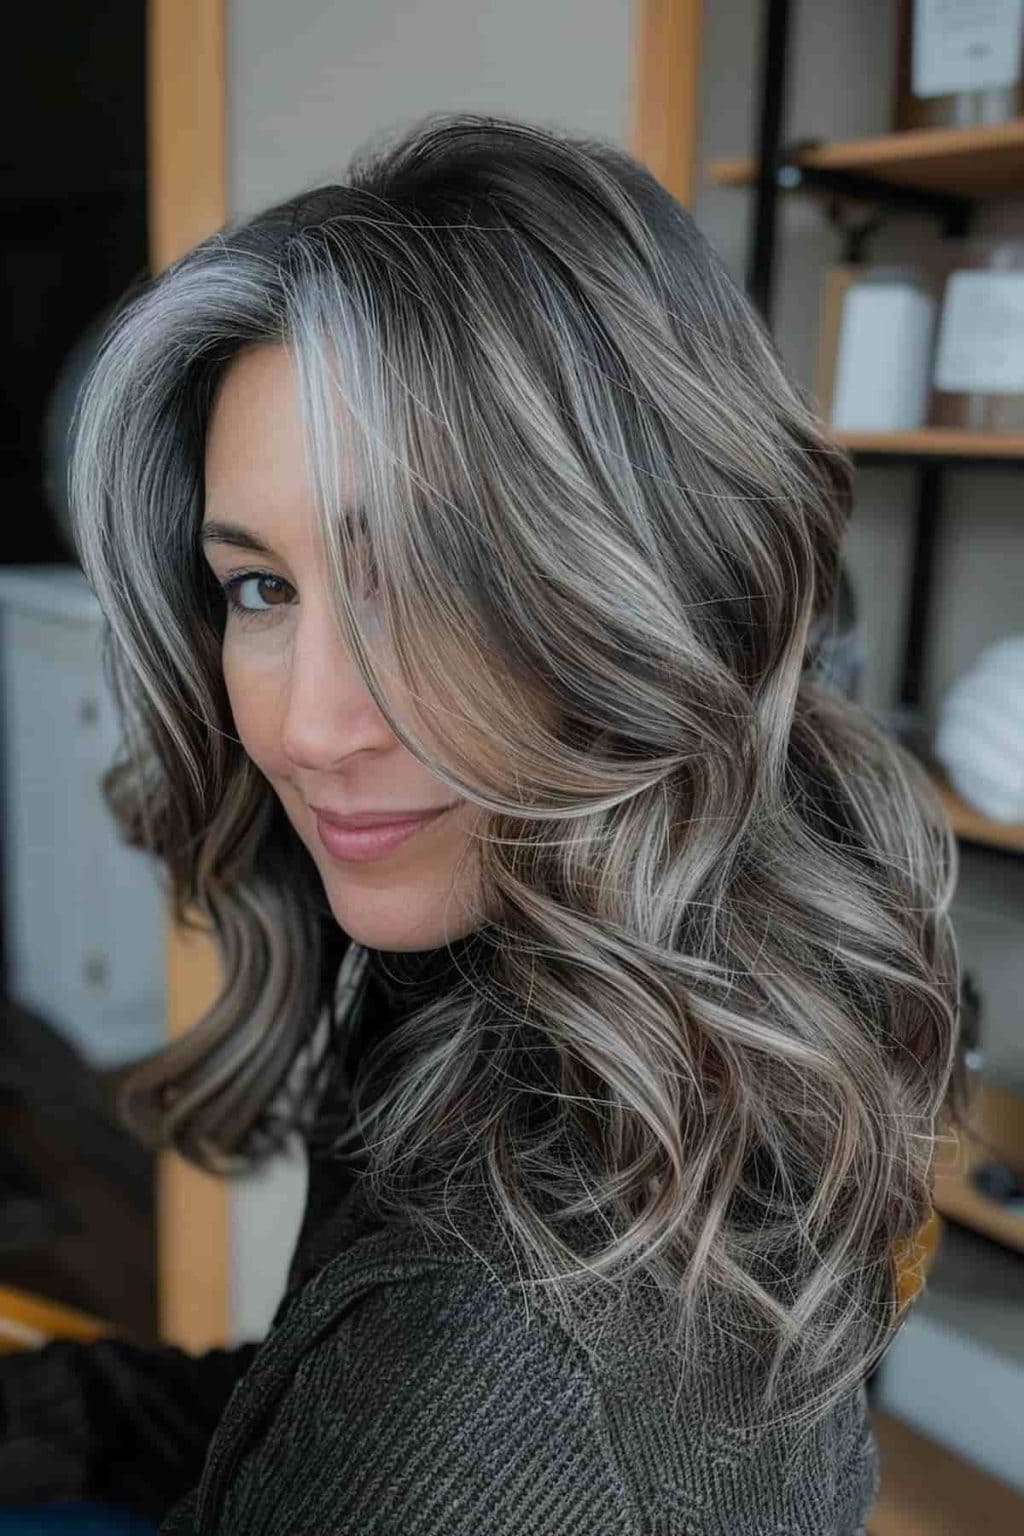
DARKER BASE FOR GRAY CONTRAST
To enhance the contrast between the ash-toned highlights and gray, the hair artist darkens the base color in this example. If your hair feels flat and you want to add more dimension, this is a great solution.
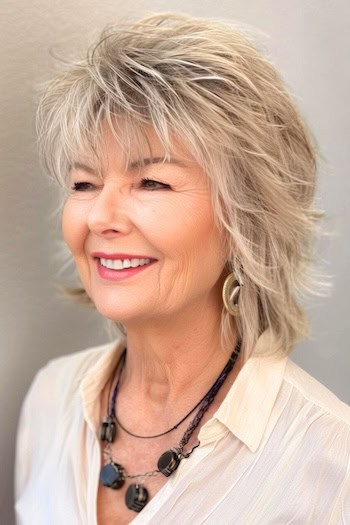
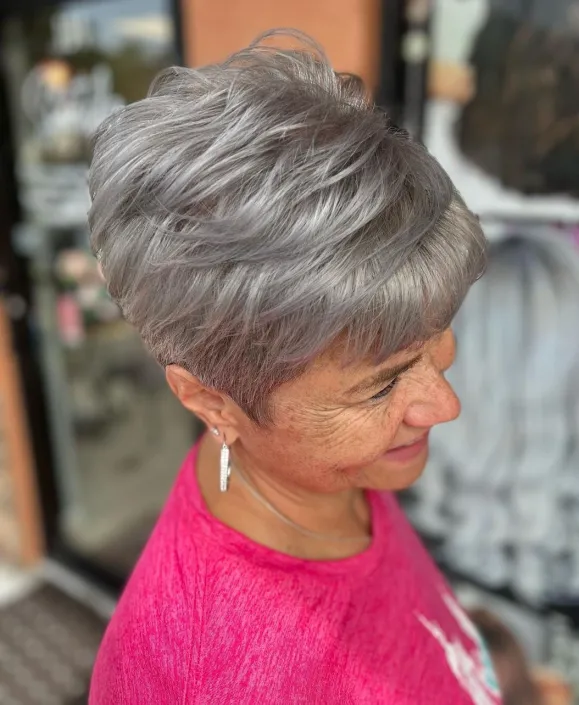
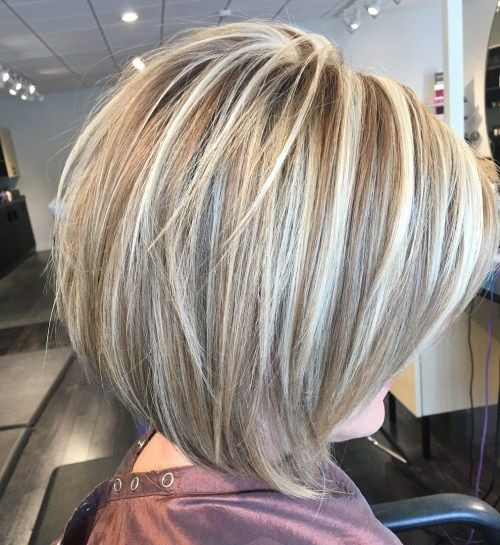
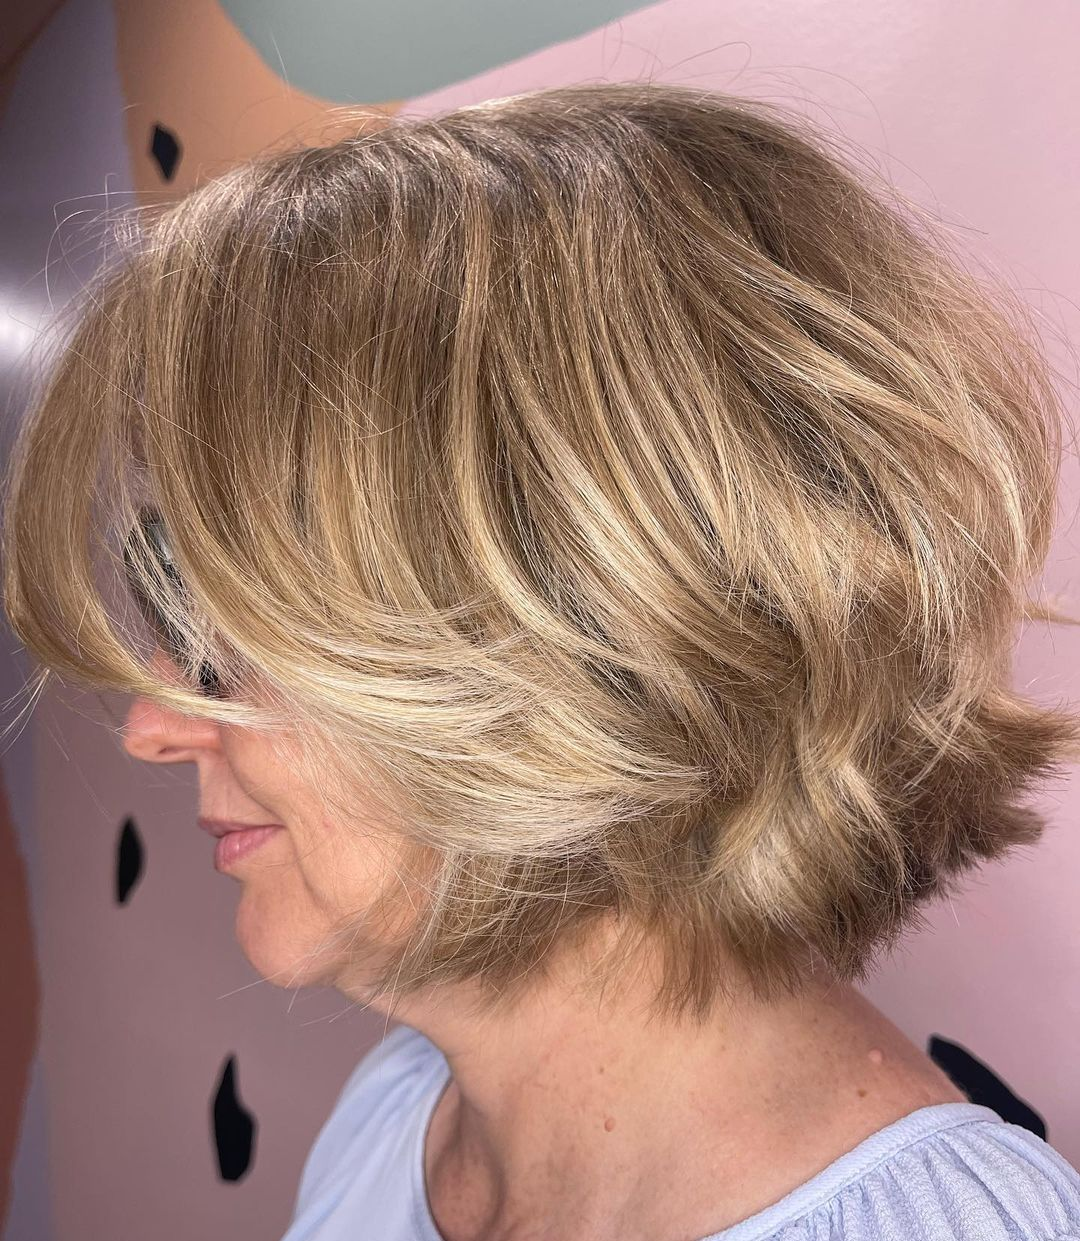
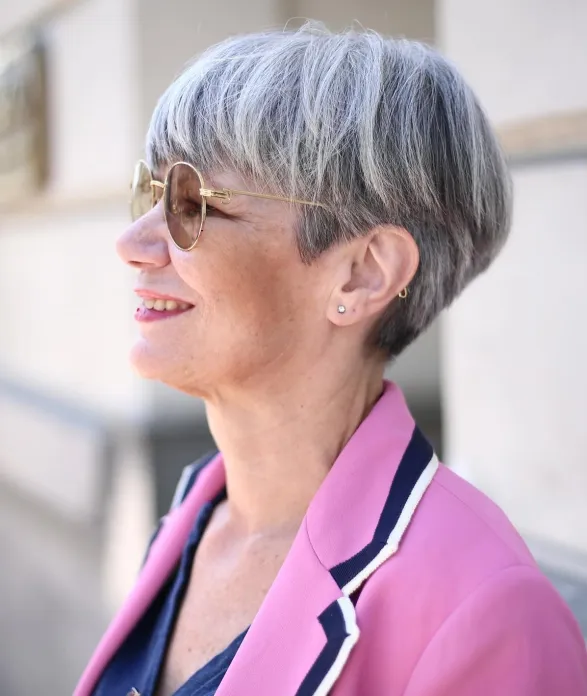
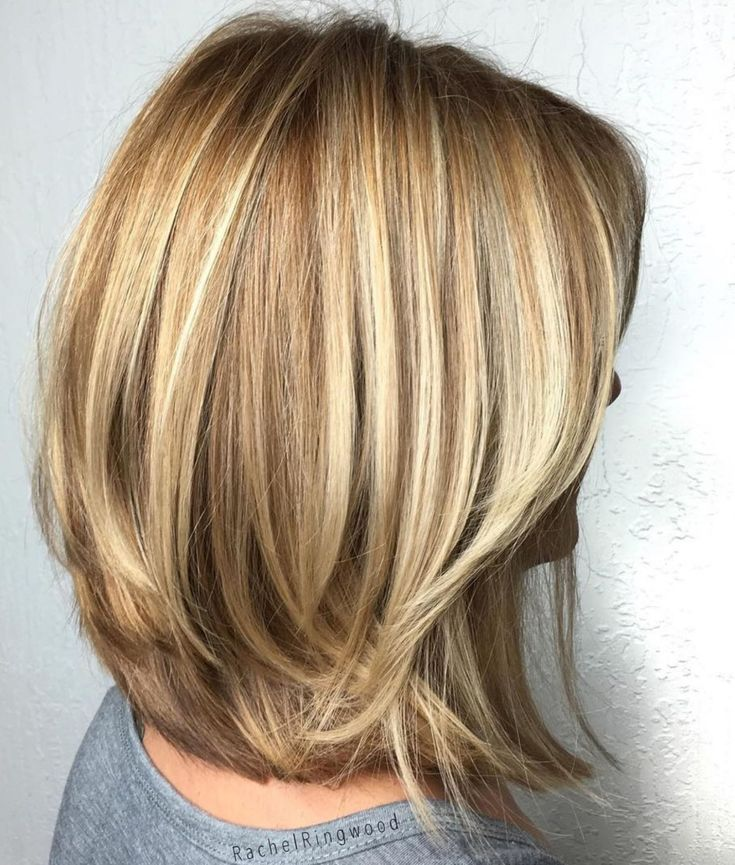
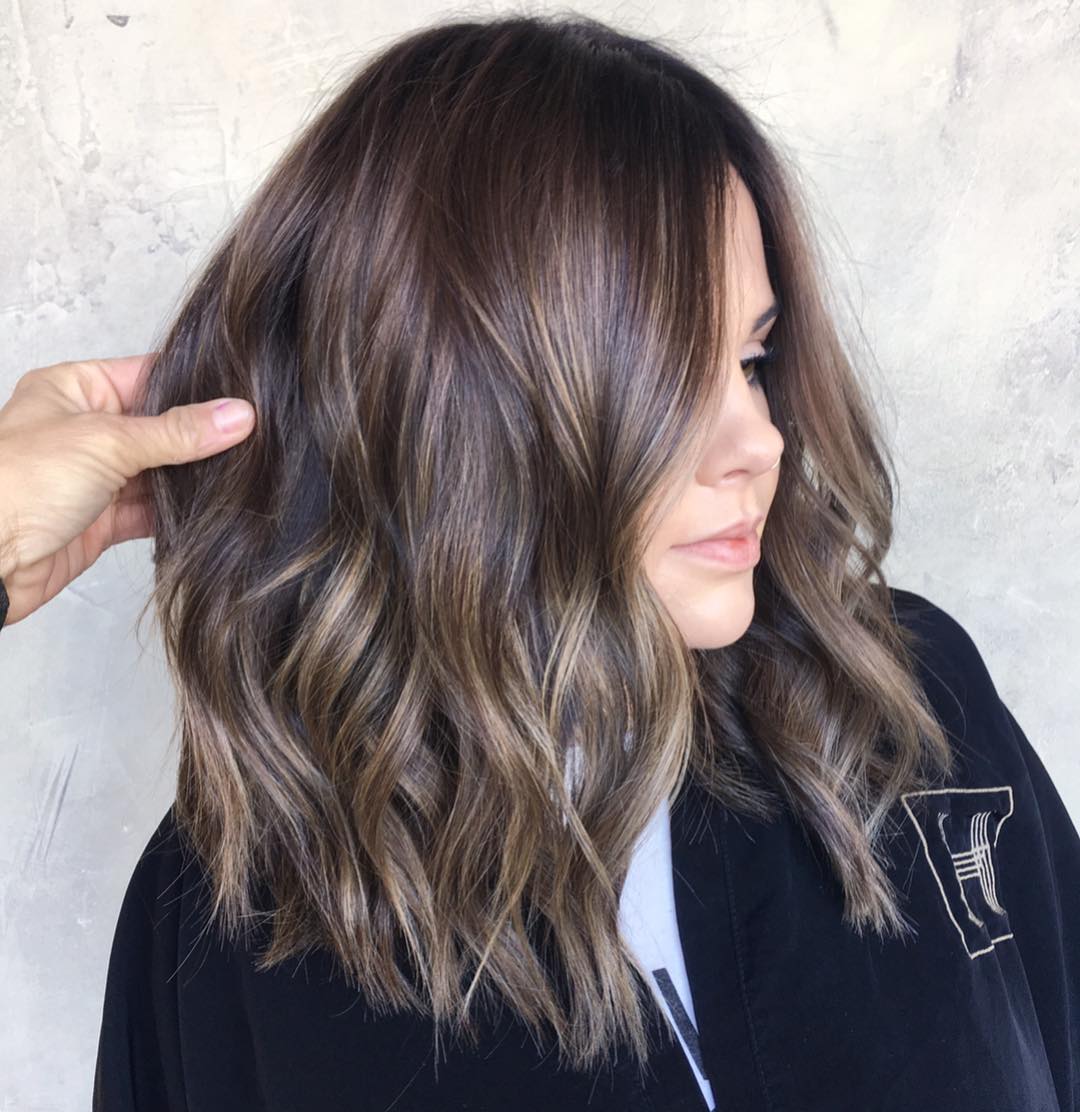
FROM BOX DYE TO GRAY BLENDING
Are you dyeing your hair at home but still noticing some grays sneaking through? Here’s a lovely example of how to seamlessly blend hair, even if it has been box-dyed multiple times in the past.
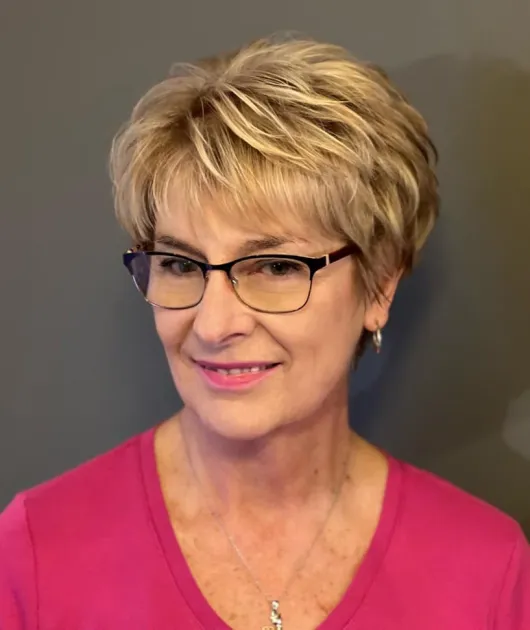
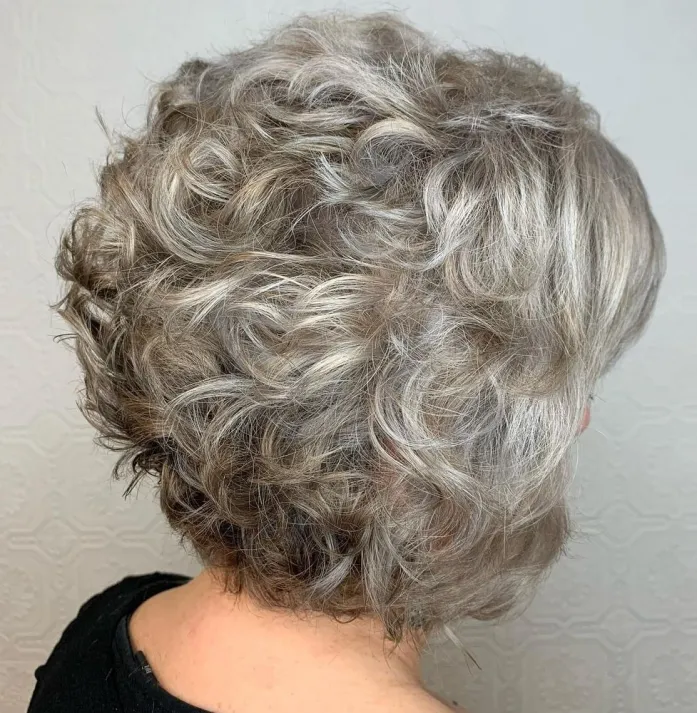
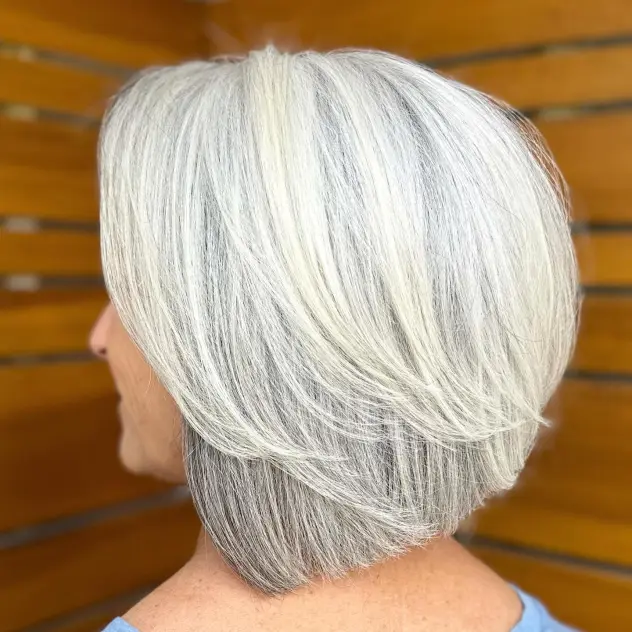
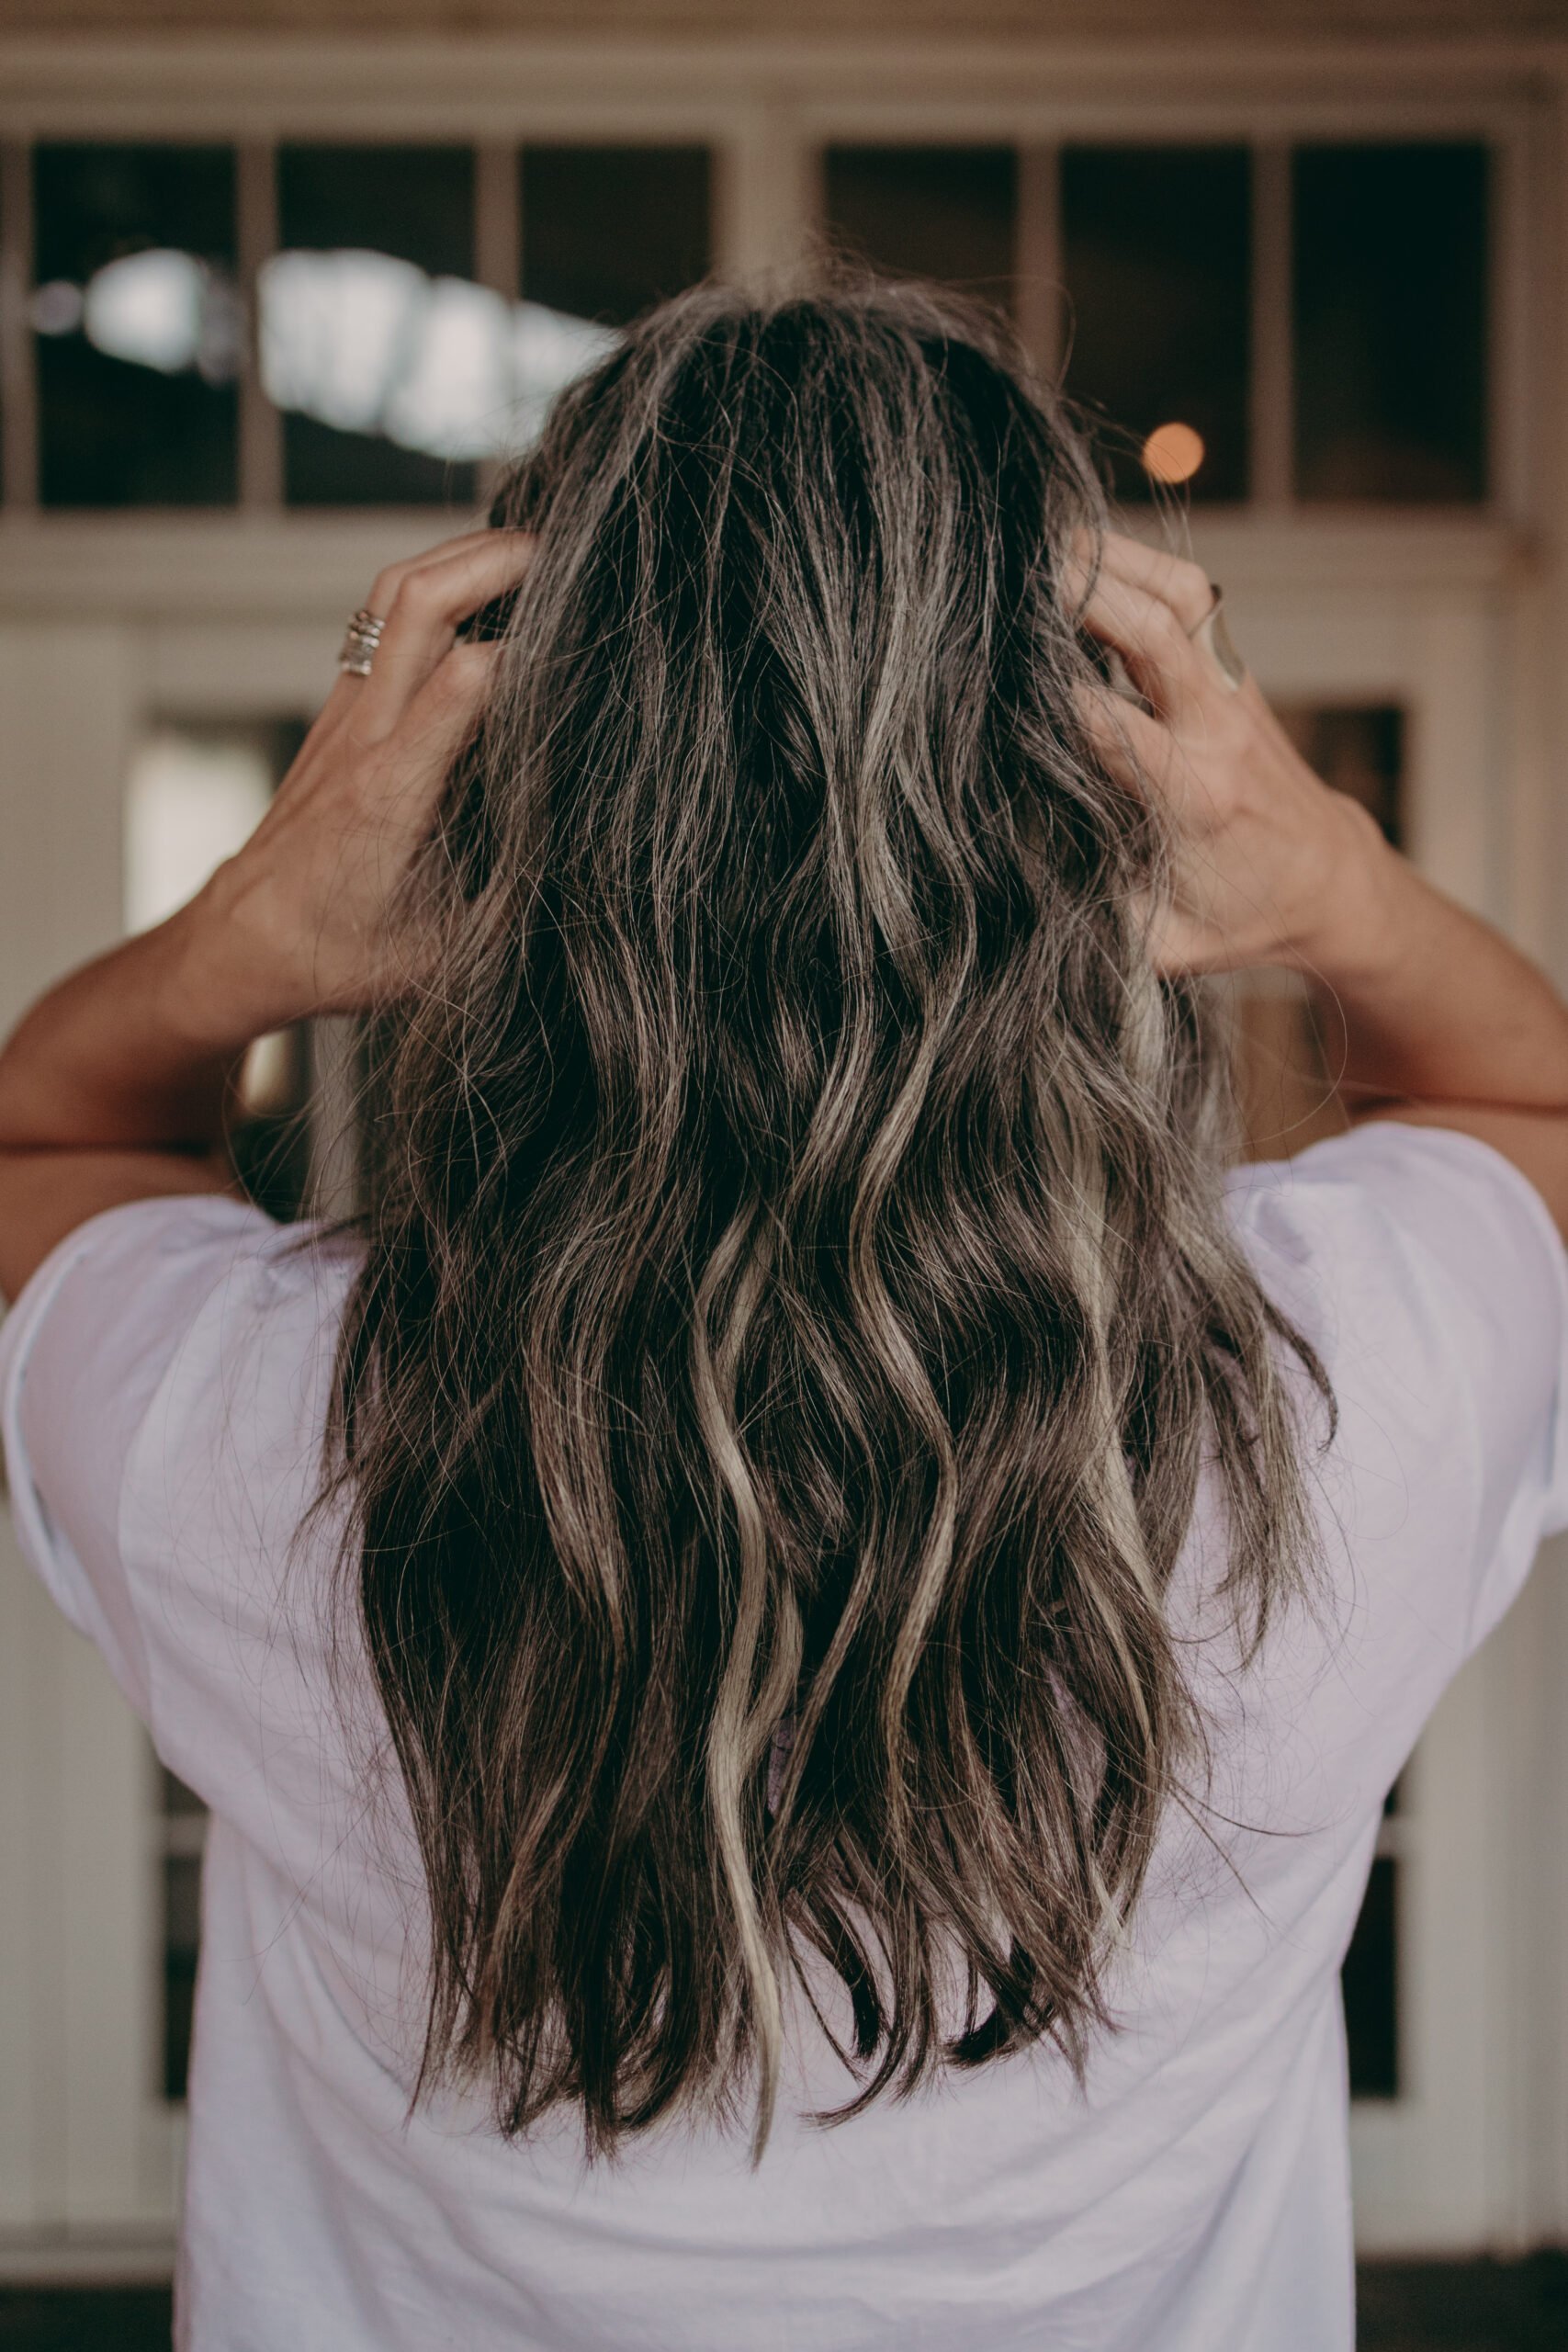
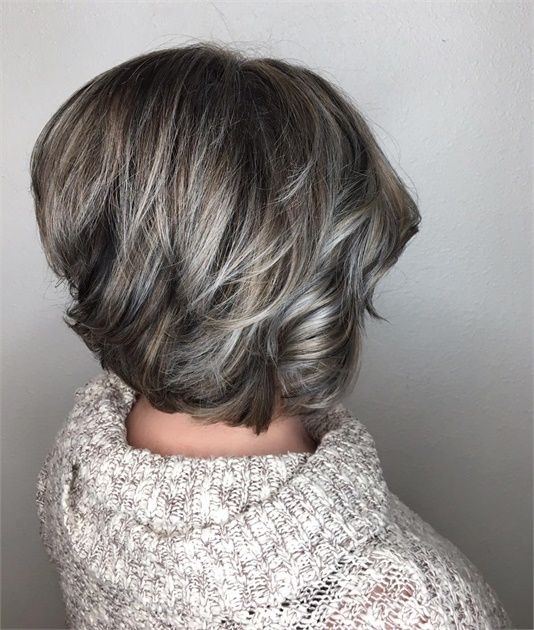
GRAY BLENDING FOR NEW GRAYS
Just starting to go gray? There’s no need for drastic measures just yet! You can blend those silver strands with some thoughtful color placement, helping to protect your hair from unnecessary damage.
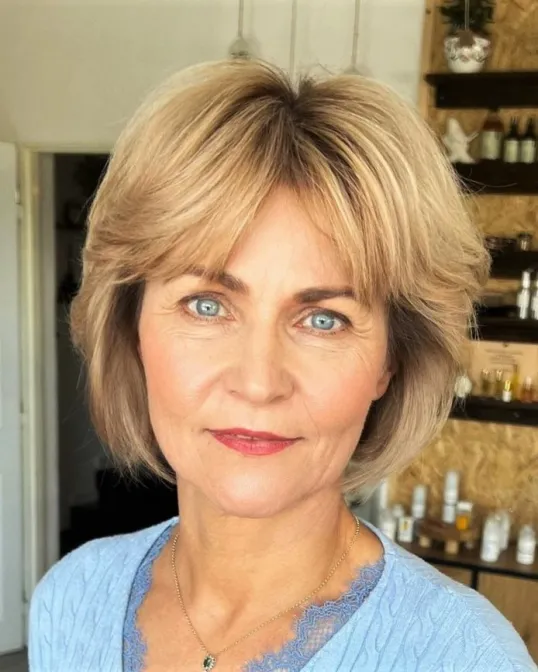
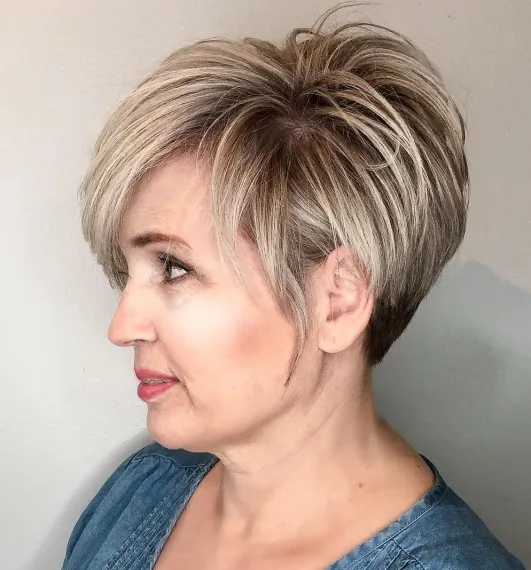
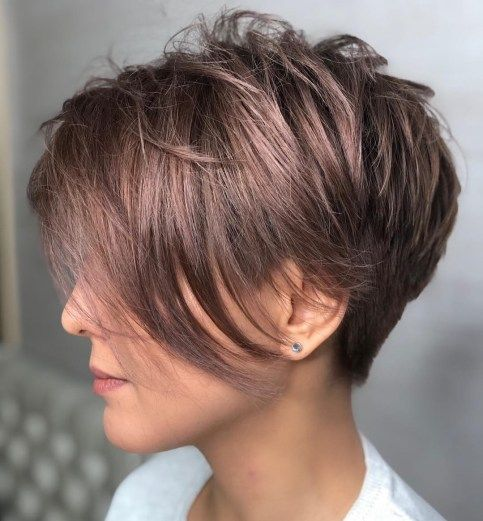
MULTI-DIMENSIONAL GRAY BLENDING COLOR
I love how this one features a mix of colors blended together. You can still see some golden highlights, blonde strands, and those beautiful ash-toned silvery blonde threads.
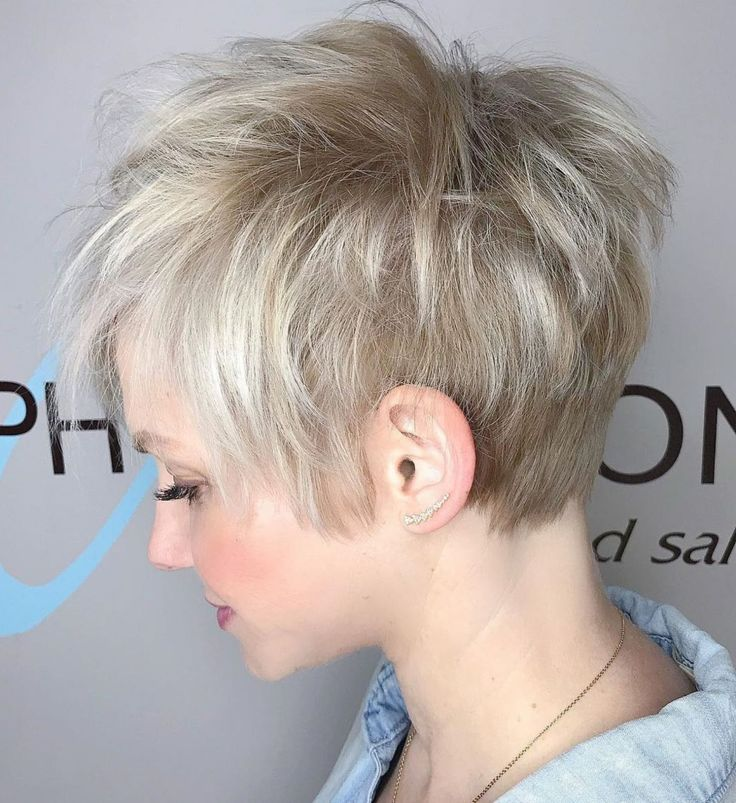
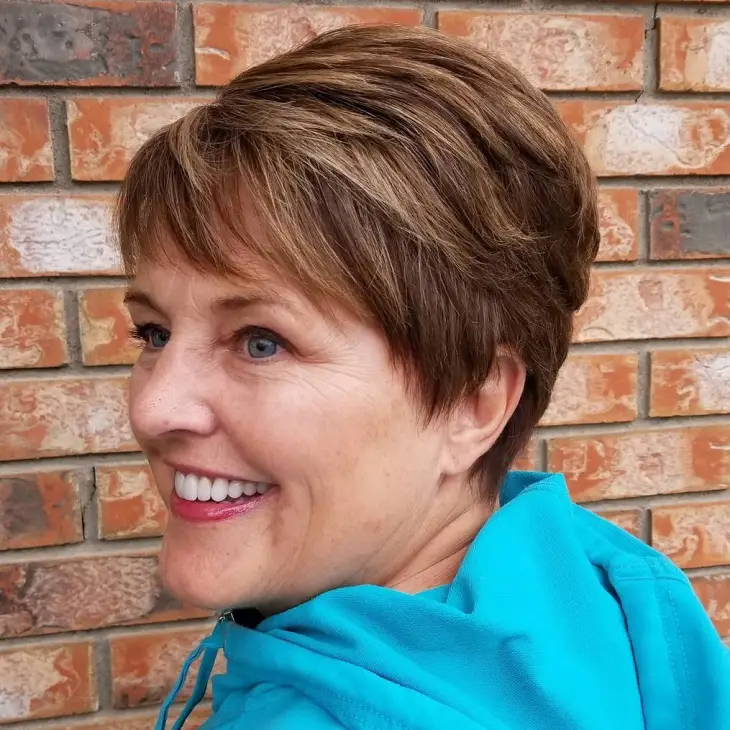
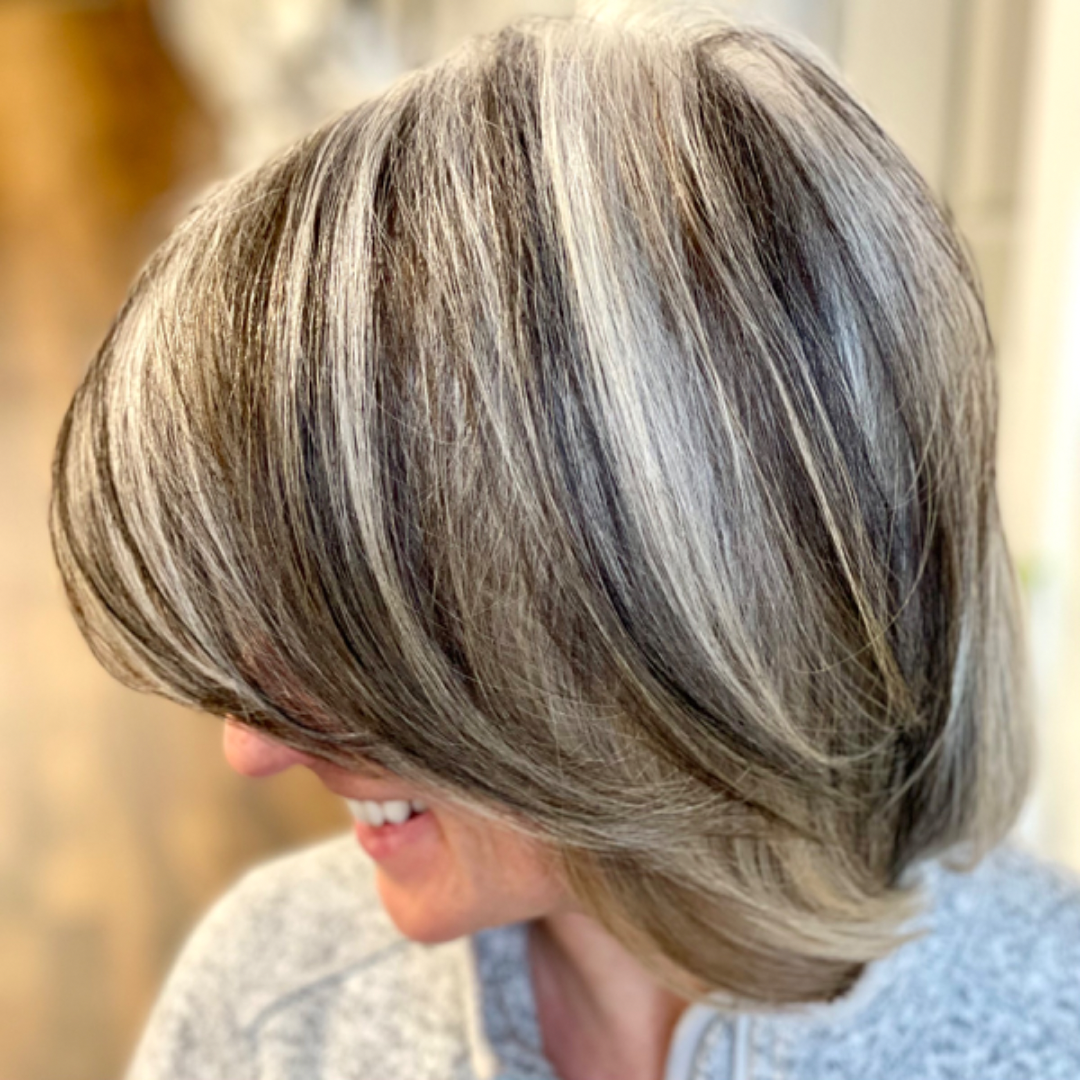
GRAY BLENDING HIGHLIGHTS
I have variations of highlights in my hair because I love chunkier money pieces and strands of color throughout—this style is totally my vibe! It’s fun and adds a youthful touch. If I saw this look, I’d assume the color was intentional rather than just blending grays.
DARK BROWN HAIR WITH GRAY BLENDING
Dark brown hair with gray blending is a stunning combination that offers a modern and sophisticated look. Gray blending involves strategically incorporating shades of gray into your existing dark brown hair, creating a seamless transition and a visually appealing effect.
BROWN HAIR WITH GRAY LOWLIGHTS
It’s the perfect solution for hair like mine, where I still have plenty of dark brown but am getting patchy grays. This would blend beautifully, and the chunkier highlights would make the grow-out much easier. Great job!
ASH TONED BABYLIGHTS
I love this soft, beautiful ash-toned babylight that blends the grays into her dark hair so seamlessly. Plus, I’m a fan of the stylist using Davines—one of my favorite hair color and care lines!
CUT + GRAY BLENDING
I’m noticing a trend in my gray blending research: many women opt for a big chop when transitioning to a gray-friendly color. Cutting off those bleached or damaged ends is crucial for healthier growth and a shinier look. I’m seriously considering a good chop for my own hair since my ends are looking pretty fried!
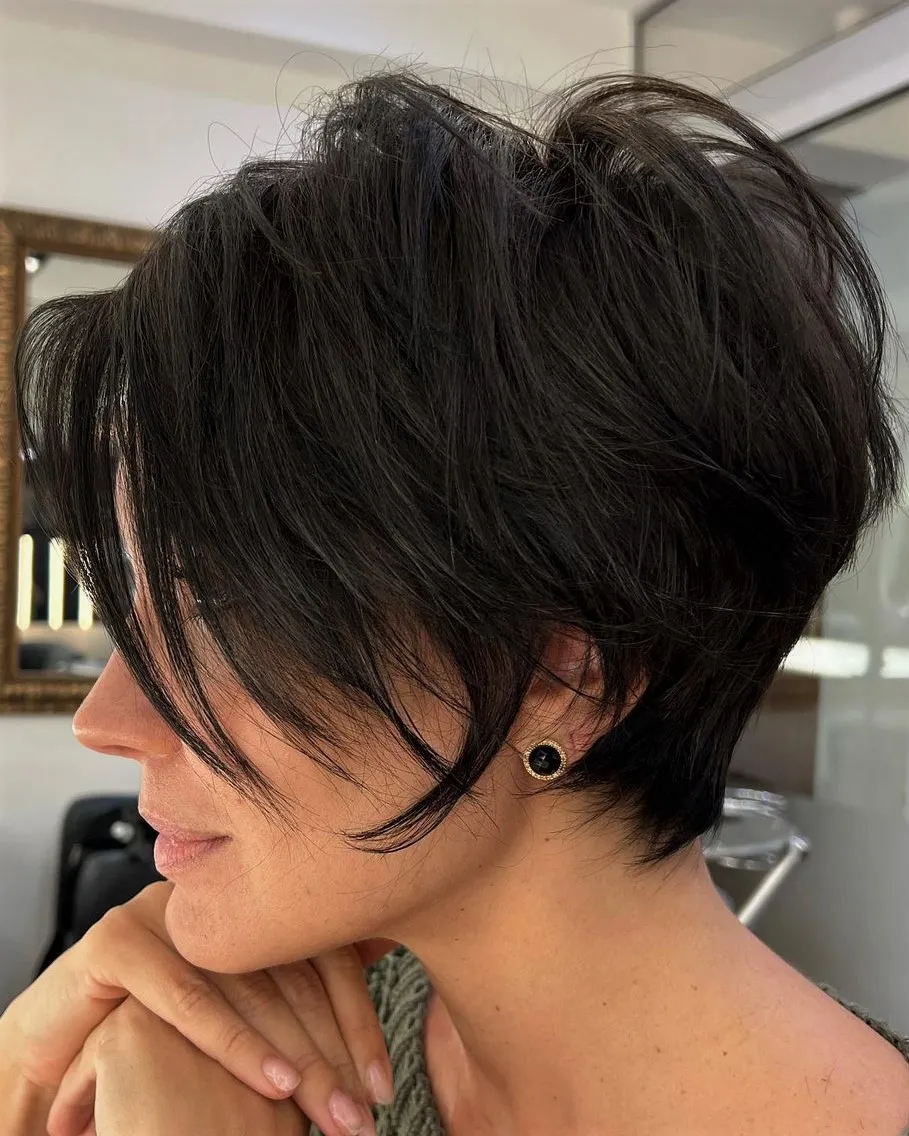
GRAY HIGHLIGHTS ON BLACK HAIR
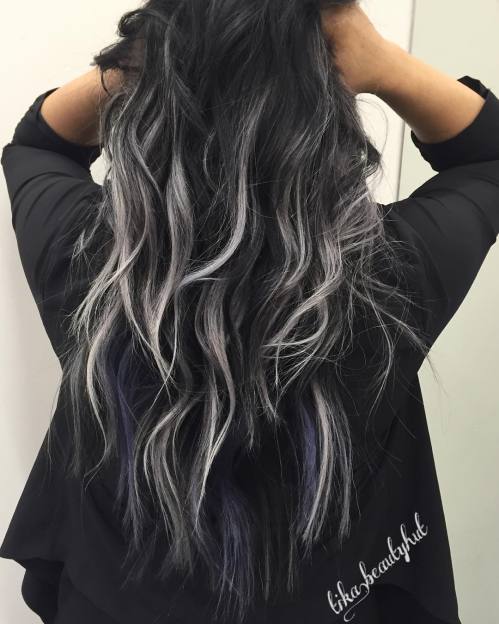
Here’s the thing: people are adding gray and ash-toned highlights to their hair even without needing to blend in grays. This definitely makes me feel more comfortable embracing my new strands and blending them with the rest of my hair!
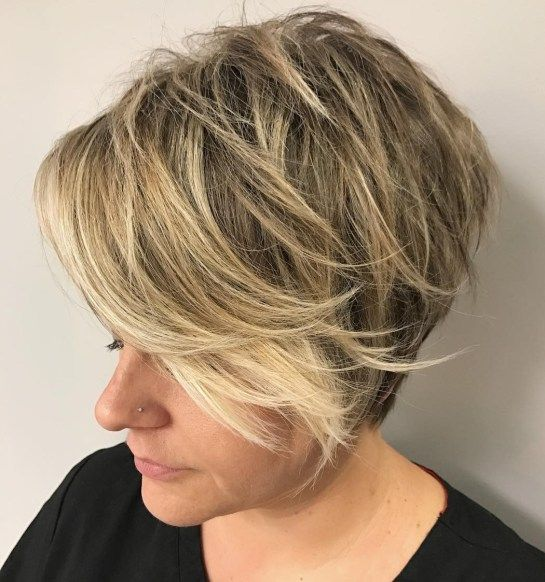
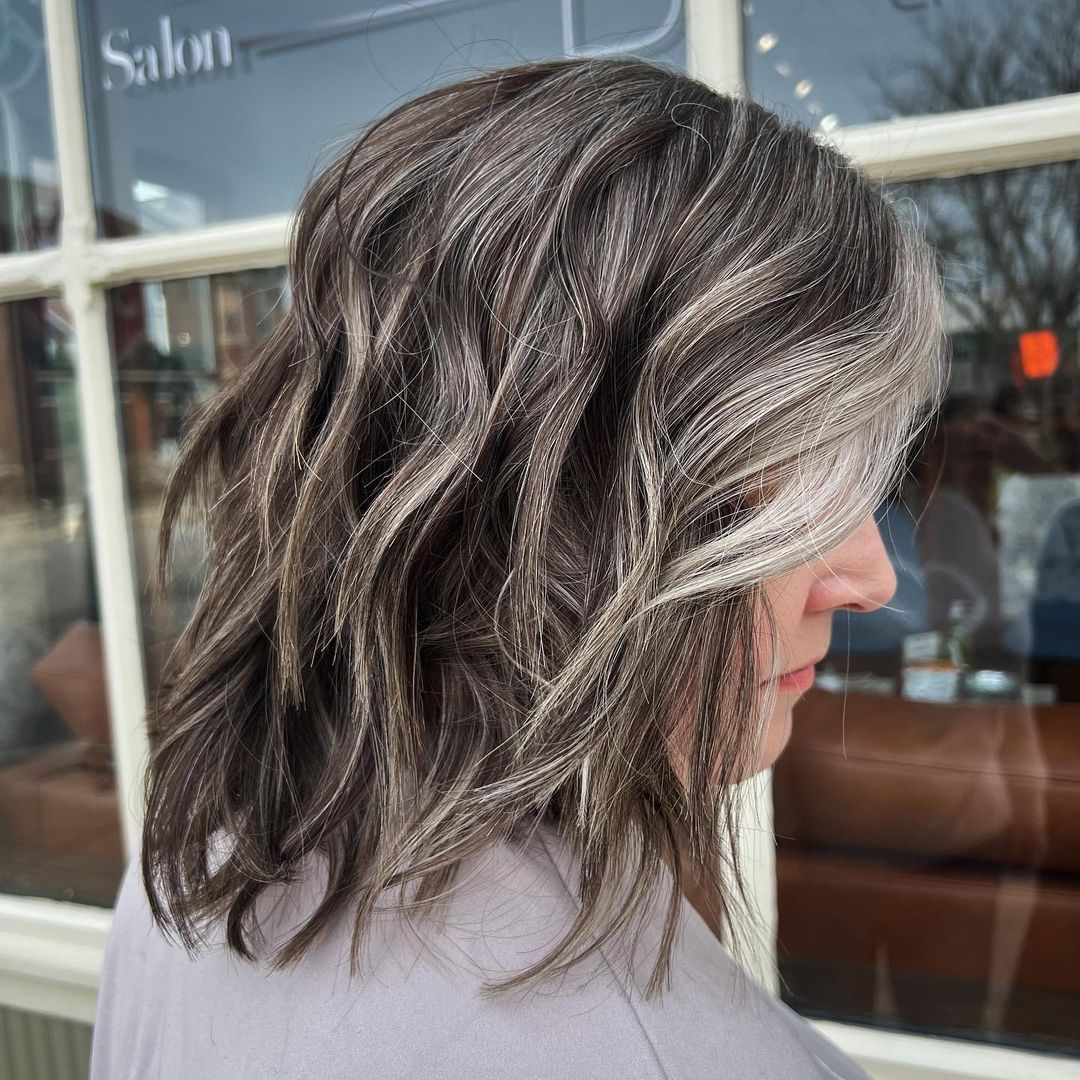
MORE GRAY BLENDING BALAYAGE
I adore how this style looks on longer, slightly layered hair, similar to mine. Opt for ash-toned highlights to seamlessly integrate the silver and white grays.
FOILAYAGE FOR GRAY BLENDING
This hairstyle really nailed it! The foilayage blends the gray beautifully and will allow for a much more natural grow-out.
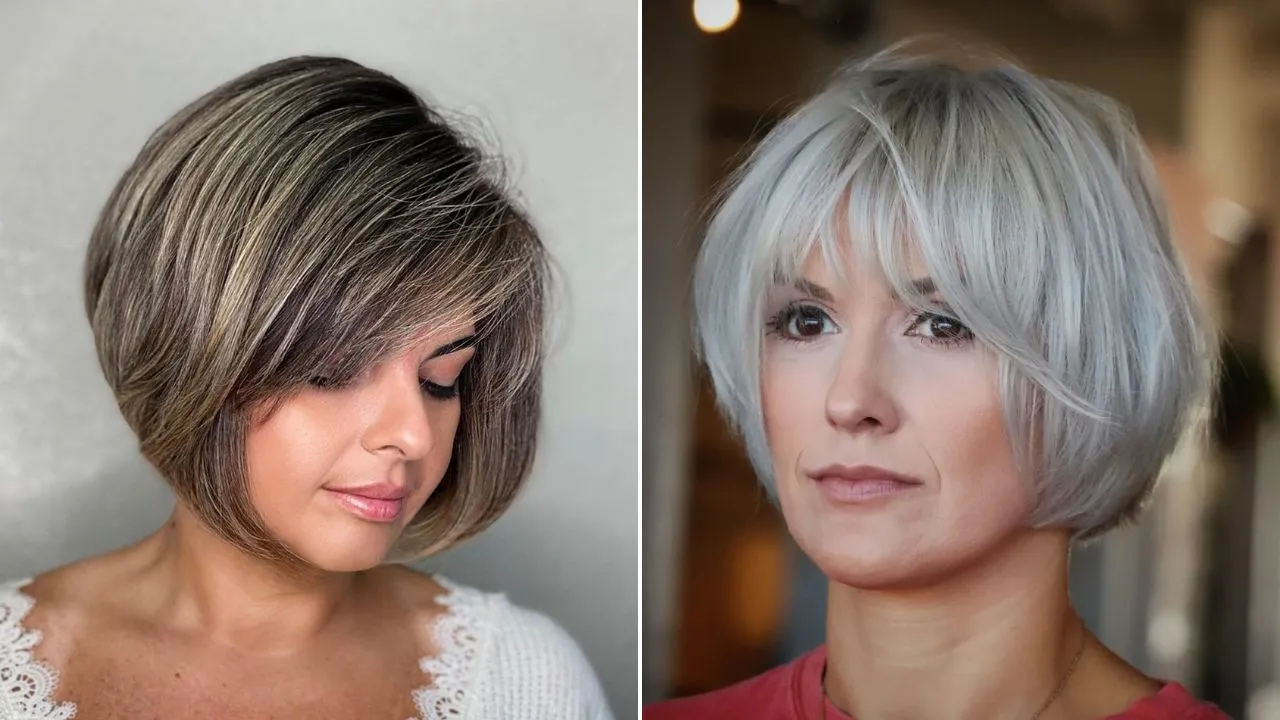
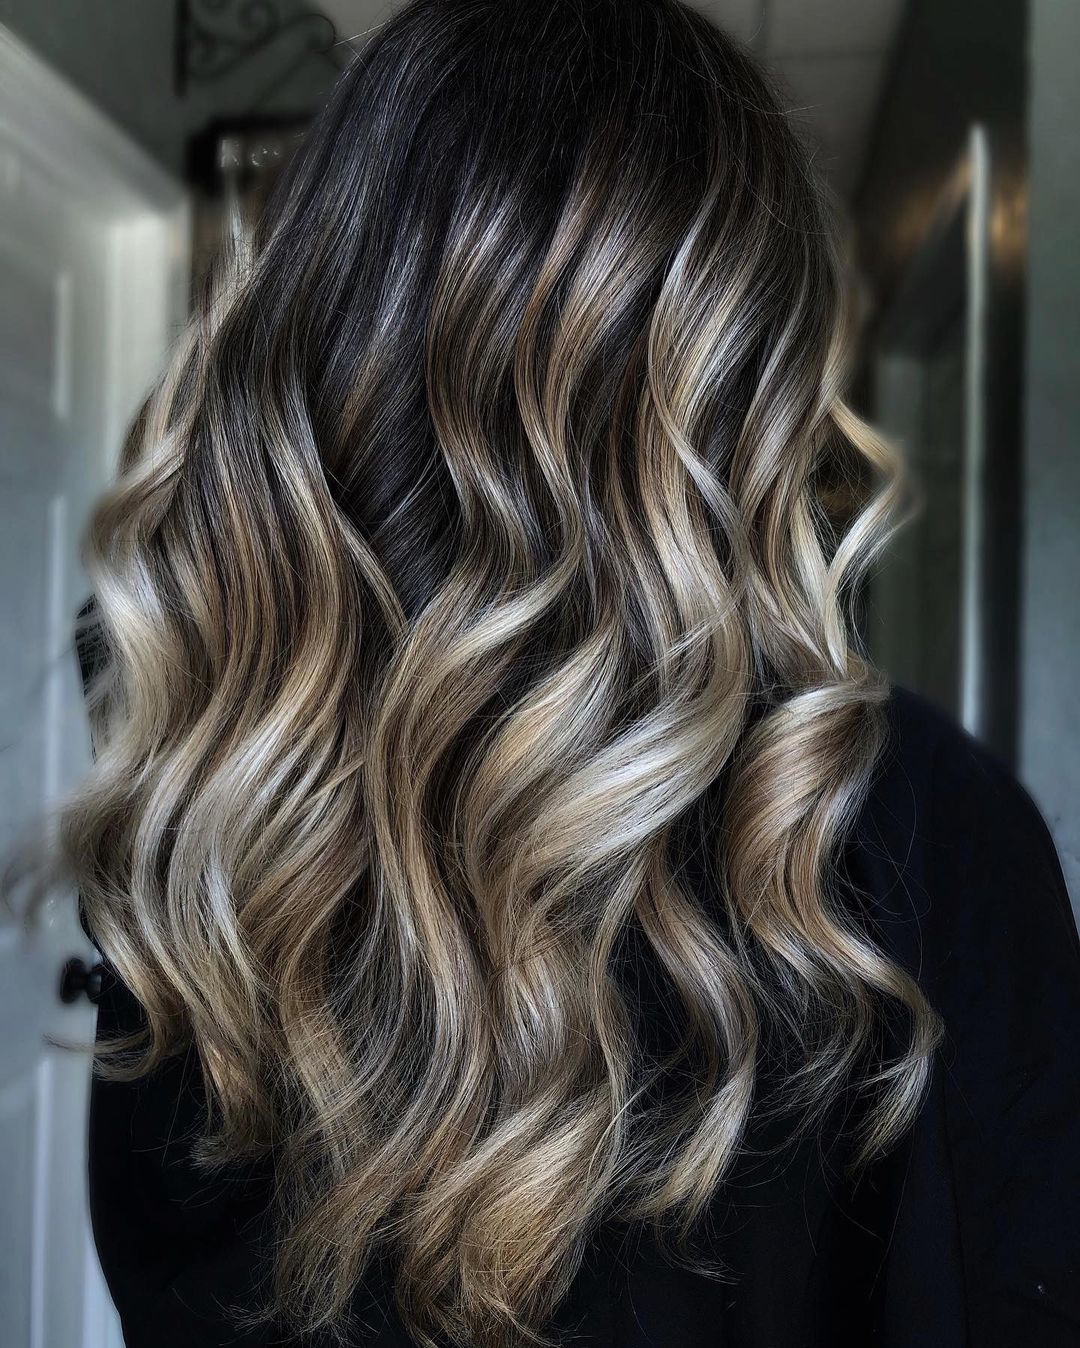
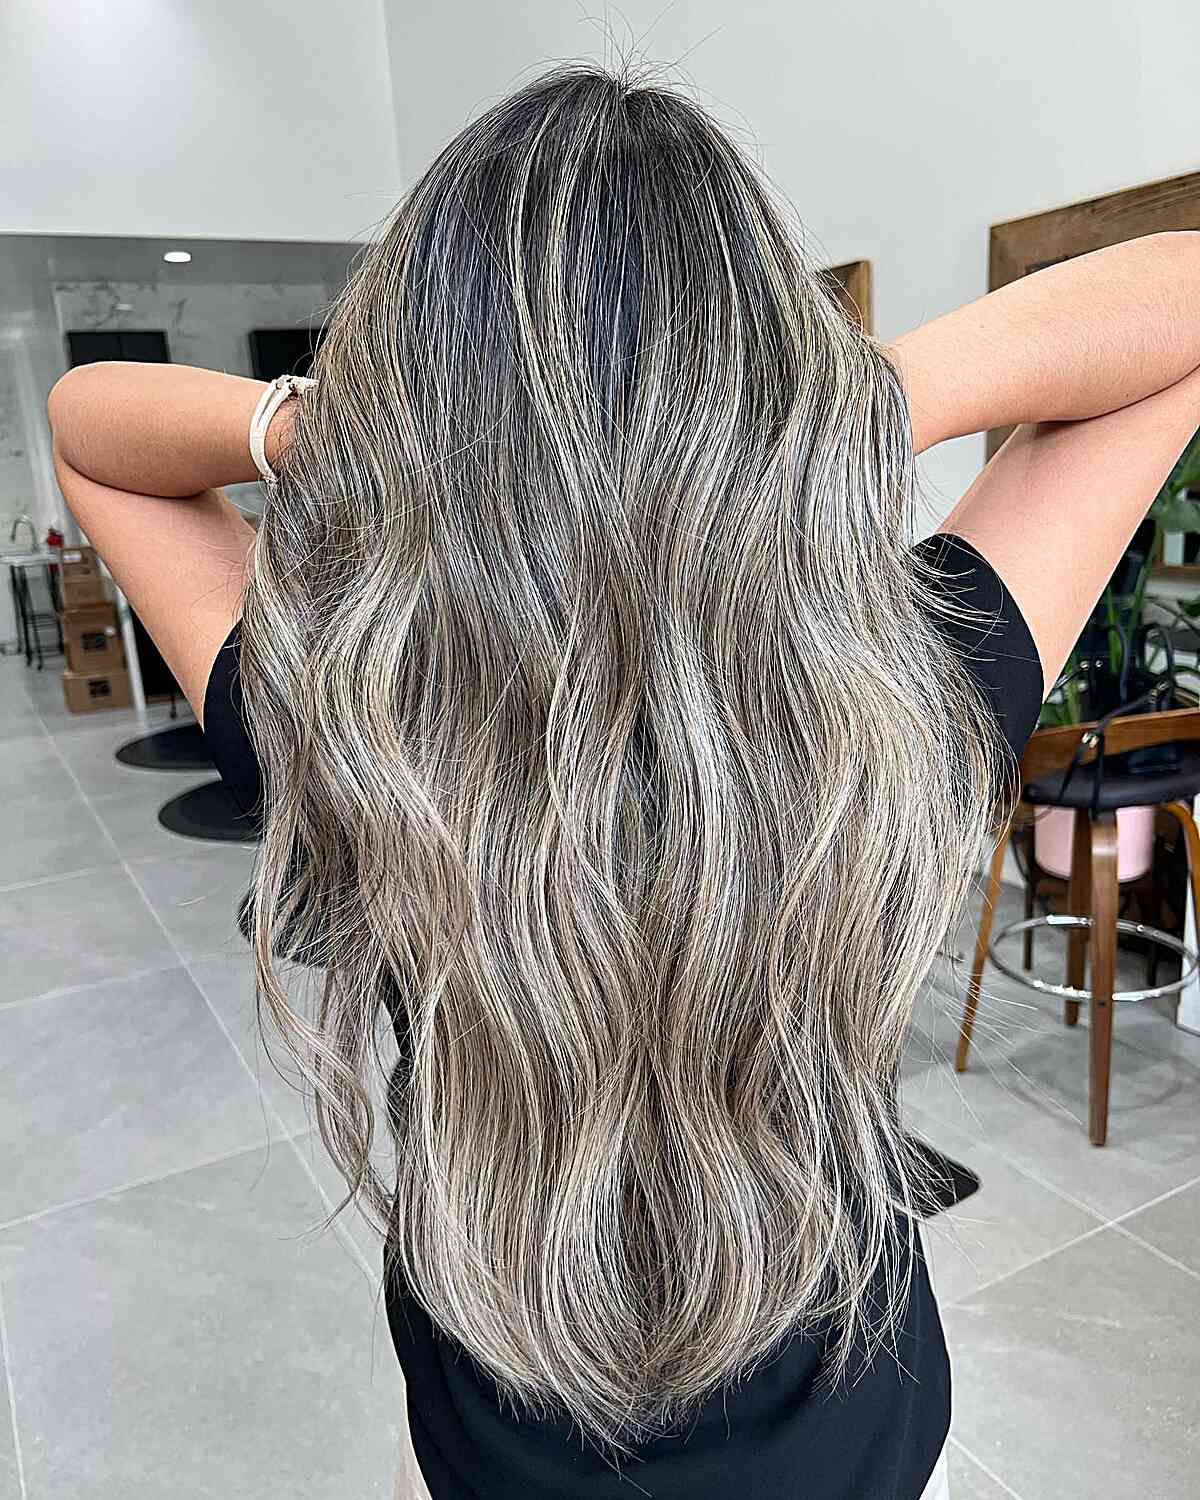
GRAY BLENDING ON DARK HAIR WITH HIGHLIGHTS
This is such a dramatic color transformation, and it turned out beautifully! My hair is currently dark with some grays coming in and plenty of highlights. The grow-out can be pretty harsh, and it doesn’t look great if I don’t touch it up every 12 weeks or so. I really love this look!
FIRST SESSION GRAY BLENDING
I appreciate how this demonstrates the transformative power of a single gray blending session. The color is beautifully balanced and the growth will be seamless. The dark base creates a stunning contrast with the diverse highlight colors that skillfully blend in the gray.
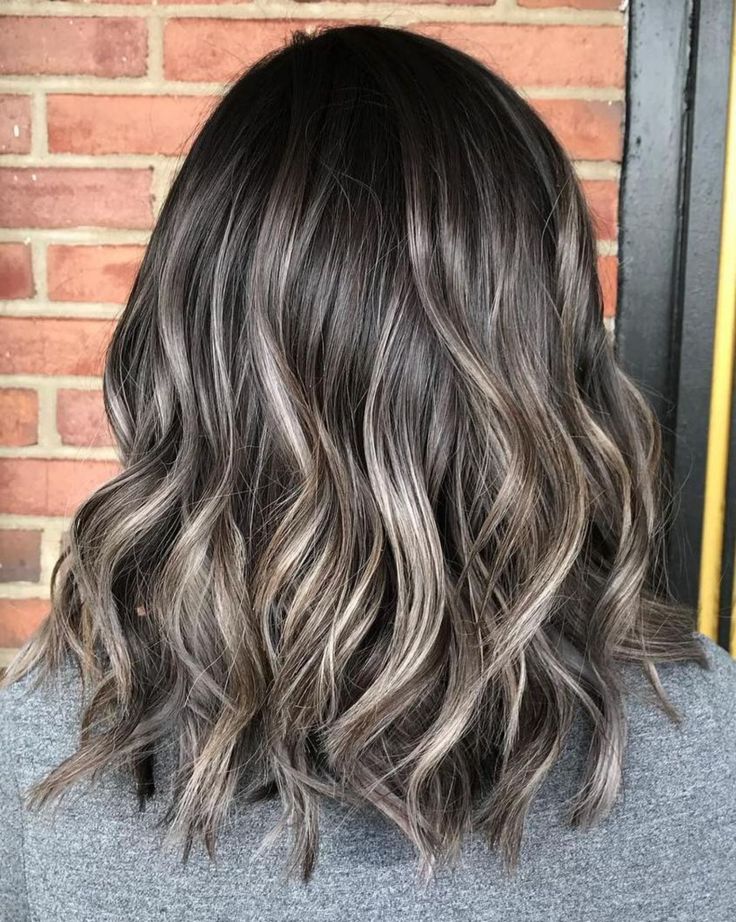
ASH BABYLIGHT ON CHOCOLATE BROWN
This is a fantastic transition color idea for anyone wanting more color in their hair or who doesn’t have many grays yet. I love the dark chocolate brown base paired with the ash babylights that beautifully blend in the grays.
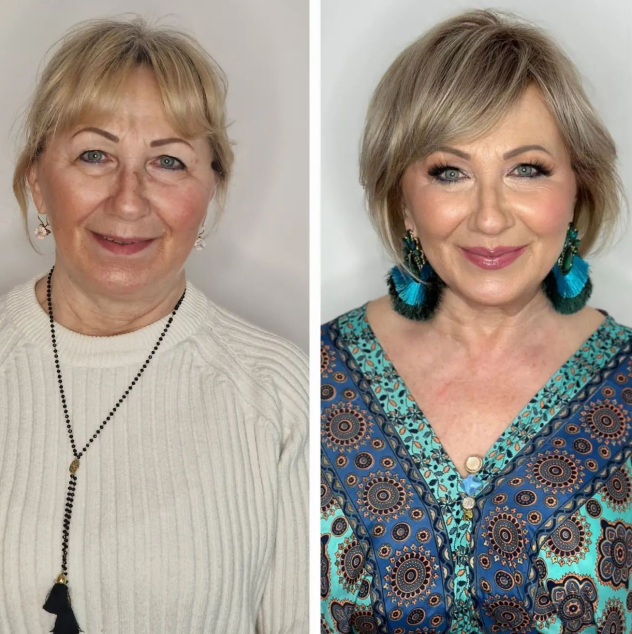
GRAY BLENDING
This is one of many inspirational hair transformations by Houston-based stylist Danielle. I love how she skillfully blends clients’ natural hair to perfection. The grow-out from here will be so much more natural and manageable. She’s upfront about the process taking hours, but the results are truly stunning. Be sure to scroll to see the before picture, as it closely resembles how many of our hair looks during the transition!
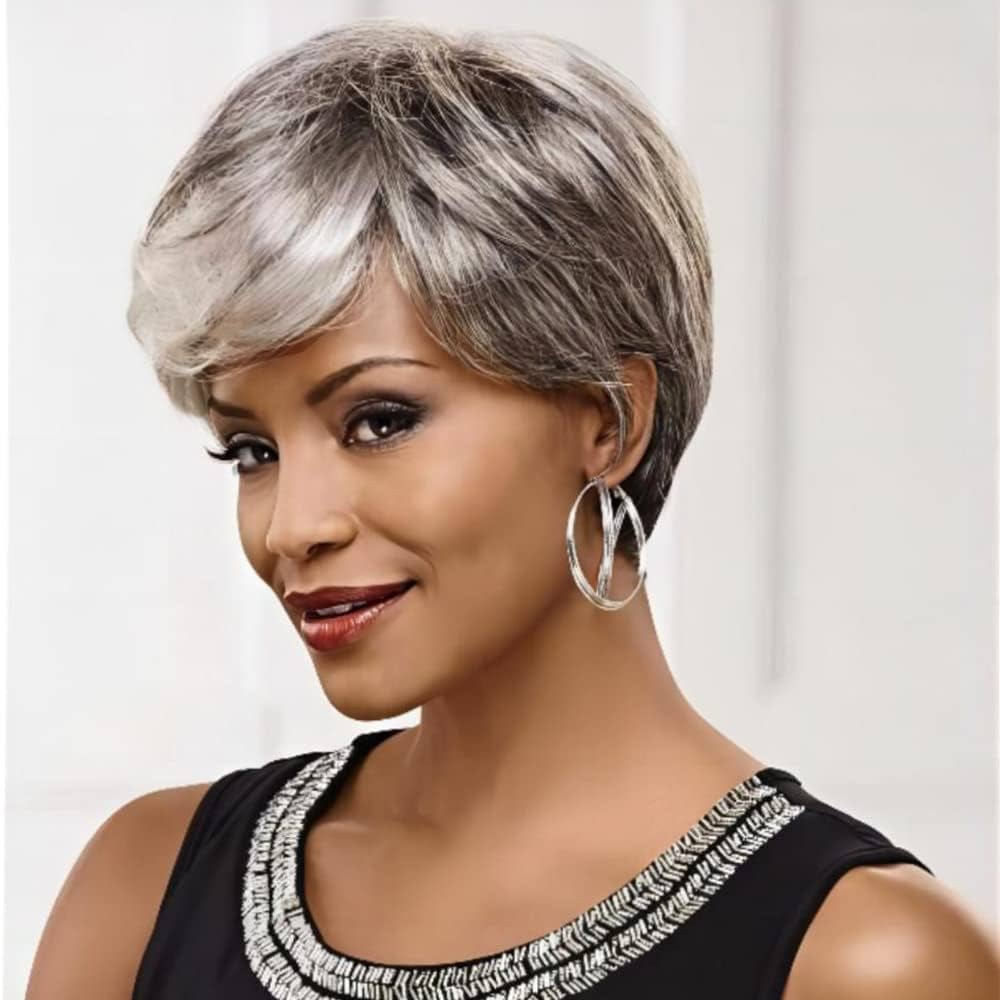
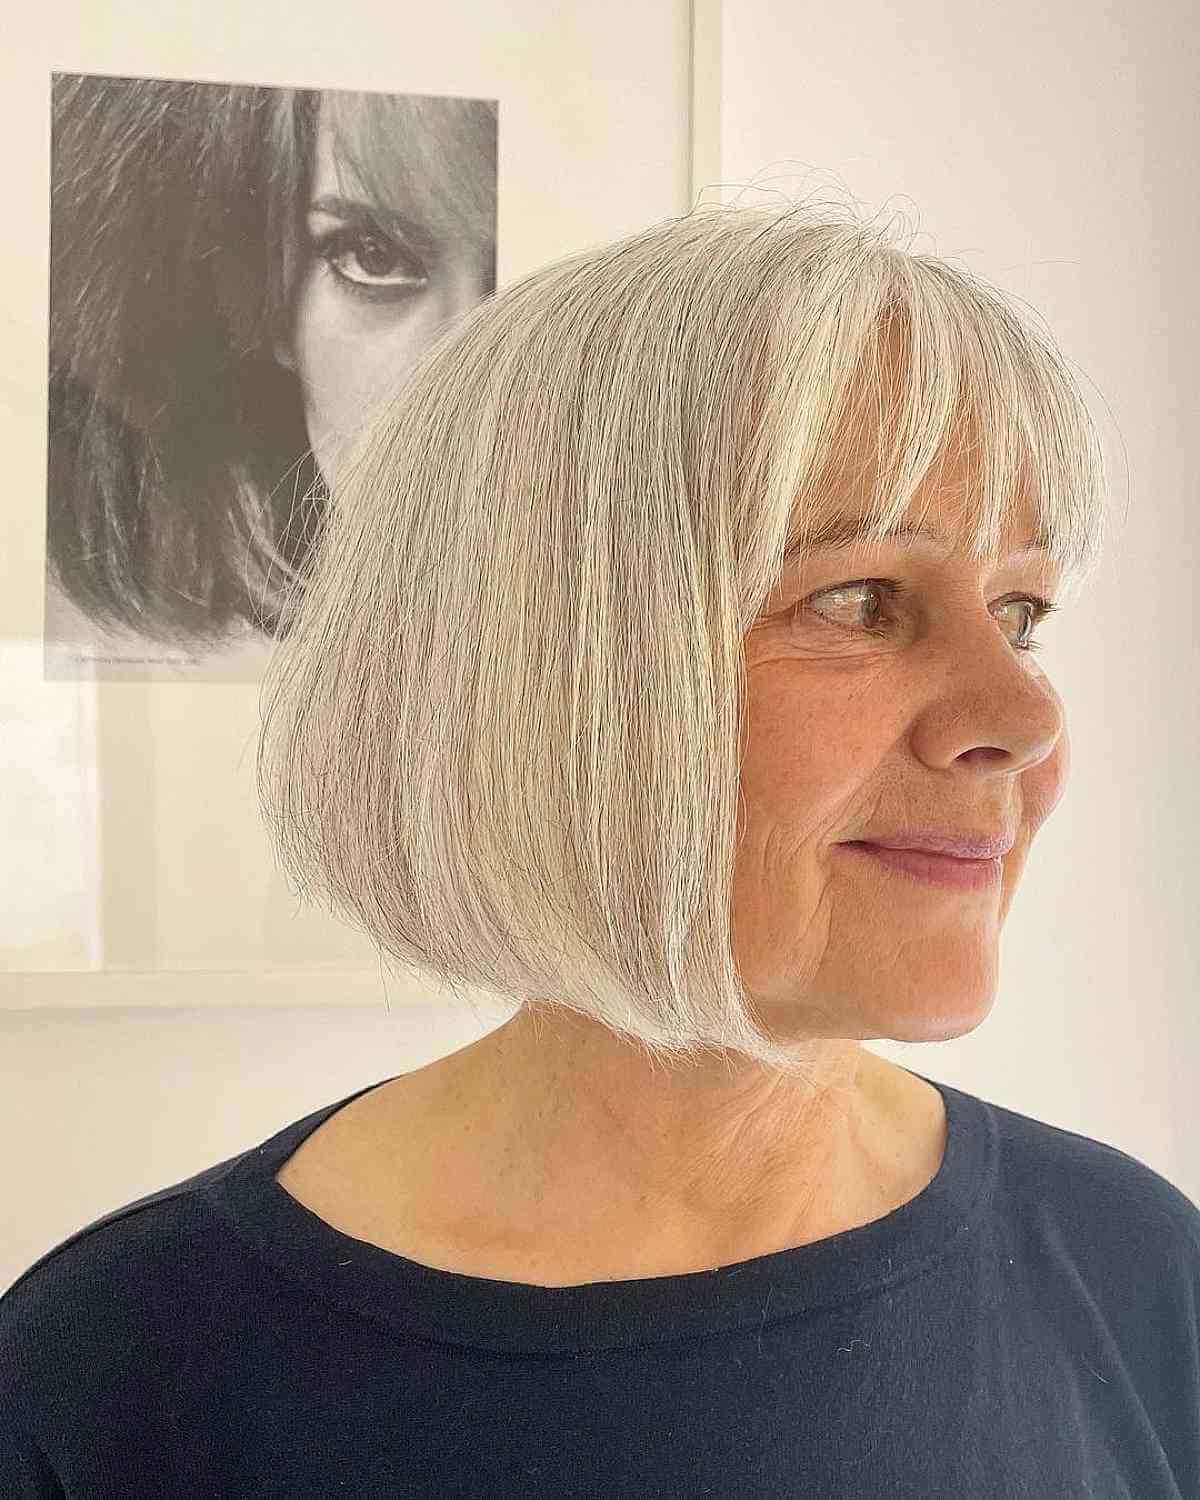
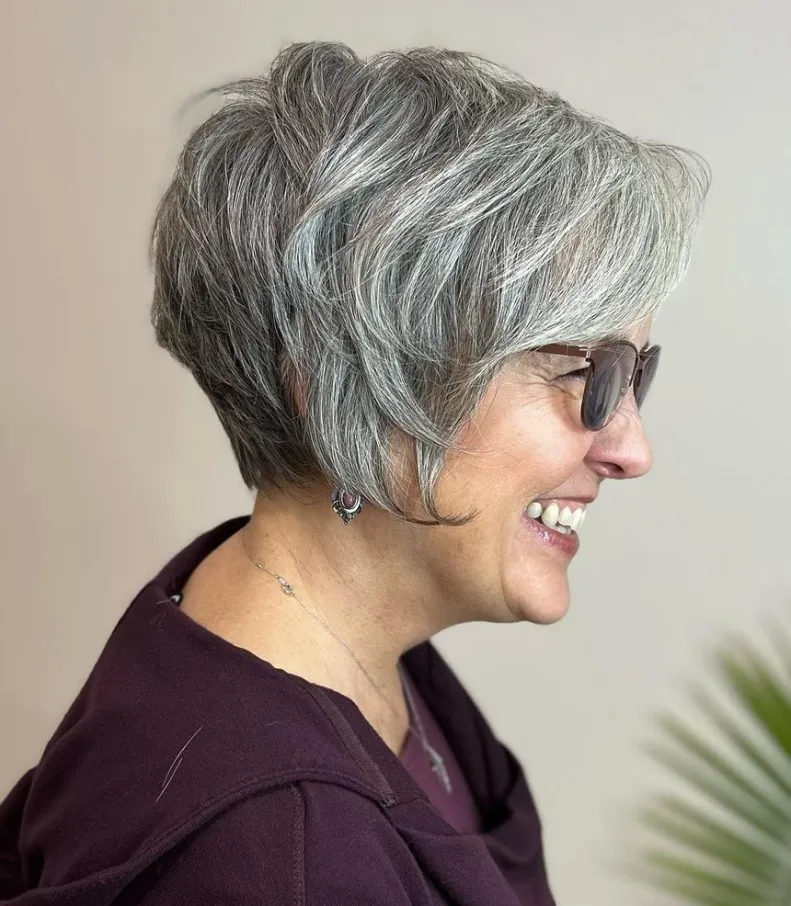
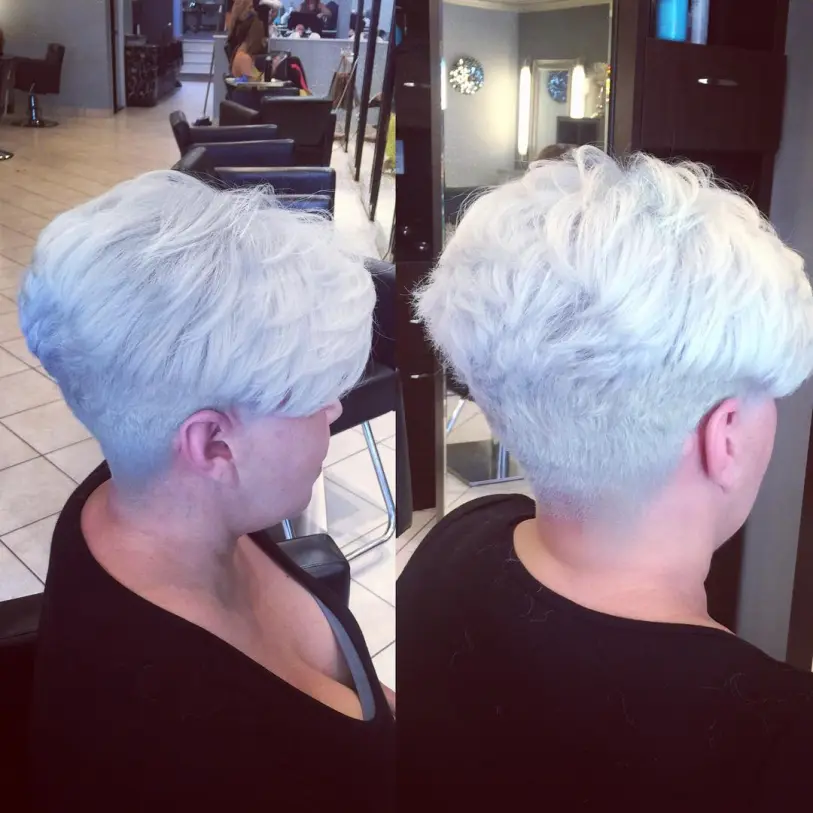
SILVER BLONDE HIGHLIGHTS ON BROWN/BLACK HAIR
Everything about this is stunning—the cut, the dark, almost black base color, and the perfectly scattered silver highlights. It’s truly masterful!
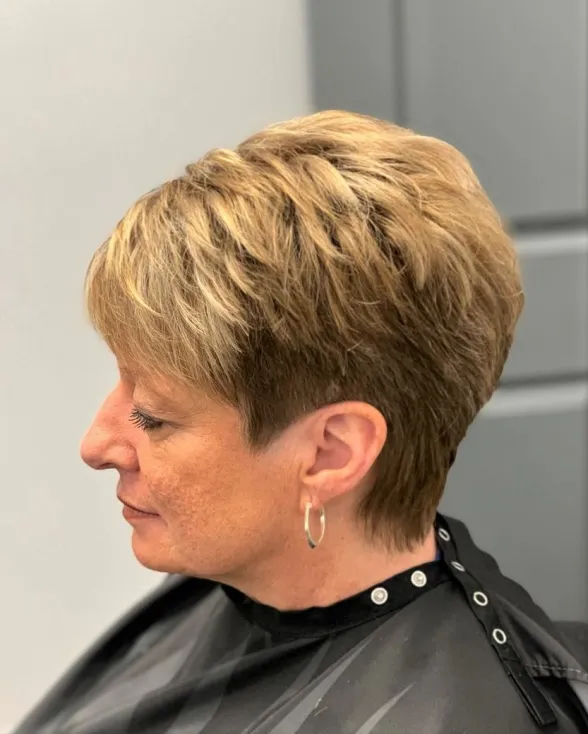
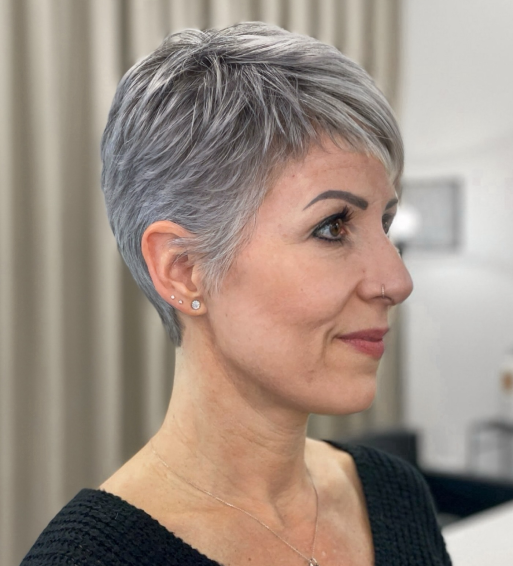
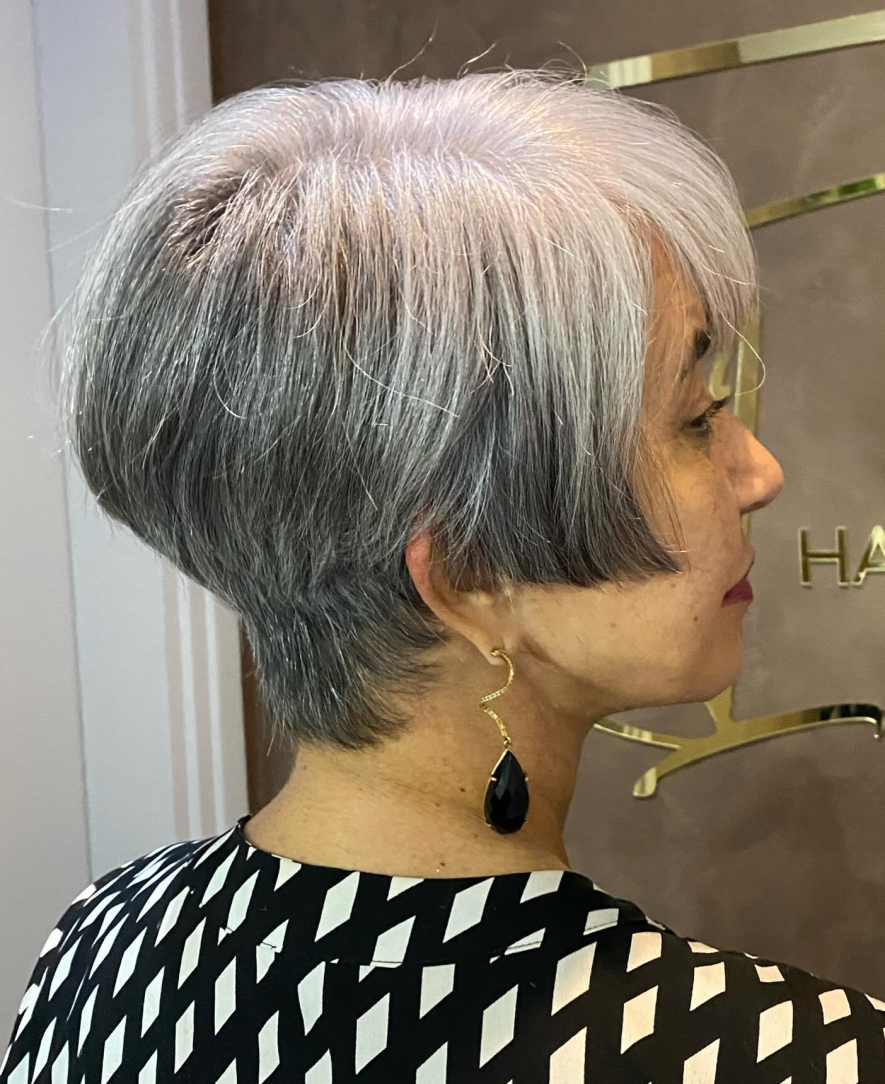
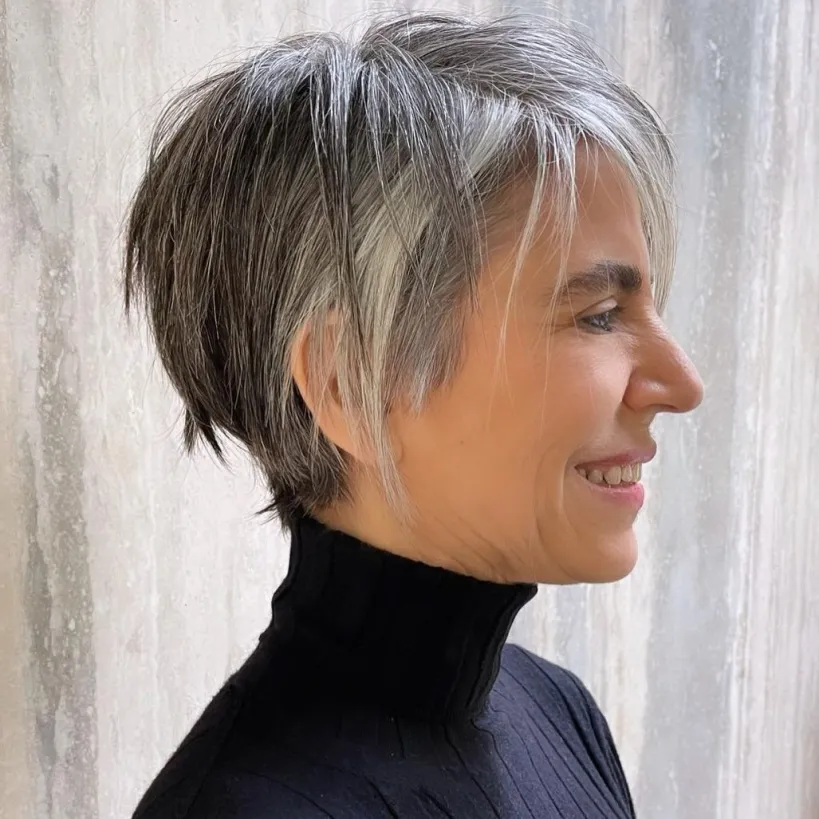
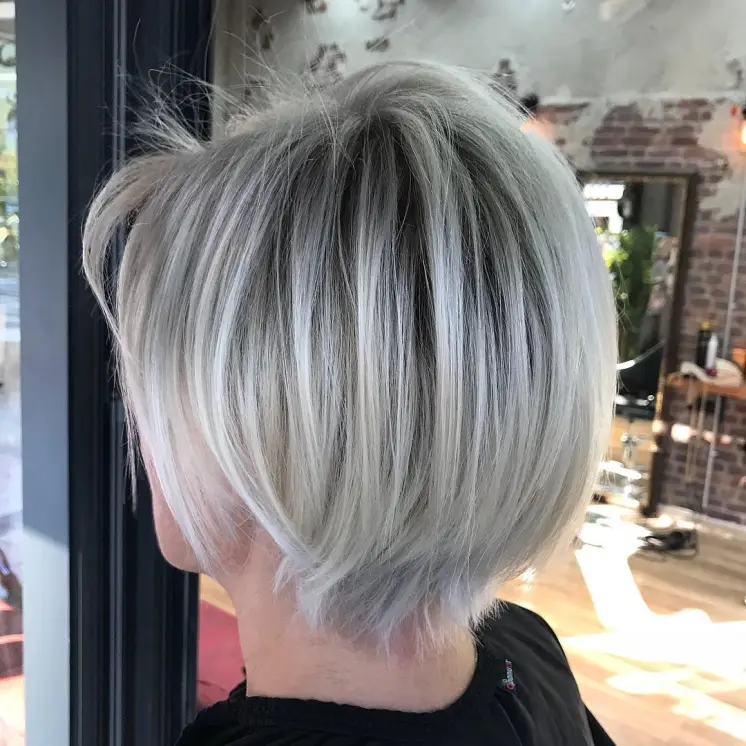
ADD SILVER HIGHLIGHTS
This stunning look was created by cutting off a significant amount of old hair and adding tiny silver highlights to blend the gray seamlessly. Plus, trimming away old hair can have a remarkable effect on emotional well-being and recovery.
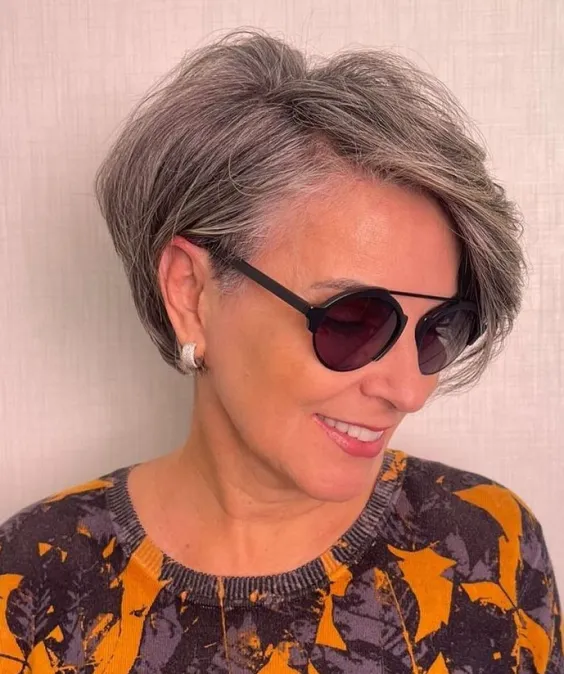
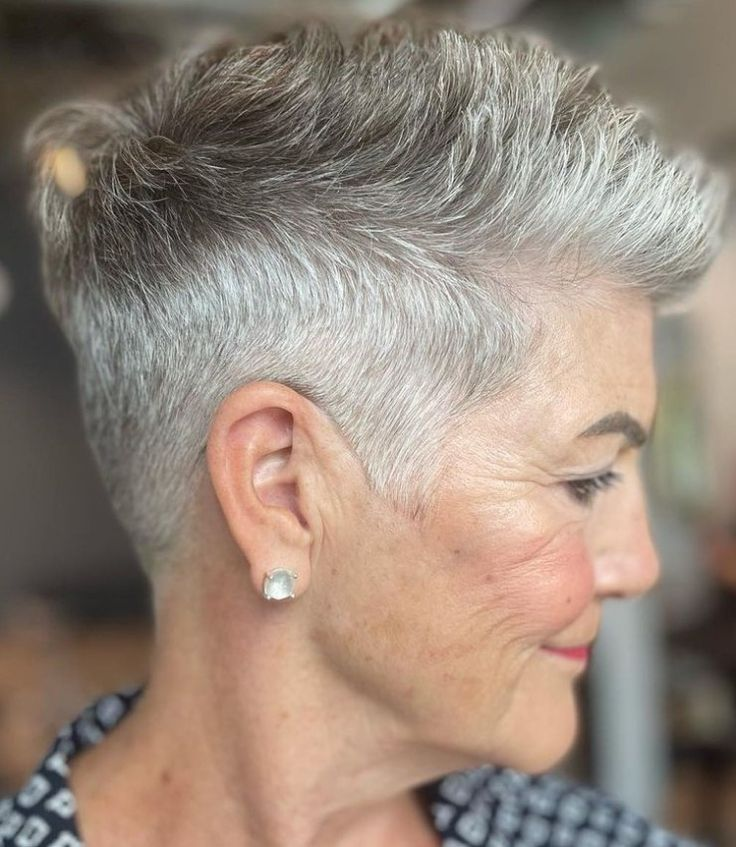
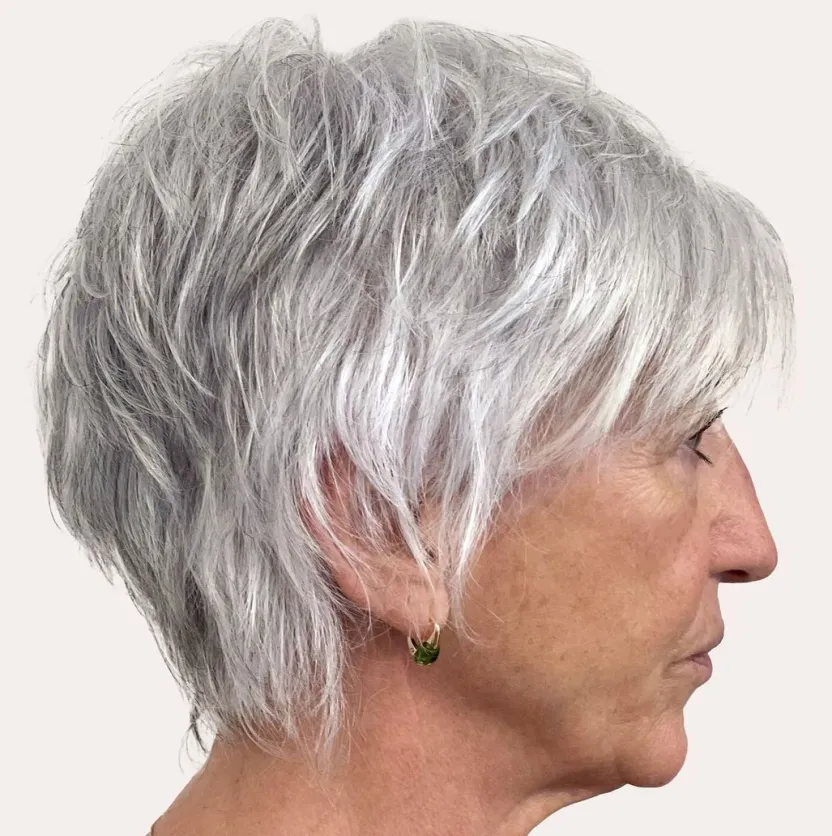
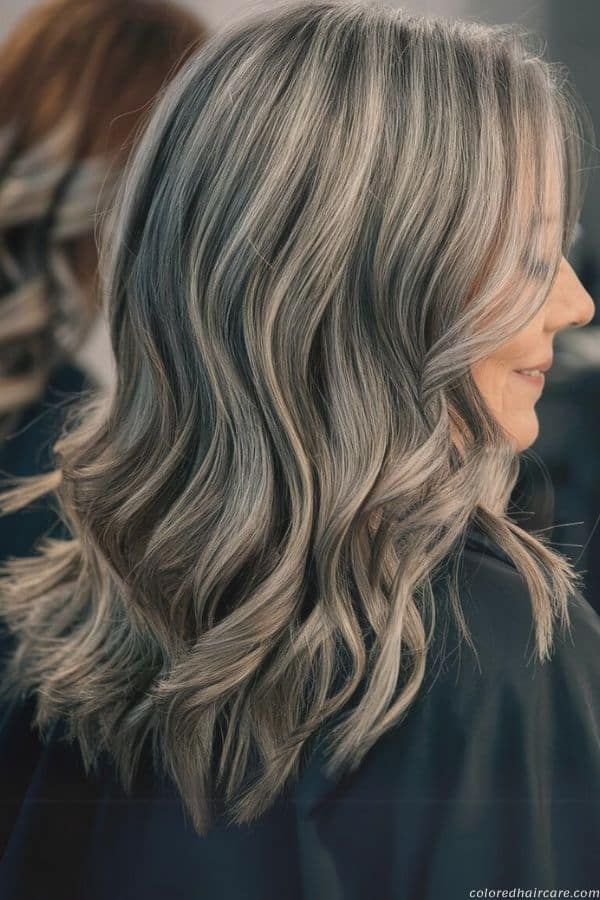
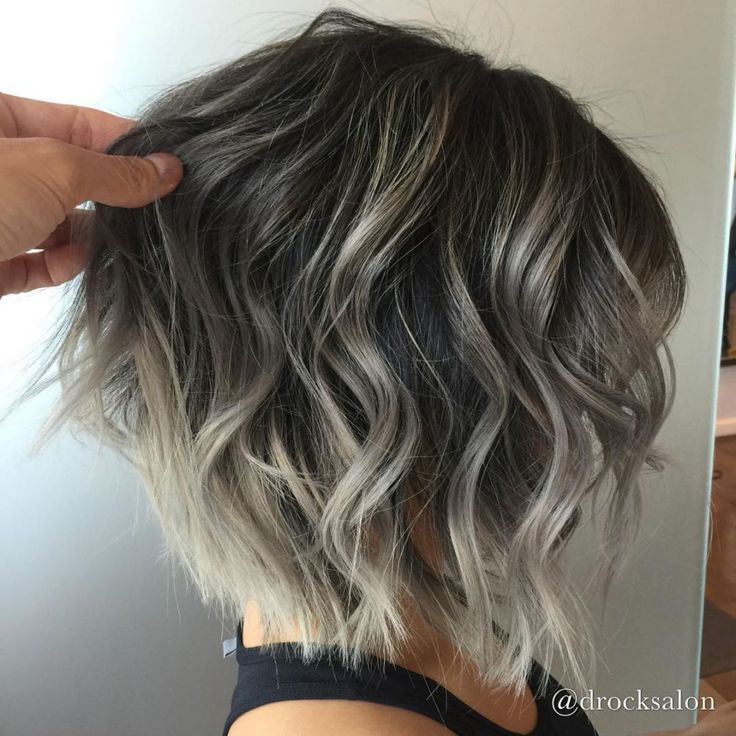
SMOKEY GRAY HIGHLIGHTS
You can definitely embrace gray highlights by adding more of them to make a bold statement. With ash brown and gray hair color trending, you’ll not only preserve the health of your hair but also stay stylishly on trend!
Highlights and Lowlights
To add depth and dimension to your gray hair, consider combining highlights and lowlights. This technique involves strategically placing lighter and darker shades throughout your hair, creating a seamless blend that complements your natural gray. By utilizing the existing gray areas as a natural base for highlights, you can achieve a stylish transition to darker lowlights.
CONCLUSION
Gray blending for dark hair offers a stylish and empowering way to embrace your natural beauty. By strategically incorporating shades of gray into your existing color, you can create a seamless and sophisticated look that complements your individual style. Whether you’re looking for a subtle touch of gray or a dramatic transformation, there’s a blending technique to suit your preferences.
Remember to consult with a professional stylist to discuss your goals and determine the best approach for your hair. With the right guidance and techniques, you can achieve a beautiful and confident gray-blended look that reflects your unique personality.