How to Do Box Braids: A Beginner’s Tutorial

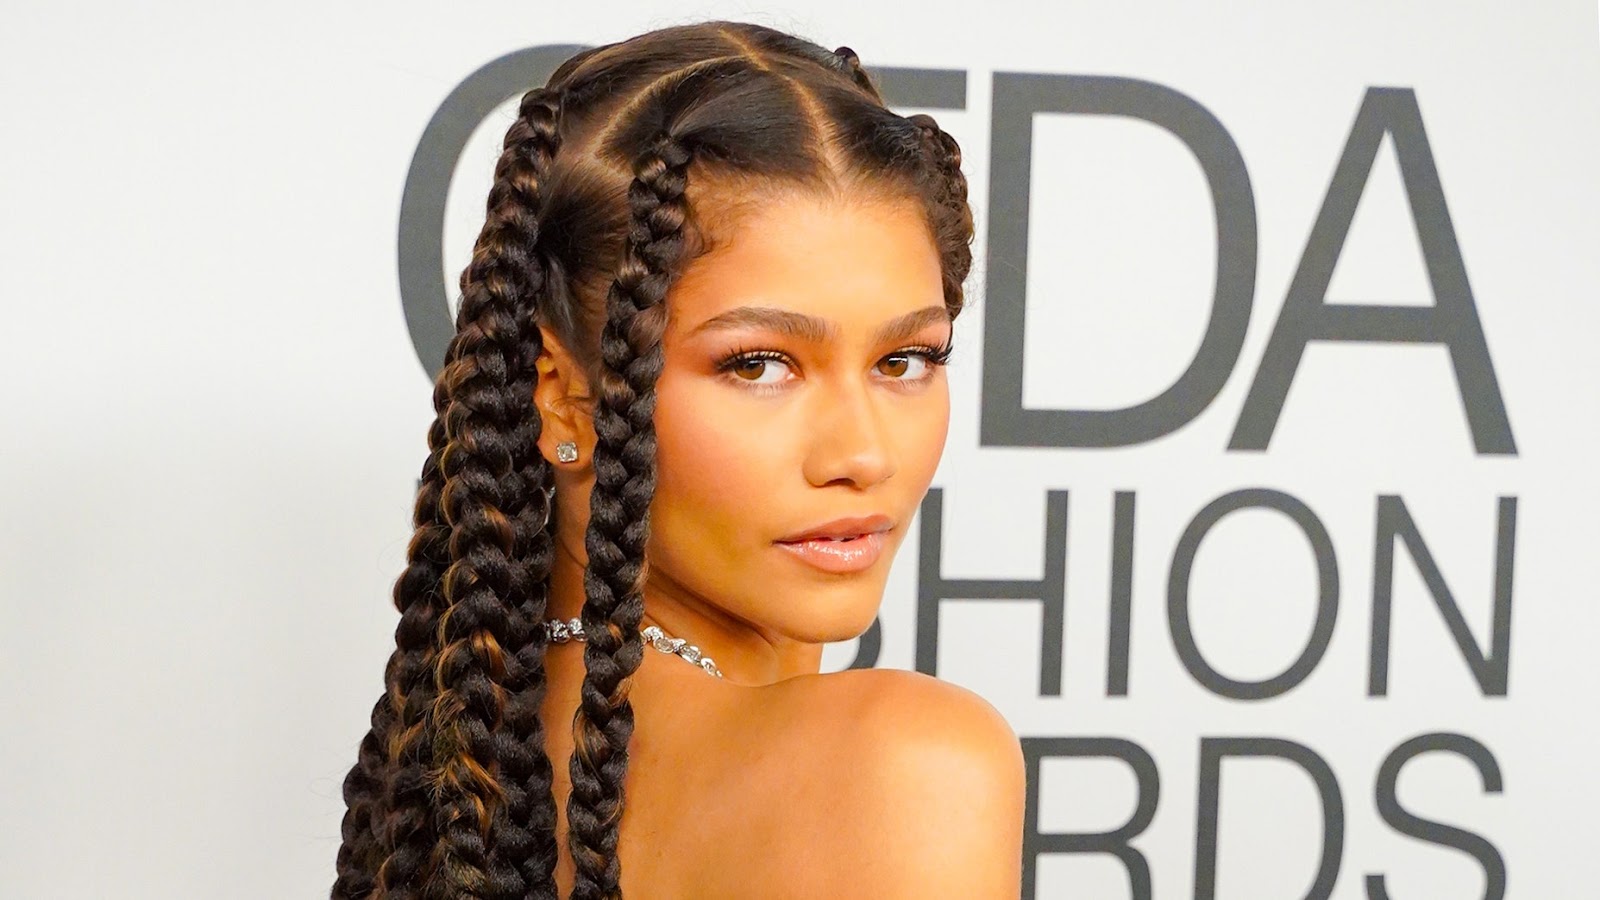
Box braids are a popular and stylish protective hairstyle that has been around for decades. They are versatile, low-maintenance, and can last for weeks with proper care. If you’re looking to try out box braids for the first time or simply want to improve your technique, this article will provide you with a comprehensive guide on how to do box braids.

Choosing the Right Hair Extensions

The first step in creating box braids is selecting the right type of hair extensions. You can choose between synthetic or human hair extensions, depending on your budget and preference. Here are some factors to consider when choosing:

  • Texture: Look for hair extensions that match your hair’s texture as closely as possible.
  • Length: Choose extensions that are at least three inches longer than your natural hair to allow for braiding.
  • Color: Pick a color that complements your skin tone and personal style.

You should buy 6-8 packs of synthetic hair if you’re aiming for long, thick braids. For shorter and thinner box braids, you might require fewer packs. Seek out smooth and soft synthetic hair, which is less prone to frizz, either at your local beauty supply store or through online retailers. The commonly used synthetic hair types for box braids are the soft-pressed Kanekalon Expression hair and pre-stretched Kanekalon hair. Alternatively, you can opt for human hair extensions or yarn hair. When uncertain about the quantity, it’s wise to purchase more hair than you think you’ll need. Any leftover hair can be saved for future styles or returned if the retailer permits.

Preparing Your Natural Hair

  • Wash and Condition: Start by washing your hair with a sulfate-free shampoo and a nourishing conditioner. Ensure that you rinse thoroughly to remove any product residue. Follow up with a deep conditioning treatment to hydrate and strengthen your hair. Leave the conditioner on for the recommended time to allow your hair to absorb all the moisture and nutrients it needs.
  • Detangle: Gently detangle your hair using a wide-tooth comb or a detangling brush. Start from the tips and work your way up to the roots to minimize breakage and pain. If your hair tends to tangle easily, feel free to use a rat-tail comb for those stubborn knots.
  • Stretch: If you have very curly or coily hair, you may choose to stretch it before braiding to make the process more manageable. You can do this by blow-drying your hair on a low-heat setting or using stretching techniques like banding or braiding.

How to Do Box Braids on yourself

Now that you have your hair extensions and natural hair prepped, it’s time to start braiding. Follow these steps:

Materials You’ll Need

  • Wide-tooth comb
  • Rat-tail comb (optional)
  • Hair clips or hair ties
  • Hair extensions (kanekalon or synthetic braiding hair)
  • Hair mousse or styling gel
  • Hair oil or moisturizer (optional)
  • Scissors (for trimming)

Step 1: Section Your Hair

Begin by using a wide-tooth comb to create four distinct box-shaped sections in your hair. Start by parting your hair down the middle, from your forehead to the nape of your neck, and then create another part from ear to ear. Leave the first section you plan to braid undone. Ensure that these sections are evenly partitioned, resulting in a neatly defined box shape with a straight line at the roots. Employ three large hair clips to secure the other three sections, keeping them conveniently out of your way. This initial division into four sections helps streamline the braiding process and prevents unworked hair from getting in your way as you braid. It might be helpful to use a mirror to ensure precision while creating these sections.

Step 2: Prepare the Braiding Hair

Take a portion of your sectioned hair, roughly measuring 1.5 to 2 inches (3.8 to 5.1 cm), and divide it further into thirds. Next, select a section of synthetic hair that’s slightly thicker than your natural hair section. Within the synthetic hair section, remove approximately one-third of it, leaving you with two strands—one thicker and one thinner. Alternatively, you can split the entire synthetic extension into three equally sized strands and then combine two of them to create the thicker and thinner sections.

Cross the 2 sections of hair at their centers, and fold the thinner strand backward upon itself. This action results in three hair strands of approximately equal thicknesses since the thin strand has been folded to create a single, thicker strand. To maintain a secure grip on the extension, use your thumb and forefinger to hold it firmly at the base of the loop.

Step 3: Start Braiding

Place the synthetic hair atop your natural hair, right at the roots. While keeping the three distinct synthetic hair strands, select one strand to act as your central or anchor strand, which you’ll merge with your natural hair. Align the loop of your partitioned hair directly over your natural hair’s roots, gently pinching your anchor strand together with your natural hair.

Step 4: Add More Braiding Hair

With the anchor strand of synthetic hair and your natural hair strand held together, initiate the braiding process with the synthetic hair. Guide the right-hand strand beneath the anchor strand, shifting the right-hand strand to the middle position. Subsequently, pull the left-hand strand under the center strand (which was previously the right-hand strand), positioning it now in the center. To keep things looking seamless, make sure to blend the braiding hair with your natural locks.

Step 5: Braid to the End

Continue braiding until you’ve reached your desired braid length. You can choose to leave a small portion of your natural hair unbraided at the ends for a more natural look or braid all the way to the ends.

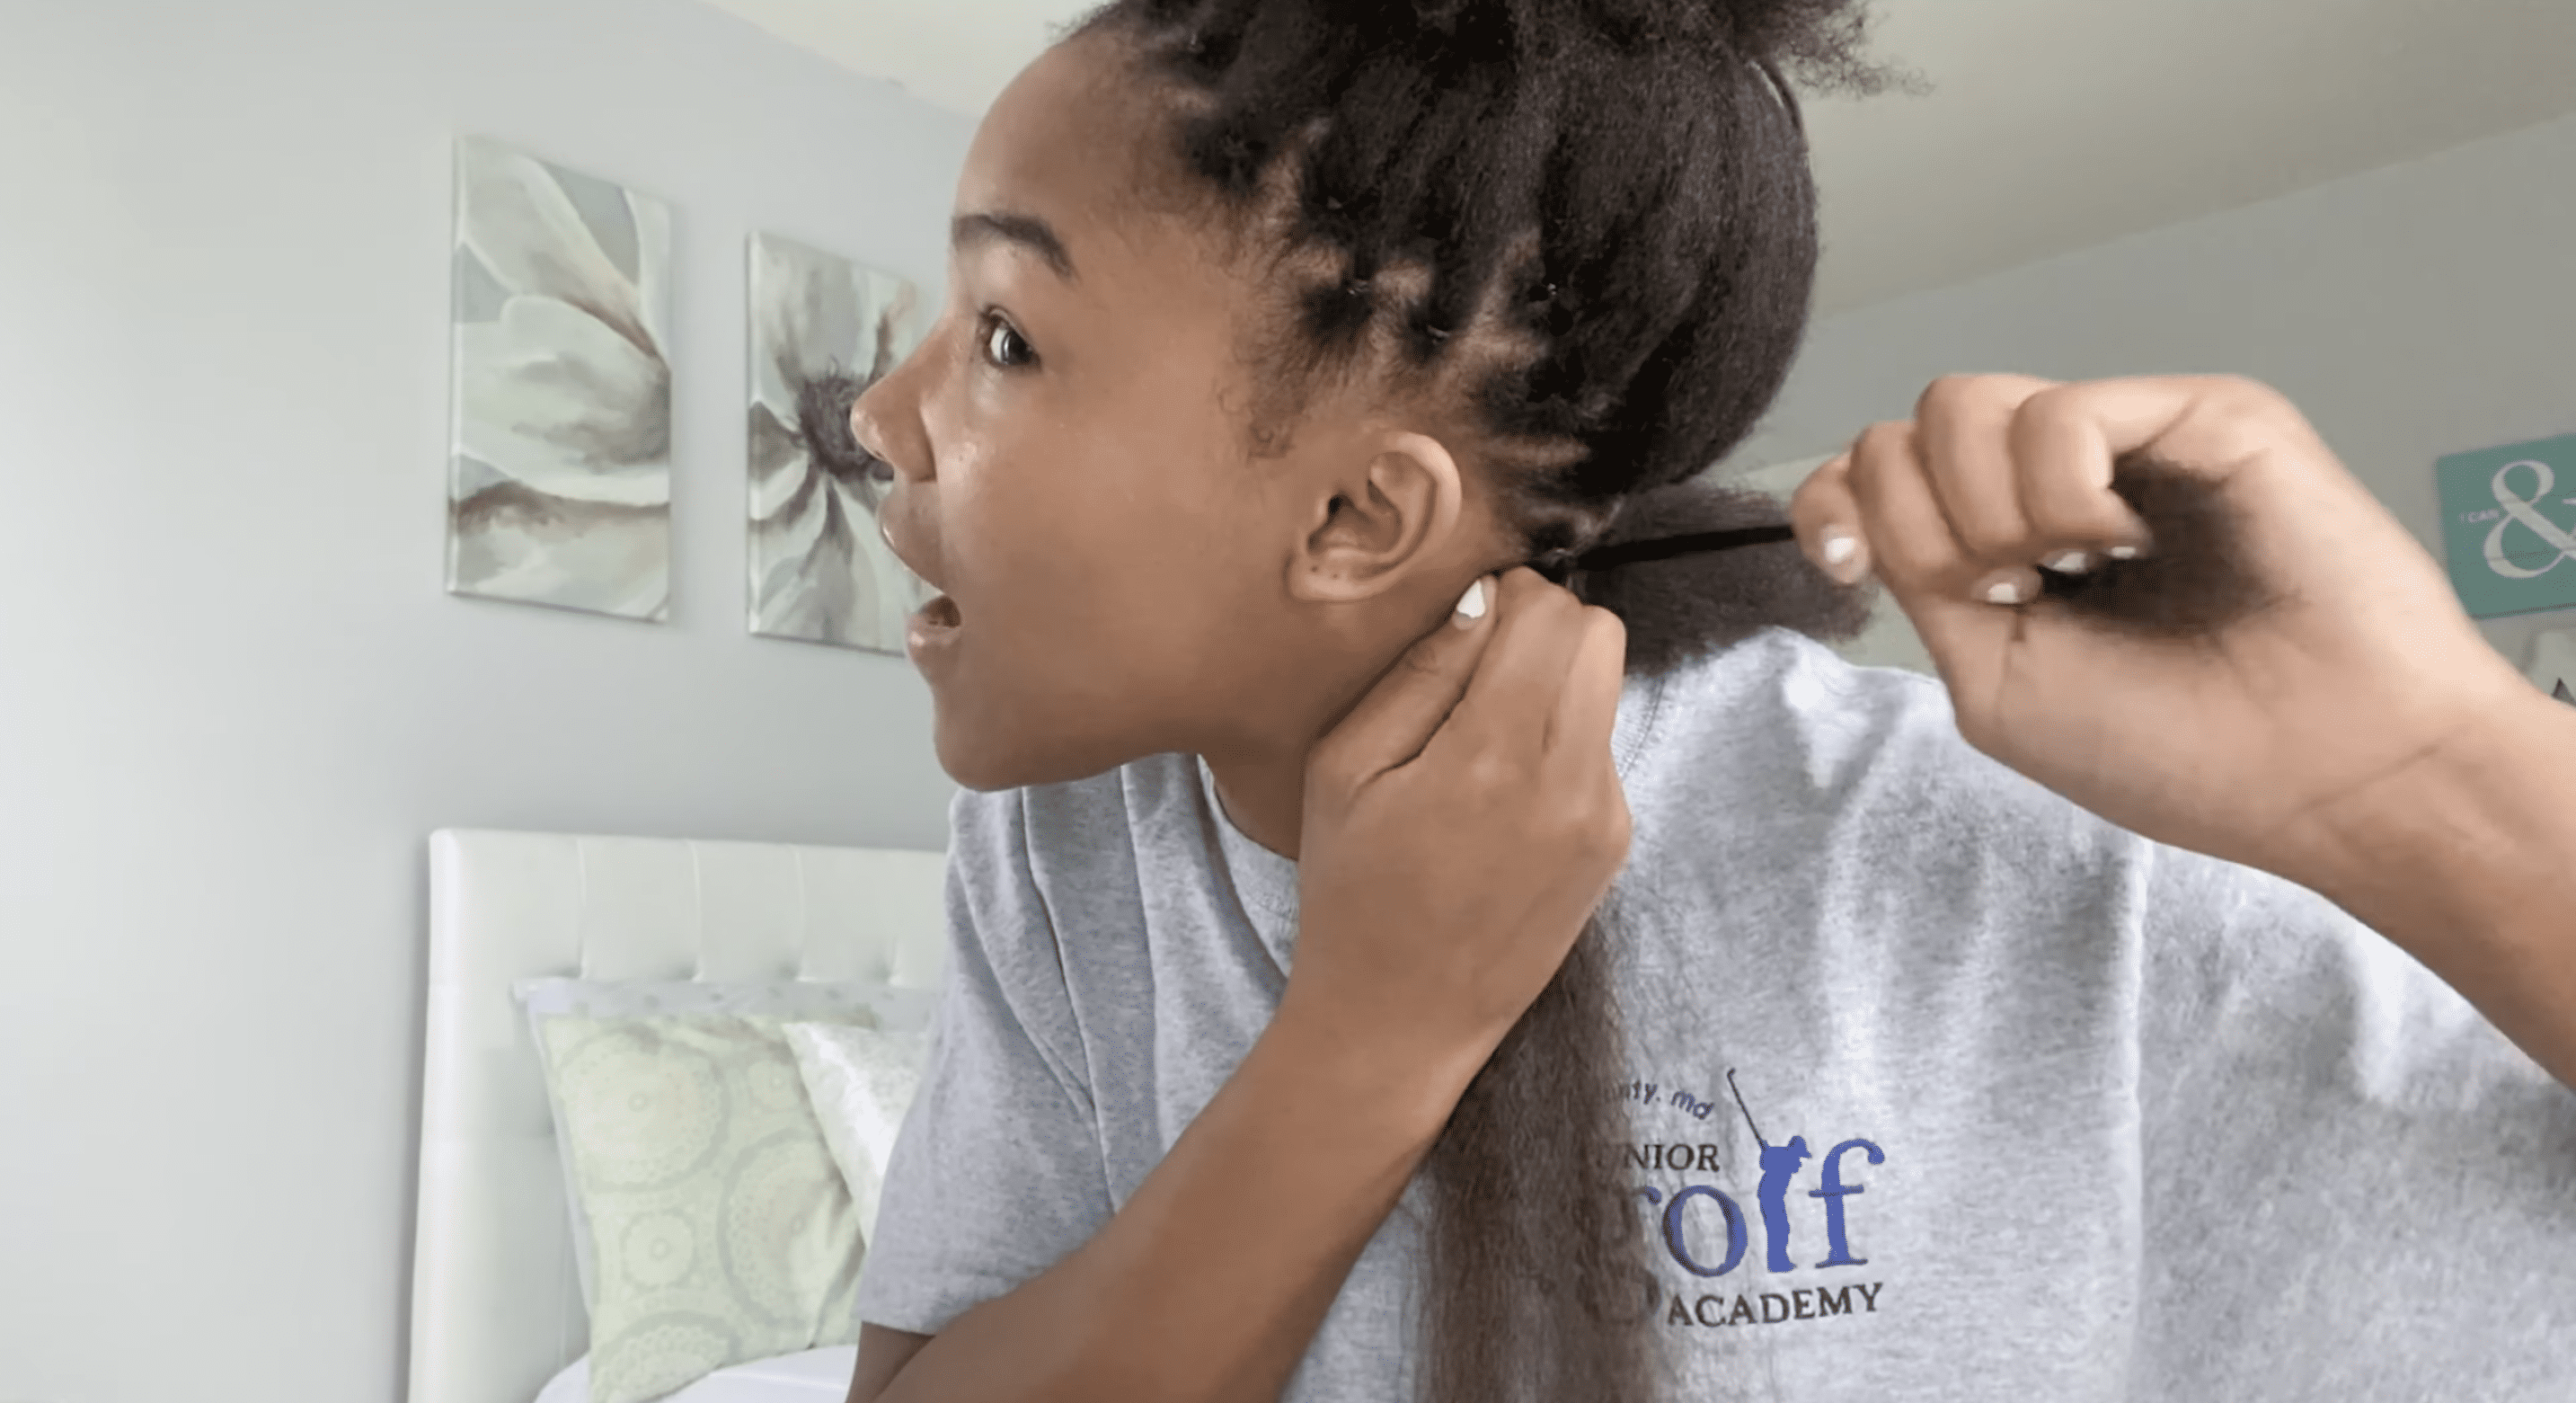
Step 6: Secure the End

Continue this sequence throughout the entire length of your hair, and once you’ve reached the end, secure it in place using a hair elastic. If the braid holds its shape without an elastic, you can skip this step. Maintain consistent tension to achieve a tight, orderly braid, making sure it’s secure but not uncomfortably tight. Applying even, gentle pressure as you braid ensures a uniform and smooth appearance for your braid.

Step 7: Repeat

Braid your hair section by section, allowing yourself breaks whenever necessary. Begin with one section and progress from the lower part of your scalp towards the crown for easier management. As doing an entire head of box braids can be a time-consuming task, taking breaks between sections or when needed is essential. Ensure you braid each section swiftly and consistently to prevent frizziness. Maintain uniform pressure throughout the braiding process to achieve braids of the same thickness and shape.

Step 8: Trim and Style (Optional)

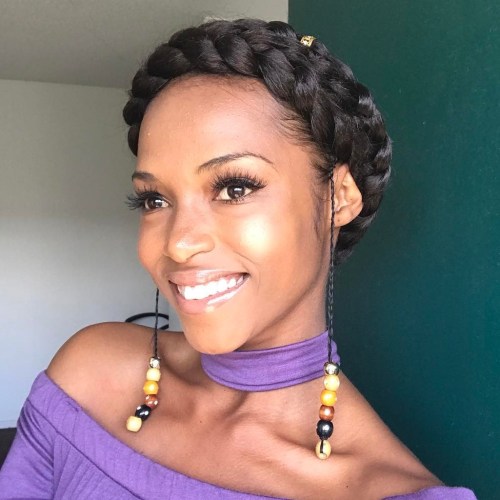
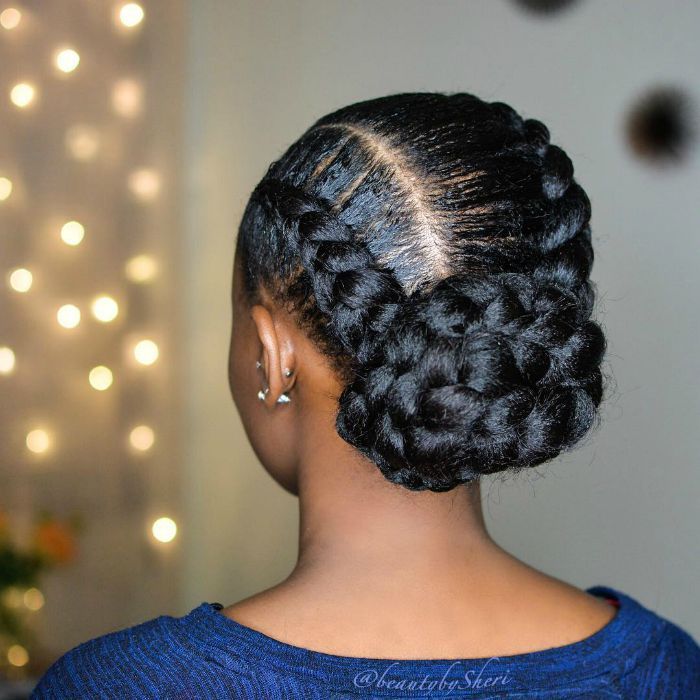
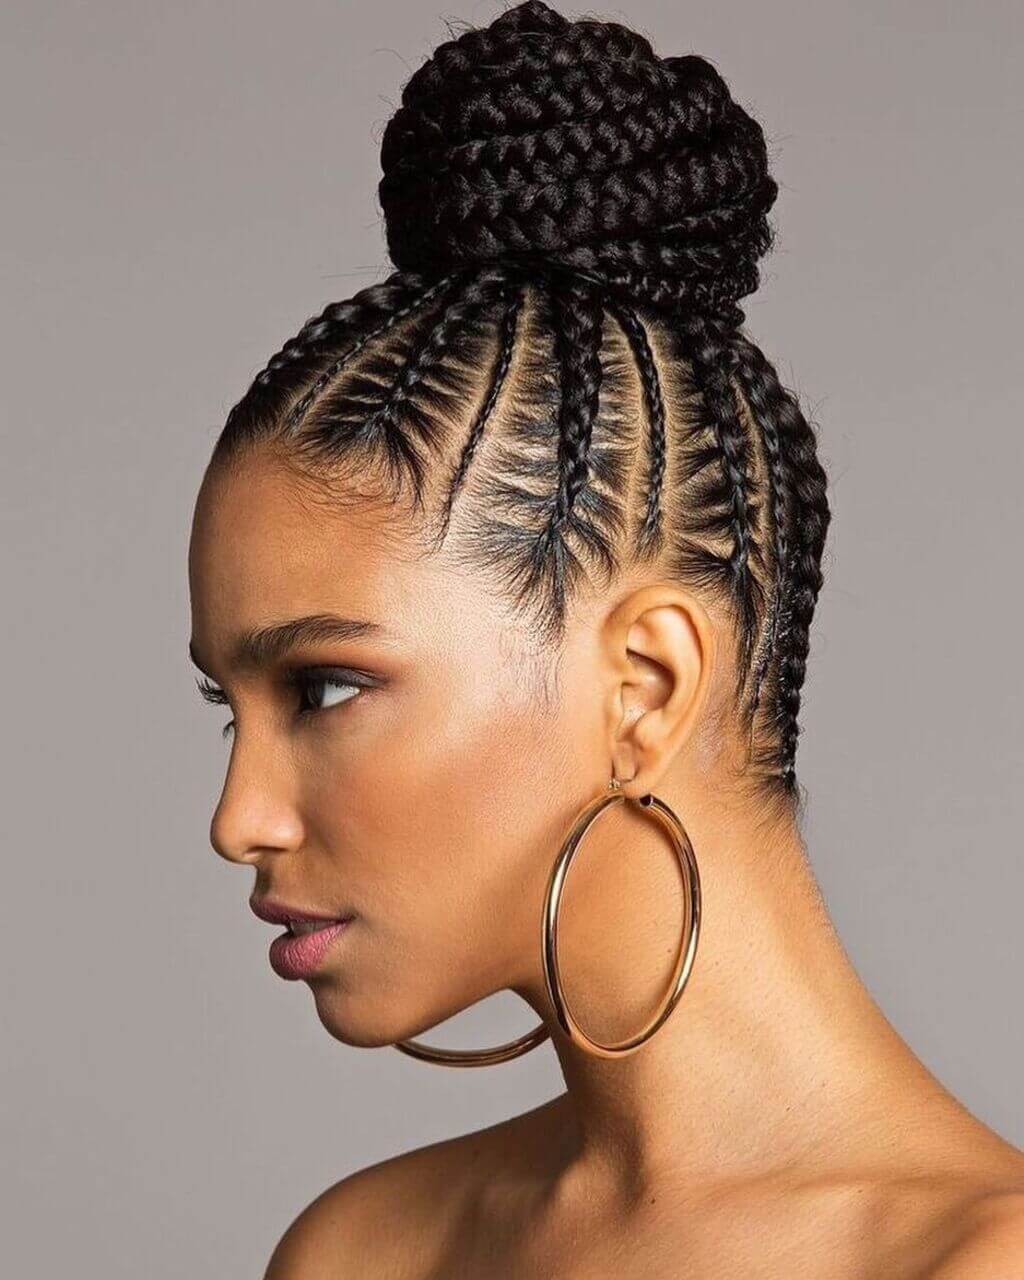
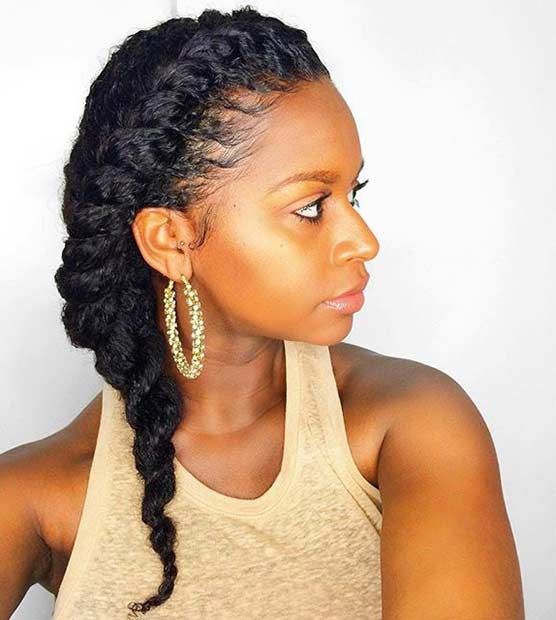
If desired, you can trim any uneven ends and style your box braids. Common styles include leaving them loose, pulling them into a ponytail, or creating updos and buns

Care and Maintenance

Once you’ve completed your box braids, it’s essential to take care of them properly to ensure they last for as long as possible. Here are some tips:

  • Keep Your Scalp Clean: Use a diluted sulfate-free shampoo to clean your scalp. Dilute the shampoo with water to prevent residue buildup between braids. Gently massage your scalp with your fingertips and rinse thoroughly. Focus on cleansing your scalp every 2-4 weeks or as needed.
  • Moisturize Your Braids: Use a water-based moisturizer or leave-in conditioner to hydrate your braids and natural hair. Apply it directly to your scalp and braids, concentrating on the ends. Be cautious not to oversaturate, as excessive moisture can lead to frizz.
  • Protect Your Braids at Night: Invest in a satin or silk bonnet or scarf to protect your braids while you sleep. Cotton pillowcases can create friction, which may cause frizz and damage.
  • Avoid Overstyling: Constantly pulling your braids into different styles or over-manipulating them can weaken your natural hair and cause breakage. Stick to simple styles to minimize stress on your hair.

FAQs

  1. What type of hair extensions are best for box braids? Human hair extensions are best for a natural look and feel, but they can be expensive. Synthetic hair extensions are more affordable and come in a wide range of colors and textures.
  2. How often should I wash my box braids? You should wash your box braids every two weeks to keep them clean and fresh.
  3. Can I swim with box braids? Yes, you can swim with box braids, but it’s essential to wear a swim cap and rinse your hair thoroughly afterward.
  4. How long do box braids last? Box braids can last four to eight weeks, depending on how well you care for them.
  5. Can I do box braids on short hair? Yes, you can do box braids on short hair, but the length of the extensions you choose will depend on how short your natural hair is.

Final Takeaway

Box braids are a beautiful and protective hairstyle that can be done at home with the right tools and techniques. By following this guide, you can create perfect box braids that will last for weeks and keep your hair healthy and protected. Remember to take care of your braids by moisturizing, cleansing, and protecting them from tight hairstyles. Happy braiding!

10 Goddess Braids Natural Hair are still trending

Are you tired of sporting the same old hairstyles every day? Do you want to add some spice to your natural hair? Look no further than goddess braids! These stunning braids not only look beautiful but are also highly versatile and practical. 

That’s why we’ve put together a list of 10 Goddess Braids ideas that will make your hair look stunning. Scrolling down to know how to achieve Goddess Braids Natural Hair.

What are goddess braids?

Goddess braids are a type of protective hairstyle that involves creating large, intricate braids. They are typically styled in a crown-like formation on the head, hence the name “goddess” braids. Often, these braids are decorated with beads or rings to add to their regal appearance.

Goddess braids are a popular choice for those with natural hair because they protect the hair from damage caused by environmental factors and daily styling routines. Additionally, they can be worn for weeks at a time, making them convenient for people with busy schedules.

Originating in ancient Africa, Goddess braids have deep roots steeped in creativity and culture, holding a profound significance. These braids have traversed the sands of time and continue to serve as a potent form of self-expression.

How to create stunning Goddess Braids on natural hair

What You’ll Need

  • Wide-tooth comb
  • Hair clips or ties
  • Styling gel or edge control
  • Hair extensions (optional)
  • Bobby pins (optional)

Step 1: Prepare Your Hair

Start with clean, detangled hair. Use a wide-tooth comb to remove any knots and tangles.

If you want to add length or thickness to your braids, consider using hair extensions that match your natural hair texture.

Step 2: Part Your Hair

Begin by parting your hair into sections. You can create a center part or a side part, depending on your preference.

Use the comb to make clean and straight parts for a neat look.

Step 3: Secure the Rest of Your Hair

Use hair clips or ties to keep the sections you’re not currently working on out of the way. This will help you maintain a clear workspace.

Step 4: Start Braiding

Begin at the front of your head and take a small section of hair to start the first braid.

Divide this section into three equal parts.

Cross the right strand over the middle strand, then cross the left strand over the middle strand.

Continue to braid in a regular three-strand pattern, but make sure to keep the tension firm and consistent for neat and tight braids.

Step 5: Add Hair (Optional)

As you continue braiding, you can add small sections of hair from each side to the outer strands before crossing them over the middle strand. This technique is called “feeding in” and will create the distinctive Goddess Braid pattern.

Step 6: Braid to the Ends

Continue braiding down the length of your hair until you reach the ends.

Secure the braid with a small hair tie or a rubber band.

Step 7: Repeat the Process

Repeat the braiding process for each section of your hair, working your way from front to back.

Step 8: Finishing Touches

Once all your Goddess Braids are complete, you can use styling gel or edge control to smooth down any flyaways and create a polished look.

If you have any gaps or uneven sections, you can use bobby pins to secure and adjust the braids as needed.

Step 9: Styling Options

Goddess Braids can be styled in various ways, such as updos, buns, or ponytails. Get creative and explore different styling options to suit your preferences and the occasion

10 stylish Goddess braid hairstyles

Classic Half-Up, Half-Down

For a relaxed yet chic look, create two beautiful Goddess braids at the front of your head and let the rest of your hair flow freely. Opt for a fresh and natural makeup look to have brunch dates or casual outings with friends.

Goddess Crown Braid

Feel like royalty with this elegant hairstyle. Form a graceful circular crown-like braid around your head, perfect for weddings, proms, or any special occasion that calls for a touch of regal beauty.

Goddess Bun

When you need a hairstyle that’s both timeless and sophisticated, gather your braids into a high or low bun. This versatile updo complements formal events, from black-tie galas to office parties.

Goddess Ponytail

Keep it sleek and stylish by securing your braids into a high or low ponytail. This look is effortless and ideal for workdays or a night out on the town.

Goddess Braided Updo

Elevate your style with an intricate updo that twists your braids into a work of art. You can add some flair to this look with hairpins, flowers, or even sparkling hair jewels for weddings or fancy soirées.

Goddess Fishtail Braid

Give your Goddess braids a trendy twist by opting for a fishtail braid. This textured, bohemian-inspired look is great for music festivals, beach vacations, or just when you want a relaxed vibe.

Goddess Braided Crown with Curls

Pair your divine crown braid with loose curls or gentle waves for a romantic and enchanting appearance. It’s a lovely choice for date nights or outdoor garden parties.

Goddess Braided Mohawk

Showcase your bold and edgy side with a Mohawk-inspired Goddess braid style. Complement this edgy look with bold and dramatic makeup to stand out from the crowd.

Goddess Braids with Beads or Accessories

Infuse personality into your braids by adding beads, cuffs, or other charming hair accessories. This customizable style lets you express your individuality and works well for casual hangouts or festivals.

Goddess Braided Headband

Create a delightful braided headband using your Goddess braids, adding a touch of elegance to your overall appearance. Enhance your charming look with a soft and feminine makeup style.

goddess braids vs.  other protective styles

Cornrows vs. Goddess Braids

Cornrows are another popular protective hairstyle that involves creating small, tight braids close to the scalp. While cornrows can be styled in an endless number of ways, they generally have a more understated look than goddess braids.

The main advantage of cornrows over goddess braids is that they require less hair to create. This makes them a great option for people with thinner or shorter hair.

However, cornrows can also cause more tension on the scalp than goddess braids, leading to discomfort and potential damage to the hairline.

Box Braids vs. Goddess Braids

Box braids are similar to goddess braids, but instead of creating large braids, they involve creating many small, individual braids throughout the hair.

Box braids can be styled in a variety of ways, from simple ponytails to intricate updos. They are also known for their longevity, as they can last for several weeks or even months with proper maintenance.

One disadvantage of box braids compared to goddess braids is that they can be time-consuming to install. Additionally, because they involve creating so many small braids, they can be more damaging to the hair than larger braids.

Twists vs. Goddess Braids

Twists are a protective hairstyle that involves dividing the hair into two sections and twisting them together. Like cornrows, twists generally have a more understated appearance than goddess braids.

Twists are a great option for people with shorter hair or those who prefer a more low-maintenance hairstyle. They are also less damaging to the hair than some other protective styles, as they involve less tension on the scalp.

However, twists can unravel more easily than braids, especially if the hair is not properly moisturized and sealed.

Styling tips

  • Choose a reputable stylist: Goddess braids require a skilled hand to create, so be sure to find a stylist with experience in this style. Additionally, make sure they use high-quality hair extensions and products to ensure your braids last as long as possible.
  • Protect your edges: Goddess braids can put a lot of tension on the front of the hairline, leading to damage or breakage. Be sure to apply oil or edge control gel to this area before styling to prevent damage.
  • Moisturize regularly: Keeping your natural hair moisturized is key to maintaining healthy hair while wearing goddess braids. Use a leave-in conditioner or hair oil to keep your scalp and hair hydrated.
  • Sleep on a satin or silk pillowcase: These materials are gentler on the hair than cotton and help to prevent frizziness and breakage while you sleep.
  • Take breaks between styles: While goddess braids can last for weeks at a time, it’s important to give your scalp and hair a break between styles to prevent damage and breakage.

FAQs

  1. Can goddess braids be done on all hair types? Yes, goddess braids can be styled on all hair types, including natural hair, relaxed hair, and even extensions.
  2. How long do goddess braids last? With proper maintenance, goddess braids can last for up to six weeks.
  3. Are goddess braids easy to maintain? Goddess braids require less daily maintenance than other hairstyles, but they still require regular moisturizing and gentle handling to prevent damage.
  4. Can I wash my hair with goddess braids in? While it’s not recommended to fully wet your hair while wearing goddess braids, you can still clean your scalp and hair with dry shampoo or a gentle cleansing spray.
  5. Can I wear my hair up with goddess braids? Yes, many goddess braid styles can be worn in an updo, making them a versatile choice for formal events or everyday wear.

Final Takeaway

Goddess braids are a stunning and practical protective hairstyle that can be styled in countless ways. Whether you’re looking for a low-maintenance style or a bold statement piece, goddess braids are a great option for anyone with natural hair. Remember to take care of your scalp and hair with regular moisturizing and gentle handling, and your goddess braids will last for weeks to come.