SPIDER INFESTATION COSTUME

Looking for a truly terrifying costume that’ll send shivers down everyone’s spine? Consider transforming yourself into a spider infestation! This unique and unsettling costume is perfect for those who want to stand out from the crowd and leave a lasting impression at your next Halloween party.

Imagine this: you’re covered head-to-toe in realistic-looking spiders, their legs sprawling out in every direction. As you move, they seem to writhe and squirm, creating an illusion of a living, breathing spider infestation. It’s a guaranteed conversation starter that’s sure to elicit both fear and admiration.

In this guide, we’ll provide you with step-by-step instructions on how to create your own spider infestation costume.

SUPPLIES 

  • Printable Tattoo Paper
  • Electronic Cutter
  • Cutting Mat
  • Cut File

TUTORIAL OVERVIEW

In this tutorial, I’ll guide you through cutting out designs using my Silhouette Cameo. However, this technique is also applicable if you’re using a Cricut—though I’m less familiar with the specifics of that machine! Rest assured, you can use Silhouette materials on a Cricut as well, and they offer a wide variety of cool options!

Silhouette all has -white, gold, and silver tattoo paper!

HOW TO USE TATTOO PAPER

The Silhouette tattoo paper can be a bit tricky, so let me guide you through the steps! We will be using the Print and Cut feature. Start by uploading the spider image and ensure that the Print and Cut option is selected in the page setup. This will display registration marks around the spiders.

Since the spider legs are so small, I added an offset outline to give the tattoo a thicker appearance!

To begin your tattoo project, start by pressing the star (offset) in your design software. This will allow you to create an outline of the spiders, which you can adjust as much as you like. Once you’ve applied the outline, carefully remove the black spider images, leaving only the outlines behind.

When you open your package of tattoo paper, you will find two white sheets and two blue sheets. The blue sheet serves as the top layer. Take one of the white sheets and load it into your printer with the shiny side facing up.

Finally, go to your Silhouette Studio and press print to send your design to the printer. This will prepare your tattoo outline for application. Enjoy your creative process!


If you need a good printer- check out this article.

The blue sheet is the clear protective layer that activates the tattoo.

It has a strip across the top. Peel off this strip and carefully align it with the top of your white sheet. Be cautious not to touch the sticky side.

Gently remove the backing and adhere the entire clear layer to the white tattoo paper, making sure to rub it down thoroughly.

The top piece acts as a clear protective layer, similar to those fake tattoos you may have used before. You need to peel off the clear layer, then flip the tattoo over to apply it to your skin.

Once prepared, place the sheet onto a Silhouette mat and load it into your Silhouette Cameo.

Cutting out the spiders

The spider legs are quite small, so I prefer to use an offset effect to make the spiders a bit thicker. This creates a subtle clear outline around each spider, enhancing their visibility. Make sure to select the Silhouette tattoo paper cut setting in your software. Once you’ve done that, proceed to cut out the spiders!

Apply your spider tattoos:

When you’re ready to apply the tattoo, start by peeling off the protective layer. The tattoo will be slightly sticky. Position the sticky side down on your skin where you want it to go. Press a damp cloth against the tattoo until it is saturated, then gently remove the backing. The backing should slide off easily, leaving behind a nice creepy spider!

How to Remove Temporary Tattoos:
If you’re concerned about removing temporary tattoos, especially from your face, don’t worry! A little baby oil works wonders, and the tattoos come off easily. This is a definite win! I’ve also heard that hand sanitizer, rubbing alcohol, and nail polish remover can be effective alternatives.

Troubleshooting Print and Cut:
If your print and cut isn’t cutting precisely around the spider, you may need to recalibrate your machine. If it’s not registering the print and cut registration marks, try using a brighter light near your Cameo. Often, lighting issues can affect the registration process!

20 ADORABLE GHOST NAILS THAT ARE IDEAL FOR HALLOWEEN

Hey there, ghouls! Halloween is just around the corner, and you know what that means—time to embrace the spooky spirit! If you’re anything like us, you want to keep things cute while still capturing the eerie essence of the season.

That’s where ghost nails come in. These charming little specters on your fingertips strike the perfect balance between spooky and sweet, adding just the right touch of Halloween flair without going overboard.

They’re incredibly versatile, too—whether you prefer minimalistic designs or bold statements, there’s a ghost nail look that’ll perfectly match your style. Ready to discover your Halloween nail inspiration?

GLITTER, DOTS & GHOST

Check out this design that’s all about having a good time! With sparkling glitter, playful dots, and an adorable ghost, it’s a vibrant and attention-grabbing option. It’s the perfect blend of fun elements for those who love to switch things up!

GLITTER TIPS WITH A GHOST

Looking for something spooky yet undeniably cute? Consider glittery tips with a tiny ghost peeking out on a few nails. It’s a fun and playful design that captures the essence of Halloween magic without being too over-the-top!

FALL FLOWERS & GHOST

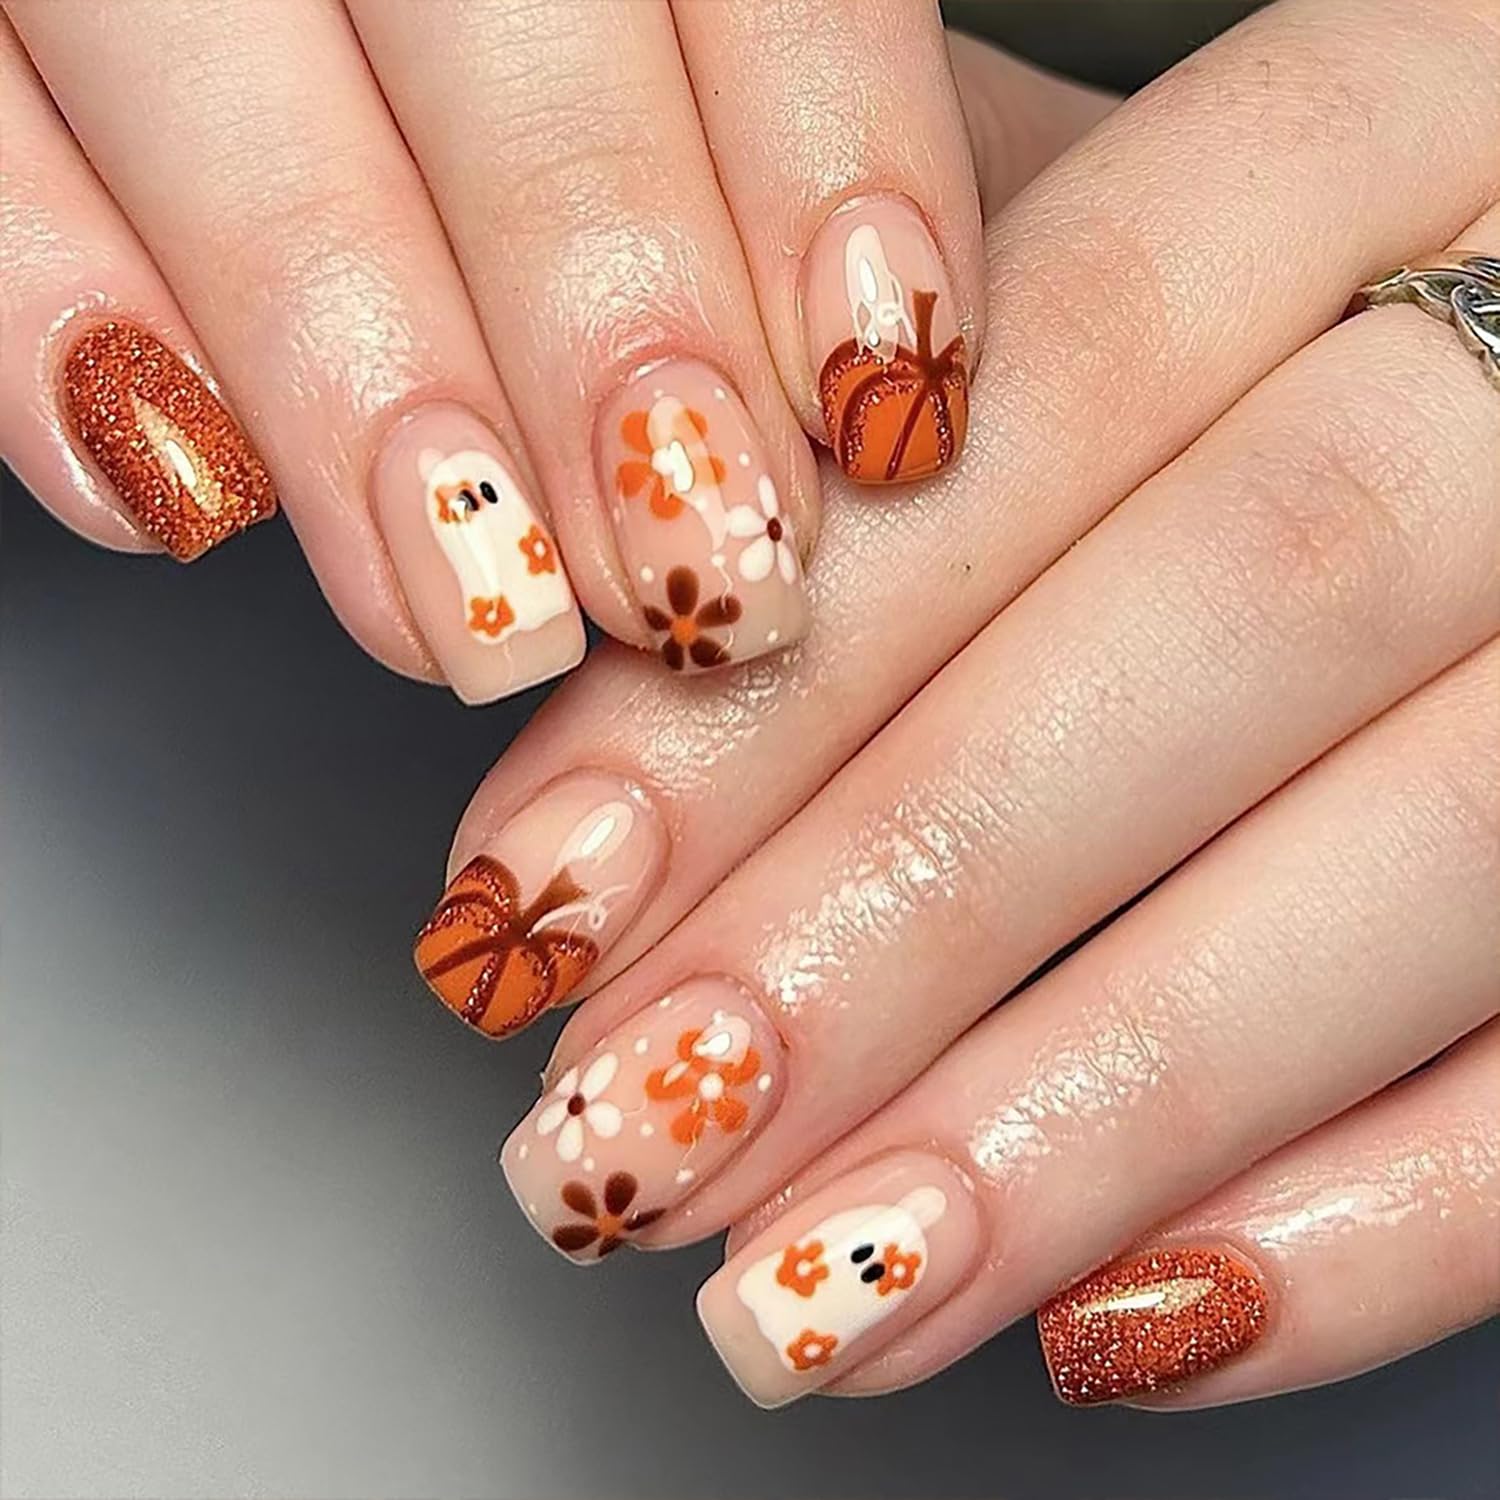
This design beautifully blends fall flowers with two ghostly figures. It’s simple yet highly effective, capturing the essence of autumn with a subtle nod to Halloween. Perfect for those who prefer a more understated look!

BROWN FRENCH WITH FLORAL GHOSTS

Imagine warm, earthy brown French tips adorned with delicate little ghost figures peeking through floral designs. This cozy, autumnal look perfectly captures the season, blending a spooky charm with a touch of nature.

GHOST TRICK-OR-TREAT

These nails resemble a mini trick-or-treat celebration! Featuring little ghosts with tiny candy bags, they’re all set to gather treats. This fun and festive design showcases the playful spirit of Halloween!

SWEET GHOSTS WITH HEARTS

These ghosts radiate love! Imagine tiny ghost faces surrounded by adorable little hearts. It’s a sweet and playful design, perfect for those who want their Halloween nails to have a fun and flirty vibe.

GHOSTS ON BLACK FRENCH TIPS

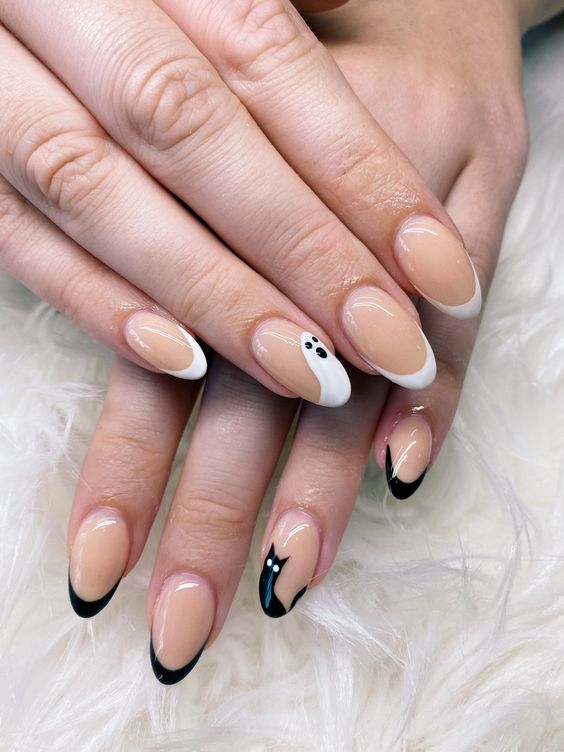
Take your French manicure to the next level with a dark twist! Black (and white) tips create the perfect backdrop for ghoulish glam, adding just the right amount of spookiness. This design is great for those looking to keep it classy while still keeping the Halloween spirit going.

COSTUMED GHOSTS

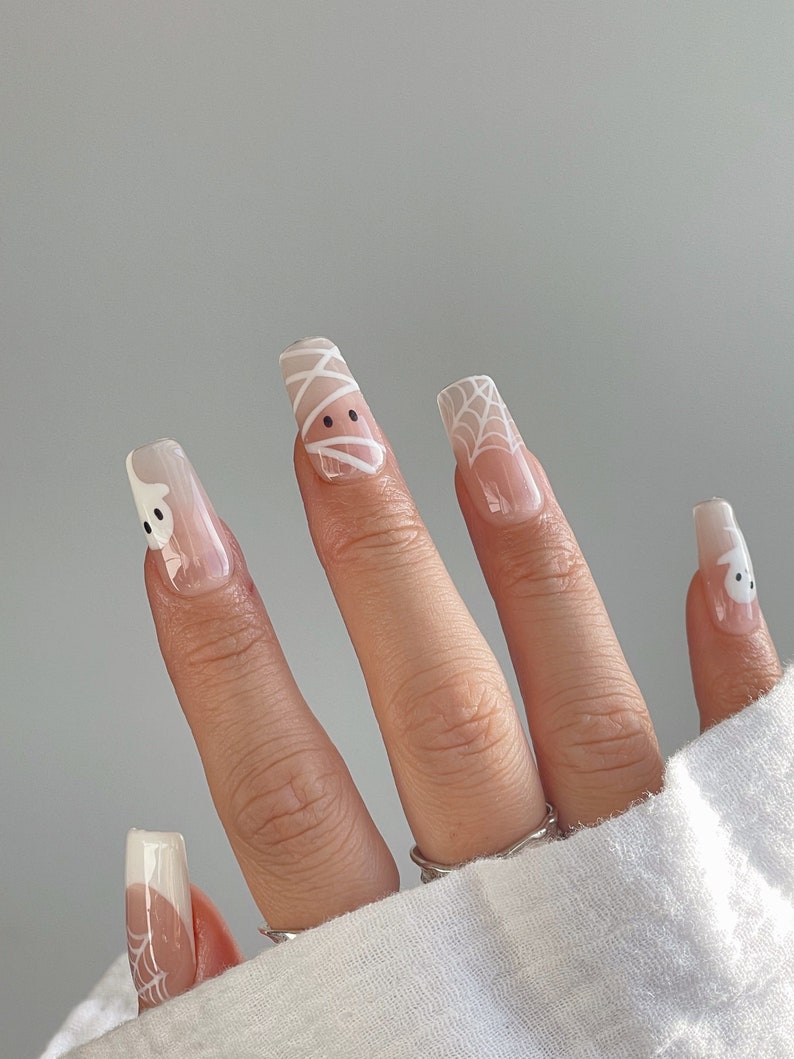
These ghosts are getting into the Halloween spirit by dressing up! Picture tiny ghosts donning adorable costumes like mummies, pirates, or pumpkins. It’s a fun twist on traditional ghost nails, turning each one into a little character ready for trick-or-treating!

BLACK STARS & WHITE GHOSTS

Stars and ghosts together? Absolutely! This design showcases white ghostly figures drifting among black stars, creating a striking and playful contrast that’s sure to catch the eye.

CUTE GHOST ACCENTS

Why settle for just one design when you can mix it up? These ghost nails feature a fun twist—each ghost comes with its own little accessory, like a devil horn, angel halo, or even a tiny pumpkin. It’s like dressing up your nails for Halloween, with each ghost bringing its own unique personality to the celebration!

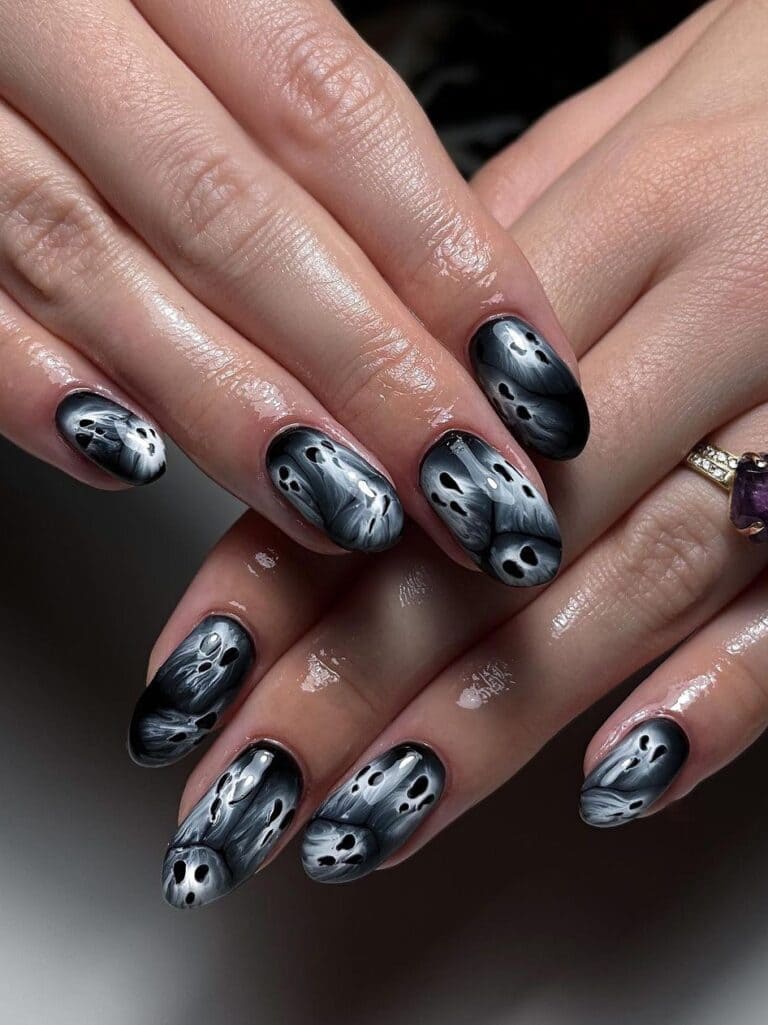
BLACK & WHITE SCARY GHOSTS

You can never go wrong with the classic black and white combo, especially when it features some truly spooky ghosts. These designs capture that haunted vibe perfectly, showcasing ghostly figures that look like they’ve stepped right out of a Halloween horror story.

EARTHY FLOWERS & GHOSTS

This design blends earthy tones with delicate flowers and ghostly figures, offering a more natural and grounded Halloween aesthetic. It’s like ghosts meandering through a fall garden—soft, subtle, and ideal for those who appreciate a touch of nature with their spookiness.

NEON GHOSTS

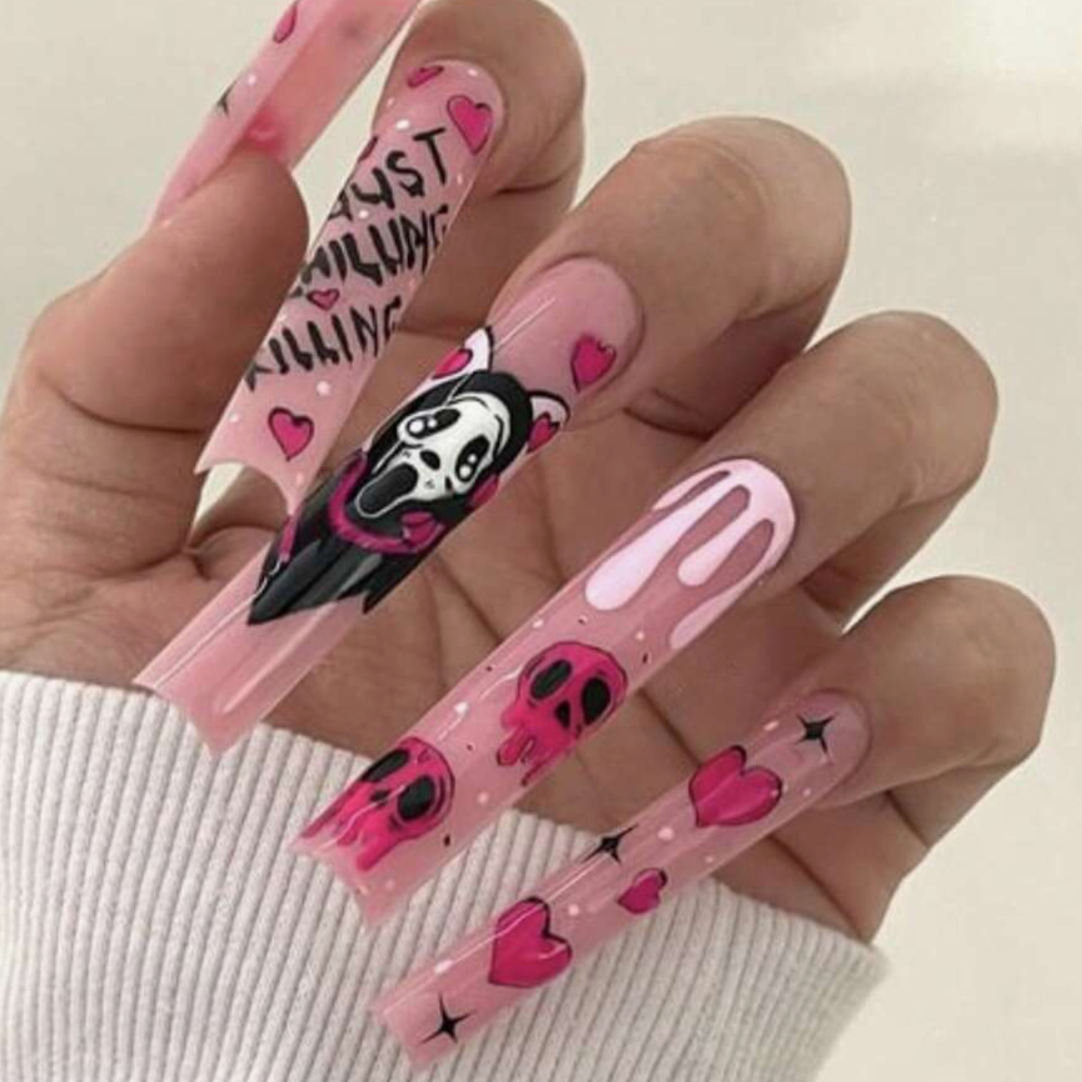
Ready to make a statement? These neon ghost nails are bold, bright, and impossible to overlook. Whether you choose hot pink, electric blue, or neon green, these ghosts are all about standing out and delivering some serious Halloween energy!

VINTAGE FLORAL GHOSTS

Do you love a vintage touch? This design combines delicate floral patterns with tiny ghost figures, creating a look that’s both haunting and timeless. It’s a nostalgic nod to old-school Halloween, infused with a stylish floral twist.

REALISTIC GHOST FRENCHIES

Picture your classic French tips, but with a spooky twist. These feature ghost shapes as the tips instead of the traditional white line. It’s a ghostly detail that remains chic, lending your nails a subtle yet hauntingly cool vibe.

PINK GHOST FRENCH TIPS

Who says ghost nails can’t be girly? These pink French tips adorned with tiny ghost faces are the perfect mix of spooky and sweet. They’re ideal for keeping things light and playful while still embracing the Halloween spirit!

ANGEL VS. DEVIL GHOSTS

Ever wondered what happens when angels and devils collide? On your nails, of course! This design features adorable ghostly angels alongside mischievous devil ghosts, creating a playful mix of good and naughty. It’s a fun way to celebrate both sides of your Halloween spirit!

GHOSTS WITH STARS & MOONS

If you’re a fan of all things celestial, you’re going to adore this design! Imagine tiny ghosts floating amidst stars and moons on your nails. It’s a spooky night sky right at your fingertips, merging a cosmic vibe with the perfect touch of Halloween spookiness.

HATTED GHOSTS ON LAVENDER CHROME

Have you ever considered ghosts wearing hats? Now you can! These adorable little ghosts, each sporting a tiny hat, are set against a shiny lavender chrome base. It’s quirky, unexpected, and sure to spark some conversation. We’re loving how playful and fun this design is!

SPARKLING GHOST TIPS

Your nails will radiate the perfect Halloween sparkle with these ghost tips! Just picture charming ghosts adorning the tips of your nails, all glammed up with a touch of shine. It’s the best of both worlds—spooky and glam, without going overboard.

CONCLUSION

Ghost nails are a playful and spooky way to celebrate Halloween. With their eerie designs and ghostly hues, they’re sure to capture attention and add a touch of fun to your costume. Whether you prefer minimalist designs or intricate artwork, there’s a ghost nail style to suit every taste. So this Halloween, let your nails do the talking and embrace the spooky spirit with these adorable and inspiring designs.