DIY HAIR GROWTH OIL FOR RAPIDLY ACHIEVING LONGER, THICKER, AND LUSCIOUS HAIR

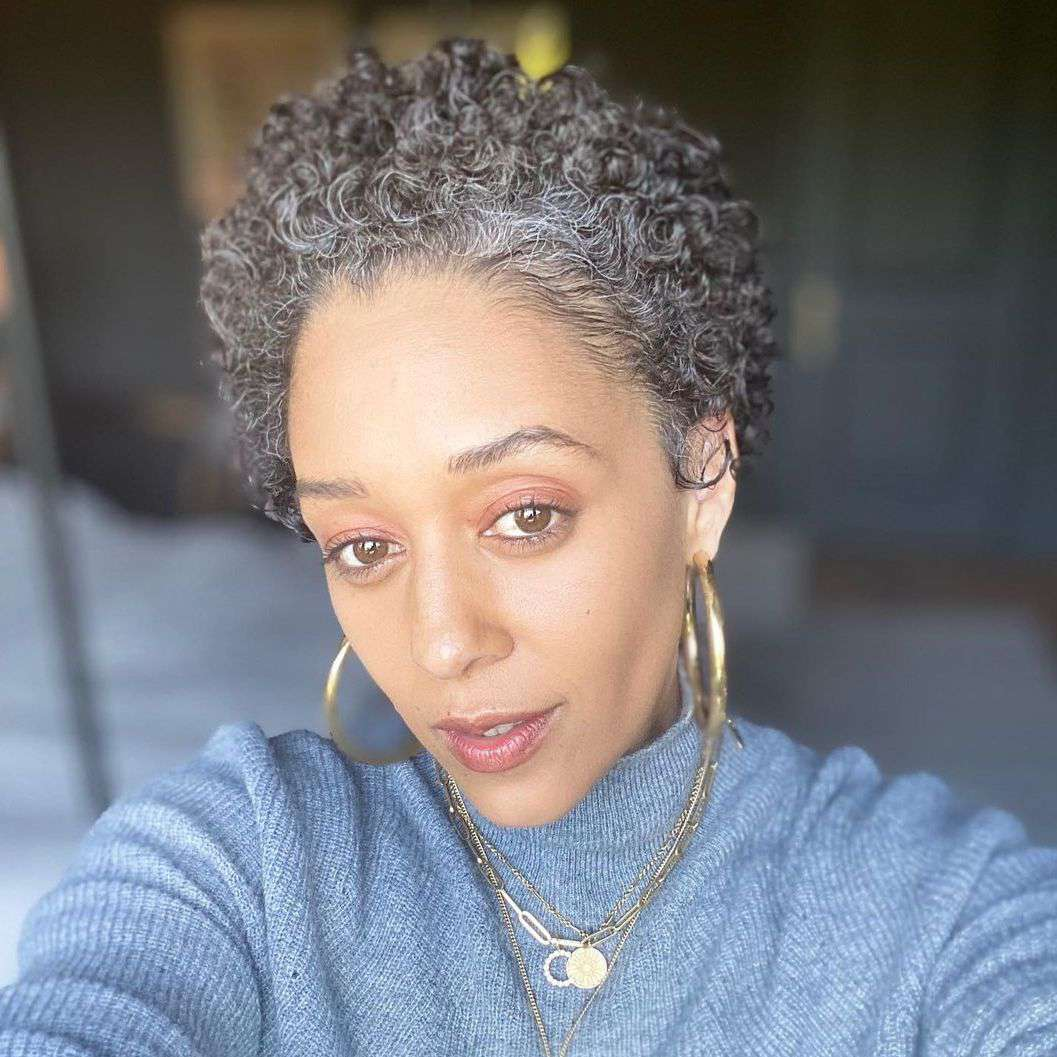
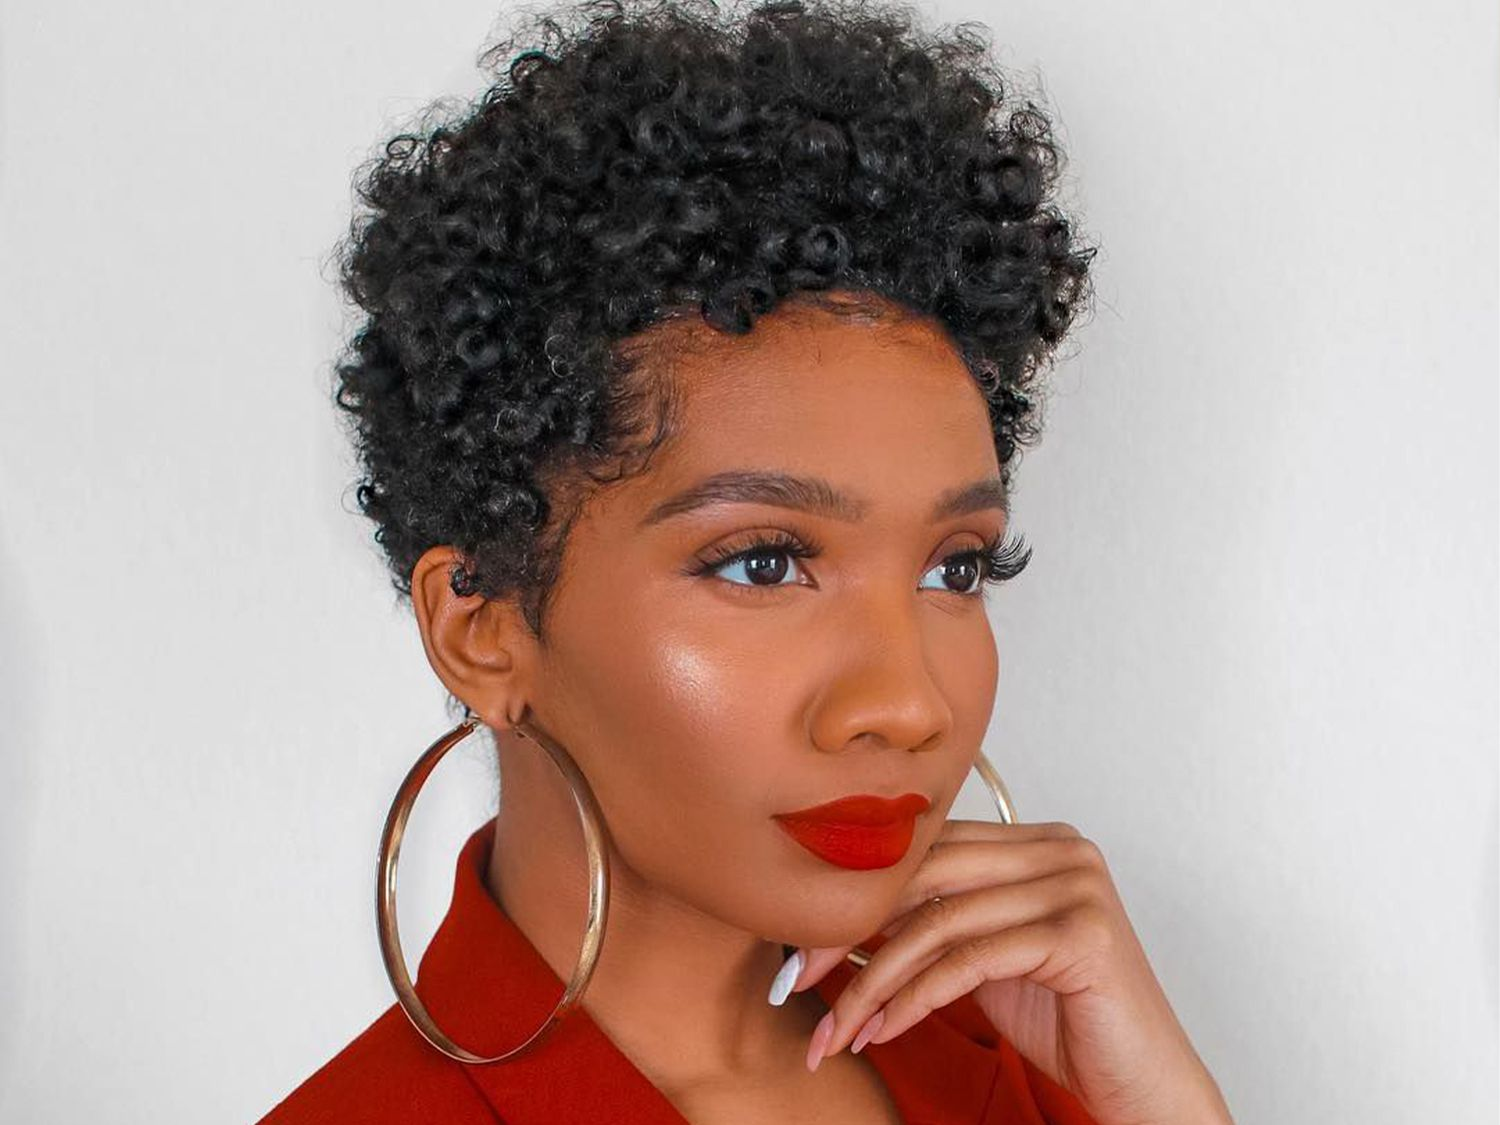
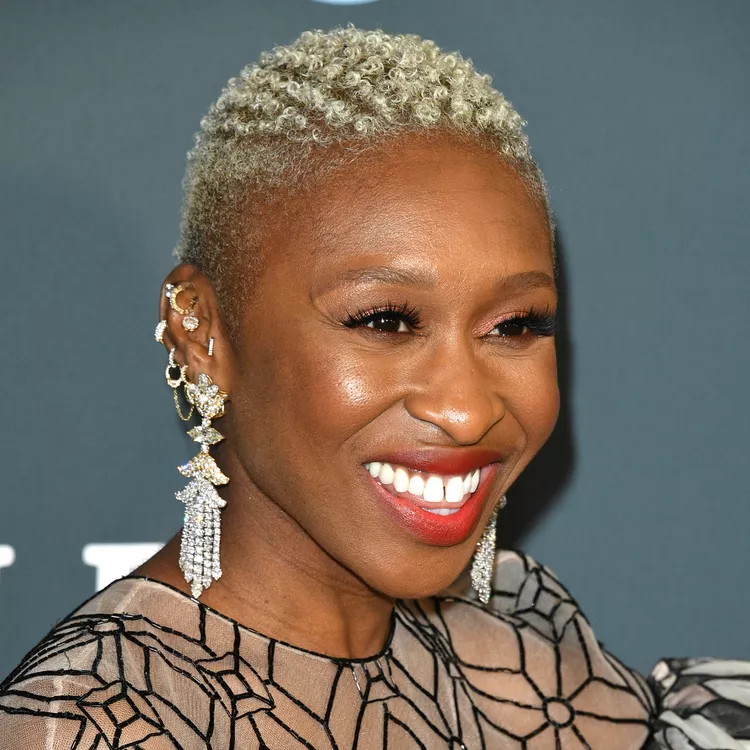
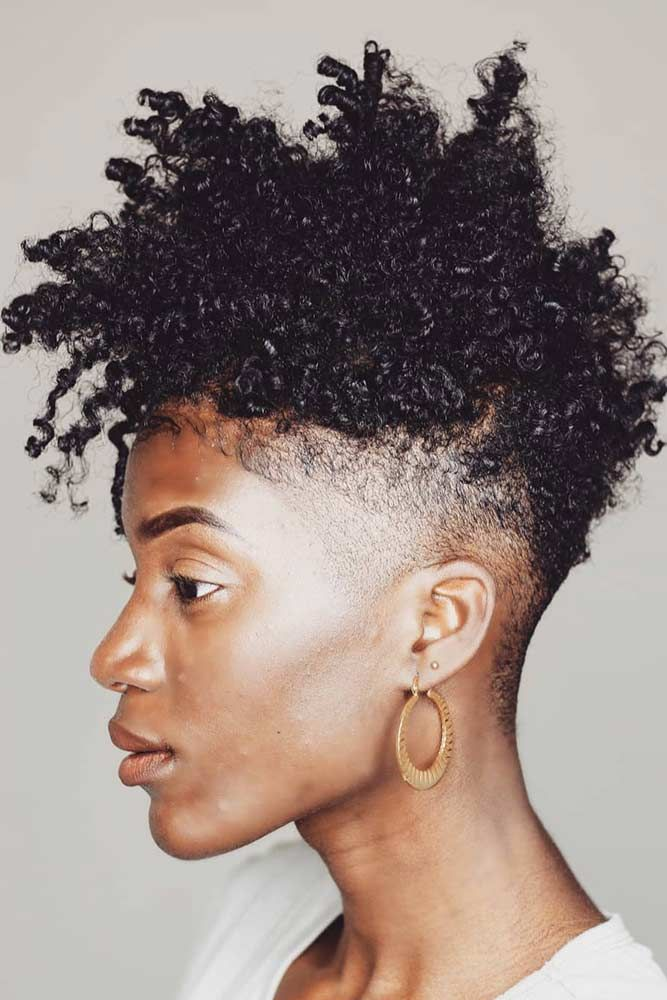
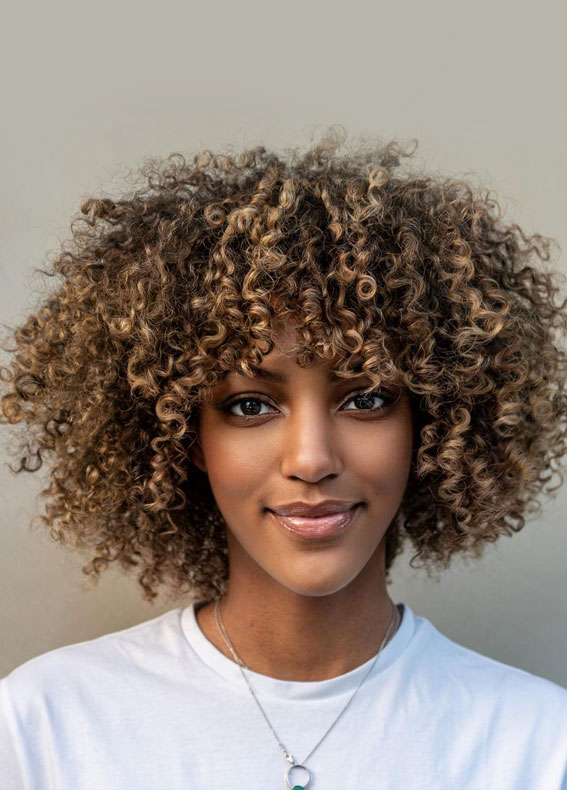
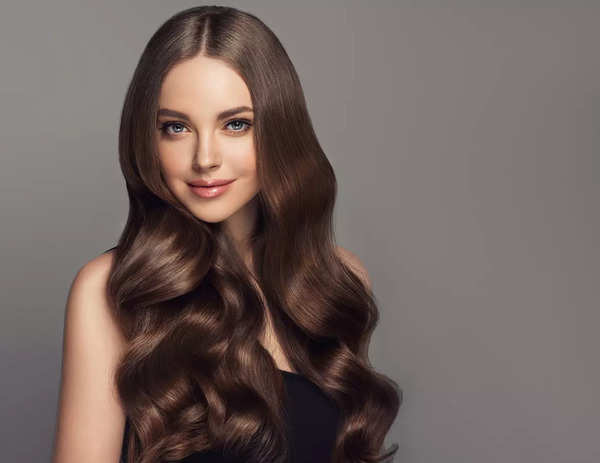
Looking to quickly achieve longer, thicker hair? While there’s no miracle solution for instant growth, this homemade hair growth oil can help accelerate the process. Packed with herbs and essential oils, this all-natural recipe is the result of years spent experimenting with effective methods for fast hair growth. It’s simple to make and highly effective.

There are plenty of so-called “fast hair growth secrets” out there—some work, while others don’t, and I’ve likely tried most of them! My journey into natural beauty began with a desire for longer, thicker hair. Like all my DIY beauty recipes, this hair growth oil stems from my personal experiences.

As a teen, I would spend hours hunting for herbs and supplements in specialty stores, diligently reading Long Hair Care Community forums, and testing various tips and remedies to grow my hair to hip length. In retrospect, I wish I’d focused less on superficial goals, but this quest provided valuable insights into the beauty industry, helping me cultivate discernment.

Whether you’re looking to combat hair loss, encourage regrowth after stress, or simply boost your hair growth, I hope this hair oil recipe helps you reach your goals.

CAN OILS REALLY HELP GROW YOUR HAIR FASTER?

The hair growth industry is booming, with countless new, exotic “fast hair growth oils” and magic serums promising to deliver your dream of long, mermaid-like locks.

However, the reality is that most carrier oils lack any truly magical properties for hair growth. In fact, using excessive amounts of the wrong oil can lead to issues like yeast overgrowth, exacerbating hair loss and scalp problems.

Take argan oil, for example. It was once hailed as the miracle hair growth oil, but its fatty acid profile is quite ordinary, resembling that of sesame or sunflower oil—neither of which have been shown to promote hair growth. (And I say this as someone who once relied on argan oil!)

That said, a few oils do genuinely support hair growth and thickness. When combined with certain herbs and essential oils—like rosemary and peppermint—you can create a more effective homemade hair growth oil.

DIY HAIR GROWTH OIL BENEFITS + HOW IT WORKS

This homemade hair oil promotes natural hair growth in several effective ways:

  • Stimulates Scalp Blood Flow: Infused with powerful herbs and essential oils, this recipe enhances blood circulation to the scalp and hair follicles.
  • Modulates Hair Growth Phase: Castor oil activates prostaglandin pathways linked to the growth phase, accelerating hair growth.
  • Reduces Scalp Buildup: Massaging the oil into your scalp before washing helps loosen buildup that can clog hair follicles, similar to how cleansing oils keep facial pores clear.
  • Antioxidant Activity: The antioxidants in this DIY hair oil protect hair follicles and shafts from oxidative stress, supporting faster growth.
  • Antimicrobial Activity: Excess bacteria and yeast can cause issues like dandruff and scalp acne, hindering growth. The antibacterial herbs and essential oils in this recipe, such as rosemary oil, help maintain a balanced scalp environment.

Now that we’ve covered the essentials, let’s dive into how to make your own hair growth oil.

KEY HERBS FOR HAIR GROWTH

PEPPERMINT

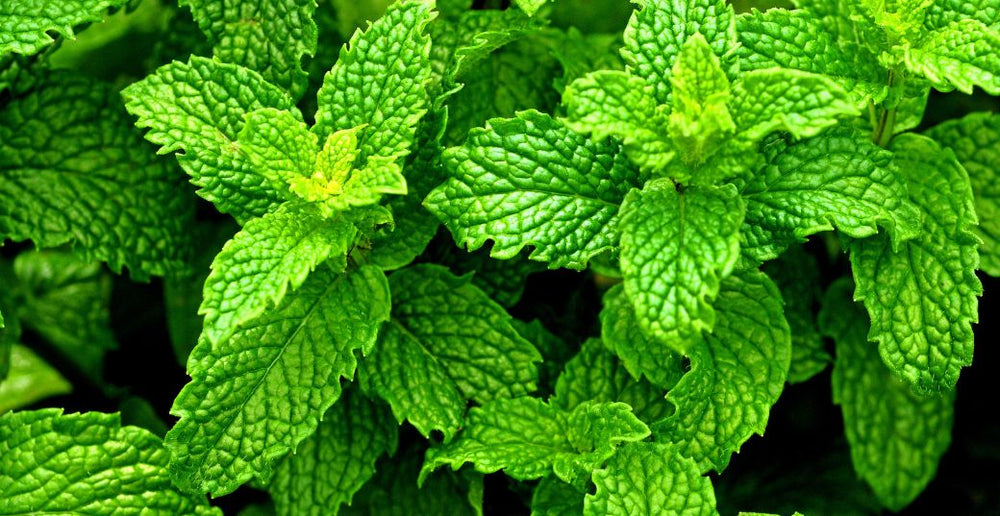
Known for its cooling and soothing effects, peppermint oil is great for irritated scalps. Research suggests it may promote hair growth even more effectively than rosemary. Peppermint oil accelerates the hair growth phase and increases hair follicles, contributing to longer, thicker hair. Its anti-inflammatory and antimicrobial properties also support scalp health.

WHITE WILLOW BARK

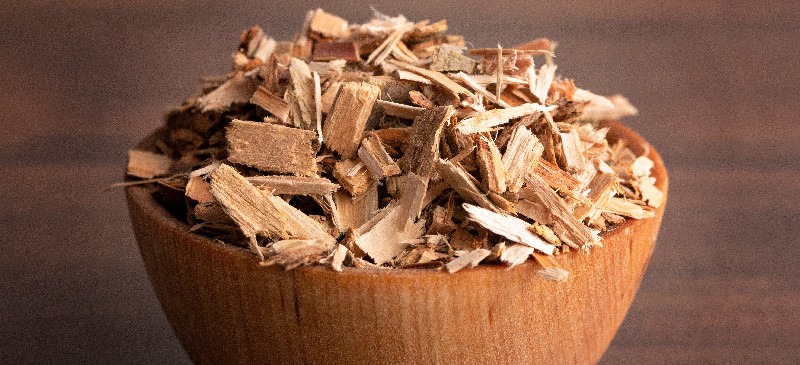
If you face scalp issues like dandruff or acne, white willow bark can be beneficial. It contains salicin, a natural anti-inflammatory and gentle exfoliant. While it doesn’t directly stimulate hair growth, it promotes a healthy scalp by soothing irritation, unclogging pores, and reducing buildup.

ROSEMARY

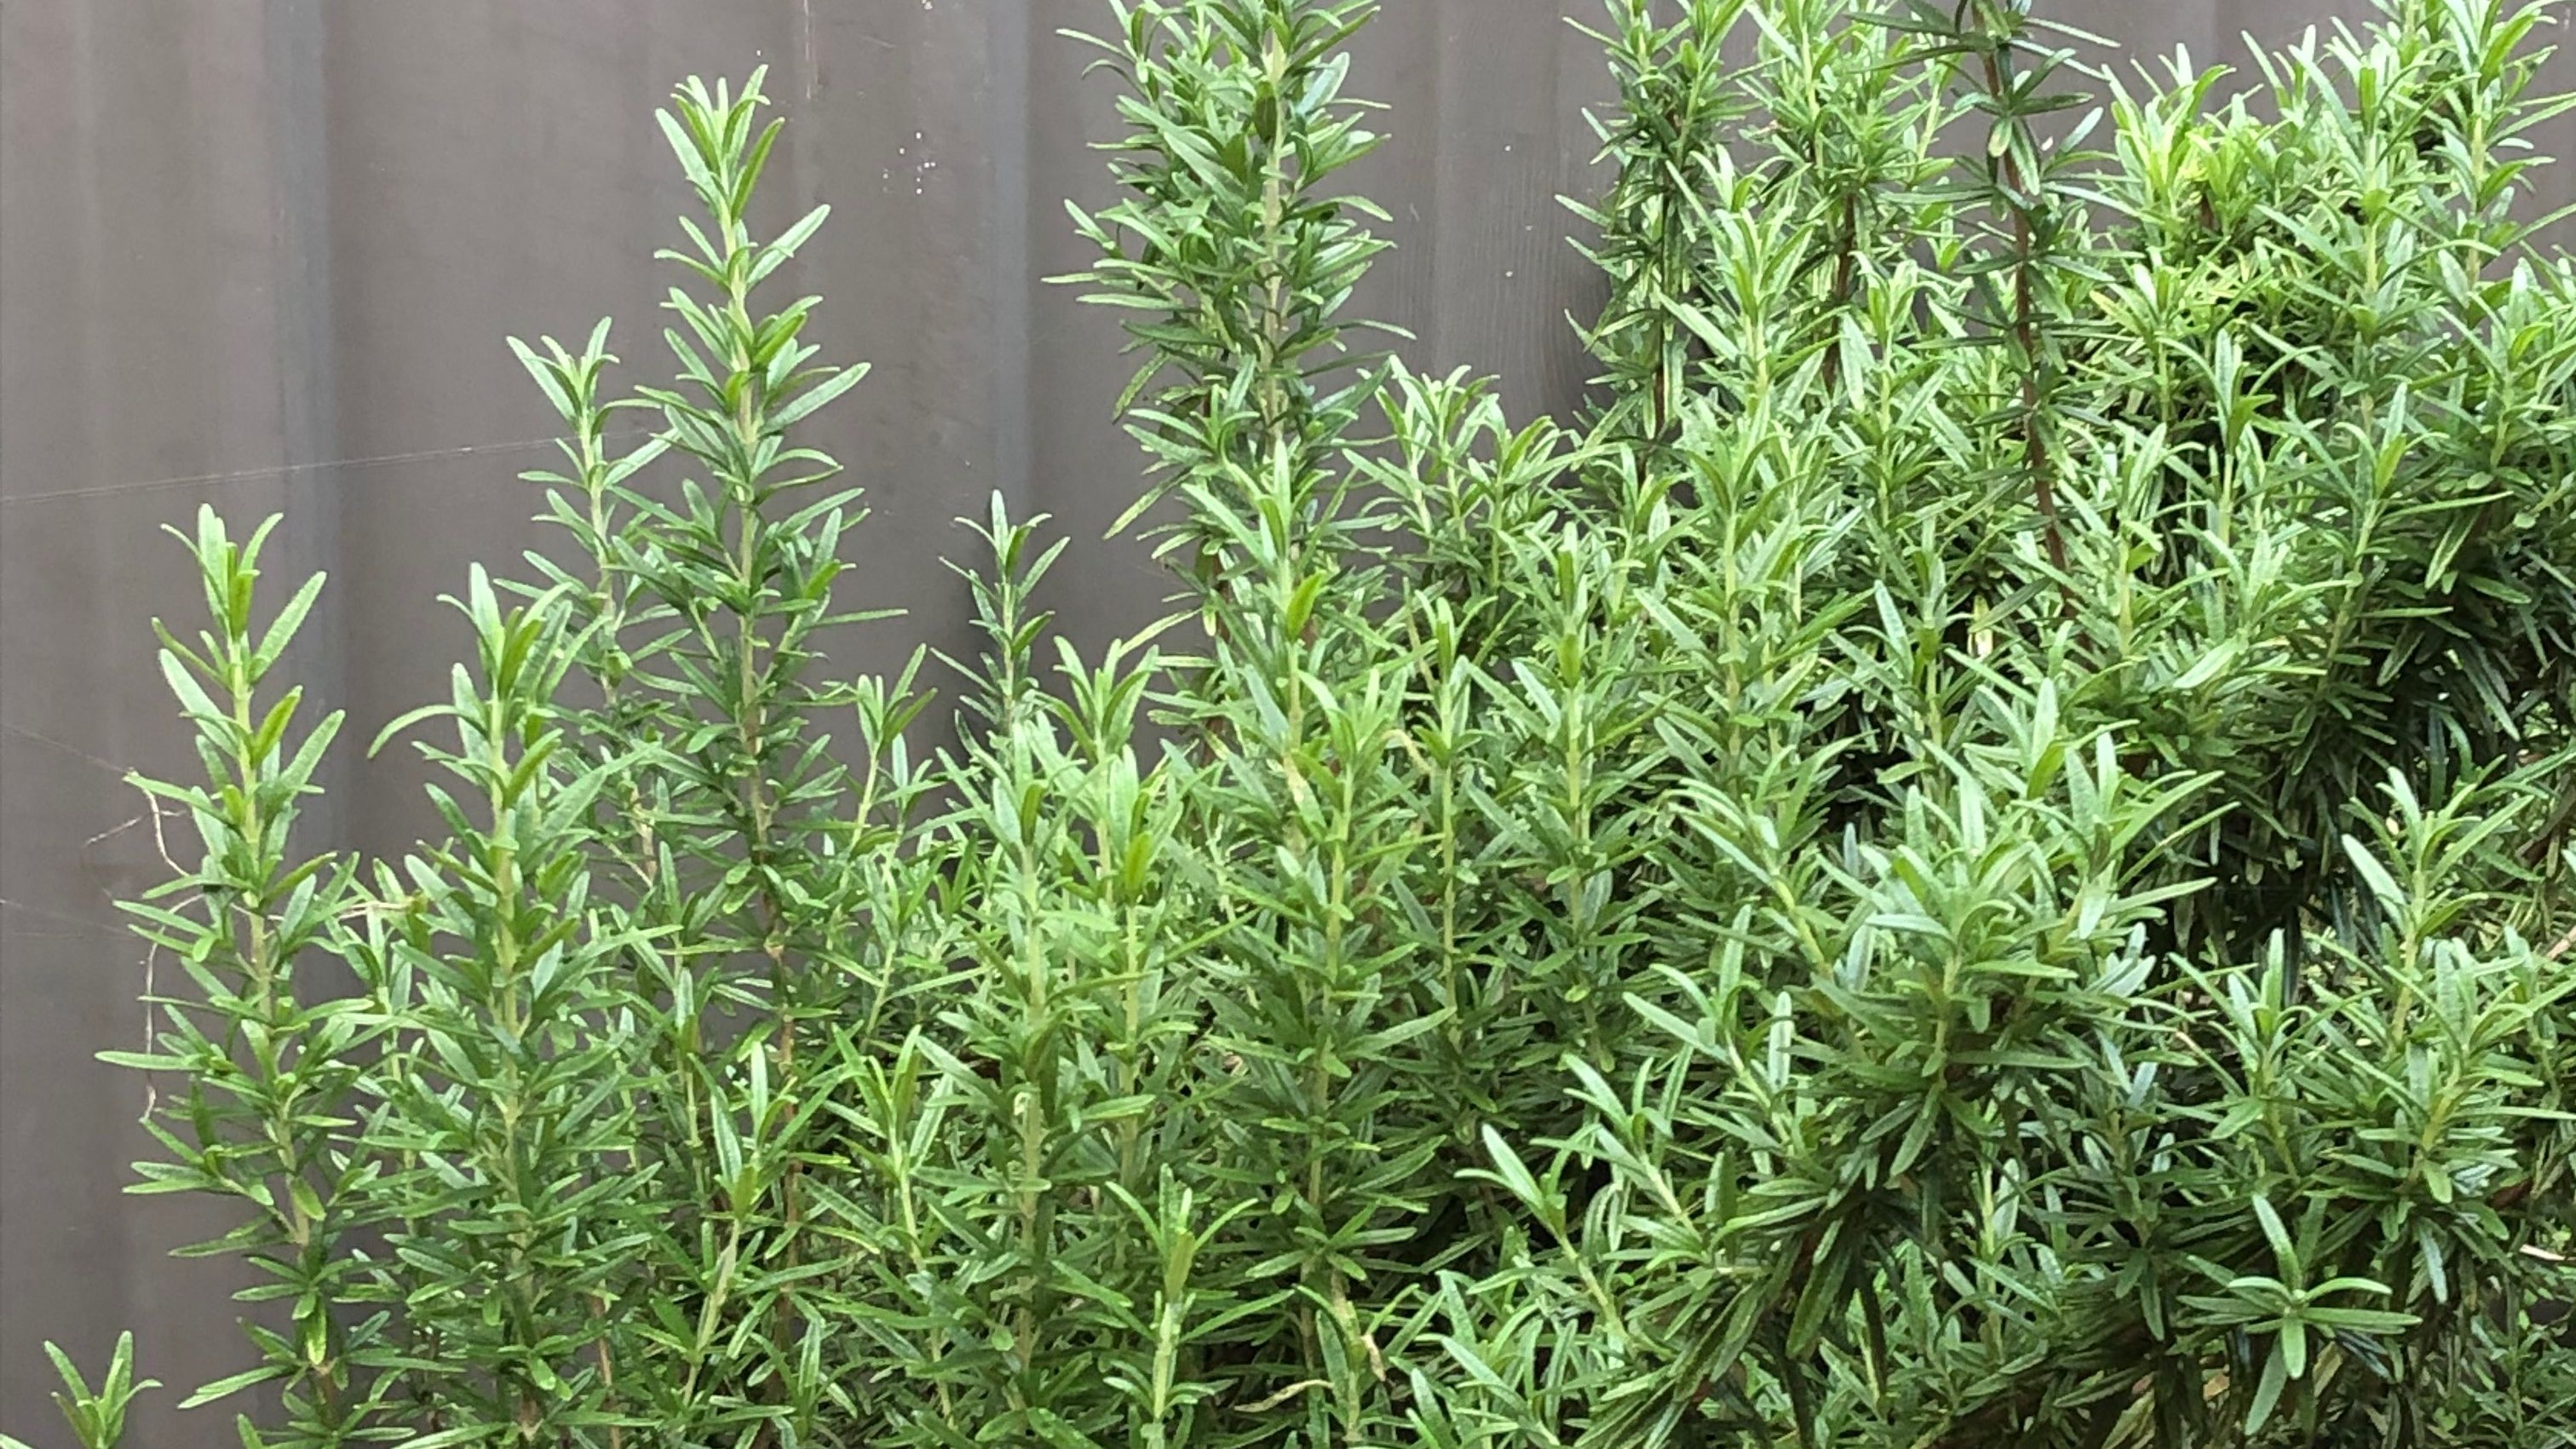
Rosemary-infused oil is a popular remedy for hair growth. Studies show it can be as effective as minoxidil without side effects. Rosemary stimulates blood flow to the scalp, nourishing hair follicles and encouraging both new and existing hair growth. Its antibacterial and antifungal properties help maintain a healthy scalp, while its antioxidants protect against oxidative stress, which can lead to hair loss.

GREEN TEA

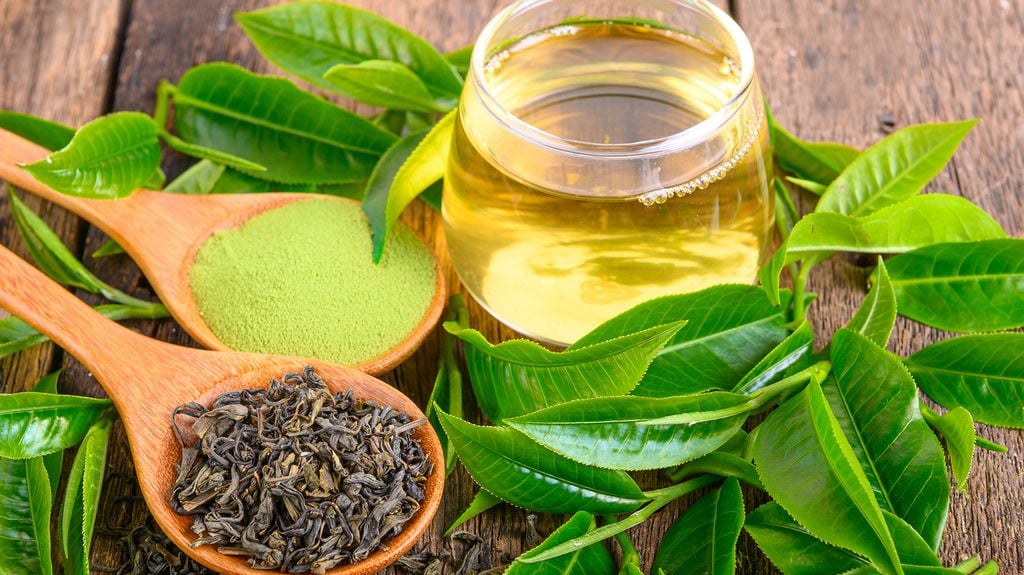
Adding green tea leaves to your hair oil infuses it with antioxidants that support hair follicle health. Although caffeine and ECEG—key components for hair growth—are water-soluble and won’t transfer to oil, the antioxidants in green tea still provide benefits. Note that it can impart a deep green color to the oil, but it generally doesn’t stain hair.

These herbs are effective allies in your quest for longer, thicker hair, and incorporating them into your hair oil can enhance its benefits.

ESSENTIAL OILS FOR HAIR GROWTH

To enhance your herbal hair growth oil, consider adding essential oils for concentrated benefits. 

Peppermint and rosemary essential oils are particularly effective for promoting hair growth, and using both can provide optimal results. You can also create a blend with cedarwood, lavender, thyme, frankincense, myrrh, palmarosa, and nettle, all known for supporting hair growth and scalp health. 

Additionally, incorporating an essential oil blend like Beauty Within can further boost scalp health with its antifungal properties, making it a great addition to your scalp treatments and hair masks.

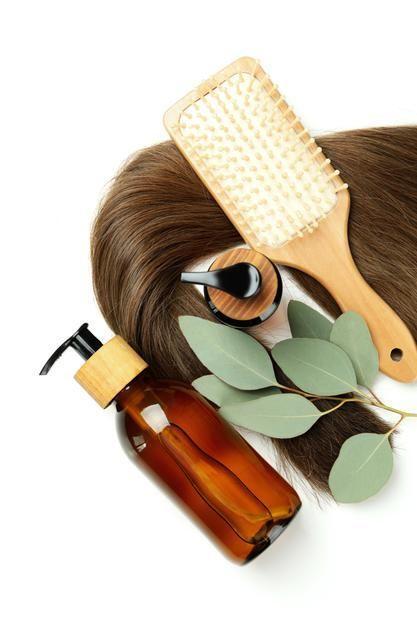
FAST HAIR GROWTH OIL INGREDIENTS

You’ll need just a few ingredients for this DIY hair growth oil:

  • Heat-stable carrier oil for herbal infusion
  • Cold-pressed castor oil
  • Dried, organic hair growth herbs
  • Growth-boosting essential oils
  • Vitamin E oil

You can choose to make this oil with essential oils, herbal infusion, or both. I prefer using both to maximize the plant’s benefits. If you’re short on time, simply mix the carrier oils with the recommended essential oils.

INGREDIENTS

  • J MAC BOTANICALS Organic Cold-Pressed Castor Oil
  • Starwest Botanicals Organic Rosemary Leaf
  • Simply Earth Rosemary Essential Oil
  • Vitamin E Oil from Forefront Health

CARRIER OIL OPTIONS

  • MCT oil
  • Fractionated coconut oil
  • Avocado oil
  • Jojoba oil
  • Olive oil

Using a stable carrier oil is crucial. Many common oils, like sweet almond and sunflower oil, contain unstable polyunsaturated fatty acids (PUFAs) that break down with heat and light, losing their beneficial properties. Instead, opt for monounsaturated or saturated oils, which are more stable. I recommend MCT or fractionated coconut oil, especially if you have issues with yeast overgrowth, as MCT oil won’t feed Malassezia yeast.

Once you prepare the herbal-infused oil, dilute it with castor oil. Castor oil is well-regarded for hair growth due to its unique properties:

  • It mimics prostaglandins, extending the active hair growth phase and delaying the resting phase.
  • It conditions and prevents hair follicles from drying out.
  • It moisturizes and protects existing hair from breakage.
  • It has antibacterial and antifungal properties to maintain a healthy scalp.
  • It’s rich in antioxidants like vitamin E, which protect hair follicles from oxidative damage.

DIY HAIR GROWTH OIL RECIPE

INGREDIENTS

  • 47g herbal infused oil (see below for instructions)
  • 47g castor oil
  • 3.5ml peppermint essential oil
  • 3.5ml rosemary essential oil

HERBAL INFUSED OIL

  • 1 cup (200g) carrier oil (e.g., MCT, olive, or avocado oil)
  • ~3/4 cup dry herbs (e.g., rosemary, willow bark, peppermint, green tea)
  • 5ml (1 tsp) vitamin E oil

INSTRUCTIONS

  • Prepare Herbal Infused Oil:
    • Place dry herbs in a clean, heat-proof mason jar. Pour carrier oil over the herbs and add vitamin E oil. Stir gently to ensure herbs are fully submerged.
    • Seal the jar with a one-piece metal lid.
  • Infuse Oil:
    • In a slow cooker, place a hand towel at the bottom and fill with water to submerge the jar without leaking. Set to low and infuse for 8-12 hours, keeping water temperature between 50°C-71°C (120-160°F). Monitor closely to avoid overheating.
  • Strain Oil:
    • Once infused, let the oil cool. Strain out the herbs using cheesecloth or a sieve, pressing gently to extract all the oil. Be cautious of sharp herb pieces.
  • Combine Oils:
    • Mix equal parts of the herbal infused oil and castor oil. Add peppermint and rosemary essential oils, stirring well.
  • Store:
    • Transfer the final mixture to a glass dropper bottle for easy application.

Enjoy your homemade hair growth oil!

HOW TO MAKE HAIR OIL WITH ESSENTIAL OILS

Combine castor oil and a low-PUFA carrier oil (like fractionated coconut oil, jojoba oil, or olive oil) in equal parts. Add vitamin E and a hair growth essential oil blend to the mixture. Then, transfer it to a glass dropper bottle.

HOW TO USE HOMEMADE HAIR GROWTH OIL

To use the hair growth oil, apply it directly to your scalp using the dropper applicator, section by section, to ensure even coverage. After saturating your scalp, gently massage the oil in with your fingers or a jade gua sha comb to boost blood circulation to the follicles, promoting faster growth. If safe for you, you can also massage your scalp with your head upside down.

Leave the oil on for at least an hour or overnight, depending on your hair washing routine. When ready to wash it out, use conditioner first to help remove the castor oil, then follow with your regular shampoo. For added benefits, consider using a rosemary hair rinse or a pH-balancing vinegar rinse afterward.

CONCLUSION

DIY hair growth oil offers a natural and cost-effective solution for promoting hair growth and improving hair health. By combining essential oils known for their hair-nourishing properties with carrier oils that provide moisture and penetration, you can create a personalized hair treatment that addresses your specific needs. Remember to patch test the oil before applying it to your scalp to ensure you don’t have any adverse reactions. Consistent use and proper application are key to achieving optimal results.

30 STYLISH TAPERED HAIRCUTS TO ENHANCE NATURAL CURLS

Natural hair offers a wealth of stunning styling options. There’s a vast array of protective styles, creative ways to enhance and volumize curls, and numerous methods to rock shorter lengths. Additionally, you can explore various undercuts, mohawk-inspired designs, and sleek looks. Among these, tapered haircuts stand out as a favorite for styling natural hair.

Tapered haircuts feature varying lengths that create a distinctive gradation, ranging from low fade buzz cuts to asymmetrical bobs and long curly layers. The beauty of tapered haircuts lies in their versatility; they can be tailored to match your hair type, curl pattern, length, and face shape, resulting in a personalized style that suits you perfectly.

To spark inspiration for your next salon visit, we consulted two professional hairstylists who have curated a list of the 30 best tapered haircuts for natural hair, along with expert styling tips. From Amandla Stenberg’s tapered box braids and Angela Bassett’s layered curls to Danai Gurira’s buzzcut styles and Zendaya’s modern pixie, explore these top looks to find the perfect tapered haircut for you.

CLASSIC POMPADOUR

A modern twist on the pompadour focuses on achieving maximum volume. You can replicate a tapered cut by pinning the hair to the sides or keep the hair trimmed or buzzed everywhere except the top. This approach allows you to maintain a striking, voluminous style with a contemporary edge.

SIMPLE SALT & PEPPER

Simplicity has its own charm, especially in the natural hair world. You don’t need elaborate designs, complex dye jobs, or long lengths to make a statement. Embrace a chic, peppery short ‘do and let your unique features shine through effortlessly.

SHORT POMPADOUR

The timeless pompadour consistently enhances one’s style, as perfectly exemplified by model Maria Borges.

ASYMMETRICAL SIDE

Don’t hesitate to get creative with your haircut. For example, this asymmetrical cut features soft edges on both sides, forming a striking geometric look that showcases inventive styling.

CONVENTIONAL CUT

If you’re not keen on getting too close with the clippers, consider a long, layered pixie tapered haircut. This classic and timeless style complements curly textures and beautifully frames the face. It’s also a great option for naturals with fine hair who want to add more volume and depth to their look.

PIXIE WITH BANGS

Add a boyish-glam touch to your pixie cut by incorporating sweeping bangs. Finish off the style with a shine spray to enhance the sleek, polished effect.

FRIZZY FRO

Embrace the humidity and its natural frizz. Your curls will appear even more voluminous, creating a halo-like effect around your face.

ACCESSORIZED WITH A HAT

Choosing a tapered haircut doesn’t mean you have to forgo dressing up your natural curls. In fact, you can experiment with colors and accessories to enhance your look. A wide-brimmed hat is a chic way to complement your tapered style and add an extra touch of flair.

CURLY FADE

We adore Cynthia Erivo’s subtle, curly fade haircut. It adds texture and dimension to her look, striking the perfect balance between laid-back elegance and high glamour.

GROWN OUT TAPERED CUT

A tapered cut is stylish, but it also looks fantastic as it grows out. When your curls lengthen, you can use techniques like finger coils and twist-outs to define and enhance your hair’s shape and texture.

DIP-DYE FRO

While fro-hawks are popular, this dip-dyed tapered haircut offers a fresh twist. Shave your sides and create a large “Z” pattern for a unique look. When you’re heading out, style your hair to the front and pin or tie it in place to showcase your lightened curly ends.

COMB-OVER FRO-HAWK

Make a statement like Rihanna with this dynamic haircut. “I love seeing women rock a fro-hawk,” says Bailey. “The fro-hawk is a daring style with versatile options. With the sides typically faded, tapered, or closely trimmed, the real drama happens at the top or along the center of the head.”

SOFT CUT

Channel Rihanna’s bold style with this striking haircut. “I love seeing women embrace a fro-hawk,” says Bailey. “The fro-hawk is a fearless choice with lots of versatility. While the sides are usually faded, tapered, or closely trimmed, the real impact is made at the top or along the center of the head.”

TAPERED BOX BRAIDS

Elevate your protective style with a touch of tapered length for a subtle yet eye-catching detail that adds a hint of flair.

VOLUMINOUS BOB WITH BANGS

Boost the volume of your curls for a tapered, stylish look. Simply apply a curl-defining product to your strands to achieve a well-coiffed and controlled style, reminiscent of Solange’s signature flair.

TAPERED AFRO

For naturals in stage two of their hair journey, joining the tapered haircut trend is easy by keeping the hair shorter at the back. This creates a choppy, medium-sized afro that retains definition while adding style. To enhance the look, fluff up the front and pull a few strands to achieve wispy curls, making your cut truly stand out.

CURLY COIFFURE

Keep your curls voluminous at the top of your head while tapering the rest to a shorter length, drawing attention to your crown. If you love this style but prefer not to commit to a tapered cut, achieve a similar effect by gathering your hair into a high puff.

PEEKABOO CUT

Surprise and captivate with a hidden undercut design. Style your box braids into a high bun to showcase your shaved sides, creating a visually striking contrast. Pulling your hair up will reveal the tapered cut, offering a stylish and attention-grabbing twist.

ASYMMETRICAL CURLS

An asymmetrical cut is a timeless choice, and you can personalize it by embracing your natural texture. This style remains stylish and allows you to highlight the unique qualities of your curls or waves, making the look distinctly your own.

AUBURN WAVES

Naturalistas looking to enjoy the benefits of short hair without a drastic chop can enhance their look with a teeny weeny afro. The key to this style is to keep your hair short enough to stay manageable while long enough to showcase your natural texture.

Use a boar bristle brush to smooth baby hairs or create soft waves, and consider a monthly (or weekly) auburn rinse for a touch of color. The Mason Pearson Handy Mixture Bristle Hair Brush is ideal for achieving the perfect finish.

ASYMMETRICAL BUZZCUT

Embrace a punk-inspired look by shaving one side of your hair, while letting the other side showcase your curls or featuring box braids for a stylish protective option. This contrast creates a bold and versatile style that combines edgy flair with practical hair care.

HIGH FADE

A high fade allows you to achieve the flat-top look without the hassle of maintaining height. Simply buzz the sides of your head for a clean finish. The contrast between the shorter sides and the longer top creates a striking, gender-neutral style that’s both sleek and sophisticated.

BOLD FRO-HAWK

If daring is your style, you’ll love the idea of a colorful frohawk. Ask your stylist to buzz the sides, create a distinctive shape—like a shaved lightning bolt—and add some bleach for extra impact. Choose any color you like, but a vibrant shade adds personality and pairs well with neutral outfits. The standout feature is the playful shape, which adds a fun, bold touch without taking itself too seriously.

LONG, TAPERED CURL

Anyone with curls knows that each bend can create a trompe l’œil effect, but you can enhance this illusion by adding real layers for even more shape and dimension. This approach not only emphasizes the natural texture but also adds depth and movement to your curls, making your hairstyle even more striking.

BUZZ CUT WITH DESIGNS

Keep your style sharp and eye-catching with a buzzcut that incorporates unique designs. Whether you opt for various sizes, shapes, or personal messages, your scalp becomes a canvas for creativity. The possibilities are endless, allowing you to make a bold statement with your haircut.

GINGER SNAP

No matter which tapered haircut you choose, adding a ginger hue can give your style an edgy, alternative vibe. This vibrant color enhances the look, providing a fresh and eye-catching twist to your tapered cut.

ICY TRAIL

If you’re ready to transition from long natural hair to a vibrant fashion color, this clean fade is the perfect choice. Opt for a close shave on the sides to let the deep side steal the spotlight, and add an icy, gunmetal blue for a striking, contemporary look.

TAPERED PIXIE

Pair a pixie cut with tapered sides for a wispy, stylish look that’s both cute and easy to maintain—just remember regular touch-ups with clippers or your stylist. For an extra touch, sweep the top into a soft mohawk for added flair and versatility.

ARTSY COLORS

“Tapered cuts are like blank canvases, offering clients the chance to get creative and express their style almost artistically,” says Dent. “You can opt for cut designs that reflect your personality or mood, incorporating clean lines, swirls, or even shaved artwork. Plus, you can style it with curls, twists, faux locs, and coils—or, in this case, with vibrant dye.”

CURLY FRO-HAWK

For a timeless yet edgy look, sweep the sides of your hair up and style them into a curly faux frohawk. To add even more impact, stretch out your curls to enhance their volume and create a bold, standout style.

FAQ

1.How can I maintain a natural tapered cut?

One key aspect of tapered cuts is their tendency to grow out quickly. To keep your style looking sharp and fresh, aim to schedule a barber appointment every 2 to 3 weeks.

2.How can I fake a tapered cut?

If you’re drawn to the tapered sides but hesitant to fully commit, try creating a faux hawk. Divide your hair into 2 or 3 vertical sections, slick up the sides to form ponytails, and fluff each ponytail to achieve a cohesive, uniform look.