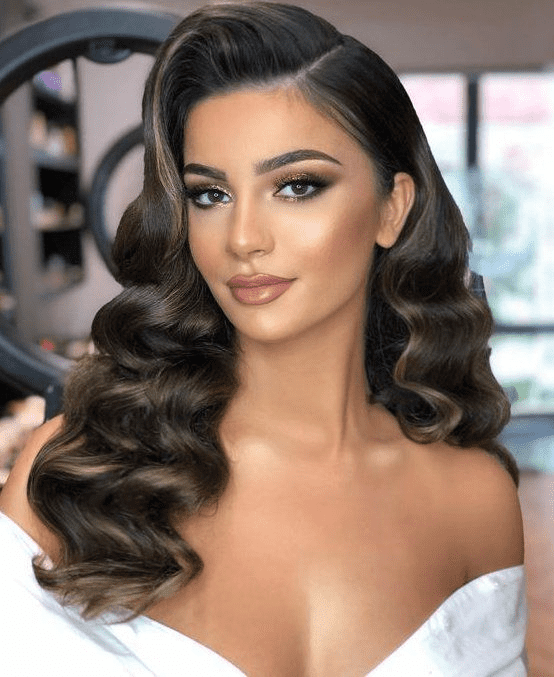
Rubber band hairstyles are a fun and playful option, especially for summer when you want something cute and vibrant. The term ‘rubber band’ refers to small, colorful hair elastics that are thin yet strong, perfect for creating unique patterns and sections in your hair. These elastics can also add a stylish twist to simple looks like puffs or ponytails. Ready to explore 15 trendy rubber band hairstyles? Let’s dive in!
RUBBER BAND PIGTAILS HAIRSTYLE
Elevate your basic pigtails by incorporating rubber bands for a fun and versatile twist. This style easily transitions from school to the gym or even a weekend date. To achieve the look, secure the bands in diagonal sections, drawing attention to the start of your pigtails. The result is a polished Dutch braid-inspired effect—without the braids—that adds personality and flair to your hair. Pair the hairstyle with fresh, flawless makeup for a perfectly put-together look.
RUBBER BAND AND TWO BUNS HAIRSTYLE

Why settle for one bun when you can have two? Take your double buns or puffs to the next level by adding rubber bands for extra flair. This playful hairstyle is perfect for a festival or day party, giving off a fun and cheerful vibe. The rubber-band sections help keep your hair flat, making your buns stand out even more. To enhance the fun factor, swap out plain black or white elastics for colorful ones that add to the joyful look.
RUBBER BAND AND BUN HAIRSTYLE
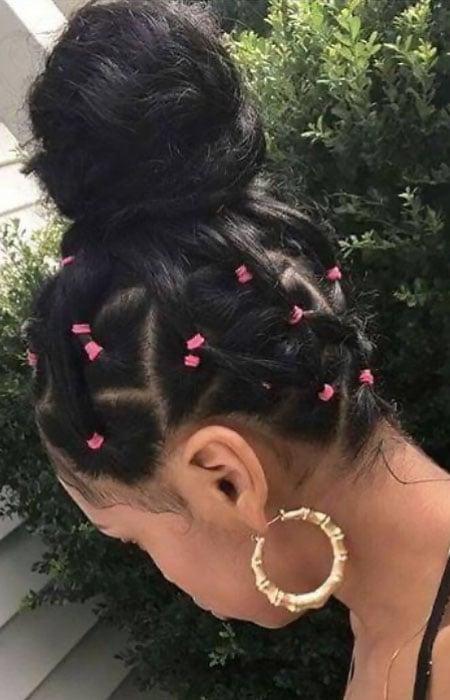
Incorporating a rubber-band pattern into your bun is an easy way to add unique flair and showcase your personality. Whether you create the design on one side or throughout your hair, it adds a stylish and eye-catching contrast. For a formal event, keep it sleek and polished by using bands that match your hair color. On the other hand, opt for feminine hues like pink to create a playful and romantic vibe—perfect for date night.
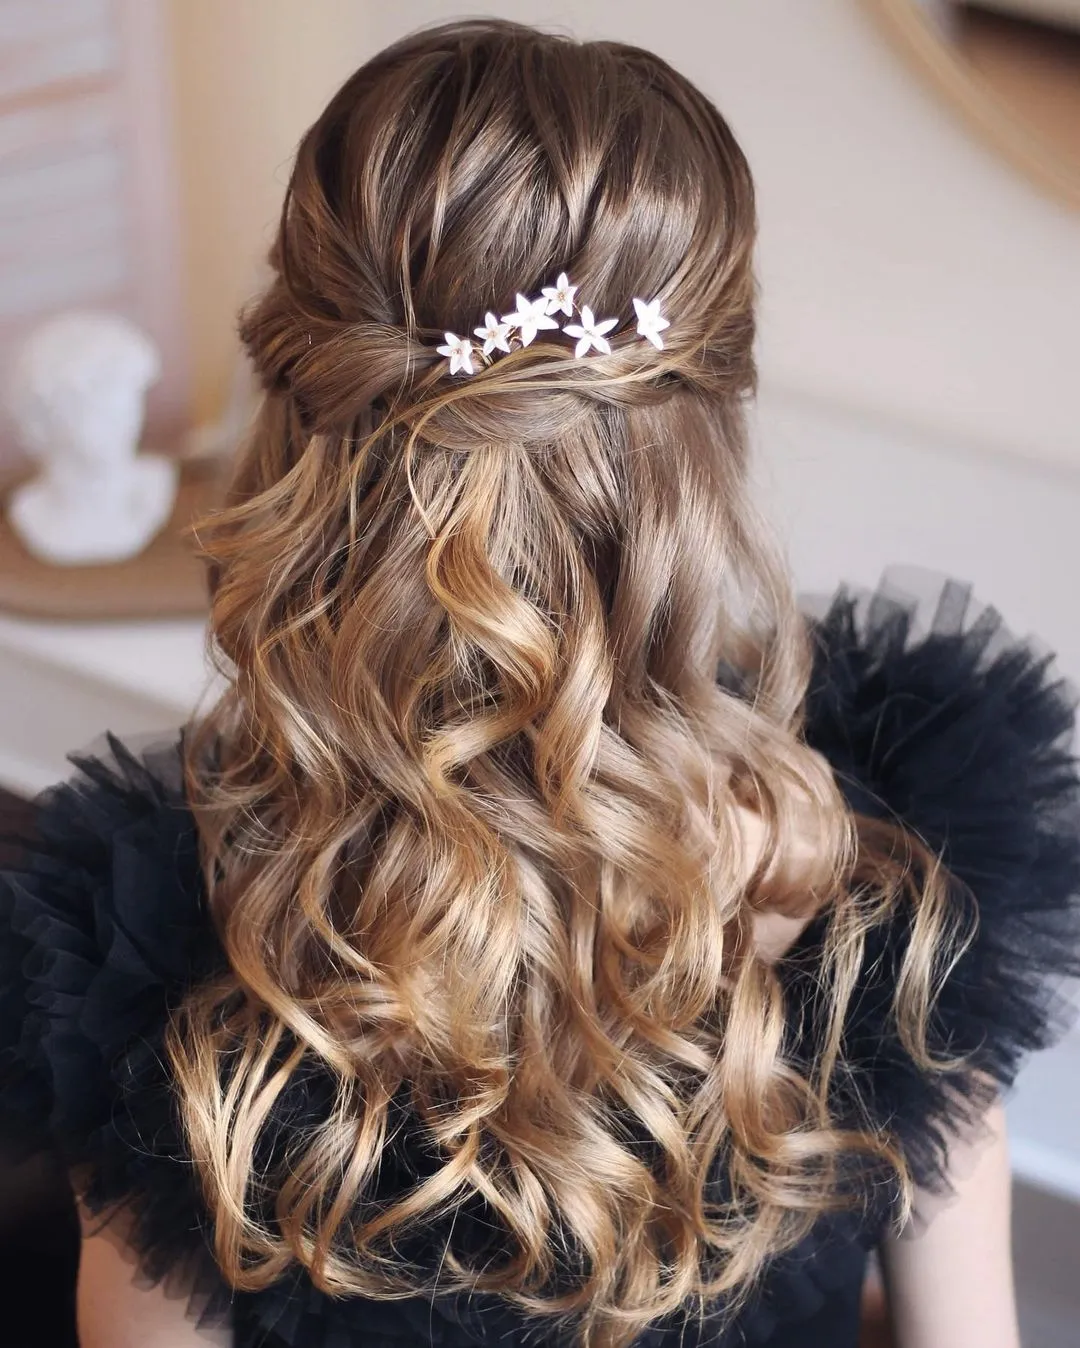
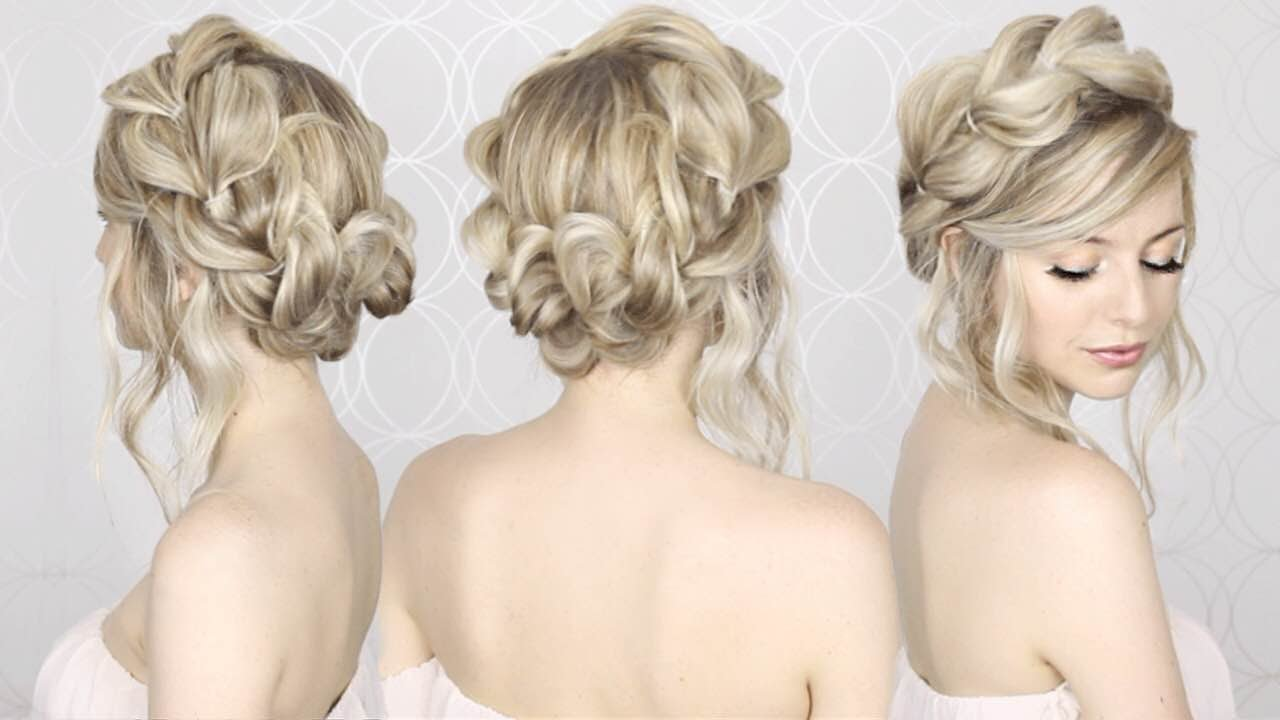
HALF UP HALF DOWN RUBBER BAND HAIRSTYLE
Half-up, half-down hairstyles are trending for good reason—they offer the elegance of a bun with the relaxed vibe of loose hair. Adding rubber bands can give this classic style a playful and unique twist without much extra effort. Using white or colorful elastics not only enhances the look but also draws attention to your face. This fun and flattering hairstyle is perfect for any occasion, whether you’re heading to school, brunch, or a picnic date.
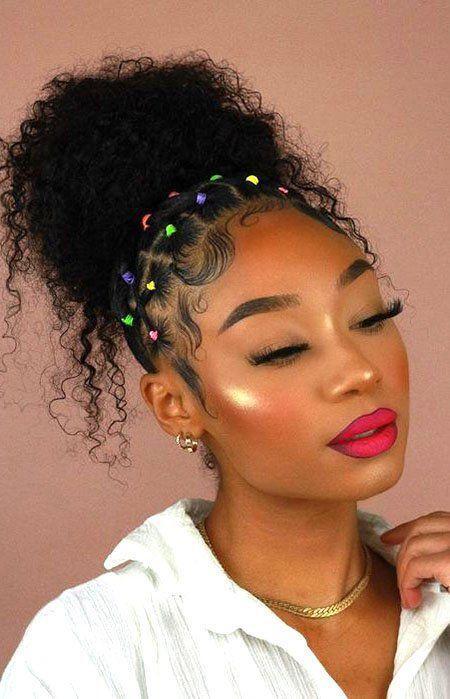
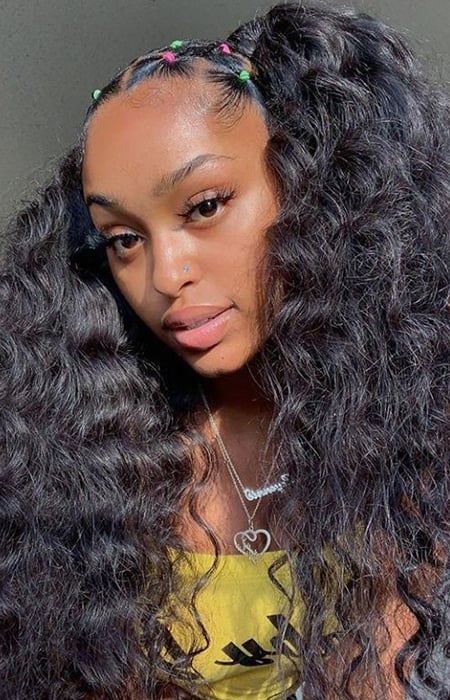
COLORFUL RUBBER BAND HAIRSTYLE

Rubber band hairstyles naturally exude a playful and youthful vibe, so why not embrace it by opting for colorful elastics? Pastels, neons, and bright colors pop against dark hair, ensuring you’ll stand out in any crowd. To avoid looking too much like a ’90s throwback or playground style, be mindful not to overuse the bands. Balance the fun with a touch of glamour by choosing sophisticated makeup—think matte lipstick, a sun-kissed highlighter, and perfectly shaped brows for a polished finish.
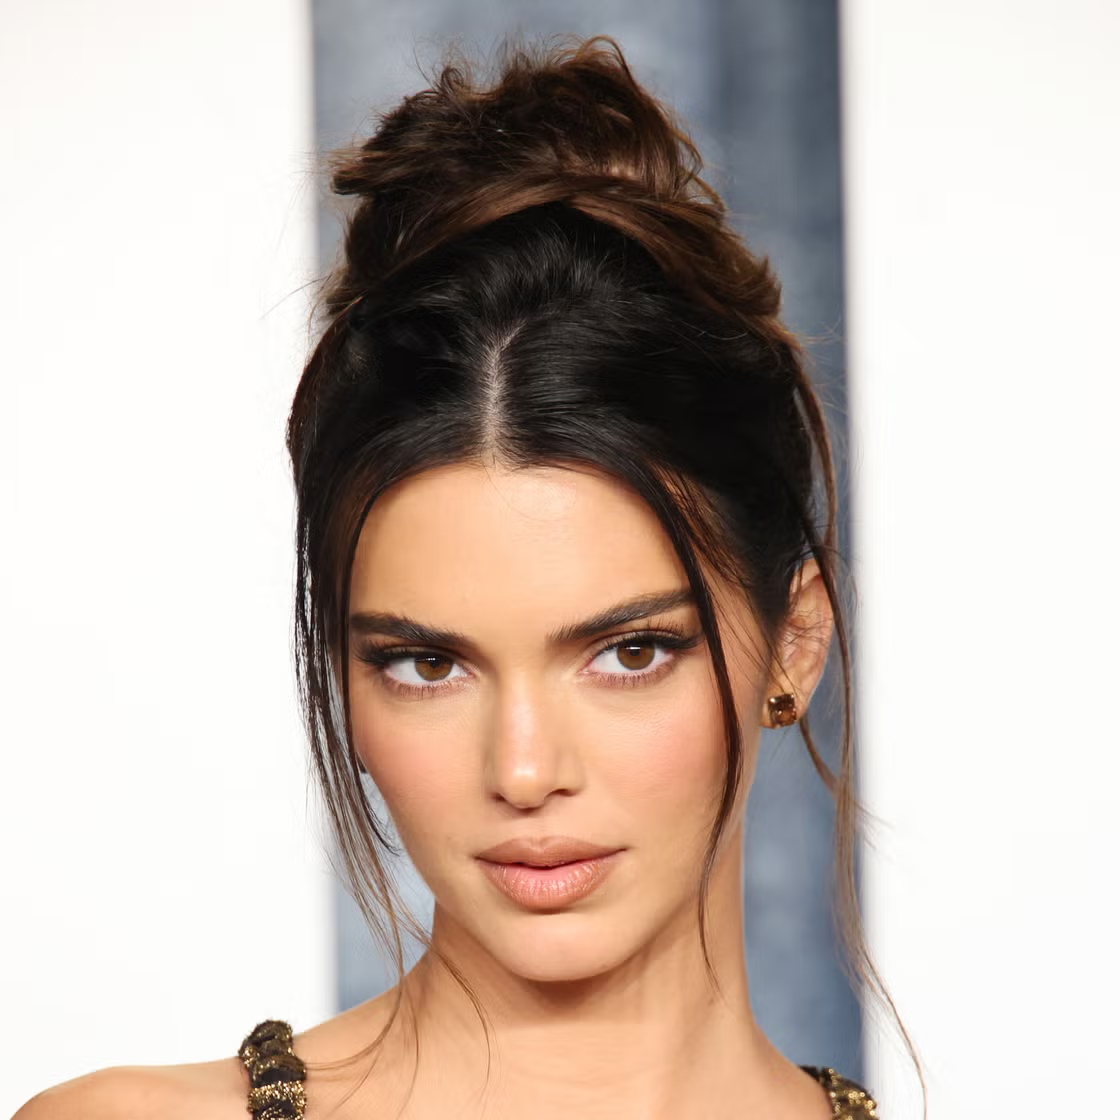
RUBBER BAND UPDO HAIRSTYLE
Rubber bands can effortlessly elevate a simple updo, adding a touch of style and glamour. Try sectioning your hair into patterns at the front, sides, and back, then twist the rest—whether it’s your natural hair or extensions—into a sleek bun. The key is contrast: keep the bun itself simple so the rubber band sections can stand out and create visual interest. Even better, the rubber bands will naturally draw attention to your face and highlight accessories like a bold pair of earrings.
RUBBER BAND HAIRSTYLE WITH STRAIGHT HAIR
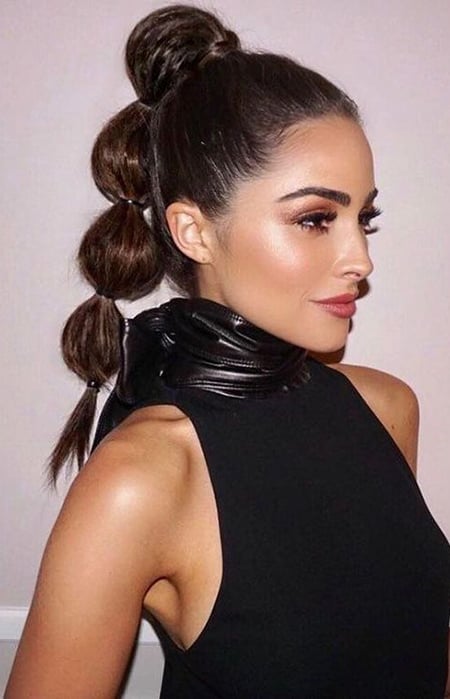
A timeless rubber band look is the bubble ponytail, perfect for naturally straight hair, weaves, or chemically relaxed hair. This style is both simple and adorable, making it easy to customize for anything from a daytime festival to a glamorous night out. Begin by creating a high ponytail, then place rubber bands—ideally matching your hair color—at regular intervals down its length. To achieve the signature ‘bubble’ effect, gently pull each section outward. It’s an effortless yet chic way to stand out.
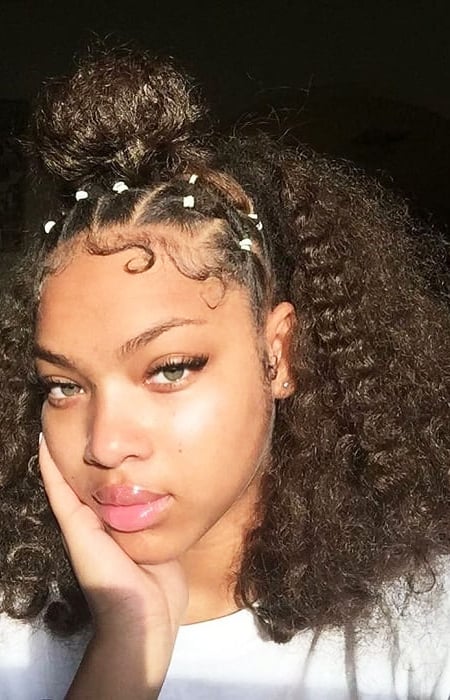
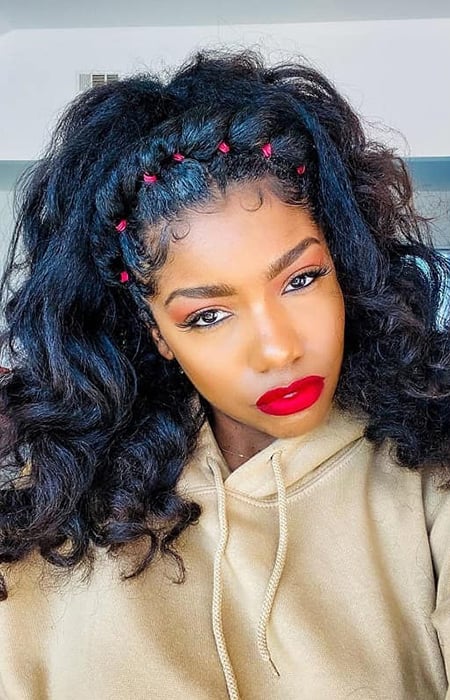
RUBBER BAND HAIRSTYLE FOR CURLY HAIR
Rubber band hairstyles can still highlight your big, bouncy curls while adding a stylish touch. The contrast between the sleek rubber bands and your voluminous curls will grab attention and make you stand out. For a fun, festival-ready look, try combining a criss-cross rubber band pattern with your natural curls. This hairstyle brings a playful ’90s vibe and beautifully frames your face, ensuring your features remain the focal point, even with all that gorgeous volume.
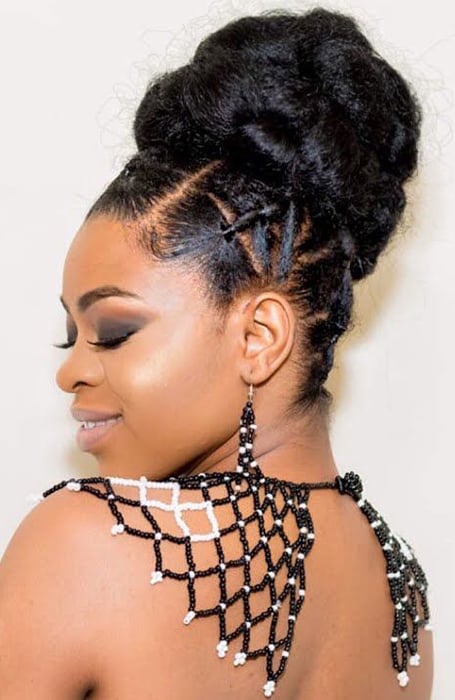
RUBBER BAND NATURAL PONYTAIL HAIRSTYLE
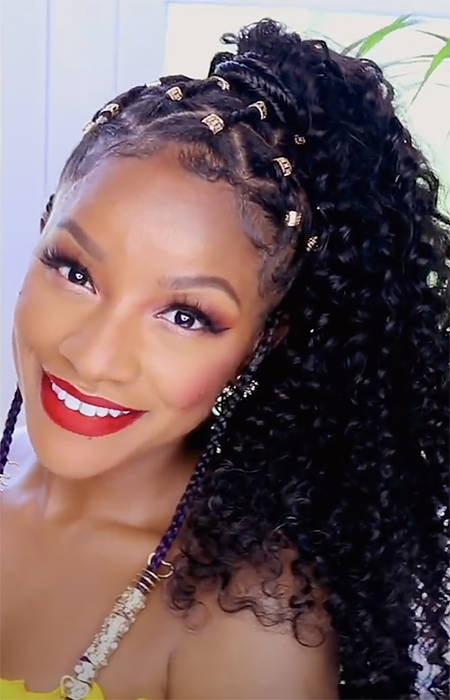
Rubber band hairstyles look just as stunning with a curly natural ponytail as they do with a sleek, straight one. For a fun and playful vibe that can be dressed up for an evening event, try adding metal beads or rings over the rubber bands. For even more style, consider incorporating tribal braids—both in the ponytail itself and as face-framing accents. This adds an extra layer of sophistication while keeping the look bold and unique.
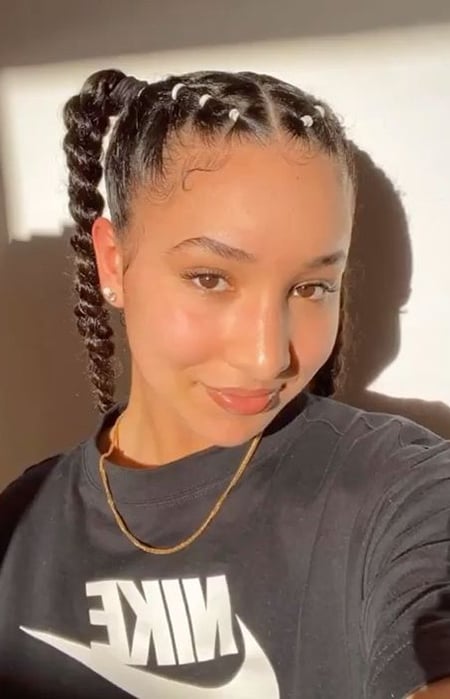
RUBBER BAND STRAIGHT PONYTAIL HAIRSTYLE
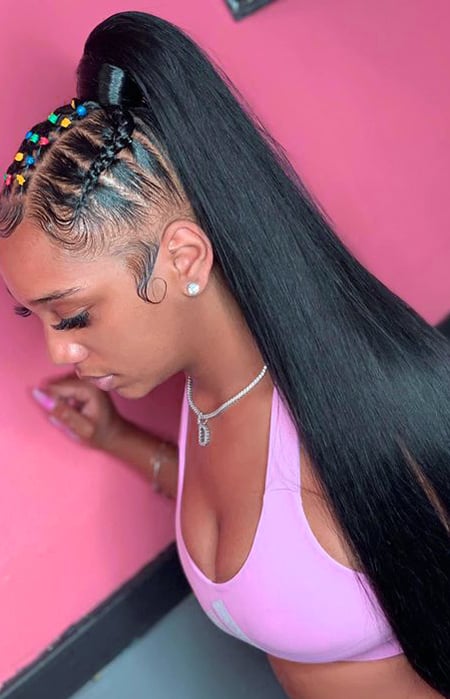
Rubber bands bring a playful and personal touch to any hairstyle. Why not pair a sleek, straight ponytail with a fun rubber band pattern for a striking contrast? This way, you get the best of both worlds! Have your stylist create a whimsical rubber band design—like a classic box or criss-cross pattern—at the front and crown of your head before braiding in extra-long extensions to complete the ponytail. If you’re short on time, you can also opt for a clip-in ponytail extension to streamline the styling process.
EASY RUBBER BAND HAIRSTYLE
Keep it effortlessly chic with a hairband-effect rubber band hairstyle. This feminine and beautiful style frames your face while being quick to achieve, making it a great option for various hair textures and curl patterns—as long as your hair is long enough. To create the hairband effect, start from the left and work your way to the right. Secure small sections of hair with a rubber band, twisting them into the next section and adding a band each time. In just a few minutes, you’ll have a stunning hairstyle that’s ready to be flaunted!
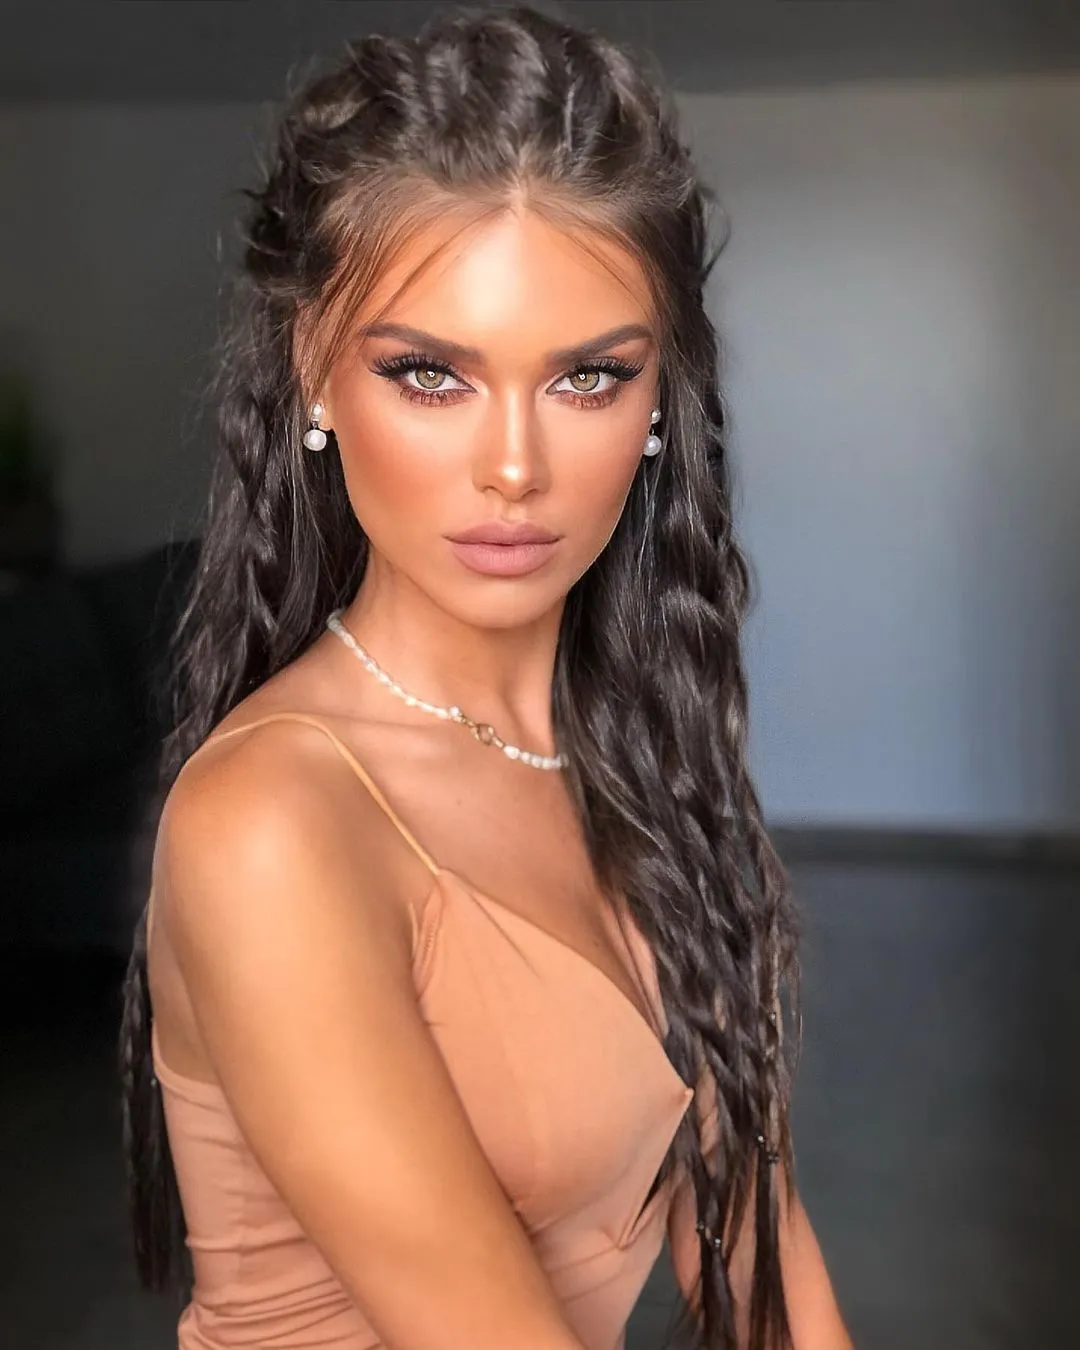
CRISS CROSS RUBBER BAND HAIRSTYLE

One of the most popular rubber band hairstyles is the criss-cross pattern, known for its eye-catching design and playful vibe—perfect for enhancing other styles like ponytails. To achieve this look, begin by sectioning either the front and crown or the sides of your hair into triangles or diamonds. Secure each section with a rubber band. Then, working from front to back, connect the sectioned hair diagonally in an overlapping criss-cross pattern. Once you’ve completed the design, finish off the style by securing your hair in a bun, ponytail, or puff for a fun and trendy look!
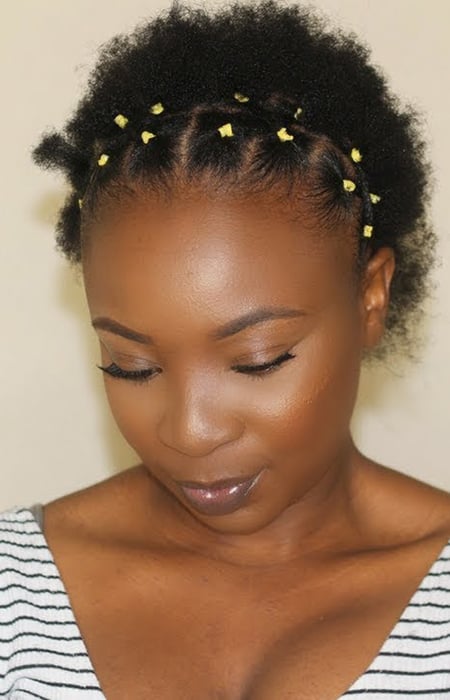
RUBBER BAND HAIRSTYLE FOR MEDIUM NATURAL HAIR
For medium natural hair, a sleek rubber band hairstyle is a fantastic choice. This style showcases your hair’s natural curl while providing a polished look with defined patterns created by the rubber bands at the front. Start by sectioning your hair into boxes or triangles, then braid or twist the sections together using the elastics. For an extra touch of glamour, add beads or rings to the bands. Finish off the look by spritzing an oil mist throughout the rest of your hair to enhance shine and create bouncy curls. This chic style is perfect for special occasions like homecoming, weddings, or prom.
RUBBER BAND HAIRSTYLE FOR LONG NATURAL HAIR

Rubber bands are an excellent way to infuse vibrant color into your hairstyle. If you have long natural hair that’s been braided—or if you’ve had long braids added—consider incorporating rubber bands for a fun ‘90s vibe. Position the elastics at various intervals along your braids, not just at the ends. To complete the look, add hair clips in equally bright colors for a cohesive style. Plus, since the rubber bands are easily removable, this versatile option allows you to refresh your braids and switch up your look for the day.
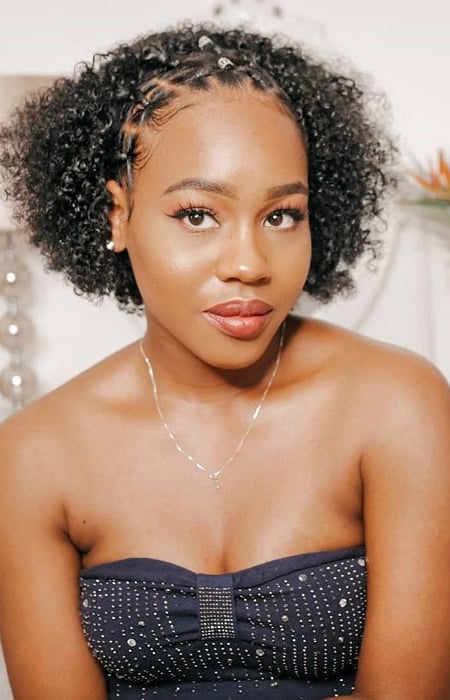
RUBBER BAND HAIRSTYLE FOR SHORT NATURAL HAIR
If you’ve recently undergone the big chop and are looking for ways to style your short natural hair, rubber bands are an excellent choice. They make a bold statement while adding a fun, eye-catching element to your look. Plus, rubber band hairstyles are quick and easy to create, so you won’t spend too much time styling. One standout option is the box pattern ‘hairband’ effect. Simply section the front of your hair as you would for box braids, leaving the rest of your hair loose. The result is a cute, pretty, and feminine style that’s perfect for any occasion!
CONCLUSION
Rubber bands are more than just hair accessories; they’re versatile tools that can transform your hairstyle from simple to stylish. With a little creativity and practice, you can create a variety of cute and fun hairstyles that will make you stand out. Whether you’re looking for something casual or something more formal, there’s a rubber band hairstyle out there for you. So, experiment, have fun, and let your imagination run wild!