Transform Your Interior Door with an Easy DIY Makeover
Sometimes, doors can feel flat and plain with little to no character. But don’t worry—there’s an easy way to upgrade your door using wood strips! In this post, we’ll guide you through the materials and steps for a simple interior door makeover.
Accent walls with geometric and linear patterns are all the rage right now, but a full wall might not suit everyone’s aesthetic or budget. A door makeover is a great alternative! It allows you to add stylish details to your space on a smaller, more affordable scale.
A DIY door makeover is a perfect low-budget project that can significantly enhance a room with minimal effort. Let’s face it—sometimes, doors just feel boring! By adding a few simple upgrades, you can make your door a statement piece without spending a fortune.
For example, our master bedroom door is visible from both the dining and kitchen areas, and it needed a little more life—but in a subtle way. We didn’t want to add a pop of color (though you definitely can!), just something to elevate its look.
This DIY project is quick and easy, and we’ll show you everything you need to get started—materials, inspiration, and step-by-step instructions for your door transformation.
Let’s dive into our interior door makeover!
Door Makeover Materials
- Paint of Choice – Ours was Behr “White” with Eggshell finish
- 3/4” wide by 3/16″ thick pine strips
- Option 1: Purchase 1/4” x 3/4″ pine trim pieces
- Option 2: Purchase 1×4 8ft. pine board and cut into 3/16″ thin strips
- Option 3: Use leftover scrap wood pieces like we did. Yay reuse!
- 1/2″ nap Paint Roller or Paint Sprayer
- Sandpaper or Handheld Sander
- Wood Glue
- Painter’s Tape
- Speed Square
- Tape Measure
- Miter Saw OR Jigsaw OR Handsaw
- Table Saw (optional if splitting boards)
DIY Interior Door Makeover Steps
STEP 1: FIND INSPIRATION & CREATE A PLAN
As I mentioned, there are endless accent wall ideas out there, and Pinterest is a fantastic source for design inspiration! Simply search for keywords like “geometric patterns,” “linear designs,” or whatever style you’re drawn to, and you’ll definitely find something that sparks your creativity. Whether you’re looking for bold shapes or subtle lines, Pinterest is a goldmine for ideas that can be adapted to your interior door makeover!

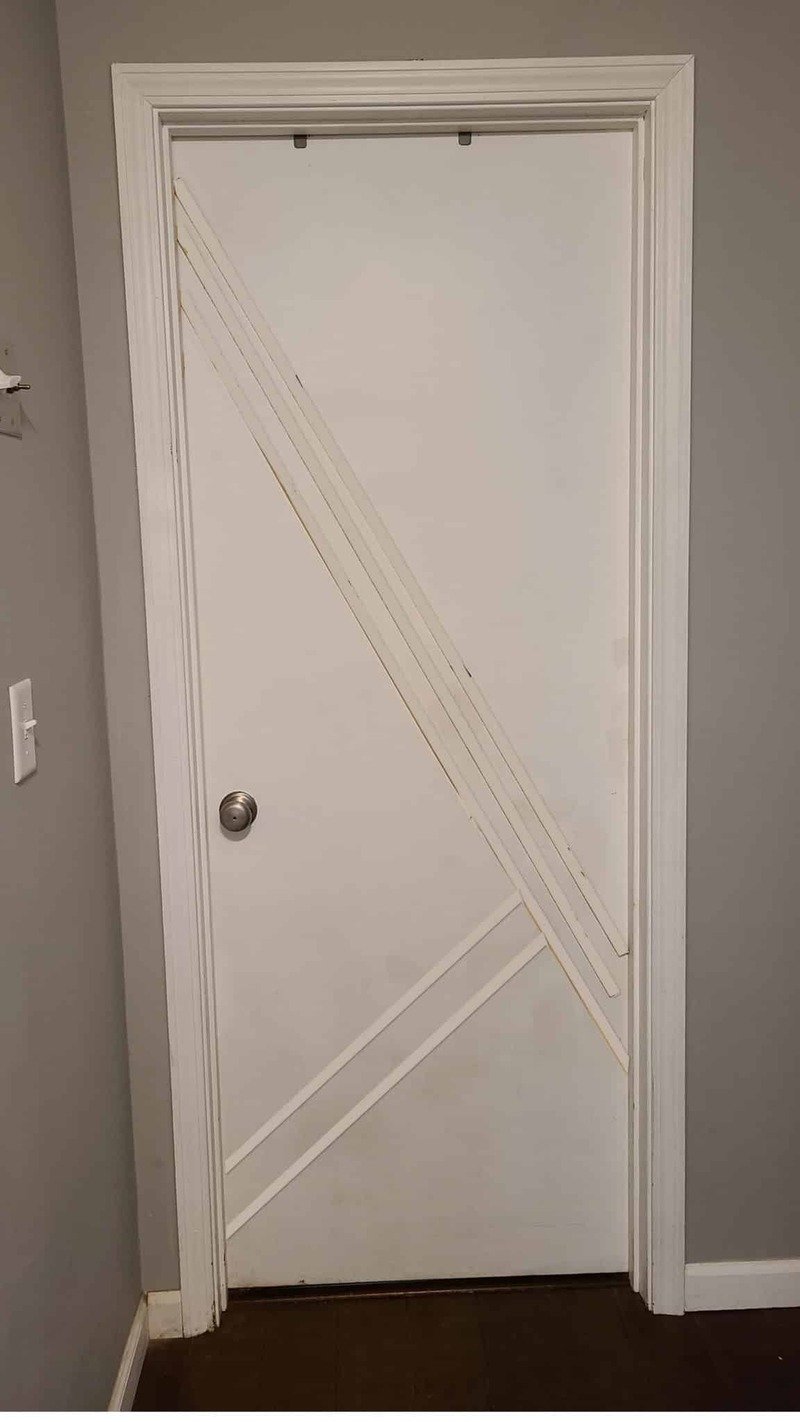
As a highly visual person, I knew I needed to create a quick mockup of my accent door design before diving in. Since I’m using wood scraps for the makeover, I took a few cut pieces and used painter’s tape to experiment with different design ideas. I only had five pieces of varying lengths, so I couldn’t always create my full vision. But it worked perfectly for a quick visioning session and gave me a sense of how the design would look before committing to it. It’s a great way to test out ideas without making any permanent changes!
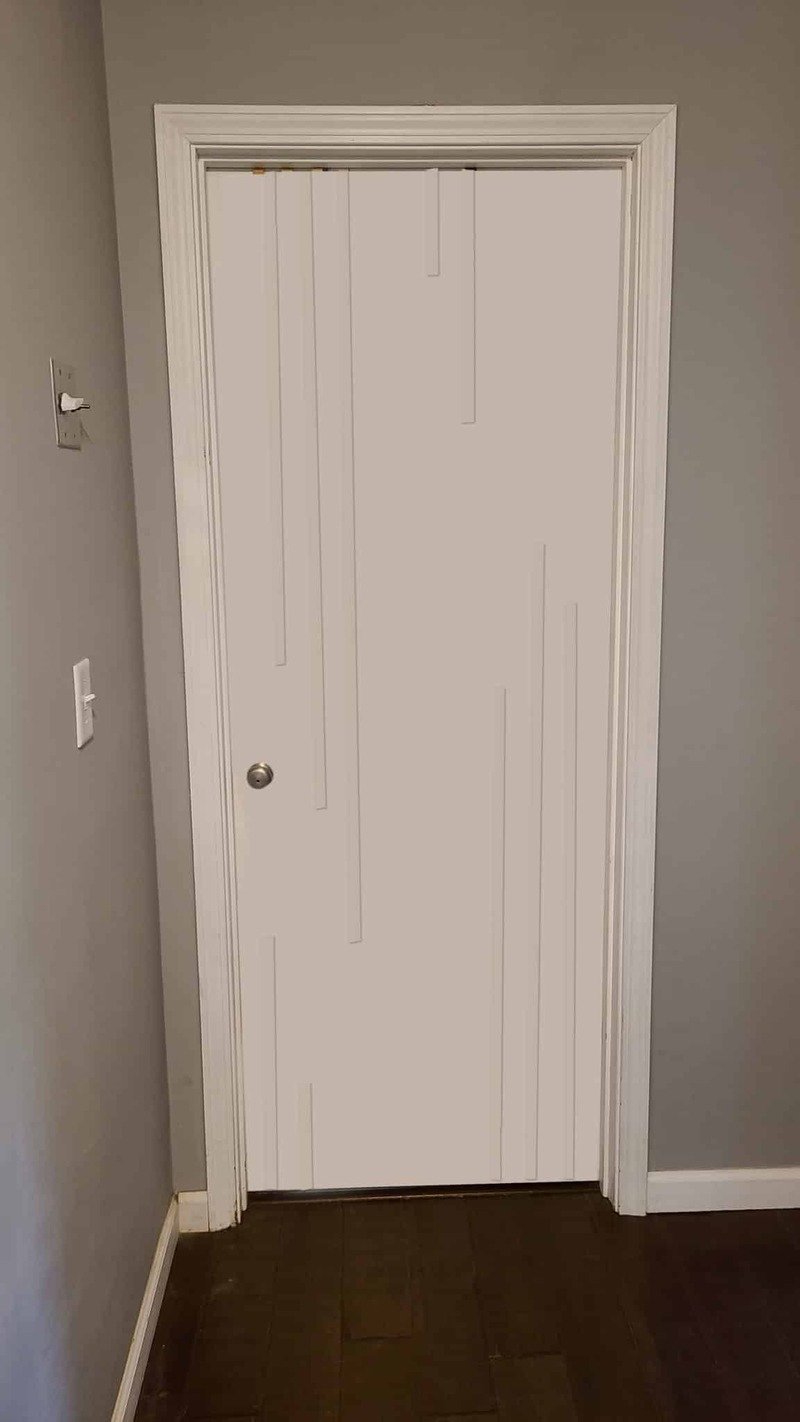
After that, I took it a step further as I’m a planner and want a detailed idea of what I’m doing. Additionally, I’m a heavy user of Photoshop with my design background. It’s great for quick visualizations on top of a photo you took. So even with the quick mockups, I had to take it further and fully realize what this DIY door makeover might look like when painted. Below are a couple final options.
We were looking for a subtle accent that was more about the shadow lines. However, you could totally paint it a fun color like many of the accent wall examples.
If you don’t have Photoshop or any editing software, don’t worry! You can always sketch your design out with pen and paper, or use the draw function in your phone’s editing app. Having a plan in place before starting the DIY project will make a huge difference. It acts as a guide and helps you stay on track, ensuring you don’t waste time or materials. After all, nothing’s worse than finishing a project only to realize you don’t love the final result!
STEP 2: PREP THE DOOR
Depending on the condition of your door, some prep work will usually be needed before attaching your accent pieces. You might need to fill any holes and sand the surface to ensure a smooth finish.
While some people prefer to remove the door and handle the prep and painting in a garage or workshop, we decided against taking our bedroom door off the hinges since we didn’t want to be without it. Ultimately, it’s up to you—do whatever works best for your space and convenience!
Fill Holes & Sand
If your door has any dents, scratches, or holes, now is the time to fill them. For wood doors, wood filler works great for patching up imperfections. Once it’s dried, sand the area smooth.
Additionally, be sure to lightly sand the spots where the wood strips from your design will be attached. This creates a slightly rougher surface, which helps the wood glue adhere better.
Don’t Mix Paints
A quick tip: latex and oil-based paints don’t mix well and can peel apart over time. If you’re unsure what kind of paint was previously on your door, it’s best to sand it down first to prevent any peeling issues later.
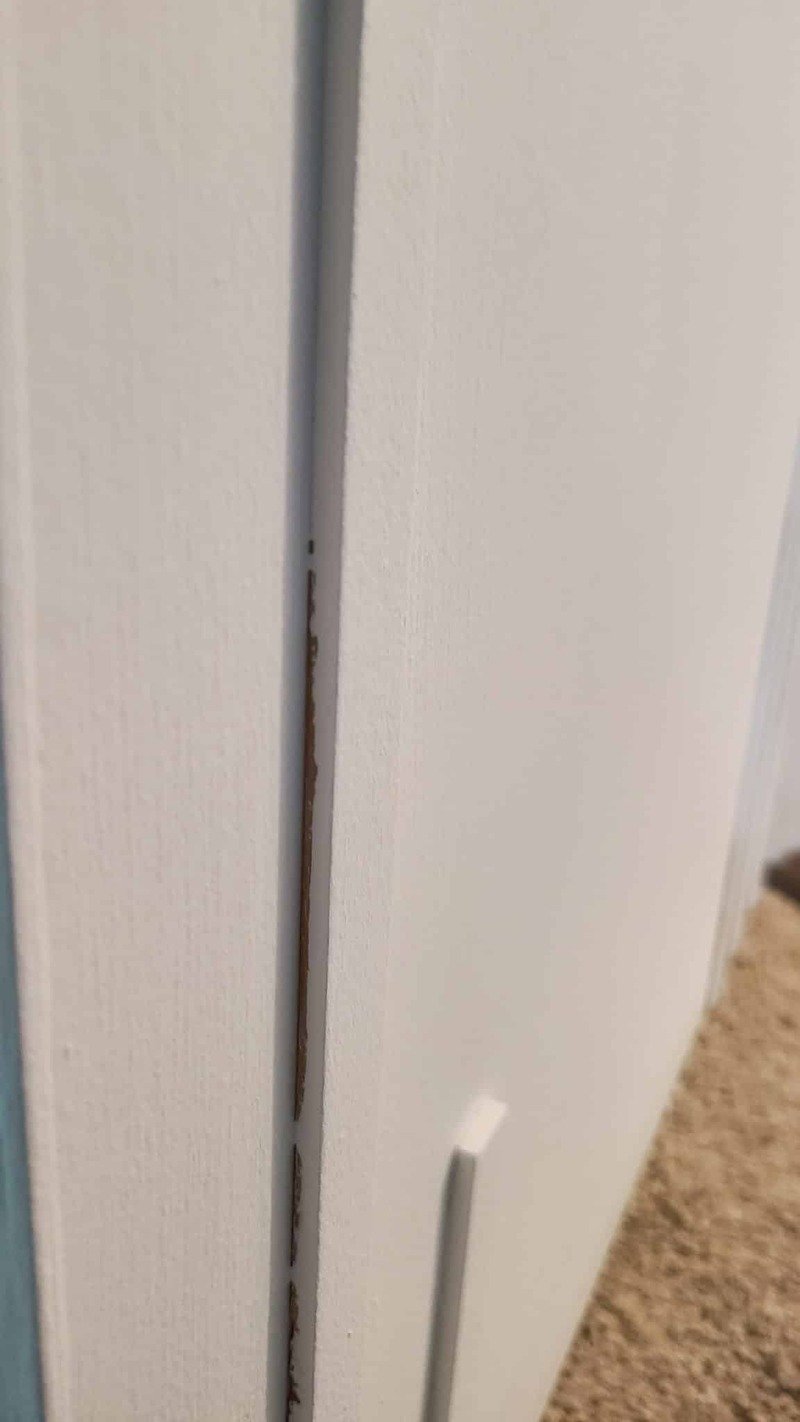
Most basic doors are usually painted with latex paint, but it’s worth checking—especially if you’re reusing an old door. To be safe, do a small test paint spot before you start the full project. That’s exactly what we did when patching up our door, as you can see in the photos!

STEP 3: MEASURE & CUT THE ACCENT WOOD STRIPS
Now that you have your design mockup or sketch plan, it’s time to measure and cut your accent wood strips.
For our design, which featured linear pieces with straight ends, I simply measured a distance and drew a straight line across the wood. If your design involves angles, be sure to use an angle guide to ensure that each strip is cut consistently.
It’s important to mark which side of each piece is the “correct” one. This helps avoid confusion when cutting and ensures you won’t mix up pieces later on. Since there were several strips of varying lengths, I also labeled each one with its length, making it easier to match them up with my design plan as I went along.

Once all your pieces are marked and labeled, it’s time to cut them to the desired length. We used a miter saw for quick and precise cuts, but don’t worry if you don’t have one—you can also use a jigsaw or handsaw. Just be sure to practice safety when cutting the wood!
As you cut, create two piles: one for your finished pieces and one for the leftovers. It’s a good idea to save the leftover pieces for future projects, as this is both eco-friendly and budget-friendly. Even the smallest scraps that can’t be used later make great kindling for a fire!

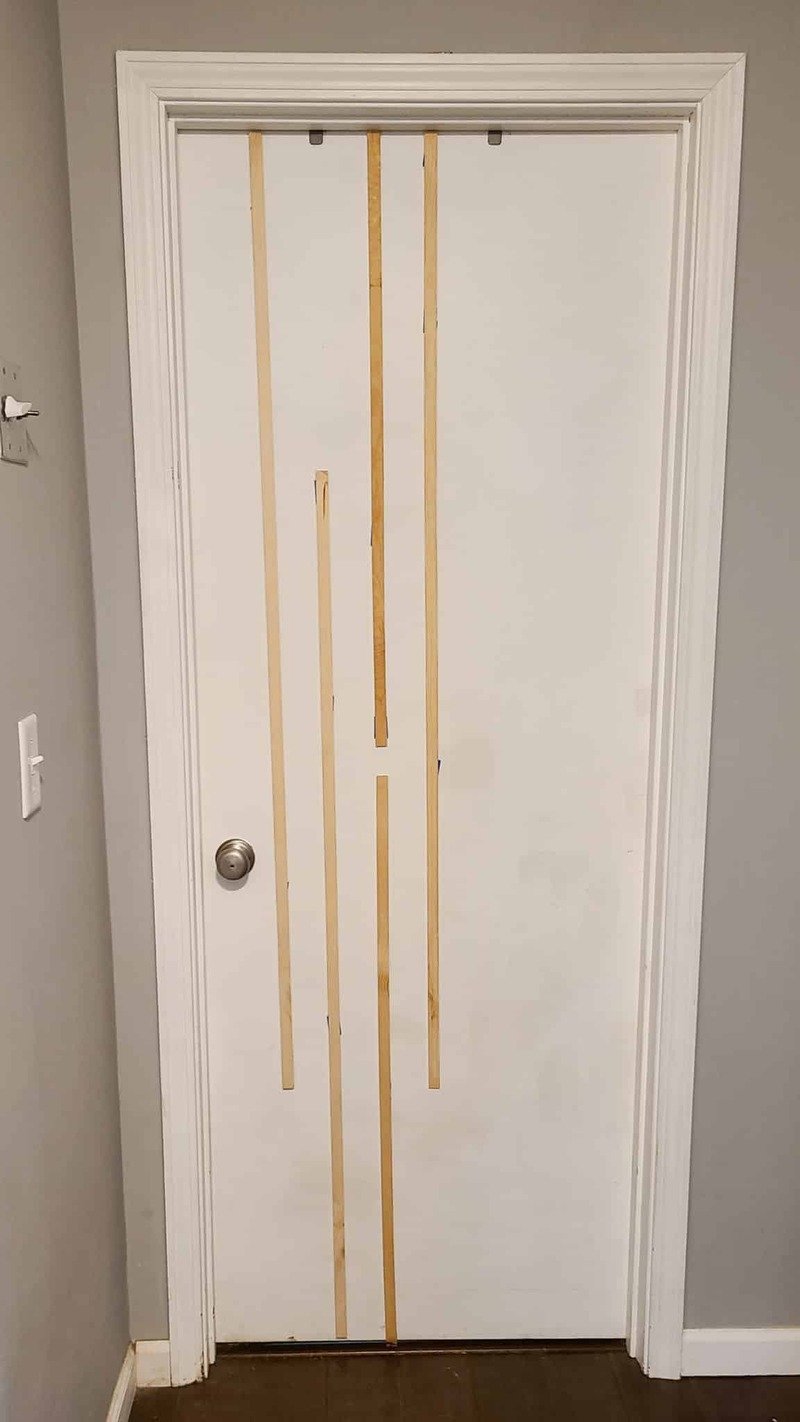
STEP 4: LAYOUT THE ACCENT WOOD STRIPS
Execute The Plan
Now that all the cutting is done, it’s time to lay out the wood pieces on the door!
Having a dimensioned layout plan makes this part much easier. Use a measuring tape, pencil, and speed square to lay out your pieces and mark where they need to go. Mark the top and bottom sides to ensure everything aligns when gluing.
It’s crucial to make sure the pieces are straight. I highly recommend measuring along the full length of each piece in several spots. Wood can warp or bow, which can cause what should be a straight line to appear wavy.
For example, the 45” long piece was supposed to be 2 inches from the edge of the door and the next piece. While the top and bottom were spot on, the middle section bowed, so the distance varied between 1 ¾” and 2 ¼” on either side. To correct this, I measured 2 inches from the edge in the middle as well and drew a straight line. This gave me a clear guide for aligning the pieces when gluing.
Make sure to measure in multiple spots on all your longer pieces to ensure they are straight. Also, check that the pieces along the edge won’t interfere with the door frame when you close the door.
STEP 5: GLUE ALL THE PIECES
After marking the door, it’s time to glue your wood strips in place. There are many types of glues available, but for this project, simple wood glue works best. It doesn’t harden immediately, giving you time to adjust the pieces if needed to ensure your design stays straight. Plus, it doesn’t add moisture or cause the wood strips to warp, which is important for achieving a smooth, even finish
DIY Tip – Avoid using liquid nails or construction glue! While these glues harden quickly, they can add moisture to the wood, causing it to warp. We’ve learned from experience that this can lead to pieces falling off after all your hard work, so stick with wood glue for a more reliable result.
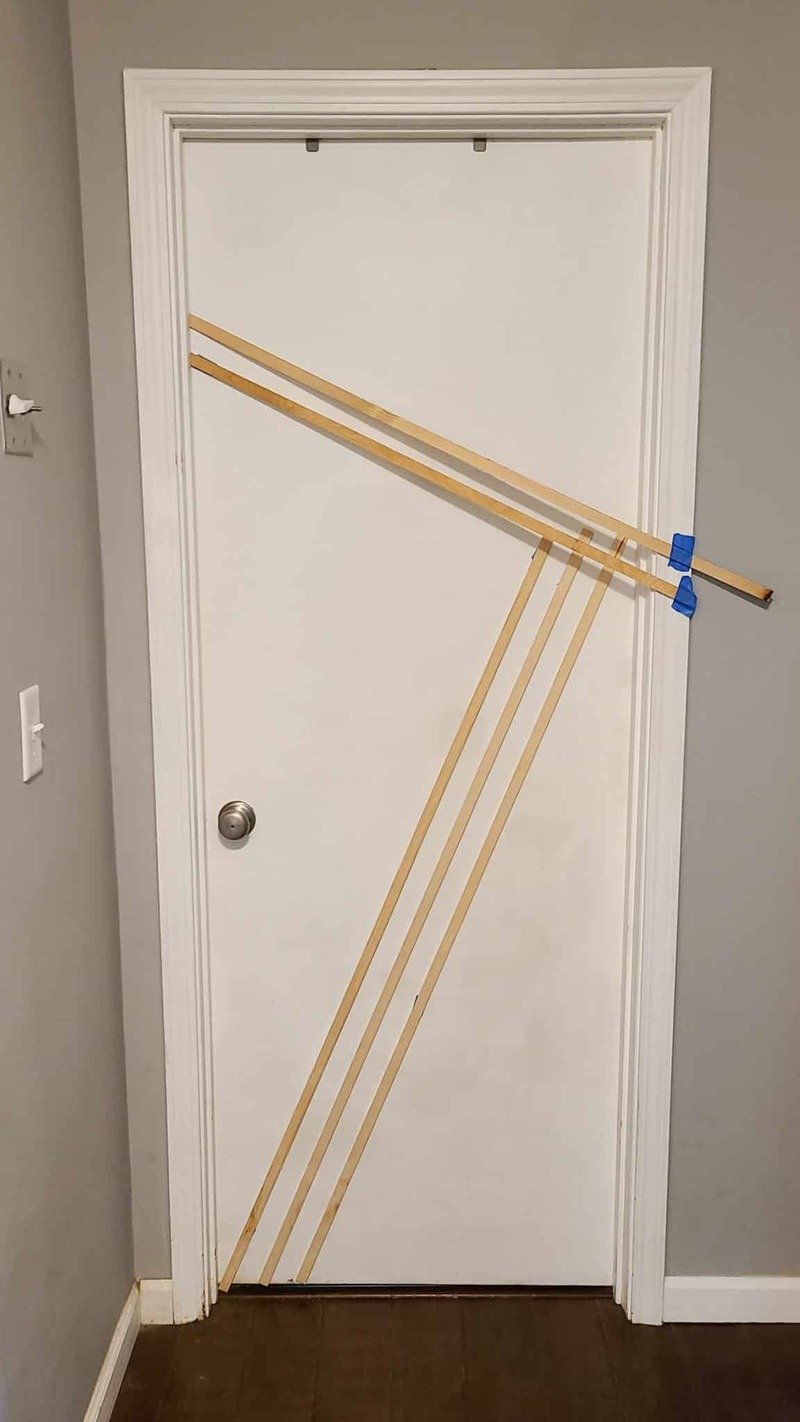
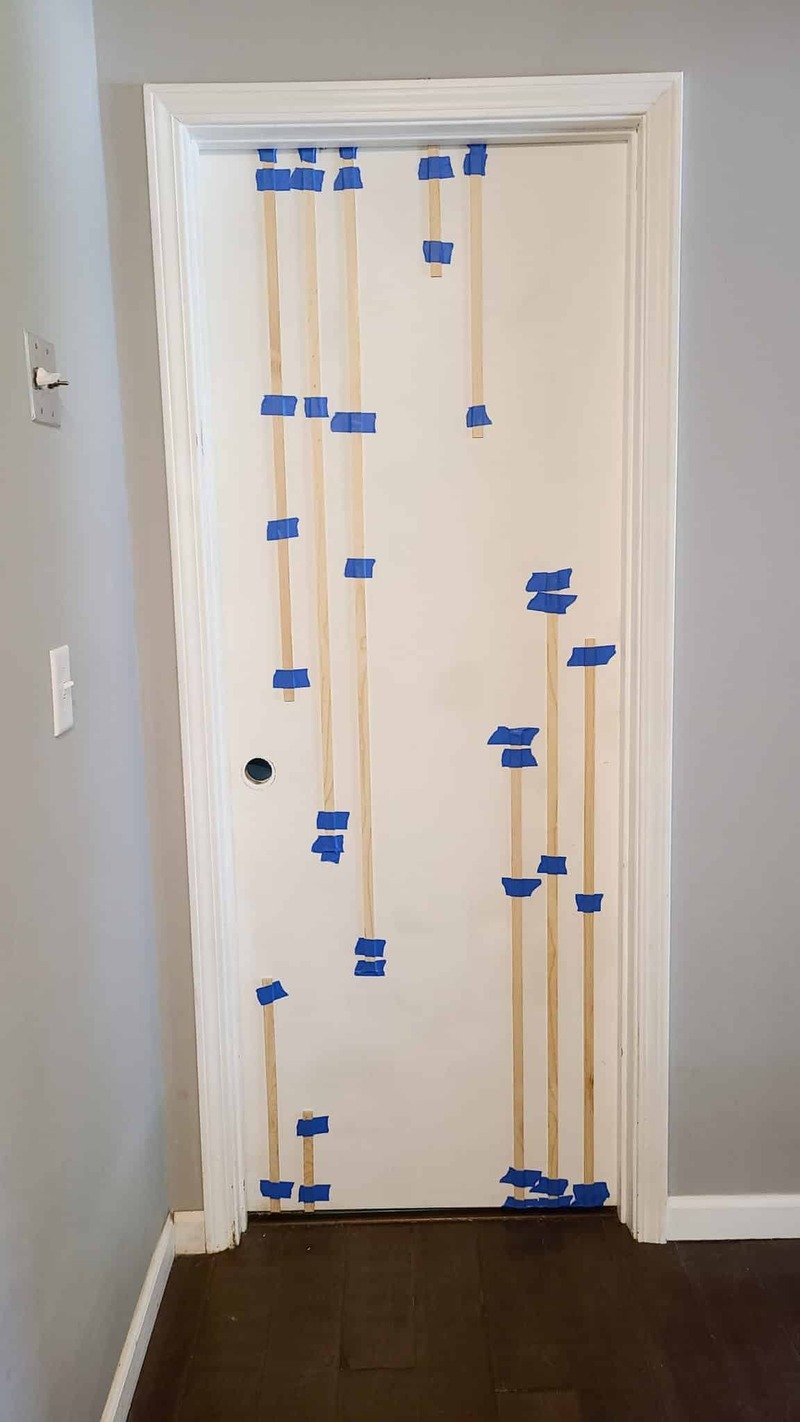
Use Painter’s Tape to Hold in Place
Since the door is still hanging upright, painter’s tape is a great tool to help secure the wood strips while the glue dries.
Here’s how to do it:
- Apply glue along the back of each wood strip.
- Place the strip onto the door, adjusting it to align with your marks.
- Use painter’s tape to secure the strip in place in multiple spots.
- If the wood is bowed, use tape in the middle to gently pull it back into alignment with your marks.
- Repeat this process until all the pieces are attached.
DIY Tip – Be mindful of the door frame and flooring around your door. You may need to adjust your wood strips slightly to ensure they don’t interfere with the door’s function, such as opening and closing smoothly.

To ensure everything stayed secure, I went back and added a little extra glue and tape at the ends of the wood strips. Gravity was pulling them away, and I didn’t want them popping off while drying. If your door has been removed and is laying flat, this extra step may not be necessary, but it was a helpful precaution since mine was still hanging upright.
Now, just let all the glue dry! We allowed ours to dry overnight since wood glue typically requires about 24 hours to fully cure. However, drying times can vary depending on the product, so be sure to check the label on your specific glue to ensure you’re allowing enough time for it to set properly.
STEP 6: PAINT IT
Before you start painting, make sure to check for any touch-ups that might be needed. There could be some excess glue around the edges of the wood that will need to be sanded or scraped off. This ensures that the surface is smooth and ready for paint, giving you a clean, professional finish when you’re done.

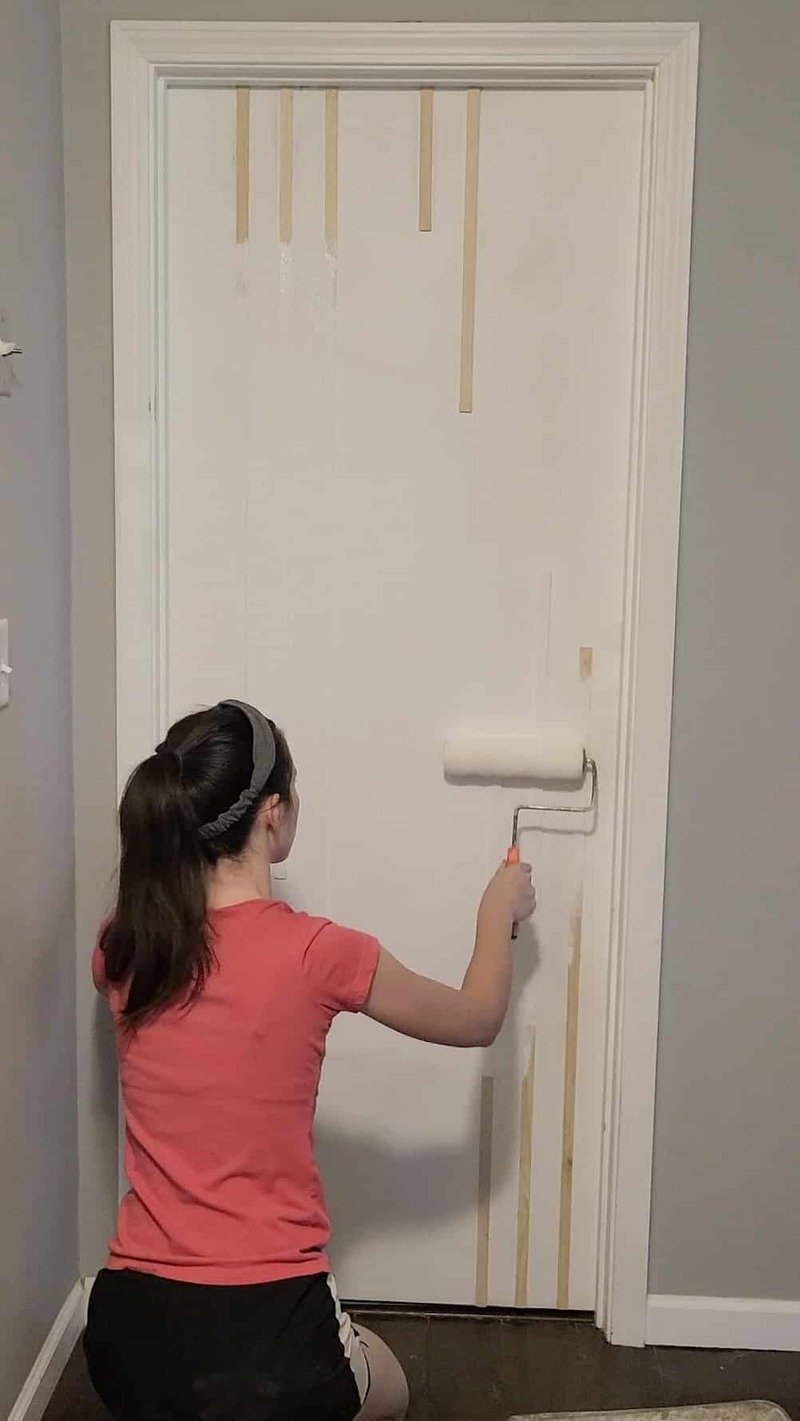
We own a paint sprayer, but in this case, it was easier to just roll the paint on. I laid down a drop cloth and used a heavier ½” nap roller to apply the paint. It covered most of the wood edges, though I did have to go back and touch up a few spots that the roller missed.

If you decide to spray the paint, I highly recommend removing the door and spraying in a well-ventilated garage or workshop. Make sure to set up a tarped area to catch any overspray, and you’ll be able to skip taping off the door frame and walls for protection.
For our door, we chose basic Behr white paint to match the rest of our doors and trim. We wanted the wood accents to blend in subtly but still complement the existing decor. However, you could opt for an accent color instead to make the door stand out and add contrast—choose what works best for your space!
Depending on your paint, a second coat might be needed to achieve full coverage.
STEP 7: FINISHING TOUCHES
If you’re planning to add new handles or hinges, now is the time to do so. We decided to stick with the existing ones since they still worked well and looked nice. If you removed the door for painting or other steps, now’s the time to rehang it and enjoy your refreshed door!

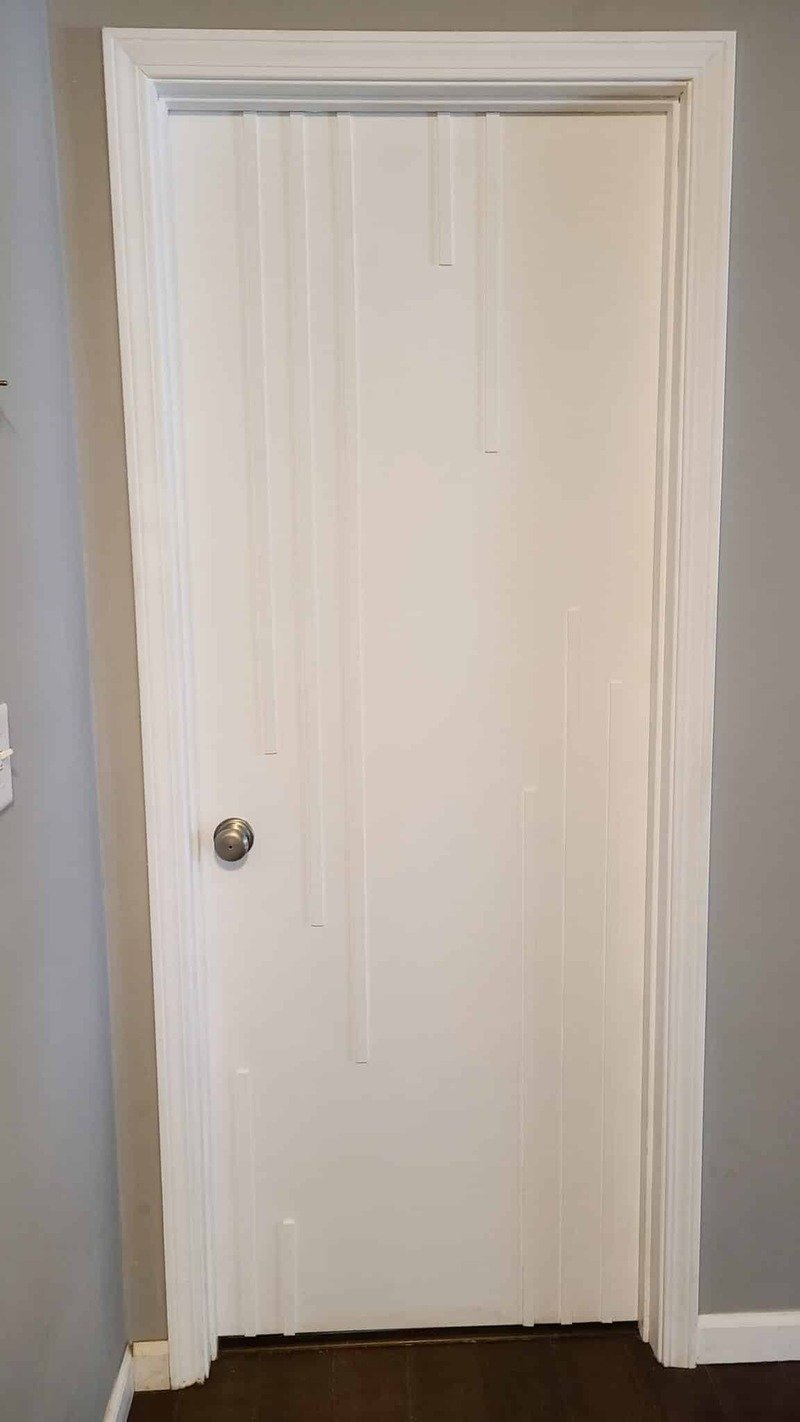
Once everything is done, you’ve successfully completed your DIY door makeover! Step back, admire your work, and enjoy the transformation. It’s amazing how such a simple project can make such a big impact on your space!


DIY Door Makeover Tips & Methods
Here are a few additional notes and tips for your DIY door makeover:
- Detailed Plan vs. Random: We’re detail-oriented, so we prefer creating a detailed plan and layout. But you can also use what pieces you have and lay them out until it looks just right, then attach them. If you’re someone who likes to wing it and eyeball the design, that works too!
- Removing the Door: You can absolutely remove the door for this project to avoid fighting gravity. However, keep in mind that you’ll be without a door for a while while the glue and paint dry, so make sure you’re okay with that.
- Spraying Paint vs. Rolling Paint: This comes down to personal preference. Using a sprayer will give you a smoother finish but requires some experience and isn’t always ideal for the typical DIY setup. Rolling the paint may give you a slightly different texture but is easier for most DIYers to manage.
No matter which method you choose, the key is to enjoy the process and get creative with your design!

CONCLUSION
In conclusion, a DIY door makeover is an easy, budget-friendly project that can make a big impact on the look and feel of your space. Whether you prefer a detailed plan or a more spontaneous approach, you can create a unique design that reflects your style. By following the simple steps of prepping the door, measuring and cutting the wood, gluing and securing the pieces, and finally painting, you’ll achieve a refreshed, personalized look for your door. With a little creativity and effort, you’ll have a beautiful accent door that enhances your home’s decor!