Have you ever treated yourself to a fabulous blowout and then wondered how long does a blowout actually last? Well, buckle up, because we’re about to dive into the world of hairstyling and unravel this beauty mystery together!
You walk out of the salon with hair that looks like it’s straight out of a magazine – all bouncy, voluminous, and oh-so-glamorous. But here’s the thing, my friend, a blowout isn’t just a one-size-fits-all deal. It’s a blend of technique, products, and a touch of magic that can leave you looking fabulous for different lengths of time.
So, if you’re curious about what makes a blowout last, how you can prolong its enchanting effects, and maybe even how to rock those post-blowout days, stick around. We’re about to break it all down and spill the tea on this hairstyling adventure!
What Is a Blowout?
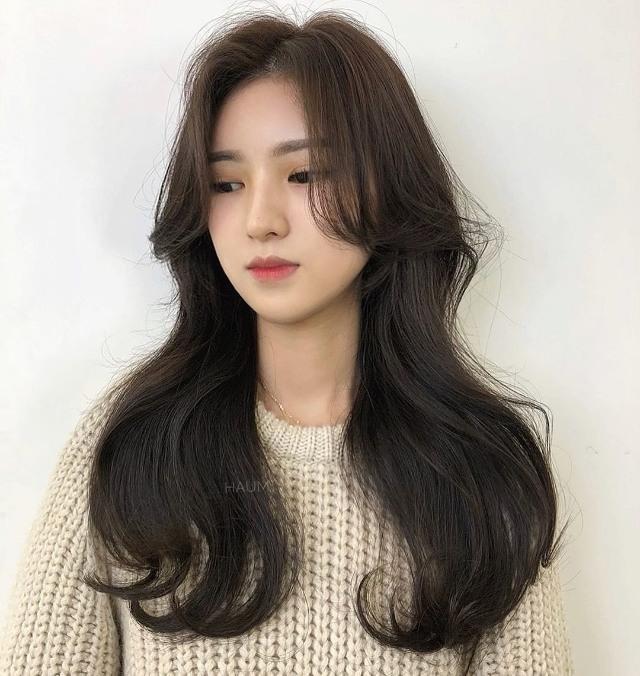
A blowout is like that Cinderella moment for your hair when it goes from “just woke up” to “red carpet ready” in a matter of minutes. Imagine stepping into a salon with your hair feeling a bit lackluster and leaving with locks that are voluminous, sleek, and oozing confidence.
Here’s the lowdown: A blowout is a professional hairstyling technique where your hair is washed, dried, and styled using a blow dryer, round brush, and sometimes a sprinkle of hairstylist’s wizardry. It’s not just a simple drying process – it’s an art form that can transform your hair’s texture, add volume, and smoothen it out for a polished finish.
Think of it as your hair’s best day ever. The stylist works their magic section by section, creating that perfect blend of curves, flips, and sways. They might use different brush sizes to achieve different effects, like extra volume or those elegant, cascading waves that Instagram dreams are made of.
But here’s the kicker: A blowout isn’t just for special occasions or celebs hitting the red carpet. Nope, it’s become a go-to beauty treat for anyone who wants to feel like a million bucks on any regular day. So, whether you’re looking to conquer a big presentation, slay a first date, or just give yourself a confidence boost, a blowout is like your hair’s secret weapon – no capes required.
How Does a Blowout Work?
At its core, a blowout is a meticulously crafted process that turns your hair into a work of art. It’s like having your very own personal stylist working their charm on your locks. Here’s the breakdown of how it all goes down:
Prep and Wash: It all starts with a good wash. Your hair is cleansed with shampoo and conditioner to get rid of any dirt, excess oil, or product buildup. This clean slate sets the stage for a blowout masterpiece.
Product Potion: After your hair is squeaky clean, the stylist applies a cocktail of styling products. These products can range from heat protectants to creams that enhance volume, smoothness, or texture. The choice of products depends on your hair type and the desired outcome.
Section by Section: The stylist divides your hair into sections. This is where the real craft begins. They work on each section individually, ensuring every strand gets the attention it deserves.
Brush, Brush, Brush: Armed with a round brush, the stylist gets to work. They use a combination of brushing and heat from a blow dryer to manipulate your hair’s shape. The round brush helps create volume, bounce, and those enviable curves. As they work, you might feel like you’re getting a mini scalp massage – it’s part of the experience!
Cool Down: Once a section is perfectly styled, the stylist might hit you with a blast of cool air. This helps set the style and ensures it holds its shape for longer.
Repeat and Perfect: The process is repeated for each section of your hair. It’s all about achieving a harmonious look that complements your unique features.
Finishing Touches: Once all sections are done, the stylist might add a bit of shine serum, hair spray, or any final touches to lock in the style and keep it looking fabulous.
How Long Does a Blowout Last?
On average, a blowout can last anywhere from 2 to 5 days. But, of course, this isn’t a hard and fast rule. The exact duration can be influenced by a bunch of factors that play into the equation. Here’s what you need to consider:
Hair Type: Your hair type plays a major role. If you’ve got naturally straight hair, your blowout might hold up a bit longer. On the flip side, if your hair is naturally curly or prone to frizz, you might find that your blowout starts to lose its oomph sooner.
Climate: Mother Nature isn’t always on our side. Humid or rainy weather can be a blowout’s nemesis. High humidity levels can cause the hair to absorb moisture from the air, leading to frizz and a shorter blowout lifespan.
Lifestyle: What you do in those days after the blowout matters. If you’re hitting the gym, lounging by the pool, or doing anything that might expose your hair to sweat or moisture, it can affect how long your blowout lasts.
Sleep Habits: How you sleep matters too. If you’re tossing and turning like a human tornado during your beauty sleep, your blowout might not survive the night.
Maintenance: The TLC you give your hair matters. Using a silk pillowcase, avoiding excessive touching, and using dry shampoo can all help prolong the life of your blowout.
Products: Using the right products can work wonders. Dry shampoo can soak up oil and add volume, while hair sprays or serums can help maintain the style.
Hair Health: The healthier your hair, the better it holds a blowout. Regular trims and deep conditioning can improve your hair’s overall quality.
How Can I Make My Blowout Last Longer?
Start with a Solid Foundation:
A good blowout starts with a clean canvas. Ensure your hair is thoroughly washed and conditioned before the blowout process begins.
Ask your stylist to use products that suit your hair type and style goals. These products create a foundation that helps the blowout hold up longer.
Hands Off!
Avoid touching your hair unnecessarily. The oils from your hands can transfer to your hair, causing it to lose its freshness faster.
Sleep Smart:
Tie your hair up in a loose, high ponytail or use a silk/satin pillowcase to minimize friction and maintain the blowout while you sleep.
Use Dry Shampoo:
Dry shampoo is your best friend for extending the life of your blowout. It helps absorb excess oil, adding volume and freshness to your hair.
Embrace Shower Caps:
If you’re not planning to wash your hair, wear a shower cap to protect it from moisture in the bathroom.
Keep Cool:
Use cool air settings on your hairdryer when restyling or freshening up your blowout. This helps set the style without overheating your hair.
No Fuss Styling:
Minimize heat styling during the days after your blowout. Excessive heat can weaken the blowout’s structure.
Tame with Texturizing Spray:
A texturizing spray can help revive your blowout by adding some texture and hold. Just spritz and fluff to give your hair new life.
Avoid Humidity:
If it’s humid outside, consider using an anti-humidity hair spray to help keep frizz at bay.
Maintain Overall Hair Health:
Regular trims and deep conditioning treatments keep your hair healthy, making it more likely to hold the blowout style.
Be Mindful of Activities:
If you’re hitting the gym or doing any activities that could make you sweat, try to keep your hair off your face and use a sweatband.
Plan Your Blowout Timing:
Consider scheduling your blowout closer to days when you want to look your best, and plan your activities accordingly.
FAQs
- Can I wash my hair during a blowout’s lifespan? Washing your hair during the blowout’s lifespan can diminish its effects. If you need to cleanse, consider using a gentle dry shampoo or opt for a lightweight rinse without full washing.
- What products are best for maintaining a blowout? Choose products recommended by your stylist based on your hair type. Heat protectants, dry shampoos, texturizing sprays, and lightweight hair sprays can be useful for maintaining a blowout.
- How often can I get a blowout? Getting a blowout too frequently can stress your hair. It’s generally recommended to space them out every 1 to 2 weeks to prevent excessive heat damage.
- Can blowouts work on all hair types? Yes, blowouts can work on various hair types, but the techniques and products might differ. Discuss your hair type with your stylist to achieve the best results.
- Can I do a blowout at home? While it might not replicate a salon blowout perfectly, you can achieve a decent blowout at home with the right tools and techniques. Practice makes perfect!
- How do I choose the right stylist for a blowout? Look for stylists with experience in blowouts and positive reviews. Consult with them about your hair type and desired style to ensure they understand your needs.
- Can I color or treat my hair before a blowout? It’s generally best to color or treat your hair before a blowout, as chemicals can affect the longevity of the style. Discuss your plans with your stylist for personalized advice.