Looking for fresh Christmas decoration inspiration to make your holiday season extra magical this year?
Christmas is the time when we embrace all things cozy and festive. We smile at strangers, swap our usual coffee for indulgent hot chocolate, and watch the cheesiest holiday movies for the umpteenth time—who can resist “Home Alone” after all?
But beyond the feel-good moments, Christmas is deeply symbolic. No other holiday celebrates decor quite like the Yuletide season. This year, we’ve curated the ultimate festive decor inspiration lookbook just for you. From rustic farmhouse vibes to chic couture, Scandinavian minimalism, eco-friendly designs, unique DIY crafts, and everything in between—there’s something to spark your creativity!
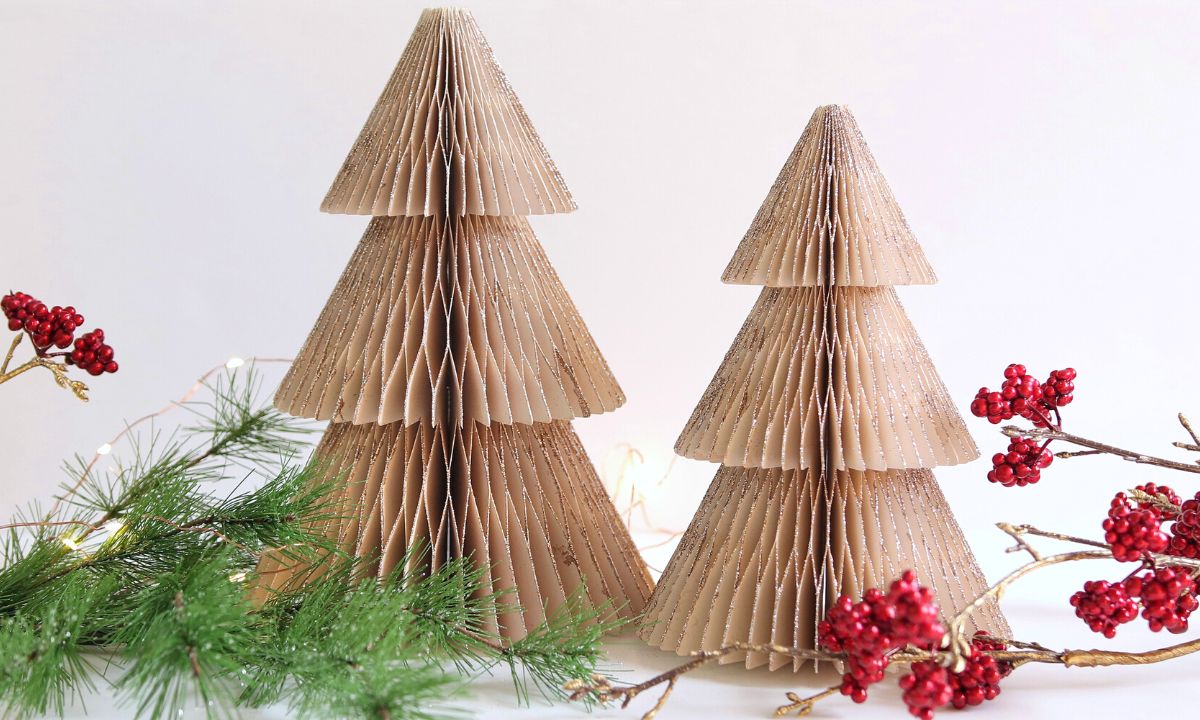
DIY Paper Christmas Tree
Here’s another fantastic DIY Christmas craft tutorial for you! The base of this unique paper tree is made from lightweight aluminum tubing, providing a sturdy foundation. The strips that create the tree’s volume are cut from kraft paper sheets, which add a rustic, natural touch. Simply curl the paper strips and attach them to the aluminum tubing, layering them to form the tree’s shape. This craft is not only fun to make but also results in a charming, eco-friendly decoration for your holiday display!
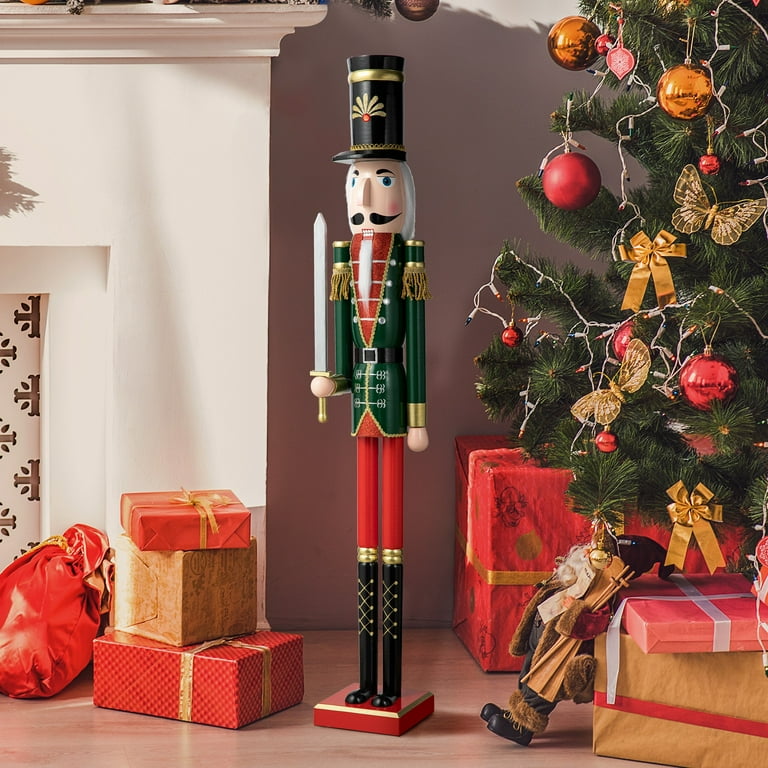
Vintage Nutcrackers
For a sophisticated and pristine couture theme, opt for timeless toys and ornaments that exude elegance. Soft pastel hues, such as blush pink, mint green, and powder blue, blend seamlessly together to create a serene and luxurious atmosphere. These delicate tones paired with classic decorations will elevate your holiday decor to new heights of refinement.
Wooden Angel Ornaments
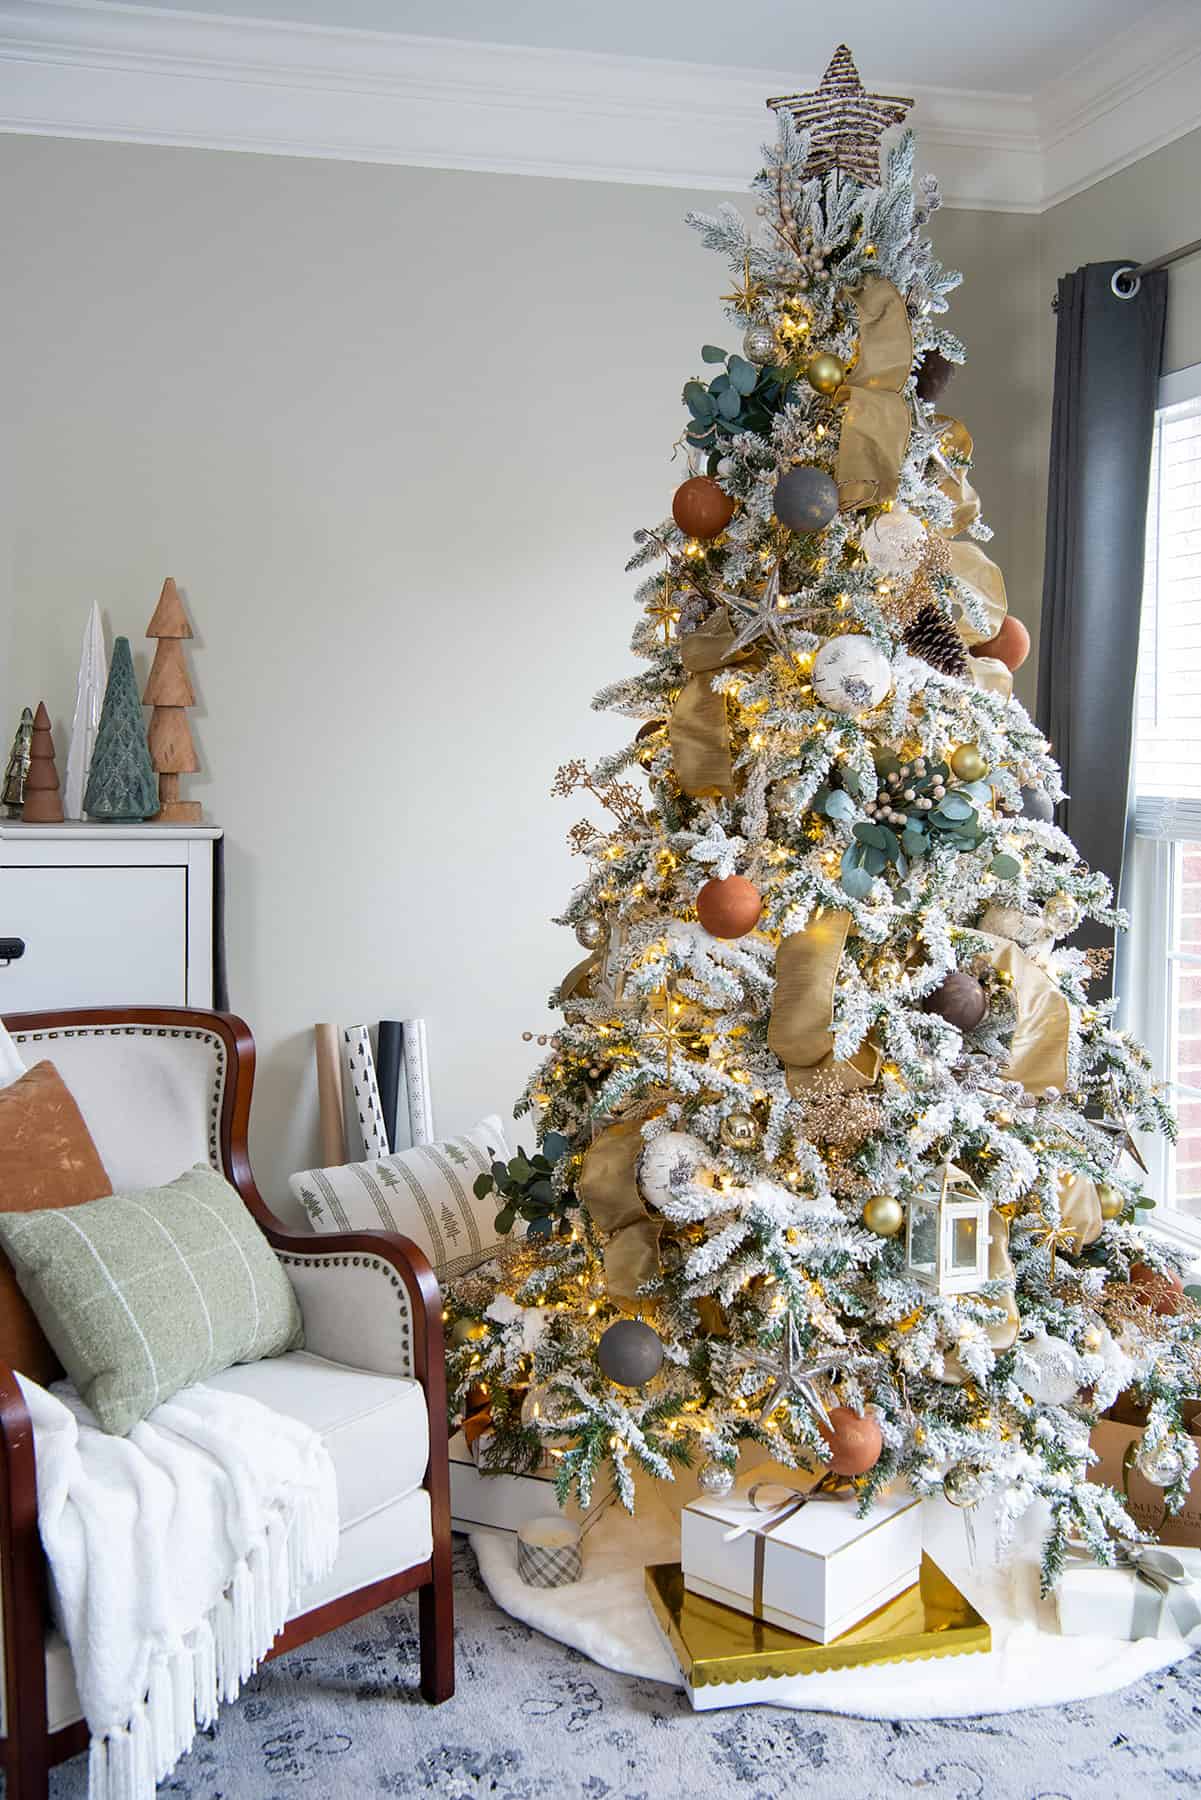
Christmas Decoration Inspiration: Natural Colors
A nut bell ornament with a checkered ribbon is one of those small yet essential touches that perfectly embodies the down-to-earth Christmas concept. With its rustic charm, this ornament adds a cozy, natural feel to your tree or decor. Pair it with deep moss green, tree bark brown, and other earthy tones to create a serene and grounding holiday atmosphere. These simple, nature-inspired colors and elements bring a sense of warmth and authenticity to your festive space.
Minimalist Interior Decor
If your home decor is already minimalist, adding Christmas decorations can be just as subtle and elegant. Stick to simple, understated pieces like a few sleek metallic ornaments, a minimalist wreath, or delicate string lights. Focus on quality over quantity to maintain the clean, uncluttered aesthetic while still bringing in the festive cheer. A few thoughtfully placed decorations can perfectly complement your space without overwhelming it.
Endearing Farmhouse Style Decor Elements
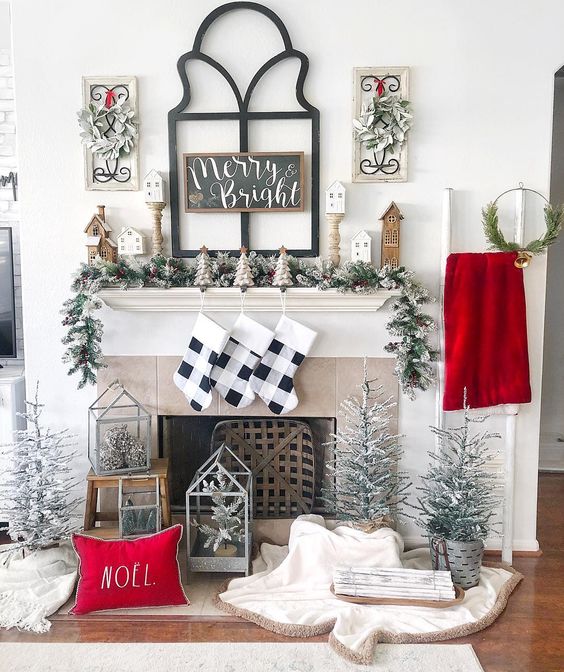
White, Black & Red Palette
Handmade Paper Ornaments
These paper love birds are an incredibly sweet and elegant addition to your Christmas tree! Crafted from delicate paper, they bring a charming, whimsical touch to your decor. Whether you hang them on the branches or create a small flock nestled together, their soft, simplistic design will add a warm, romantic vibe to your festive setting. Perfect for those looking for a unique and sentimental ornament!
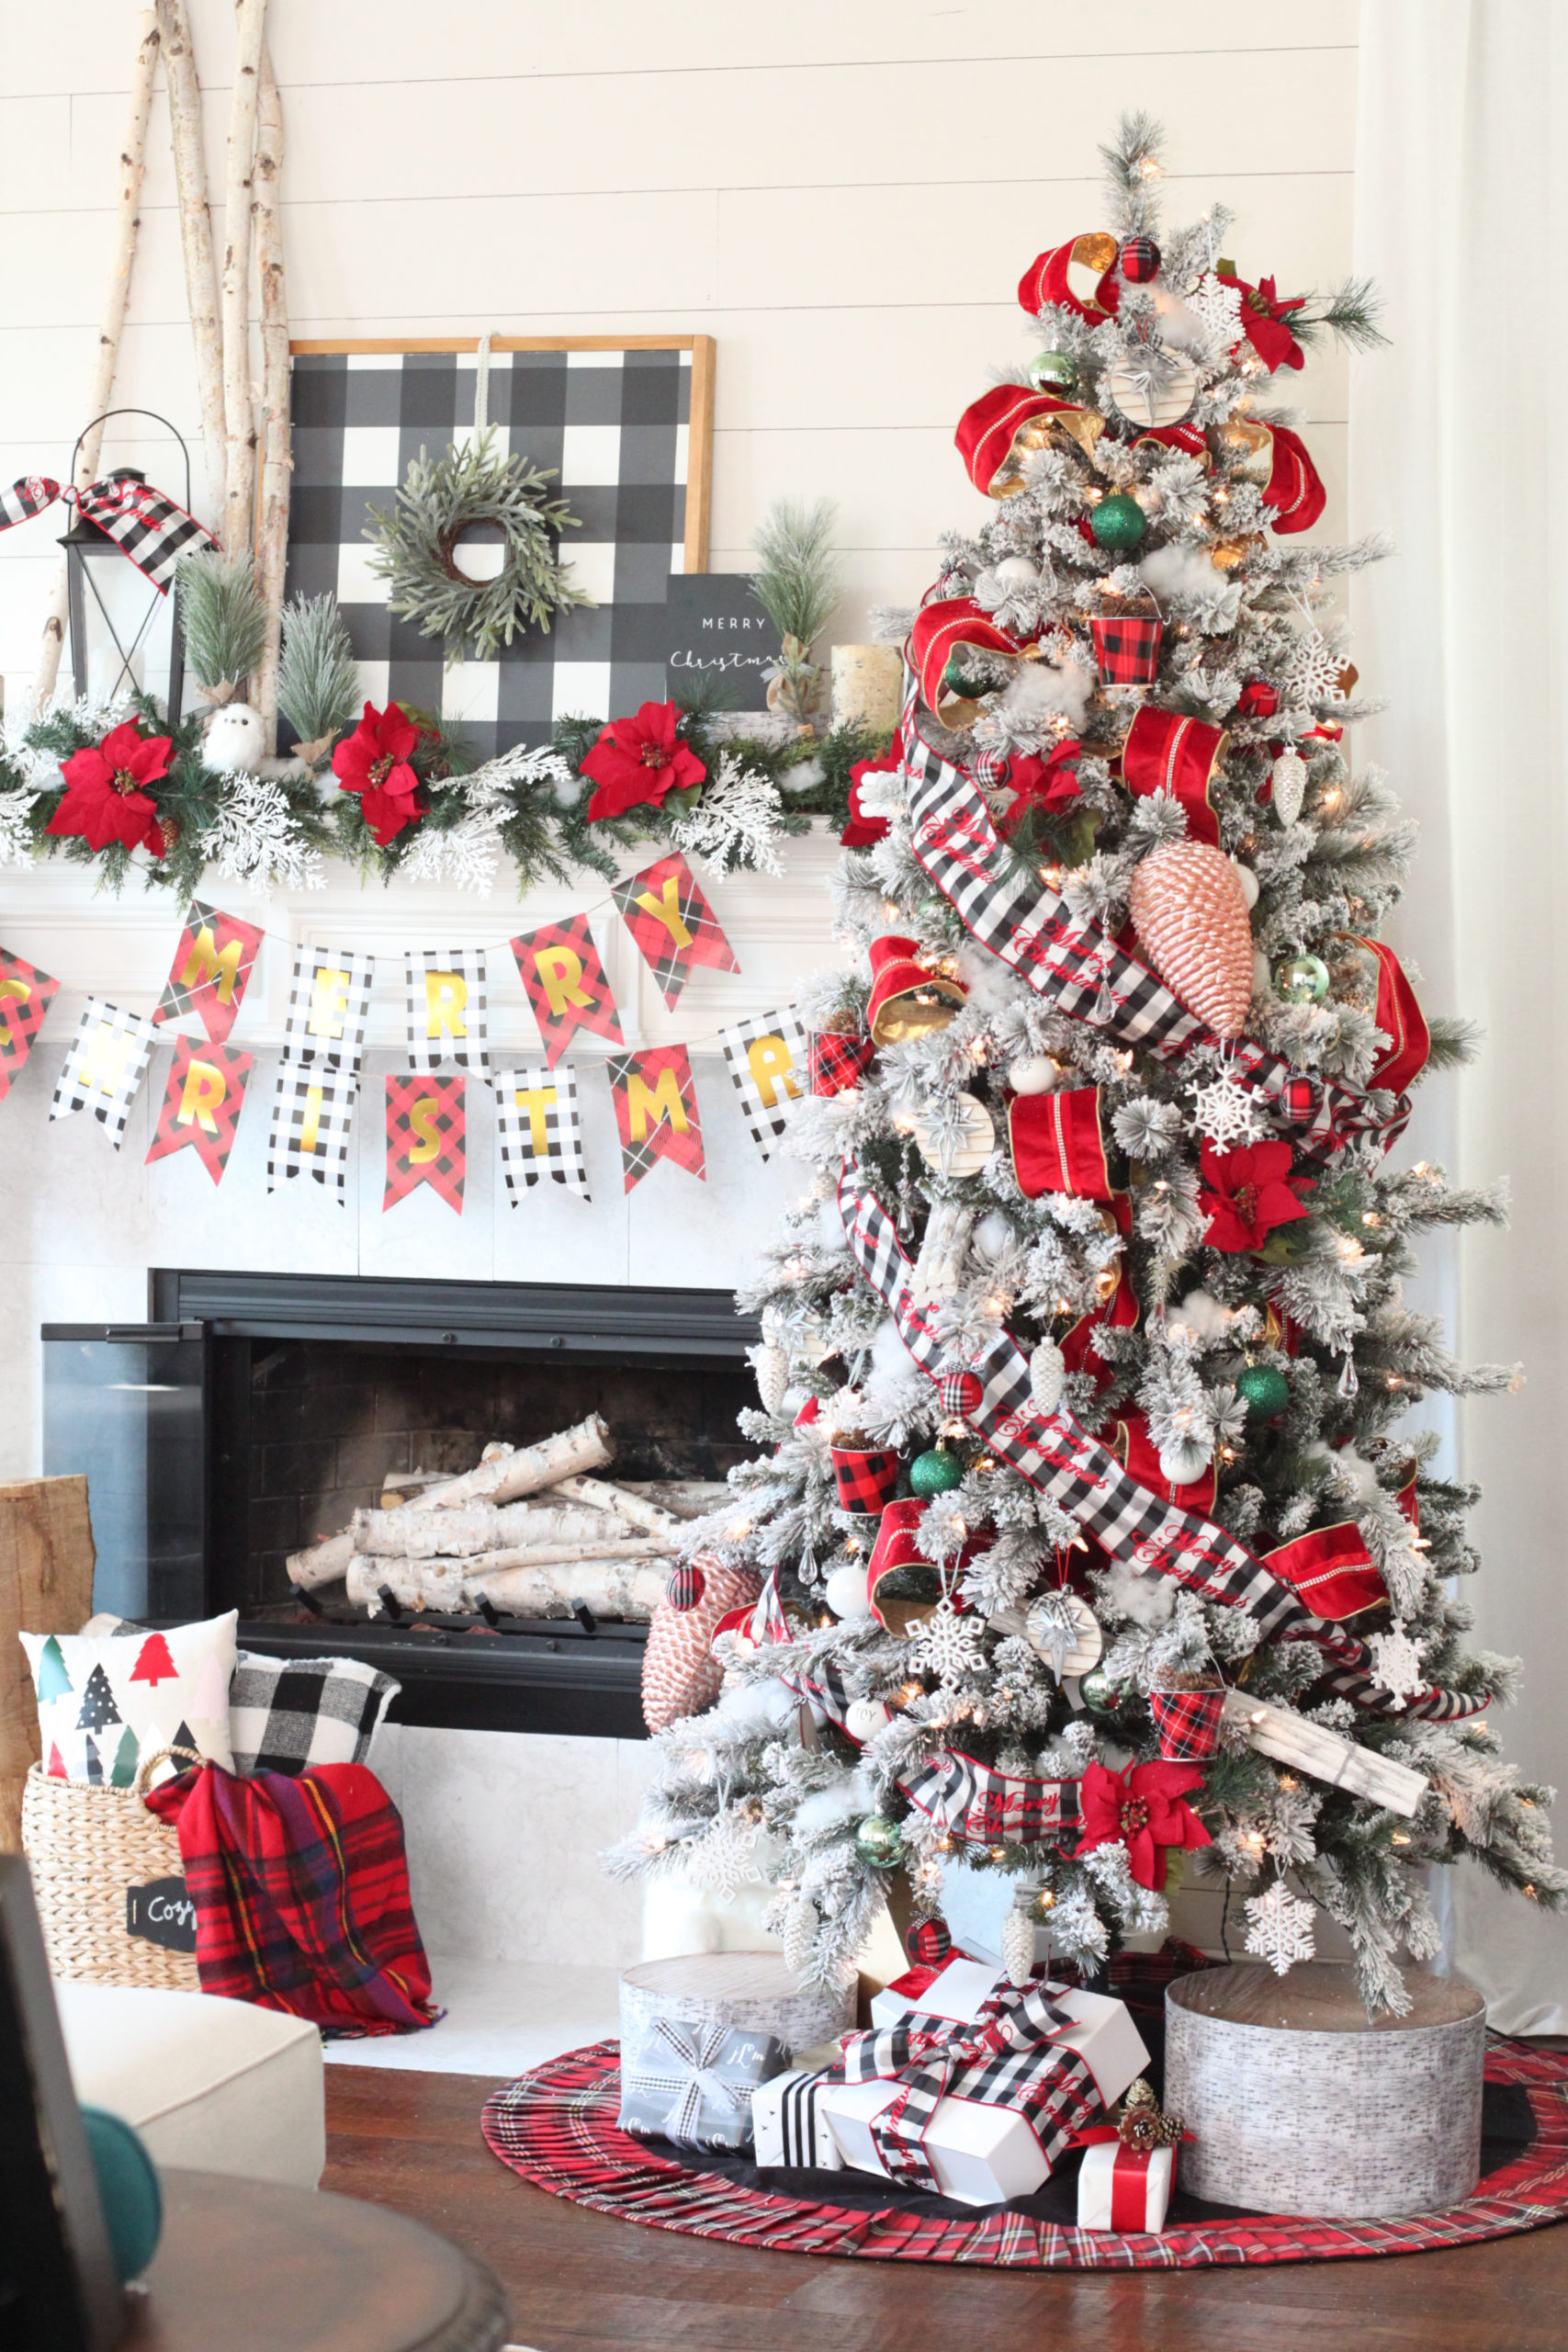
Buffalo Check Christmas Tree
More Scandinavian Touches
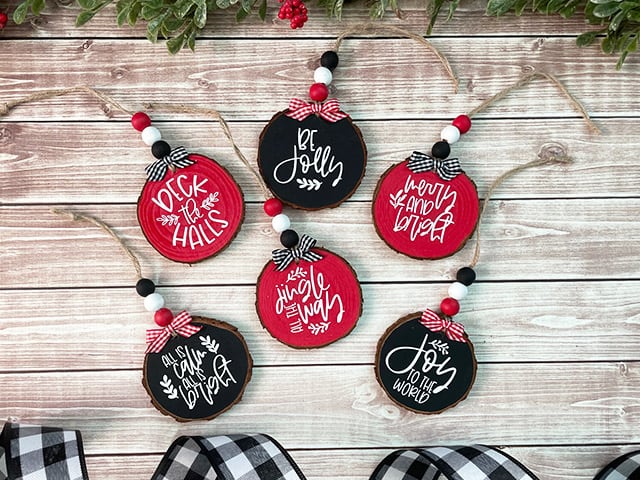
DIY Sliced Wood Christmas Ornaments
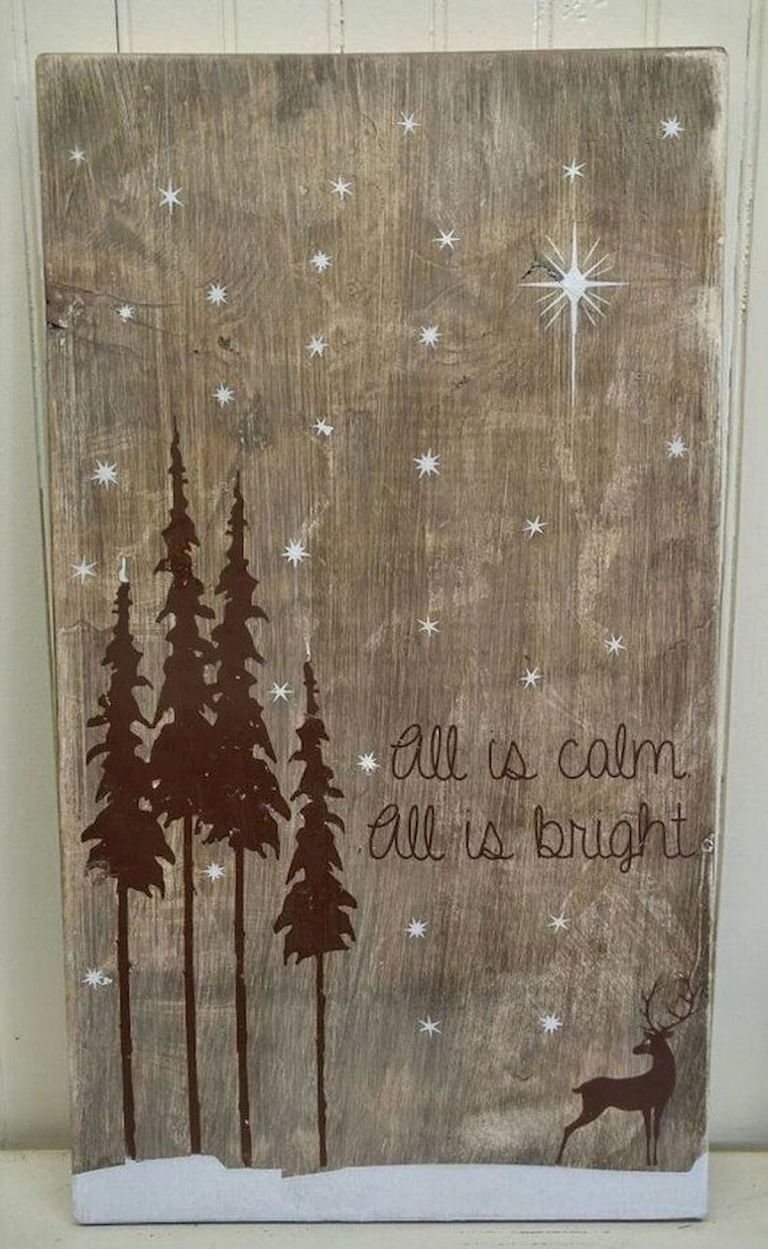
Festive Message Boards
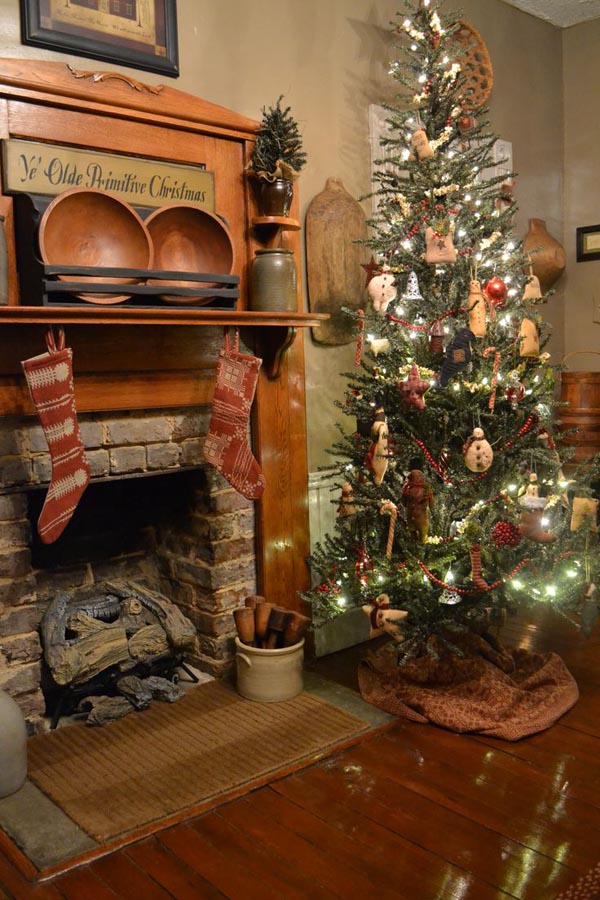
Old Primitive Christmas
The old-school ‘primitive’ Christmas theme requires a bit more time spent at thrift shops and a dash of extra creativity. But the result is worth it—a warm, nostalgic atmosphere that feels like it’s straight out of a classic holiday movie. Think vintage ornaments, handmade garlands, rustic wooden decorations, and a cozy, lived-in feel. With a bit of ingenuity, you can transform your space into a charming, timeless holiday setting that radiates cozy, movie-inspired magic.
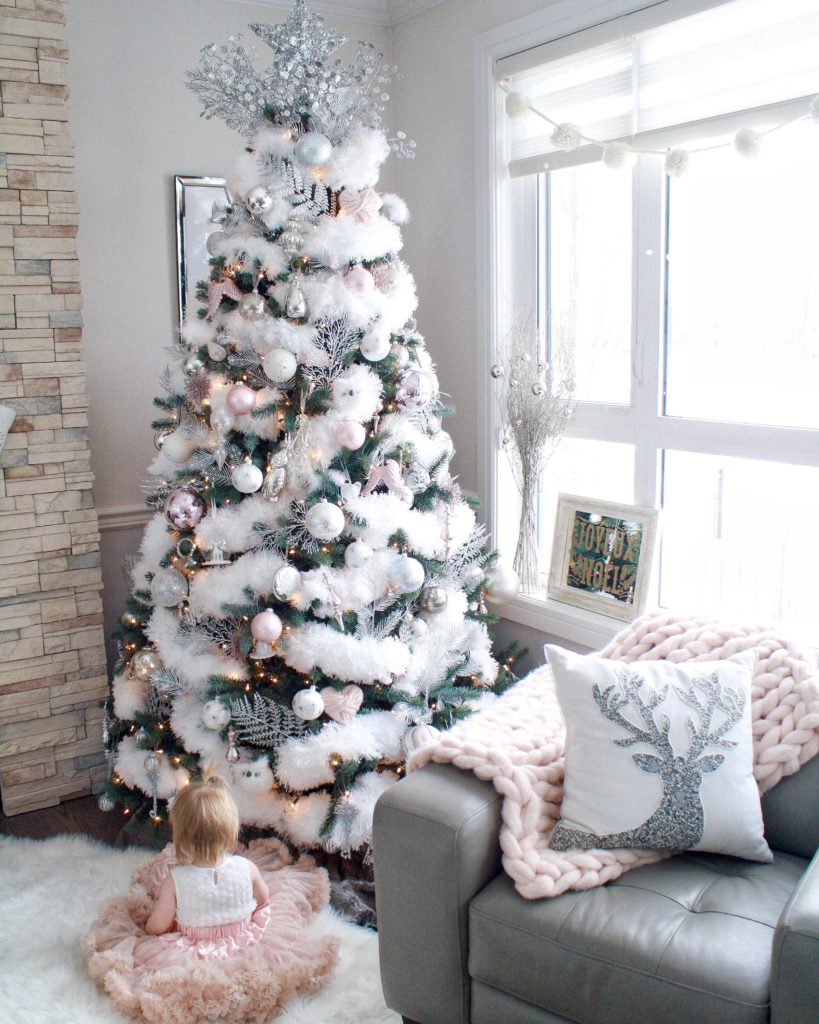
Christmas Decoration Inspiration: All-White Glamor
DIY Christmas Village
You can either purchase a pre-made decoration or create your own for a more personalized touch. This particular one is homemade: take a lantern or a simple wooden box, place mugs at the bottom, and layer artificial snow on top. Tuck in tiny decorations of your choice—whether it’s miniature pinecones, tiny ornaments, or faux greenery—to add a charming and whimsical element to your display. This DIY piece will bring warmth and personality to your festive decor.
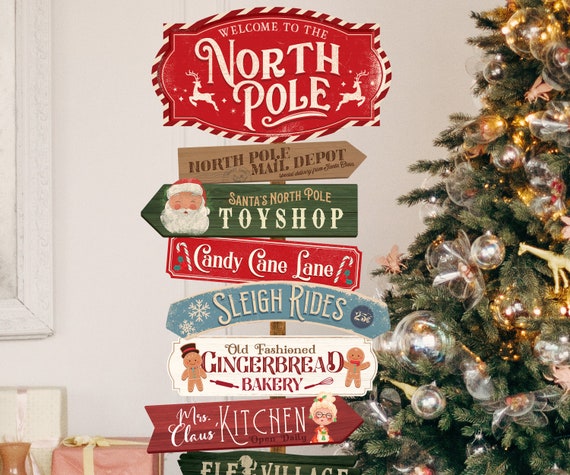
North Pole Direction Signs
Beware the reindeer poop! This quirky and playful decoration is sure to bring a smile to anyone who sees it. Whether you’re using it as a fun gag gift, a whimsical addition to your tree, or as a lighthearted part of your holiday display, reindeer poop (often made from chocolate or candy) adds a humorous touch to your Christmas decor. It’s the perfect way to add some laughter to your festive celebrations!
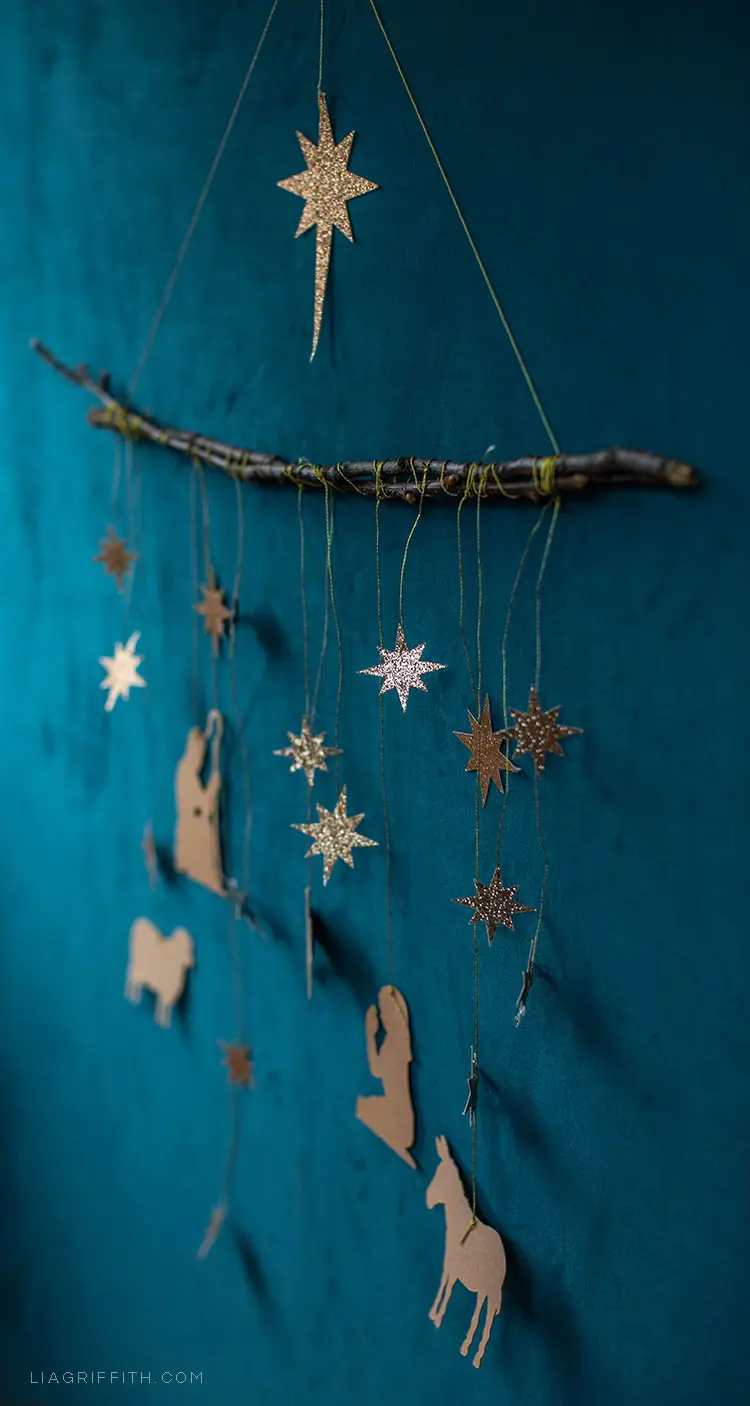
Hanging Papercut Nativity Wall Scene
Create a stylish DIY Christmas decoration using gold string, kraft board, and glitter cardstock! Start by cutting the kraft board into your desired shape, such as stars, trees, or ornaments. Then, add a touch of glamour by gluing glitter cardstock onto the board for a sparkling effect. Finish off by threading gold string through the top for easy hanging. This combination of earthy tones and shimmering gold will add an elegant yet festive touch to your holiday decor. It’s simple, chic, and perfect for any Christmas tree or mantle.
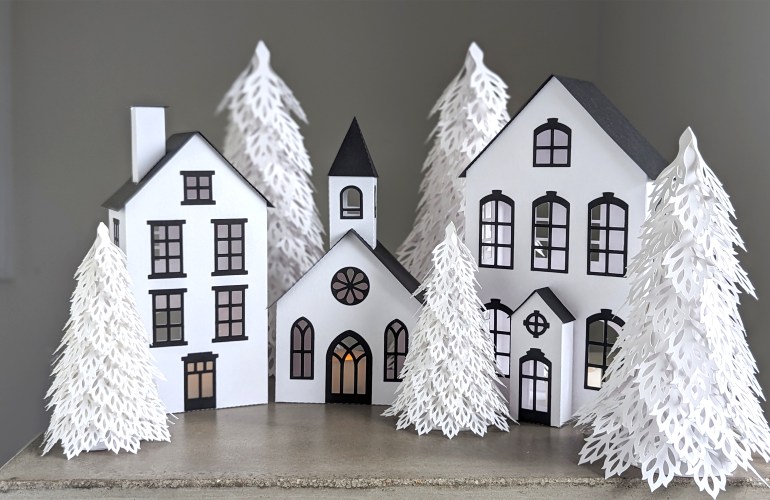
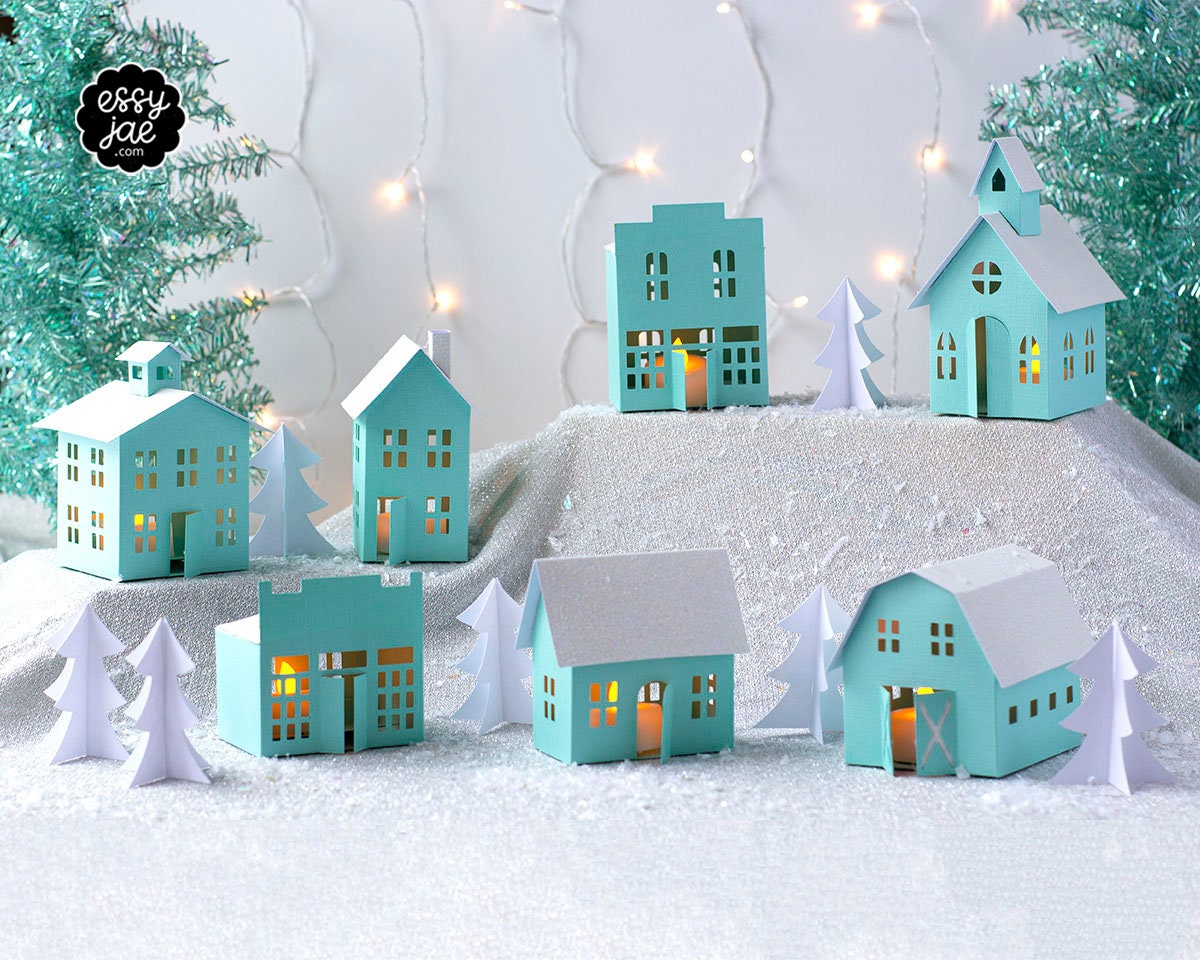
3D Paper Christmas Village
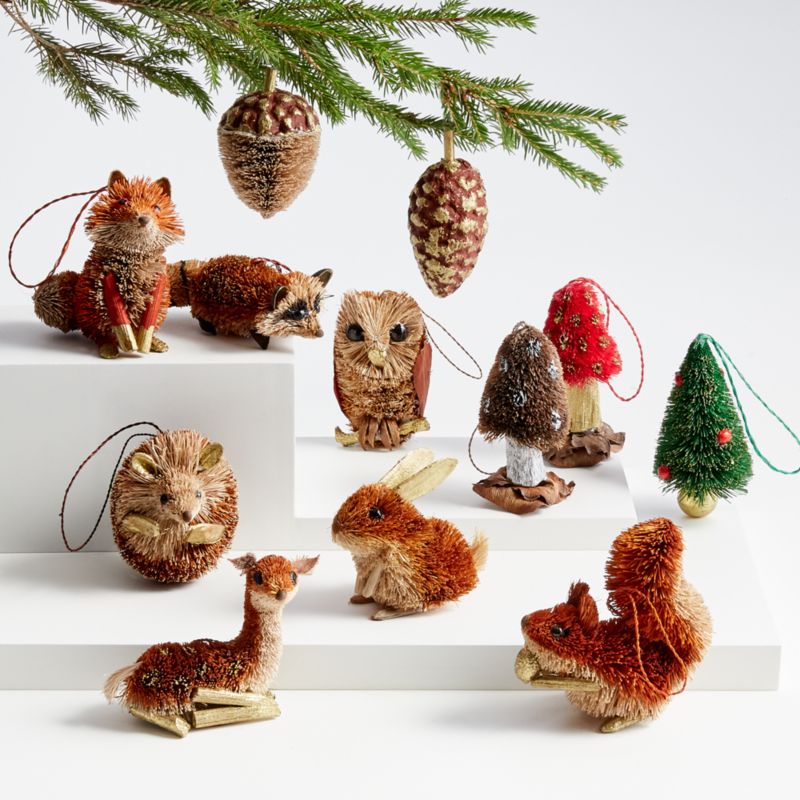
Woodland Animal OrnamentS
If you’re a fan of forest and animal-themed decor, here’s a DIY tutorial for creating 3D painted woodland animal ornaments using multi-surface acrylics. These charming ornaments will add a rustic and whimsical touch to your tree. Simply choose your favorite woodland creatures, such as foxes, deer, or owls, and use acrylic paints to bring them to life. The multi-surface acrylics will work perfectly on wood, giving each ornament a beautiful, textured finish that’s perfect for your nature-inspired holiday theme.
Christmas Decoration Inspiration: Vintage Charm
This is an uber-sweet handmade vintage Christmas sign that’s simple to recreate! With a few materials like wood, paint, and stencils, you can craft your own nostalgic holiday sign. Use classic lettering and a distressed finish to give it that charming, vintage feel. Add seasonal elements like holly, snowflakes, or reindeer to complete the look. This DIY project will bring a heartwarming, rustic touch to your holiday decor, and it’s perfect for those who love crafting with a bit of old-fashioned charm.
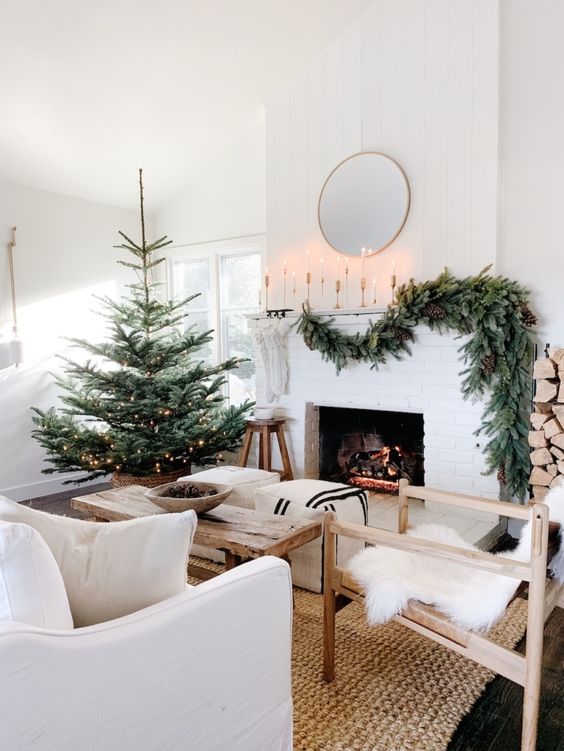
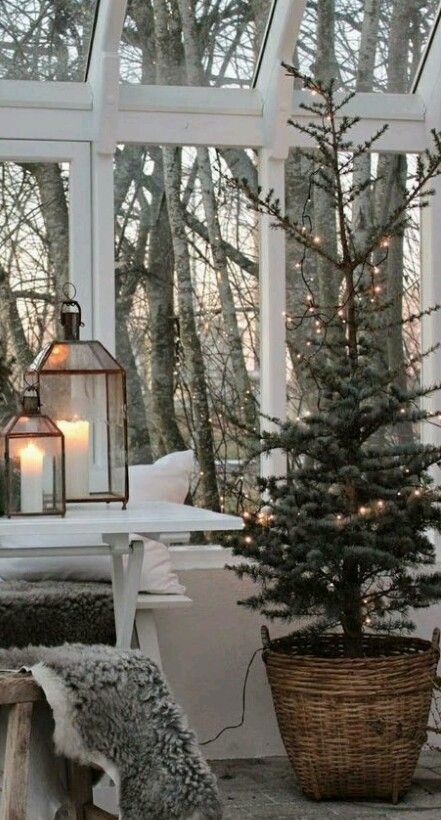
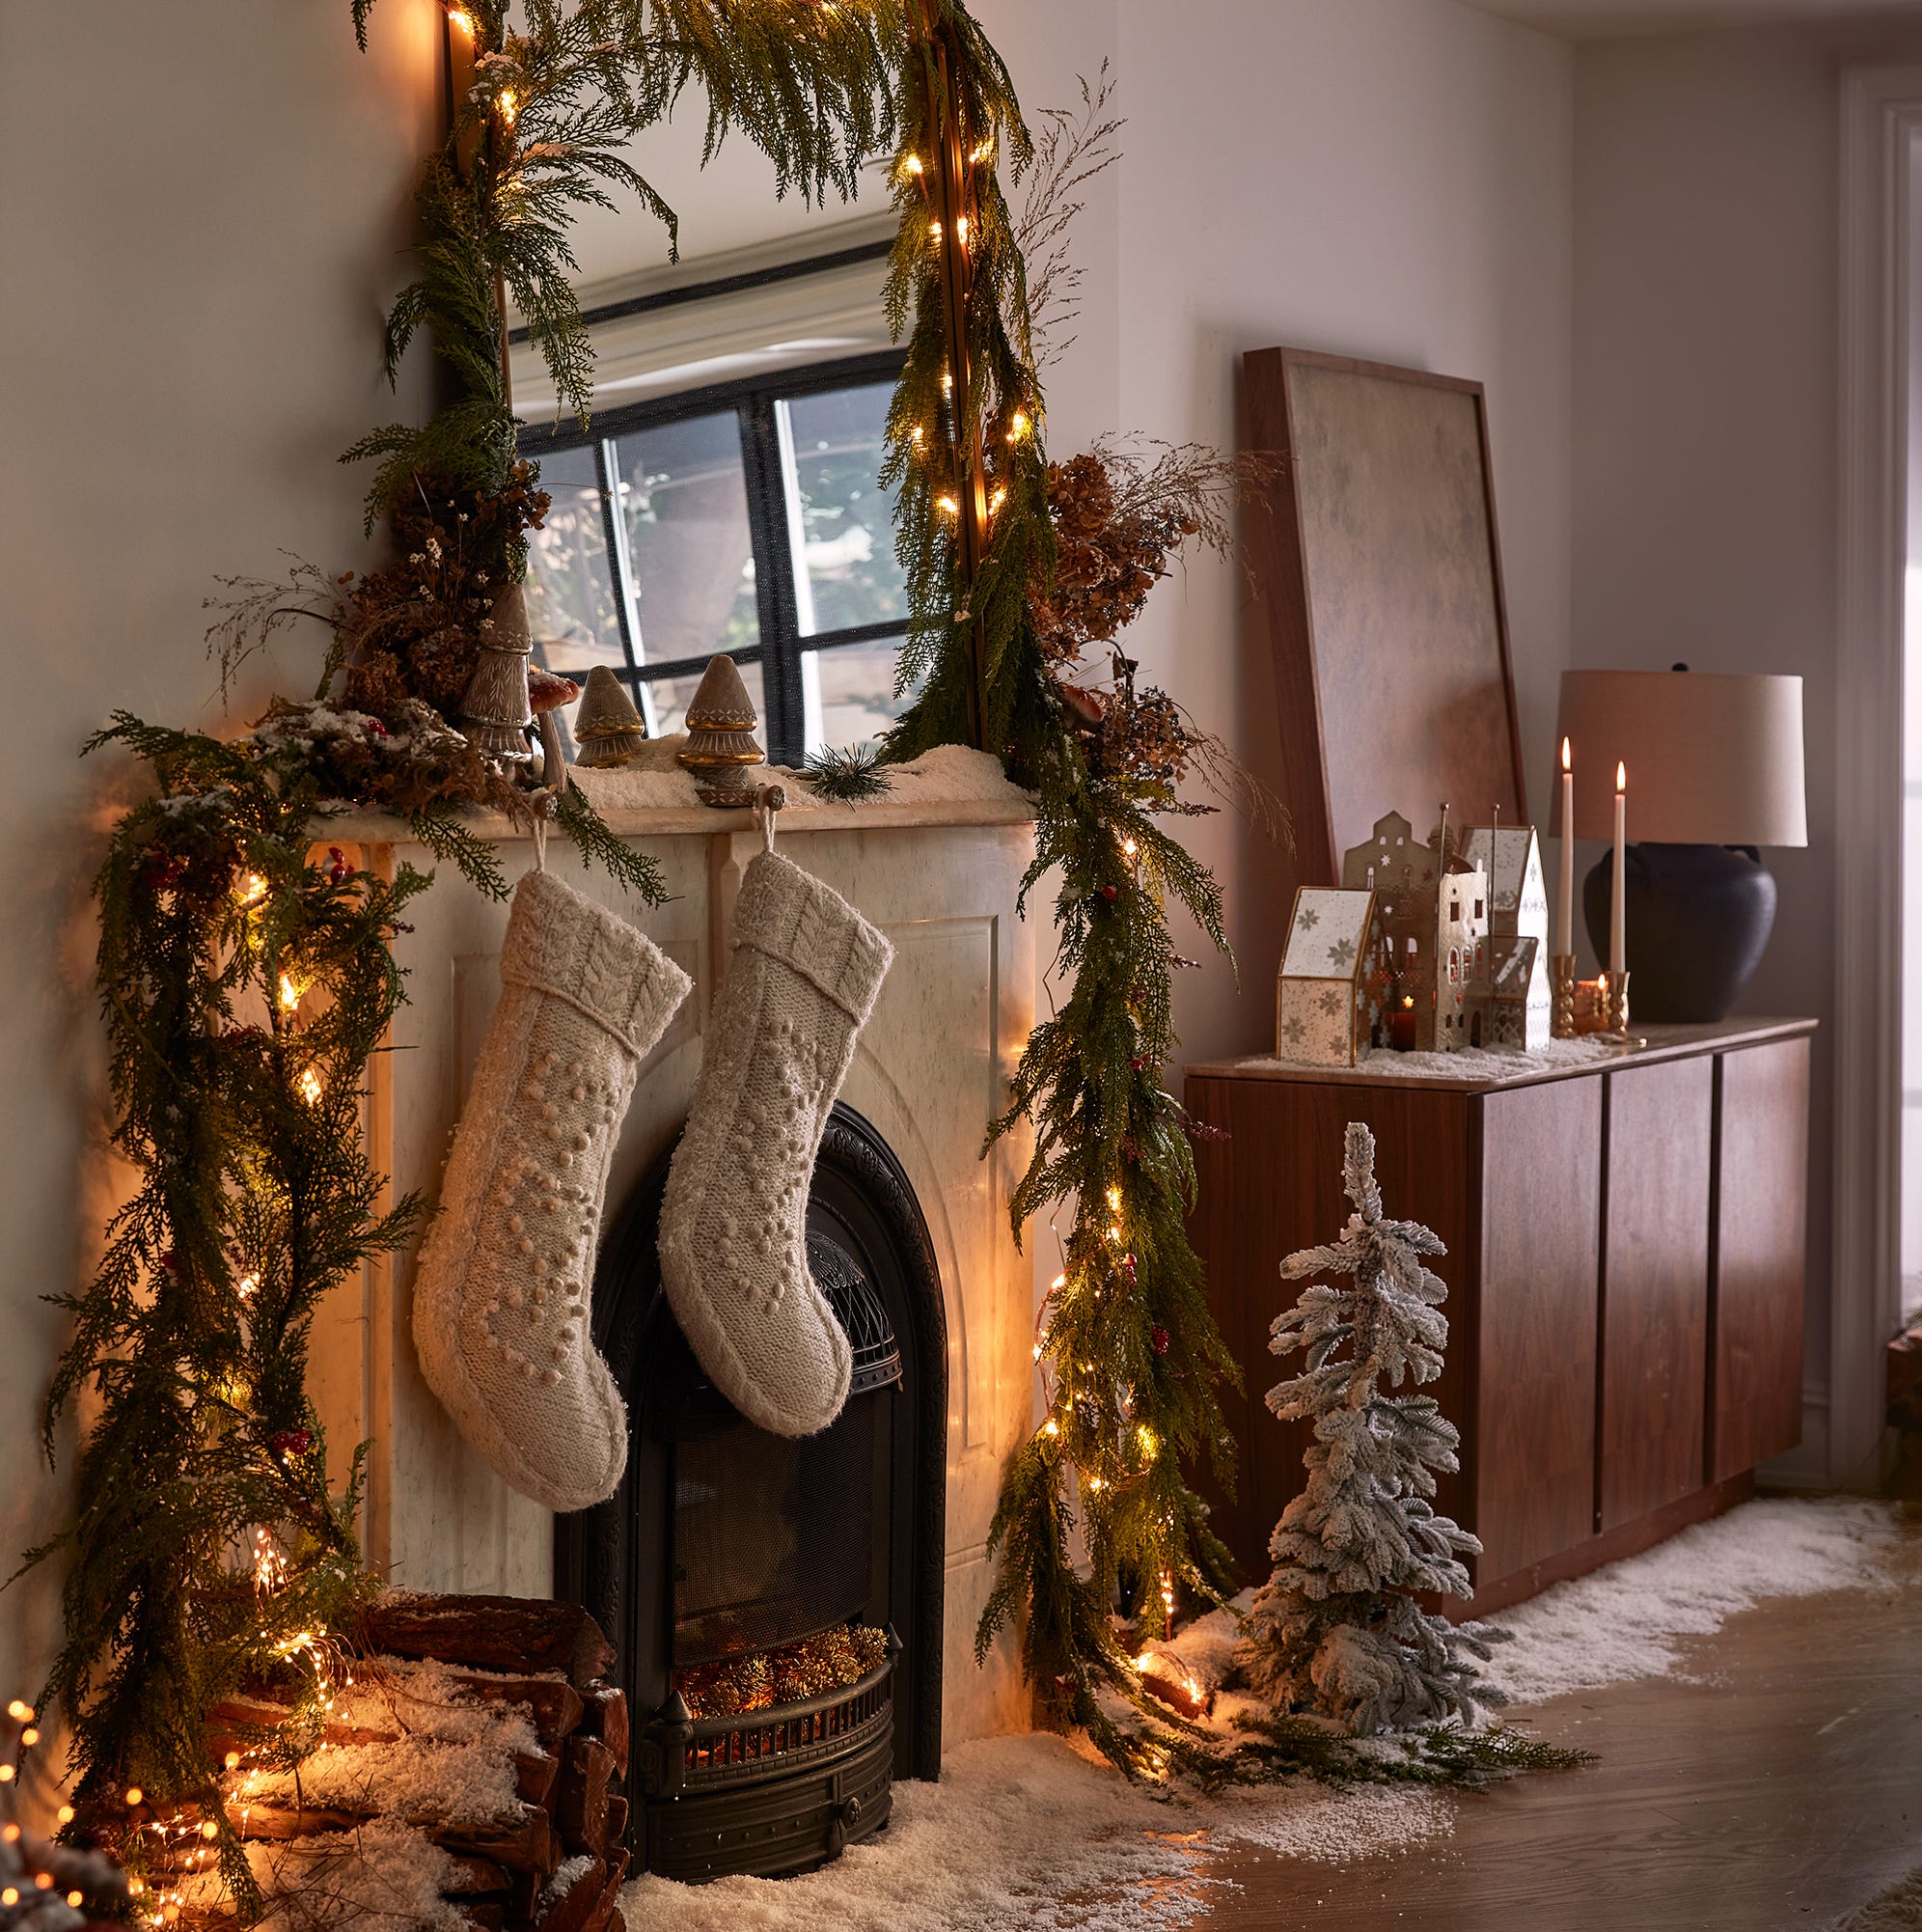
Christmas Decoration Inspiration: Cozy Fireplace
An abundance of wood in your decor already sets the perfect Christmas ambiance. To complete the cozy, rustic vibe, all you need is an armchair draped with a soft blanket, a few candles for warmth, and delicate fairy string lights to add a touch of magic. This simple yet inviting setup creates a festive atmosphere without overwhelming the natural charm of your space.
CONCLUSION
In conclusion, this holiday season offers endless opportunities to infuse your space with creativity and personal flair through thoughtful, handmade decorations. Whether you embrace a minimalist, rustic, or vintage-inspired theme, the key is to select decor that reflects your unique style and brings warmth to your home. From DIY projects like painted woodland ornaments and paper love birds to simple, rustic touches like reindeer poop and gold string crafts, there’s no shortage of ways to make your home feel extra festive. So gather your materials, get crafty, and create a Christmas setting you’ll be proud of, full of charm, warmth, and holiday cheer!