Today, it’s rare to see women choosing one-length hairstyles. Shag haircuts, on the other hand, offer a more modern, edgy, and defined look while being easy to maintain. These cuts are incredibly versatile, allowing you to tailor them to your personal style, hair texture, and lifestyle. With options ranging from tousled layers and face-framing bangs to fun, choppy ends, there’s a shag for everyone. Get inspired for your next bold hair transformation and embrace the carefree, effortlessly cool vibes of this trendy cut.
Straight Shag With Bangs
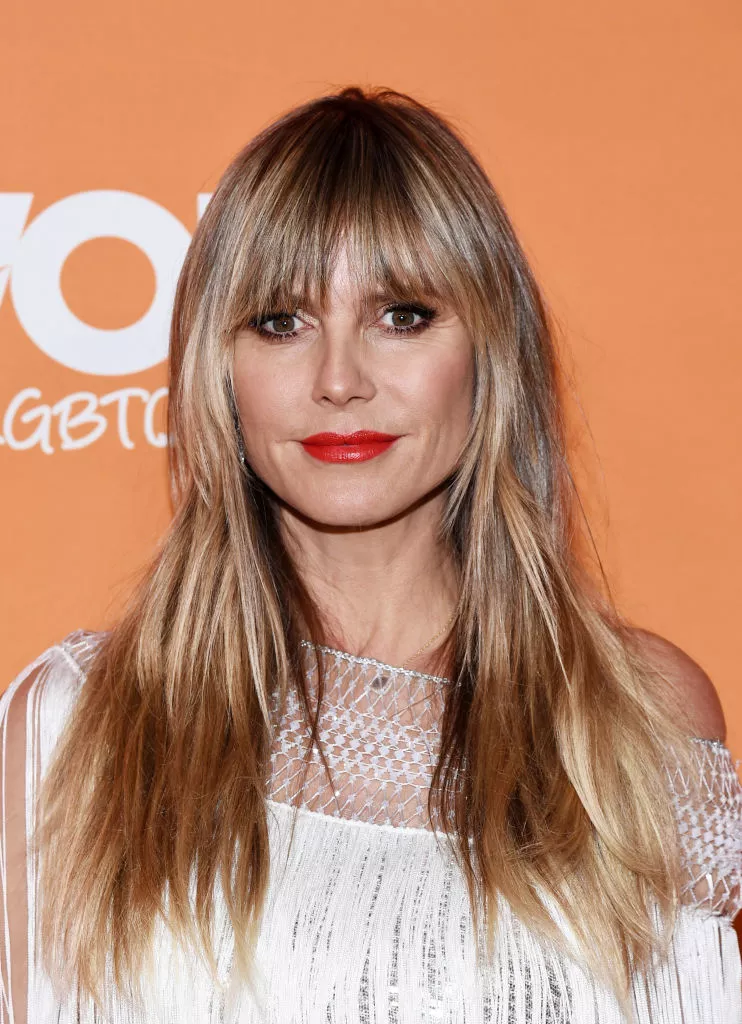
Who says a shag has to be, well, shaggy? Heidi Klum’s sleek shag proves it can be polished and edgy, with a full fringe that skims right above her eyes for a bold, modern look.
Center-Parted Long Curly Shag
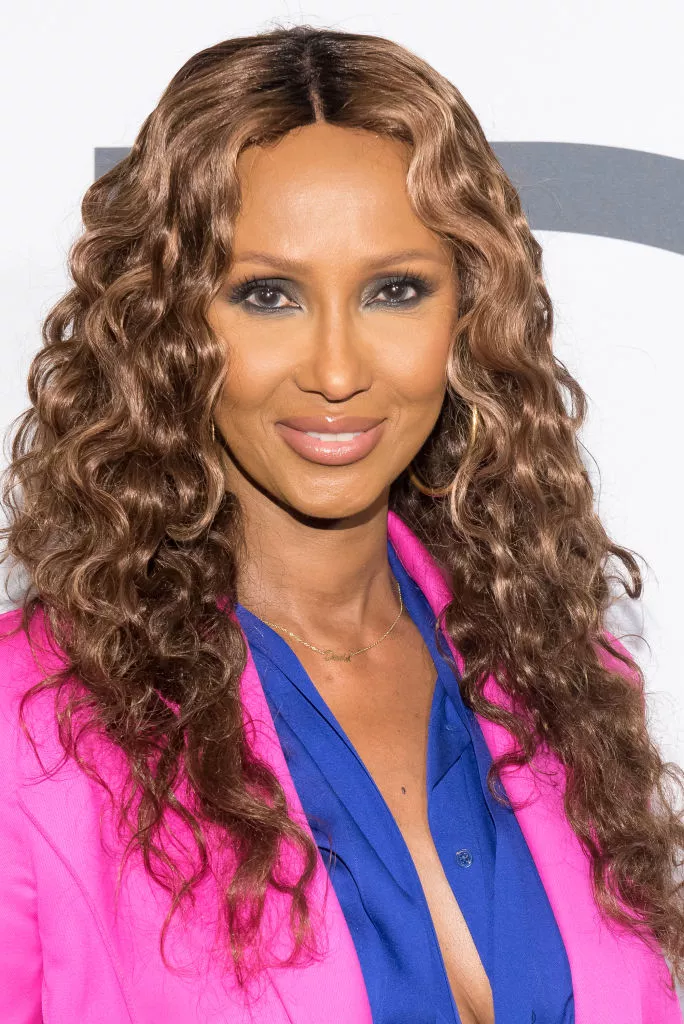
Iman’s luscious locks flow gracefully past her décolletage, made even more striking with a touch of shine spray for added brilliance.
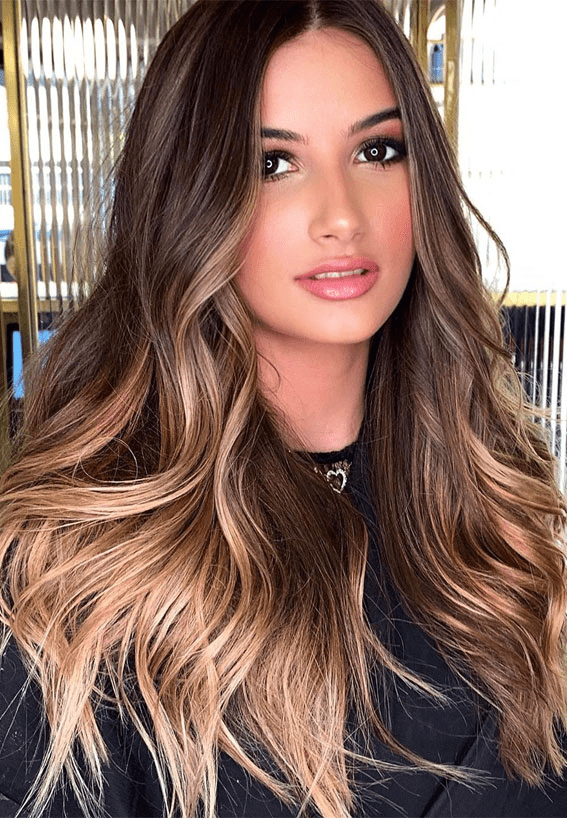
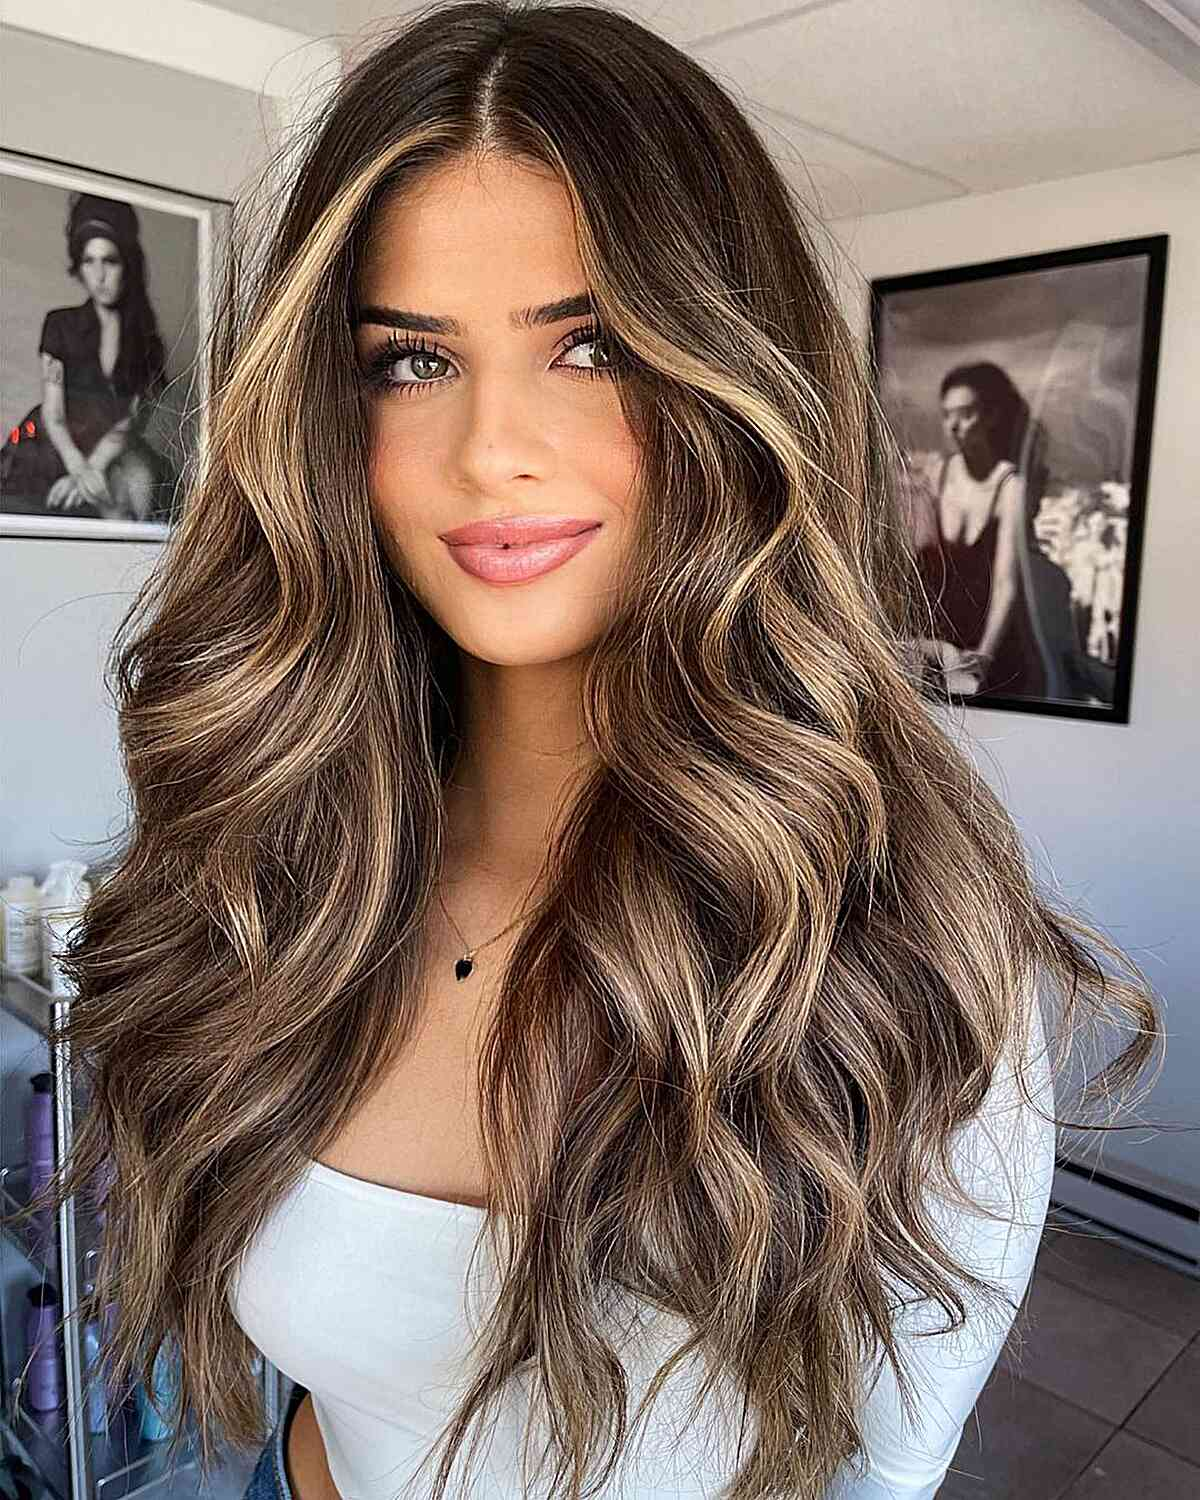
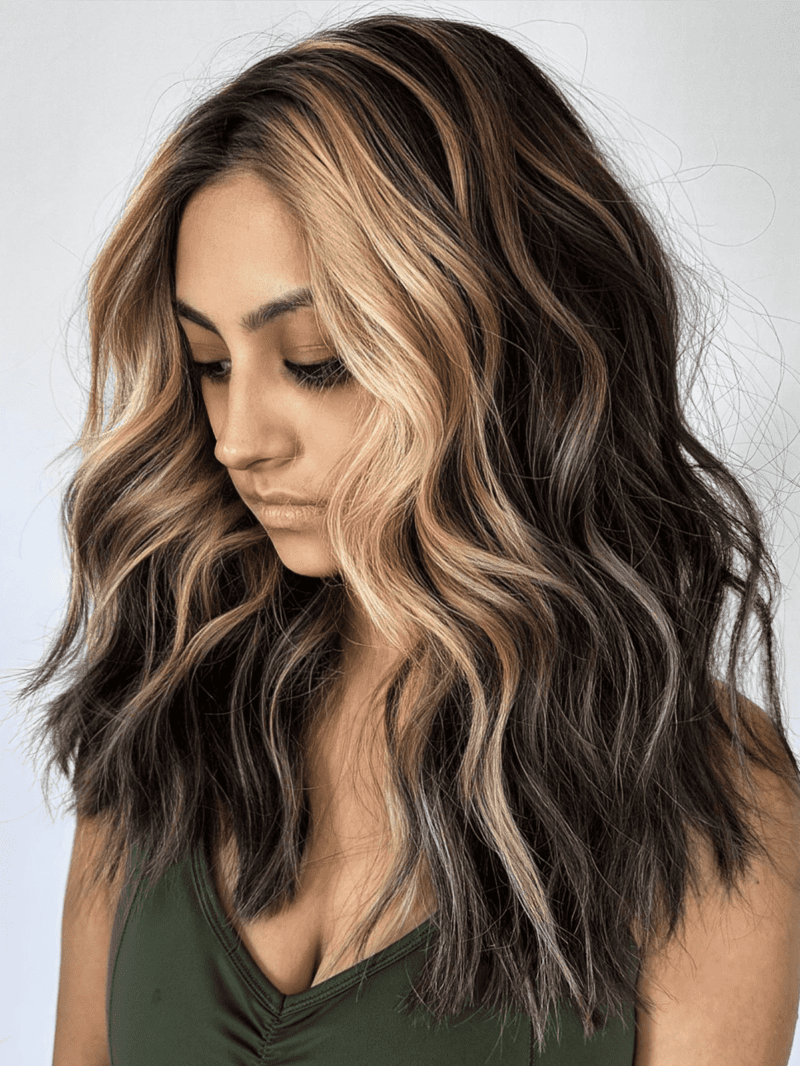
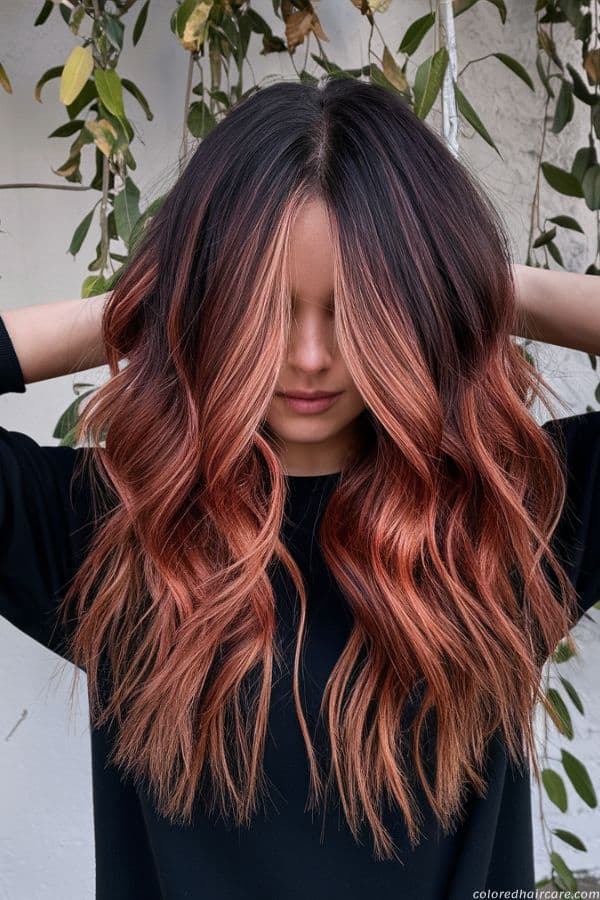
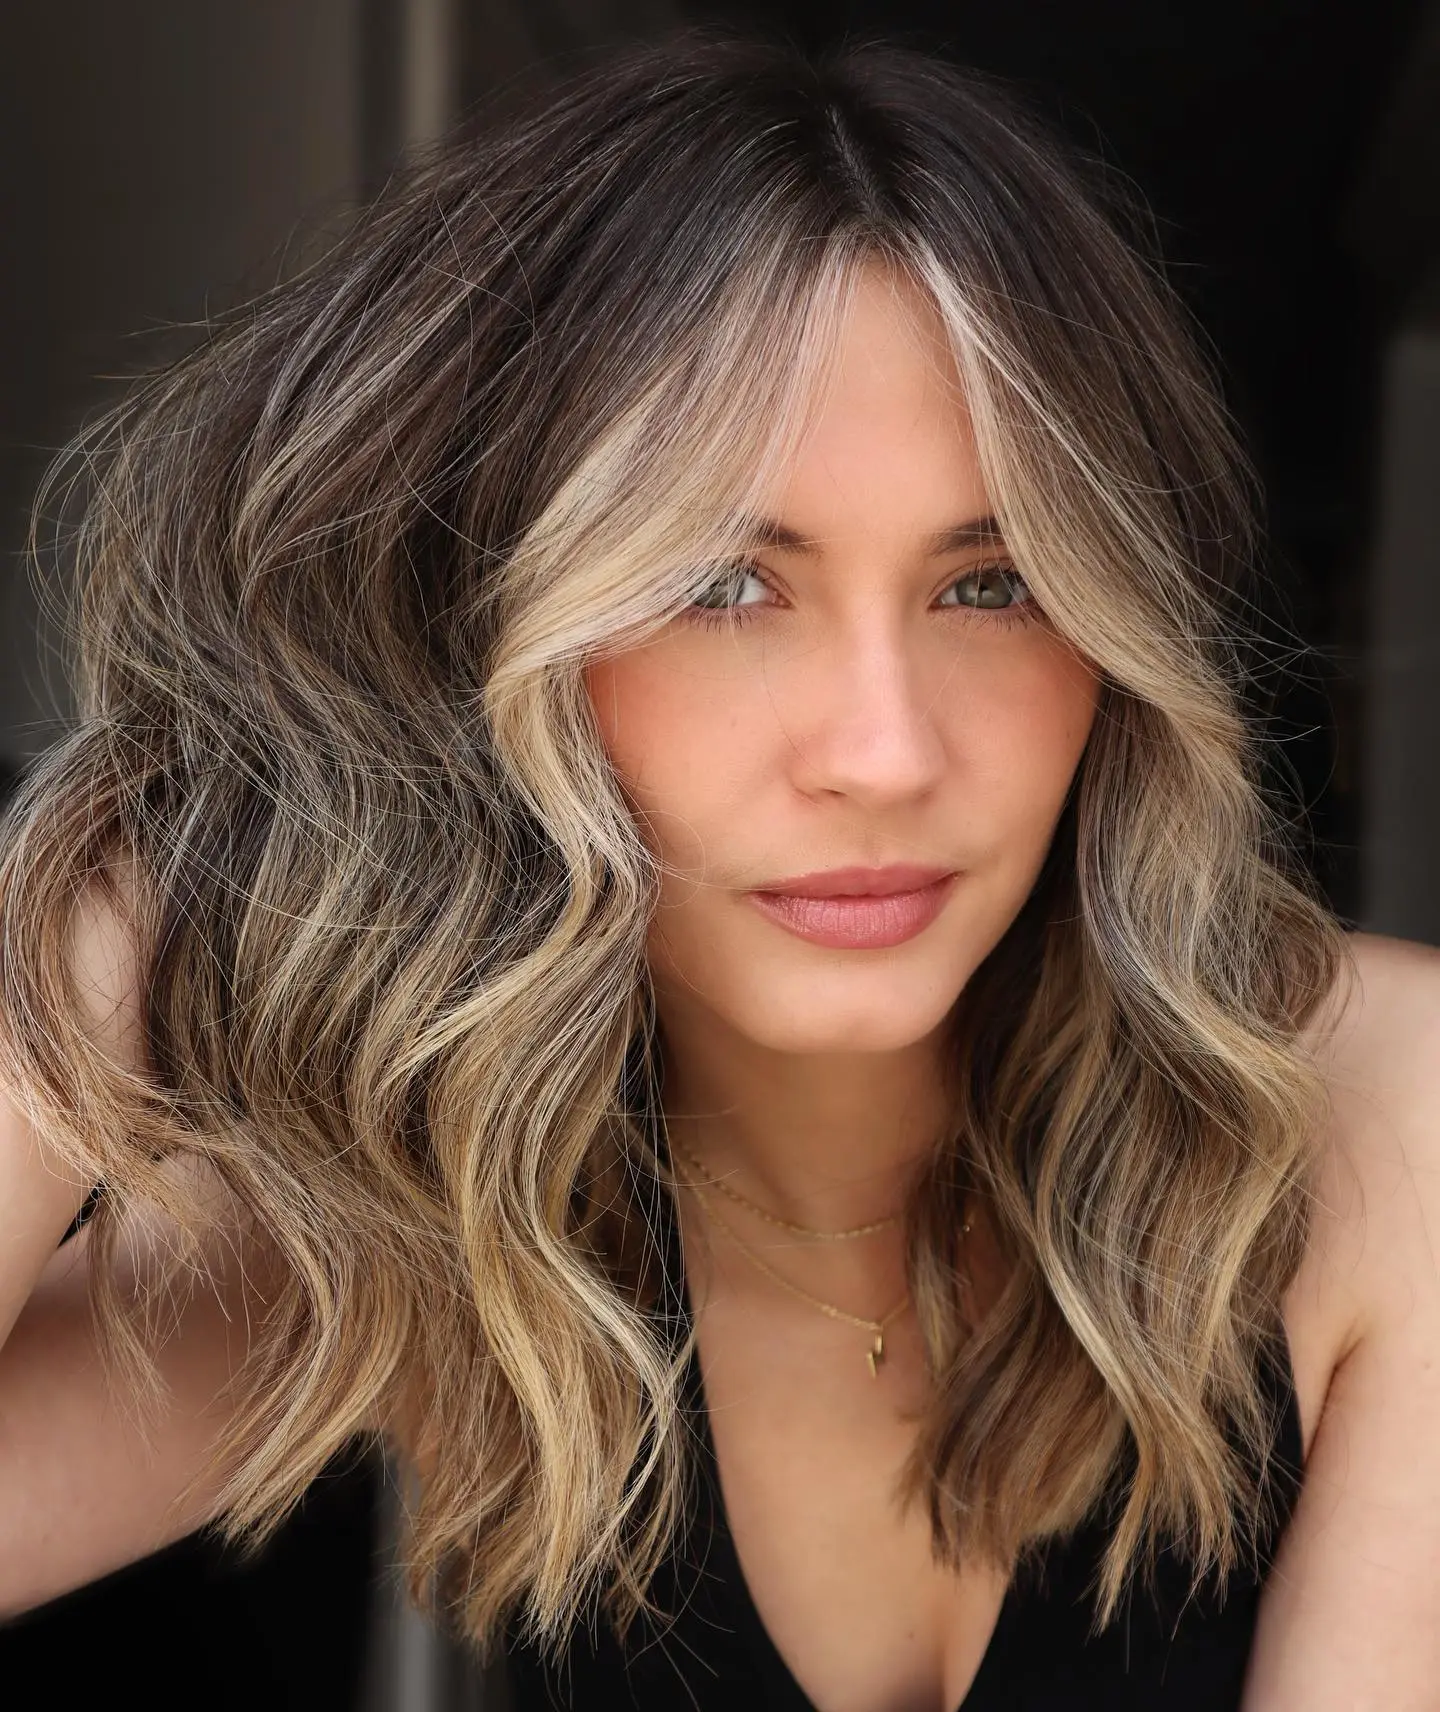
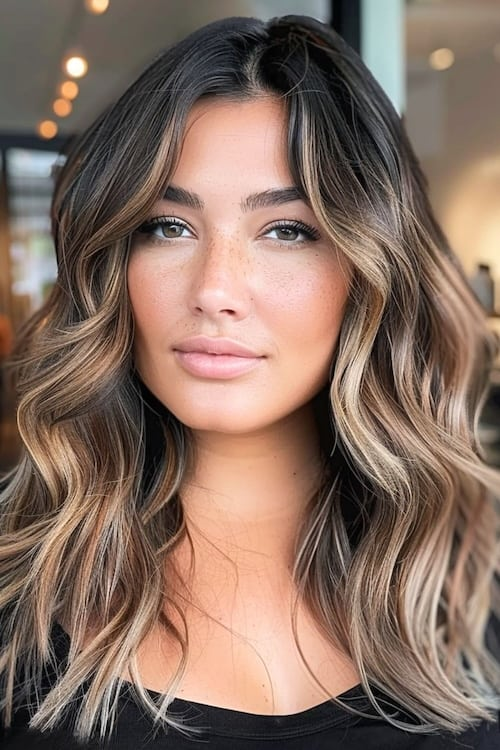
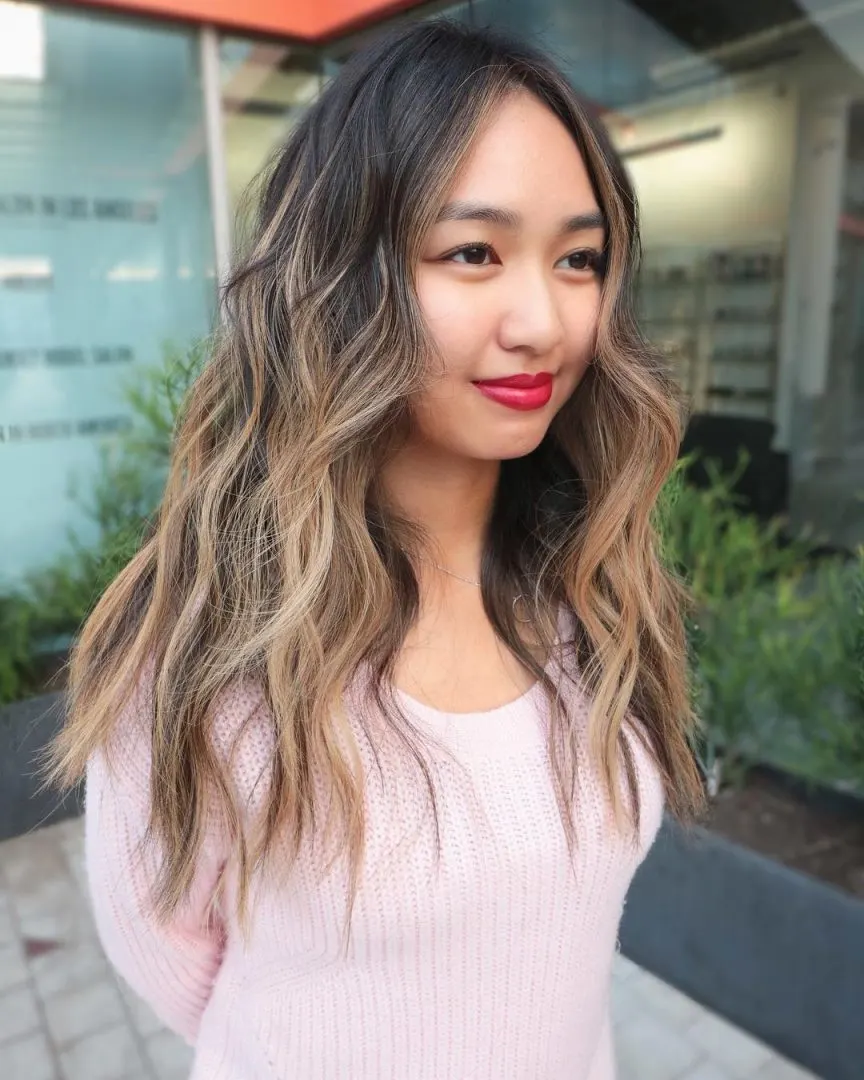
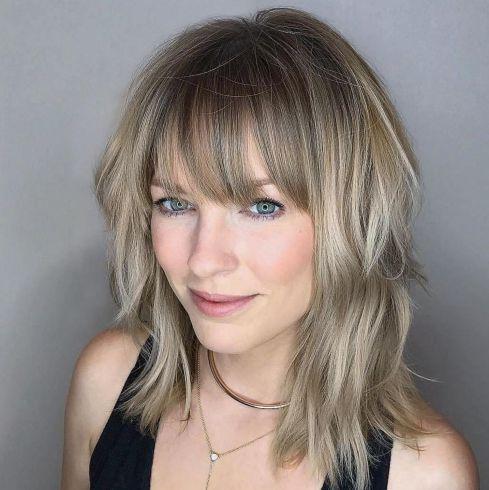
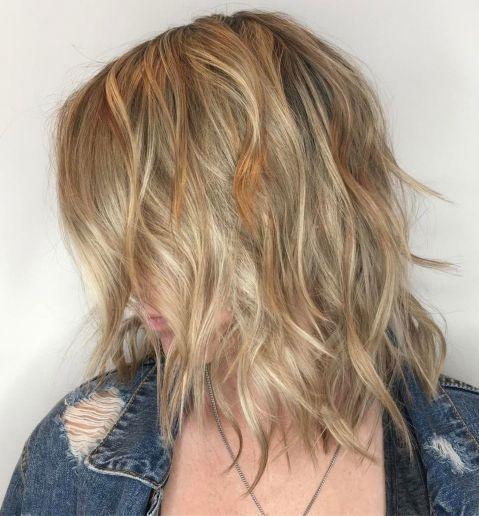
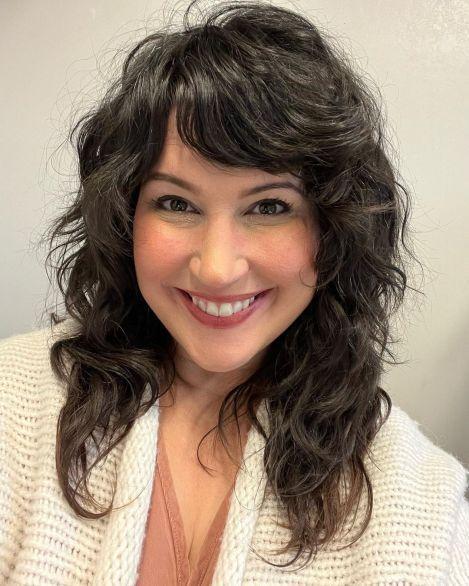
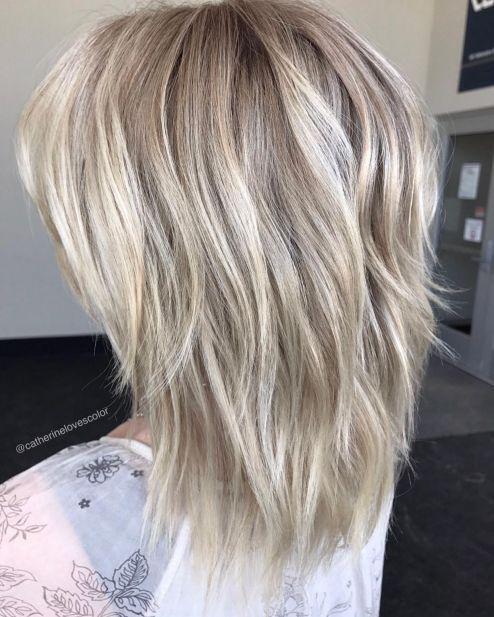
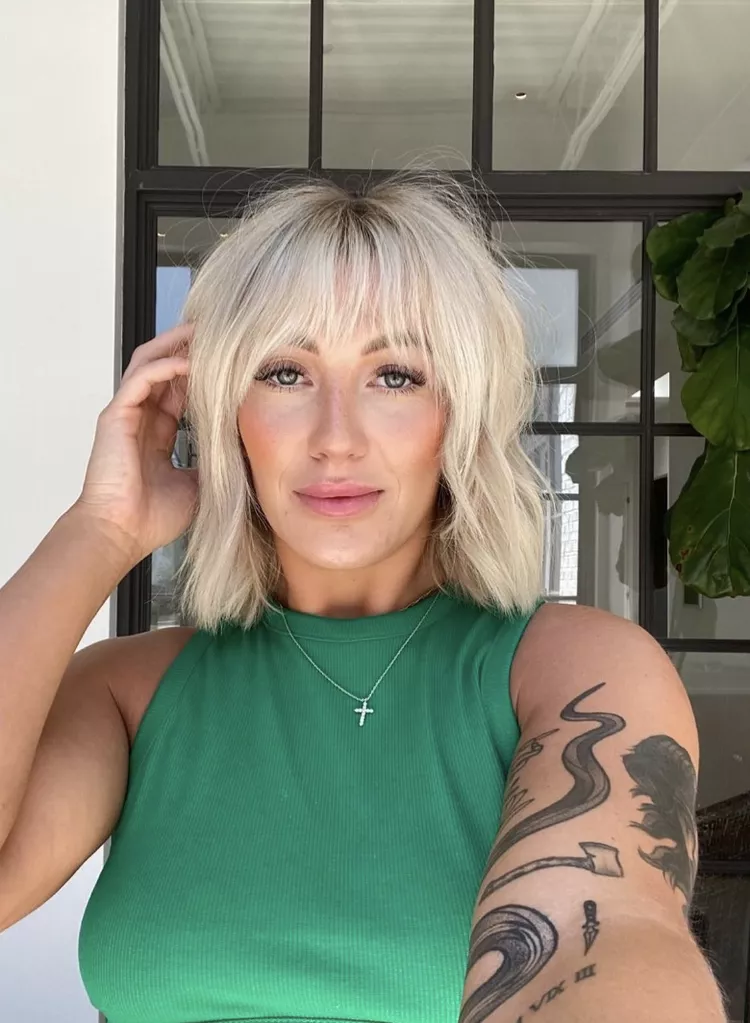
Disheveled Shag with Bangs

A shoulder-length layered haircut gets an instant refresh with the addition of babylights. These delicate caramel highlights are created using a fine coloring technique designed to replicate the natural sun-kissed look your hair achieves after sun exposure.
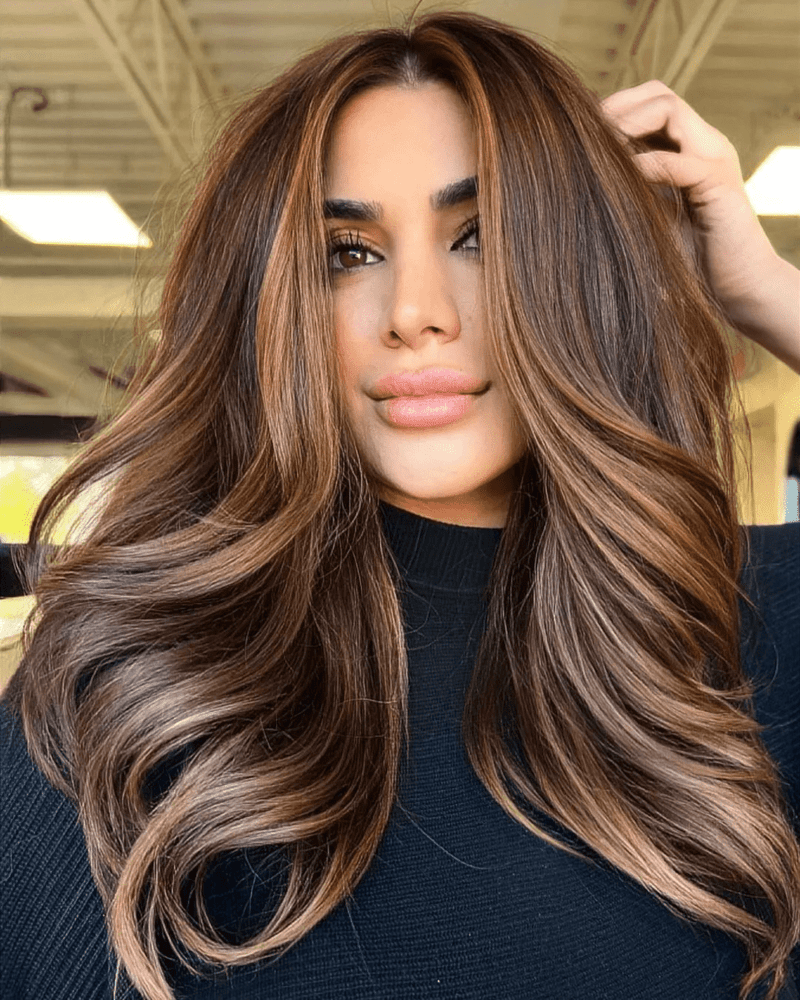
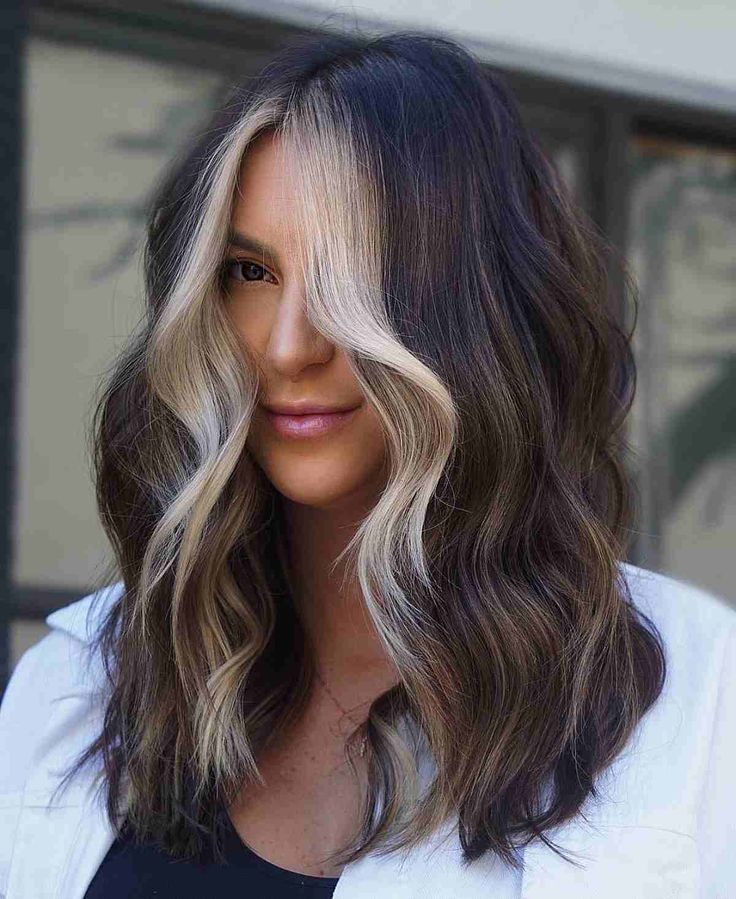
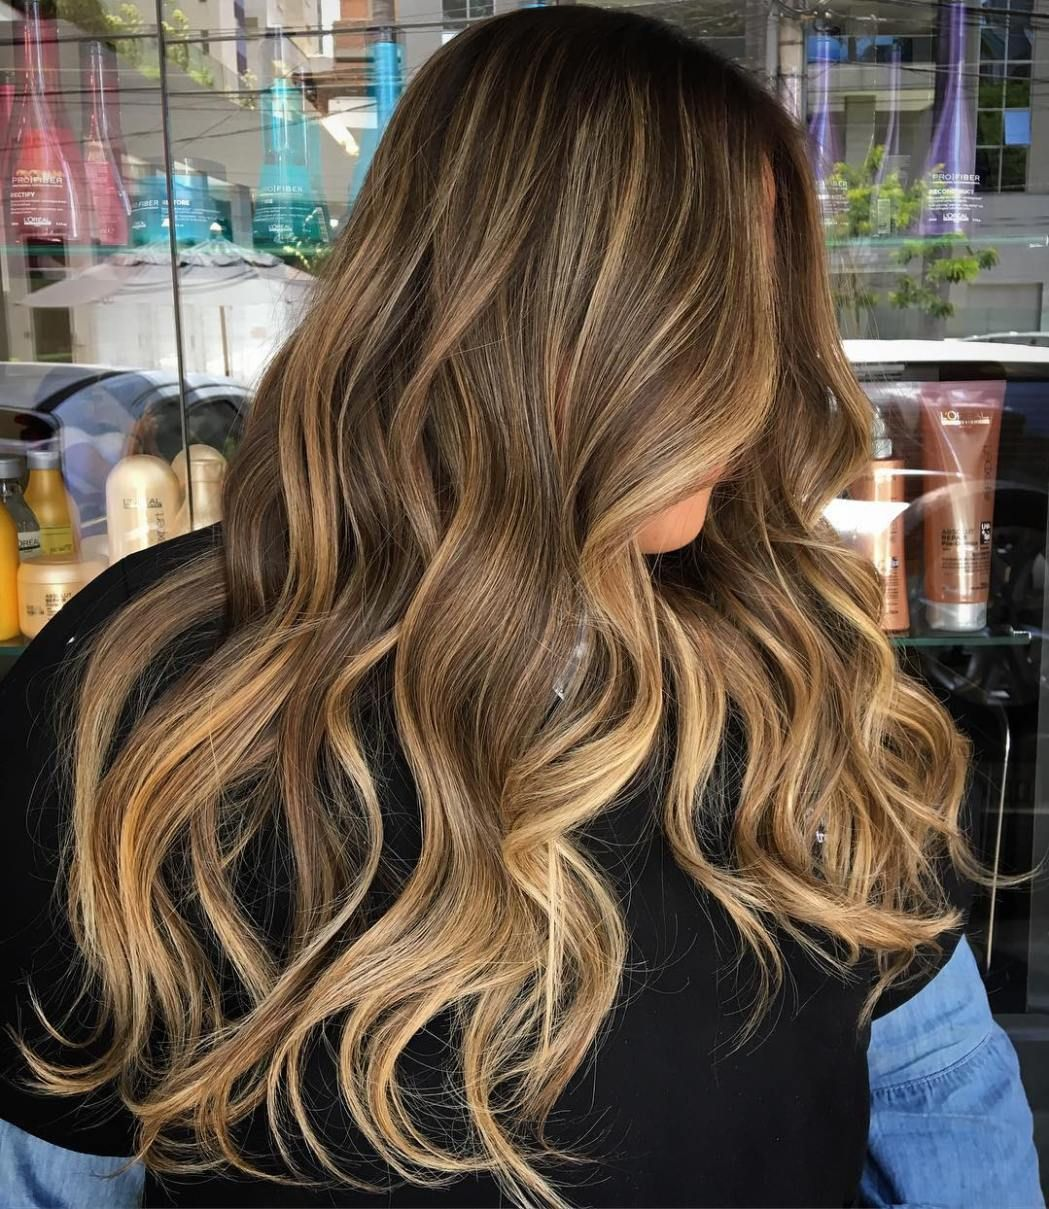
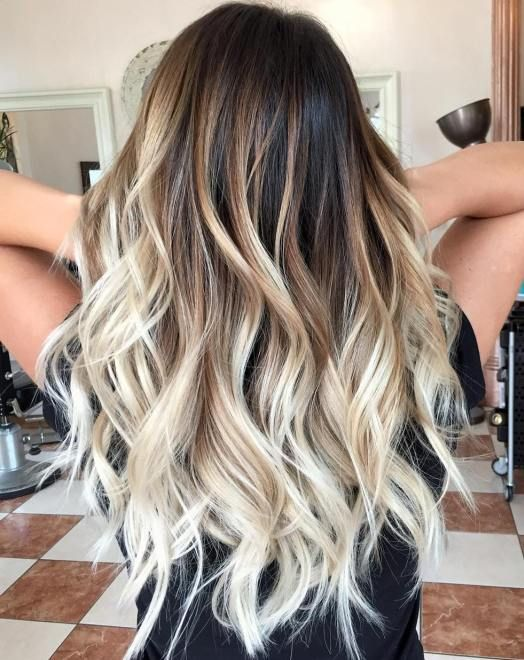
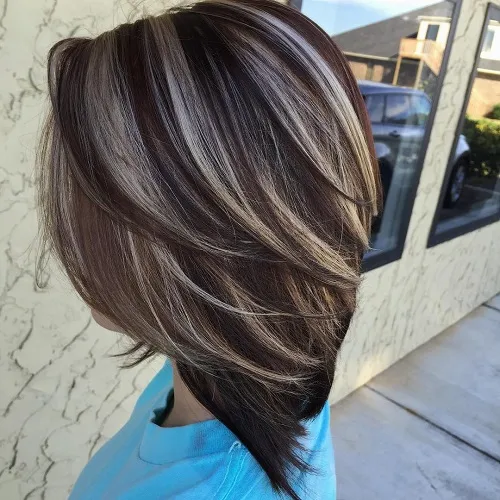
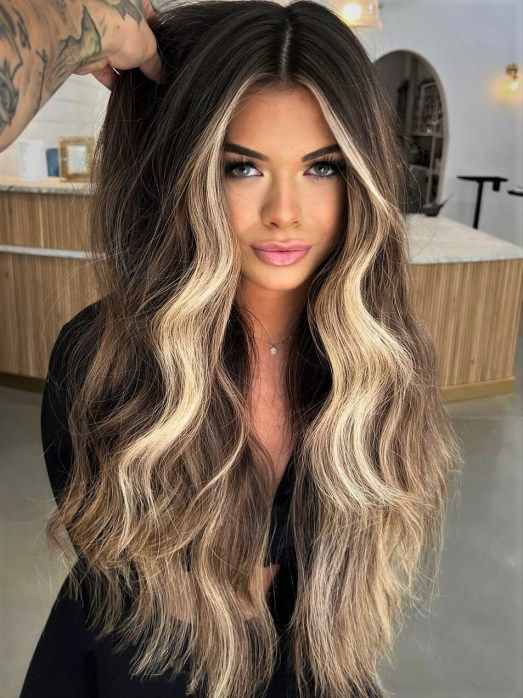
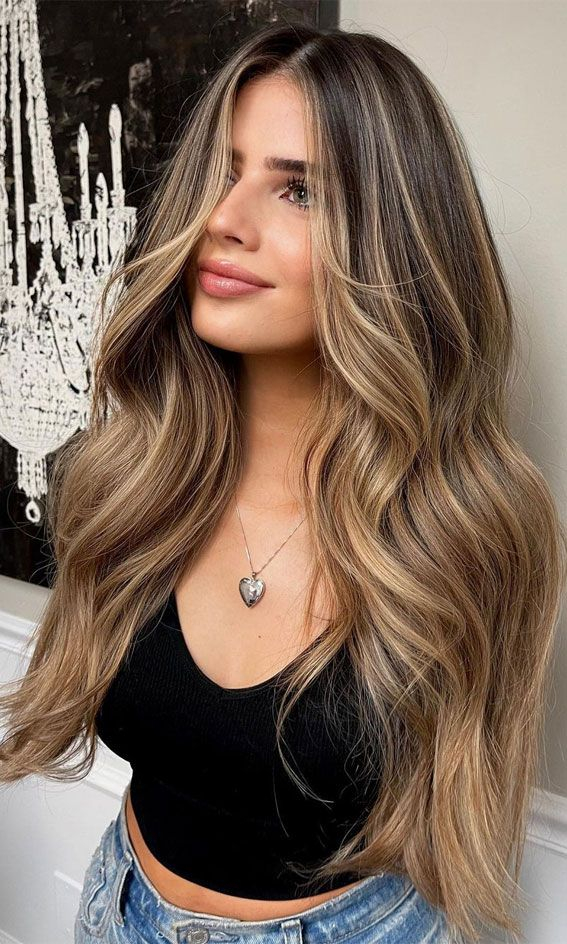
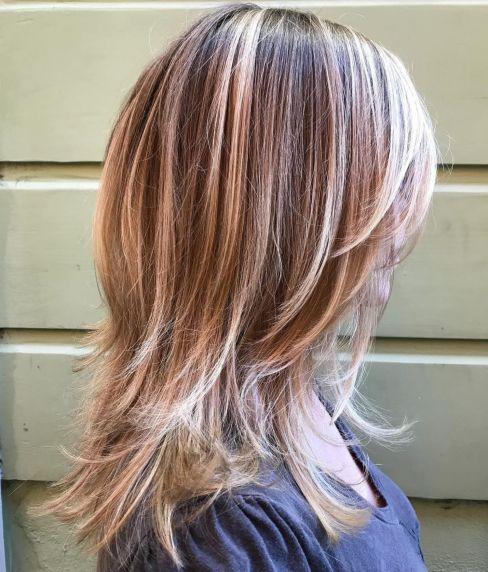
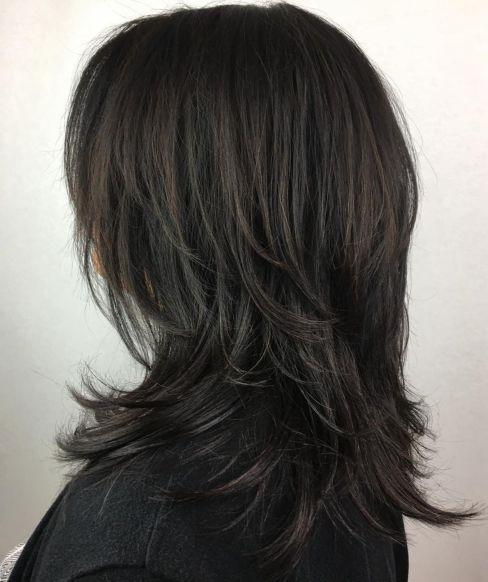
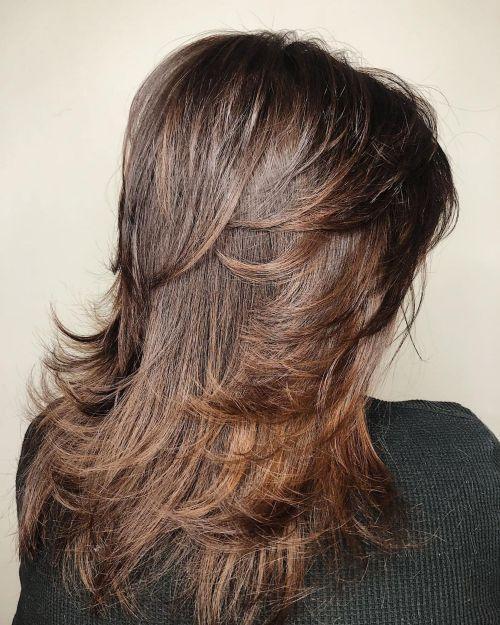
Long Shag with Flipped Tips
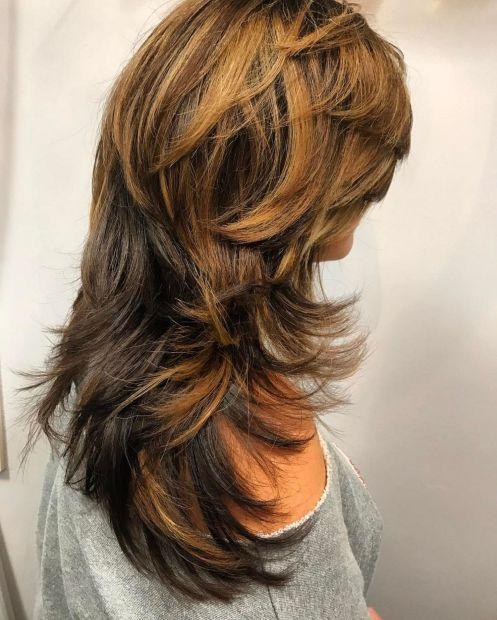
A long shag haircut that feathers down the back and flips out around the neckline and shoulders is a perfect choice for showcasing wavy hair. The two-tone color enhances the defined layers, adding depth and dimension to this chic, effortless style.
Voluminous Curly Shag
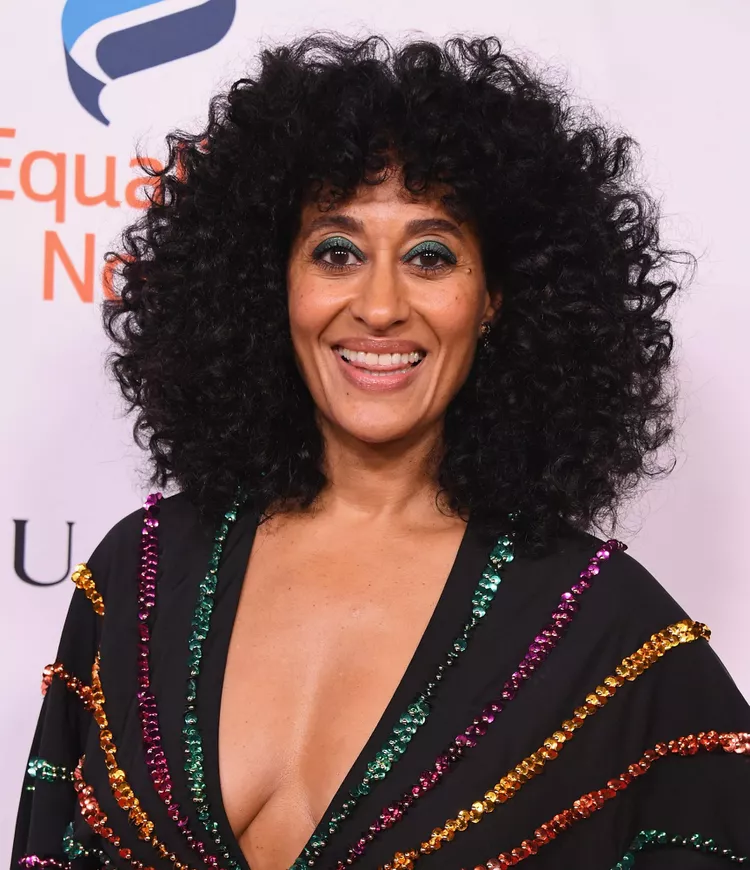
Tracee Ellis Ross’s hair is pure va-va-voom, with her bold curls taking center stage in this stunning afro-meets-shag combo. To keep those curls defined and frizz-free, be sure to invest in a high-quality moisturizer and finishing product.
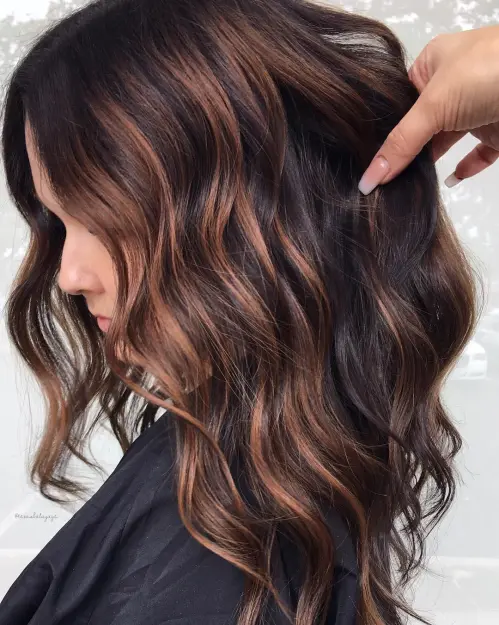
Medium Curly Shag With Bangs
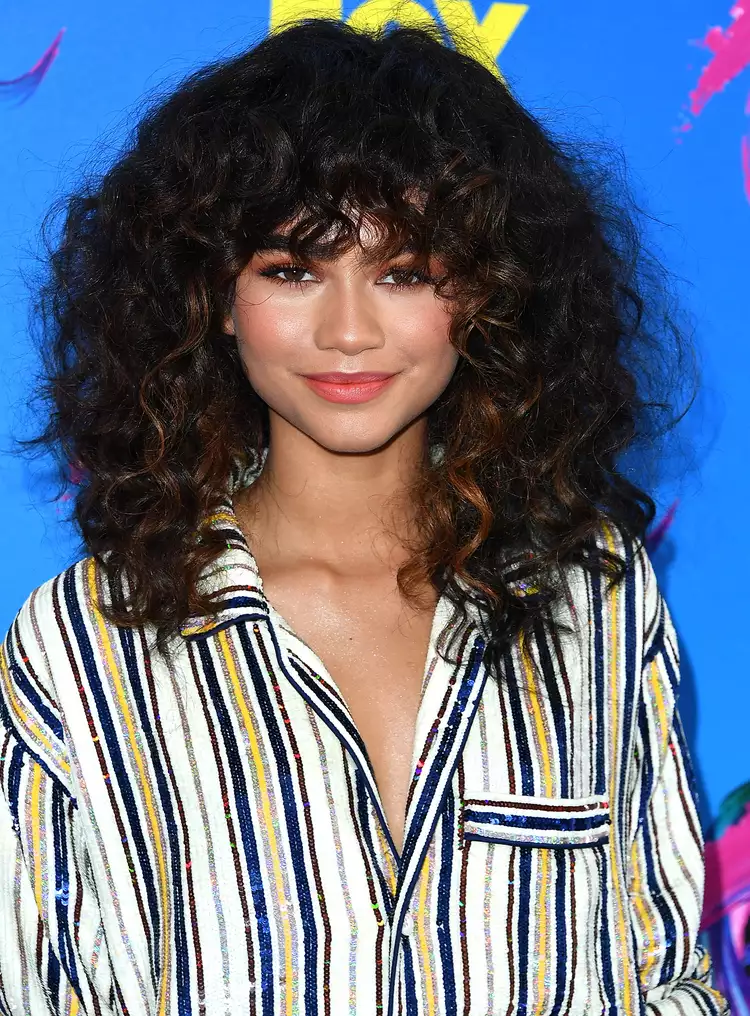
Zendaya is known for being a hair chameleon, but one of our favorite looks on her is this curly shag. It’s full of volume, with thick bangs that frame her face beautifully. Subtle chestnut highlights accentuate the shorter layers near the front, adding depth and dimension. “I’ve seen some amazing curly hair shags that are very soft and wispy,” says Bennett.
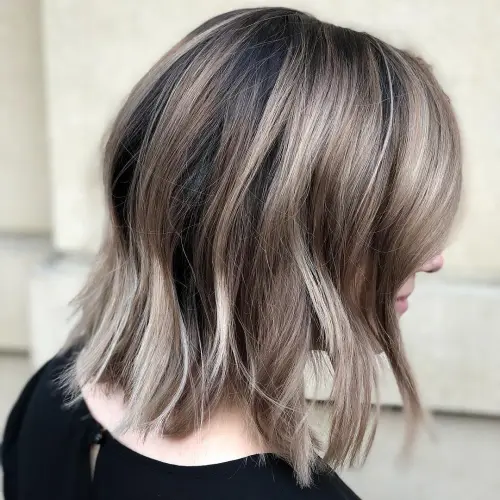
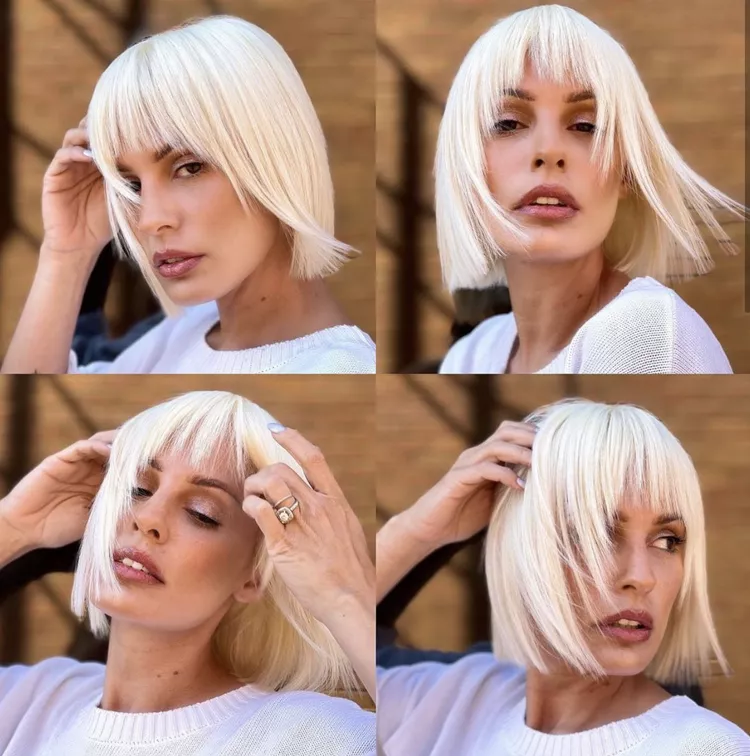
Bob with Messy Front Layers
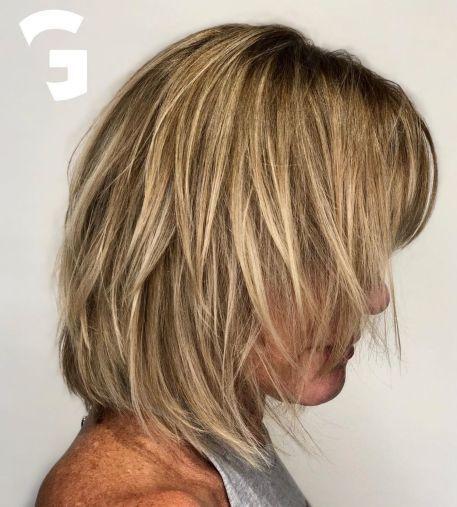
A shaggy sliced bob is the perfect blend of a traditional bob and a shag cut, making it ideal for women with super-fine hair. Blonde highlights on a light brown base add depth and richness, giving limp or overworked hair a much-needed boost of dimension and texture.
Natural Shag
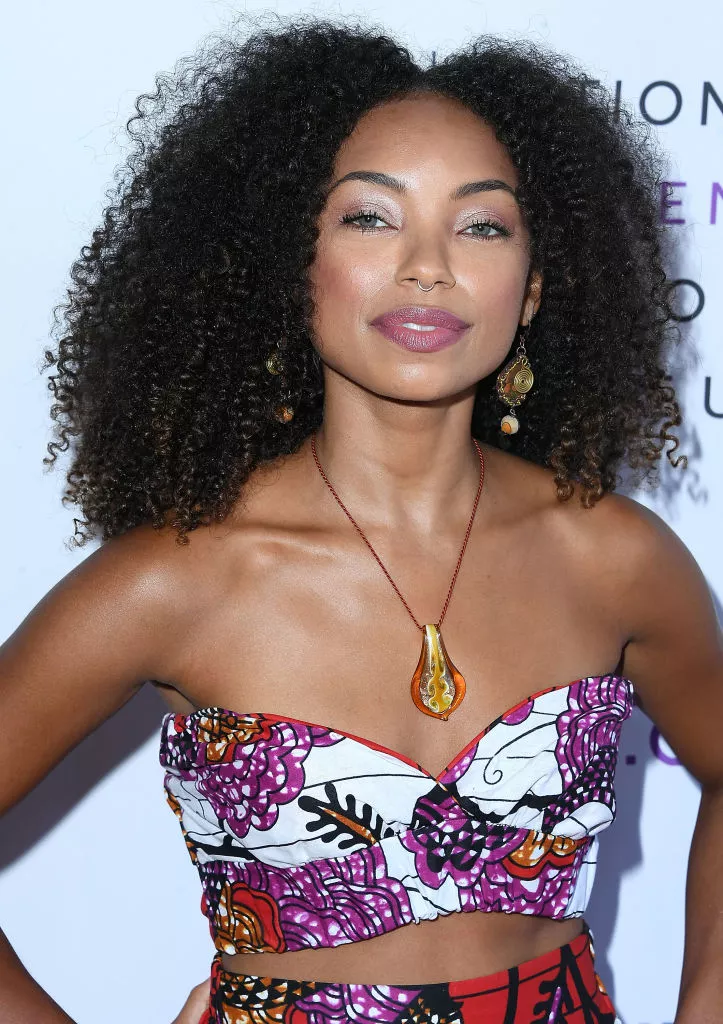
Logan Browning’s long curly style may not be a classic shag, but the short layers throughout give it a choppy, slightly A-frame shape that channels the essence of a shag haircut. This twist on the traditional style adds dimension and movement to her curls.
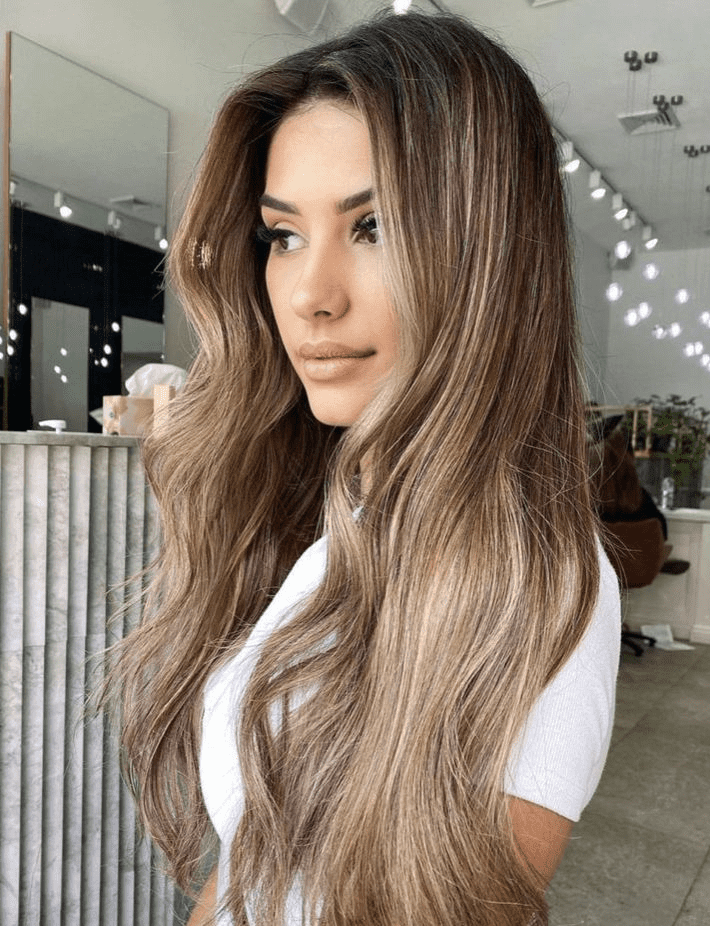
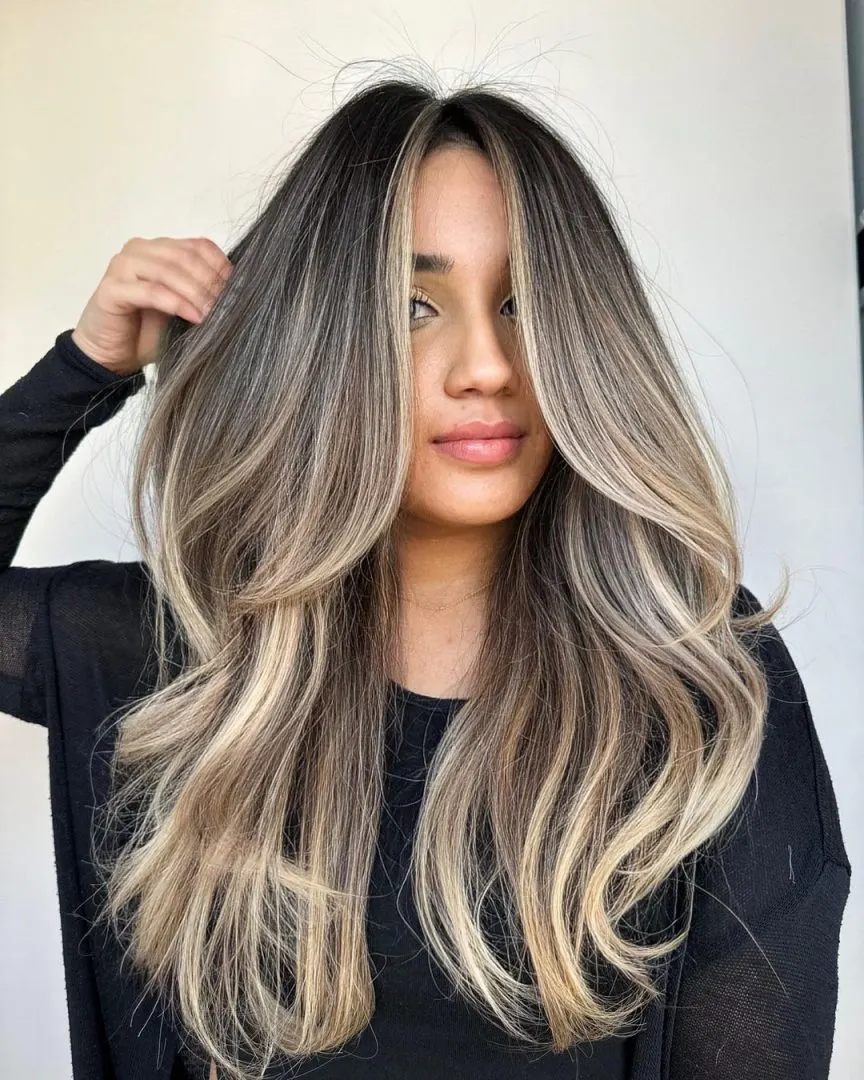
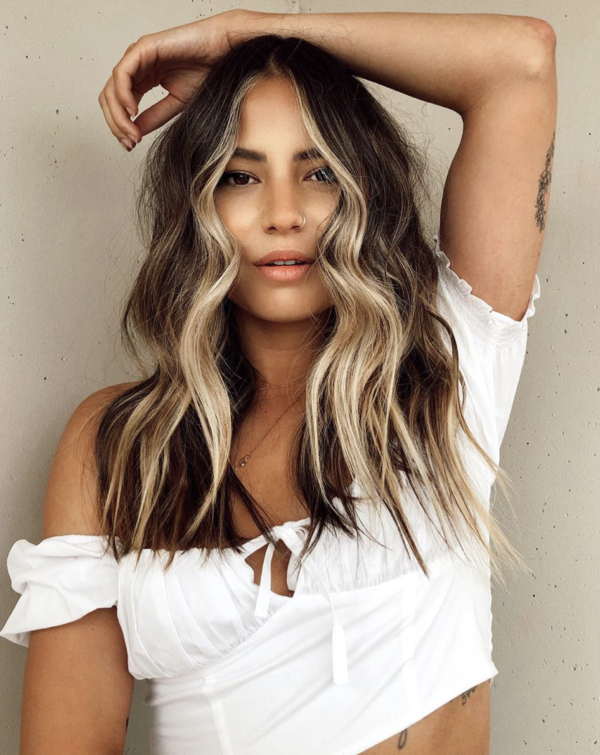
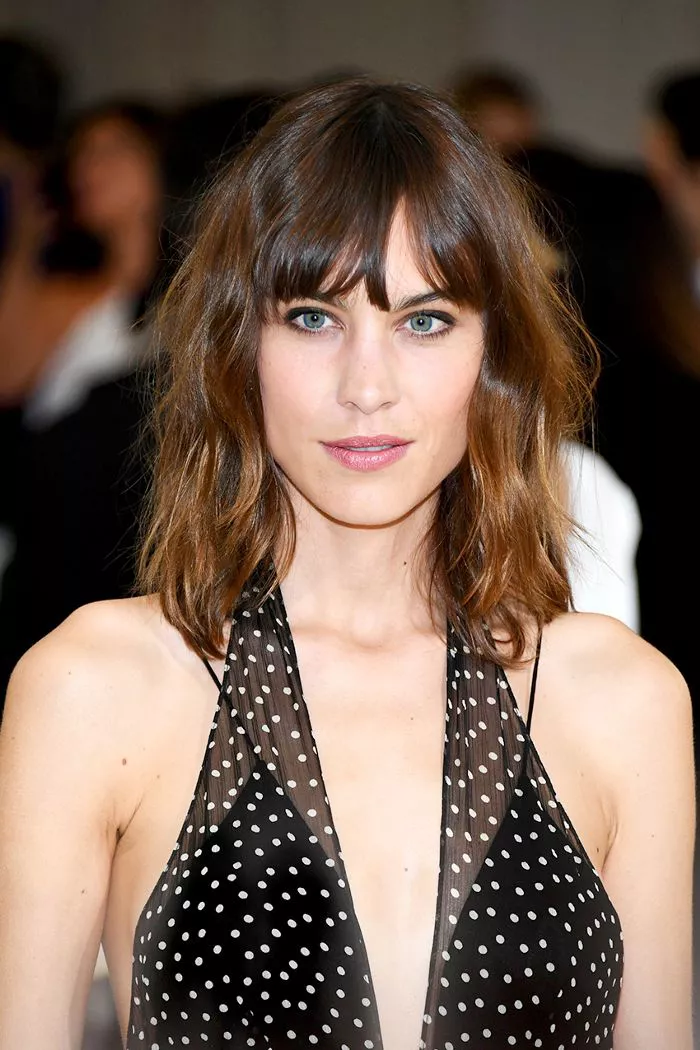
Shag with Long Bangs
Elevate the classic mid-length shag by adding layered ash blonde highlights. This technique works especially well on thin to medium-textured hair, as thick hair can appear bulky with too many layers. For a sassy, chic vibe, style it with soft waves.
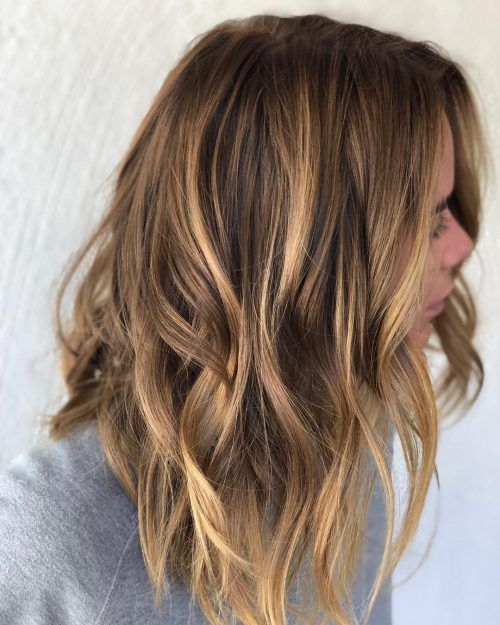
Sleek Haircut with Shaggy Ends
Elongate your neckline by styling your medium-length straight hair to gently dip inward toward your collarbone. The intentionally razored shaggy ends add texture and a touch of whimsy to your cut, creating a playful yet sophisticated look.
Modern Shag
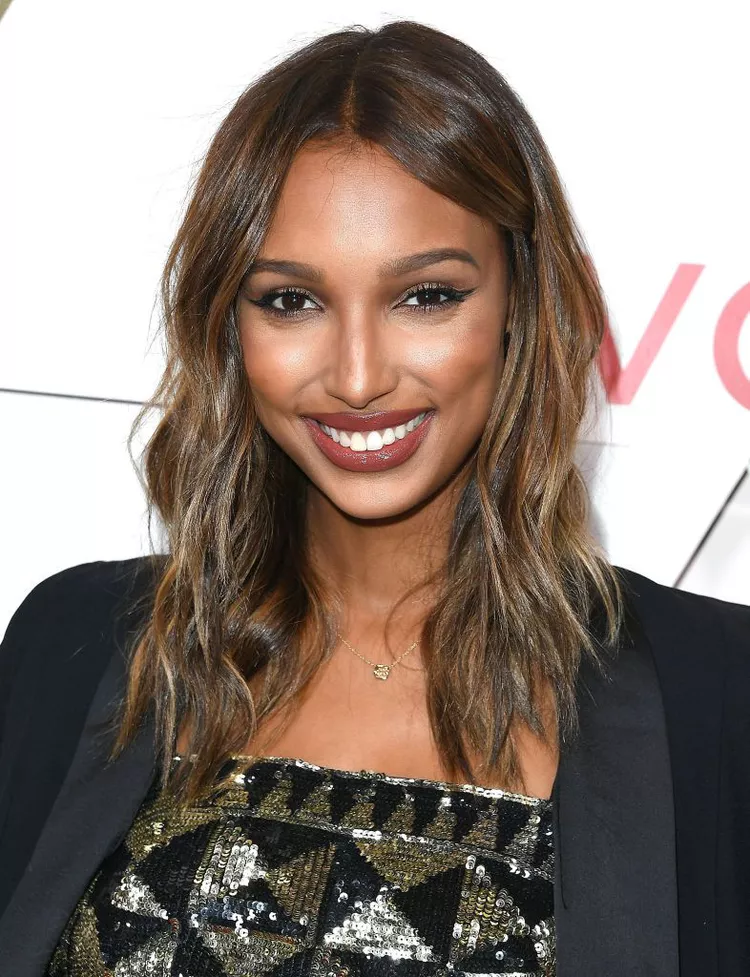
If you’re seeking a modern twist on the shag cut without the traditional bangs, look to Jasmine Tookes for inspiration. She styles her medium-length hair with soft bends and tucks it behind her ear for a chic and effortless look.
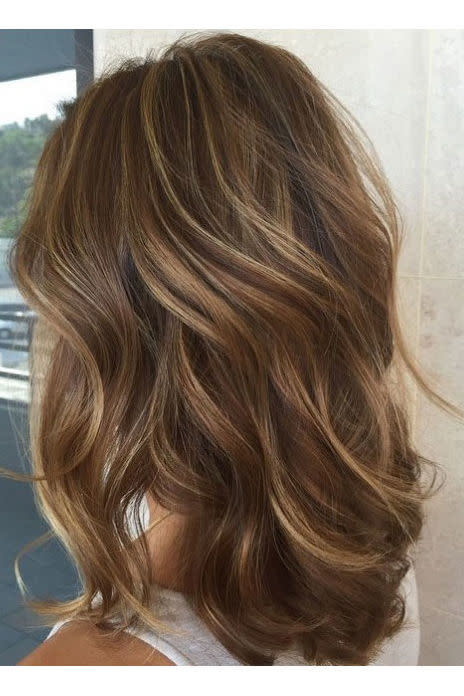
Step Haircut
Medium to long feathered cuts offer plenty of bounce and body, thanks to the razor technique used to create fine-textured layers. Feminine and flattering, these styles look stunning when tousled, allowing their natural fluffiness and movement to shine through.
Shaggy Pixie
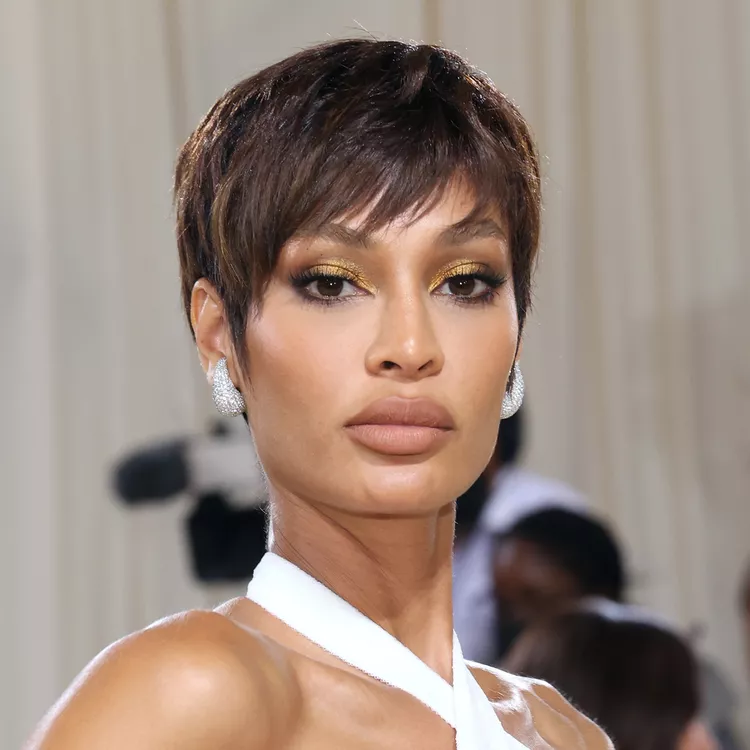
Joan Smalls teaches us how to rock a shaggy pixie with flair. Her side-swept bangs are piecey and textured, adding a retro, mod vibe to the overall look. This style perfectly balances edge and elegance.
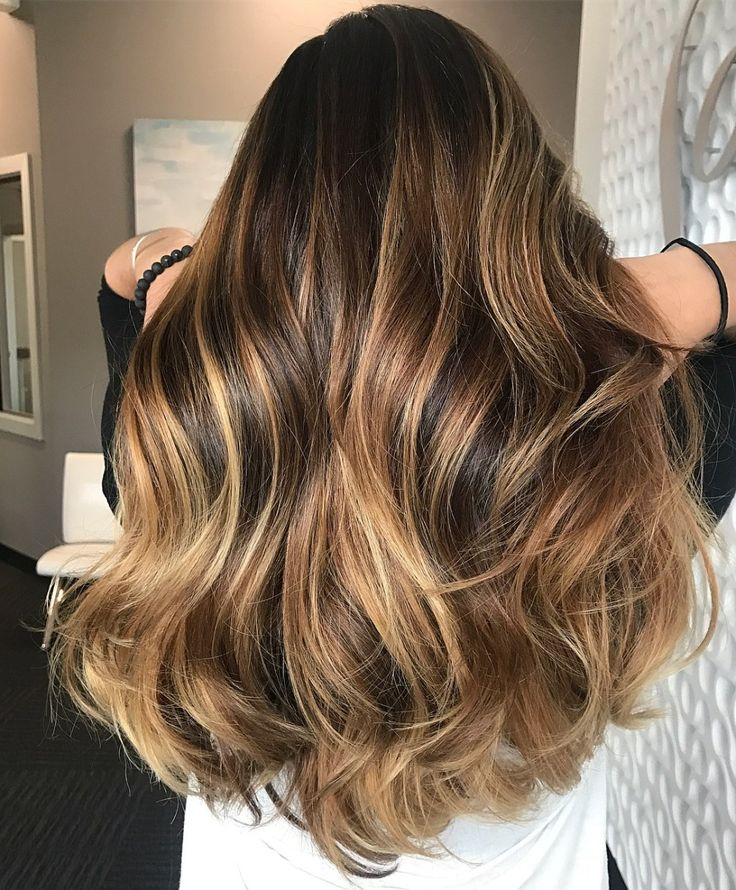
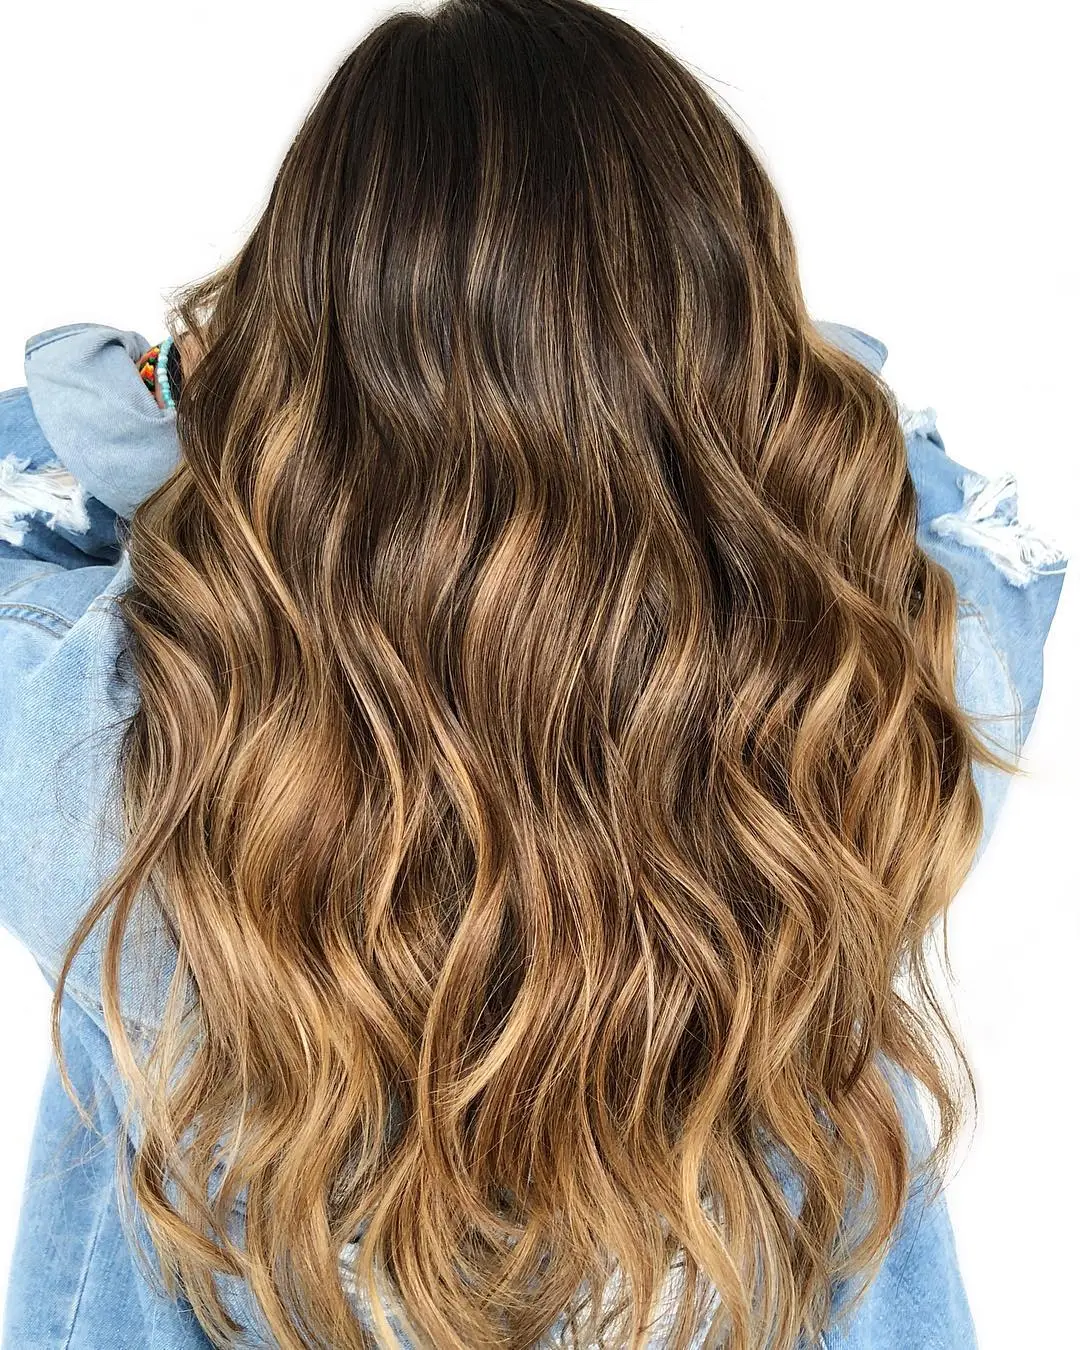
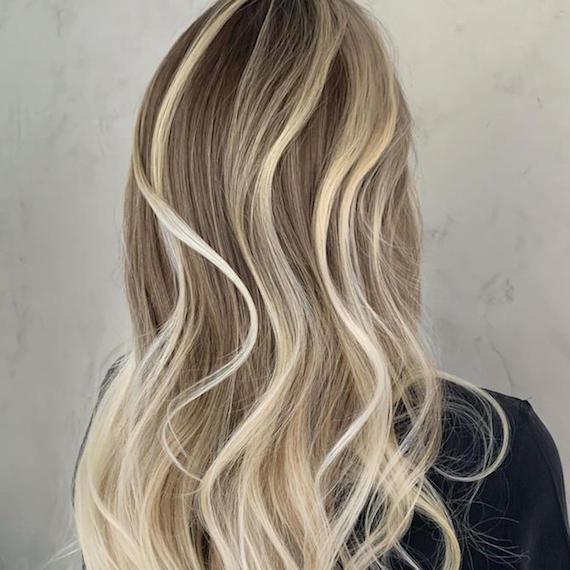
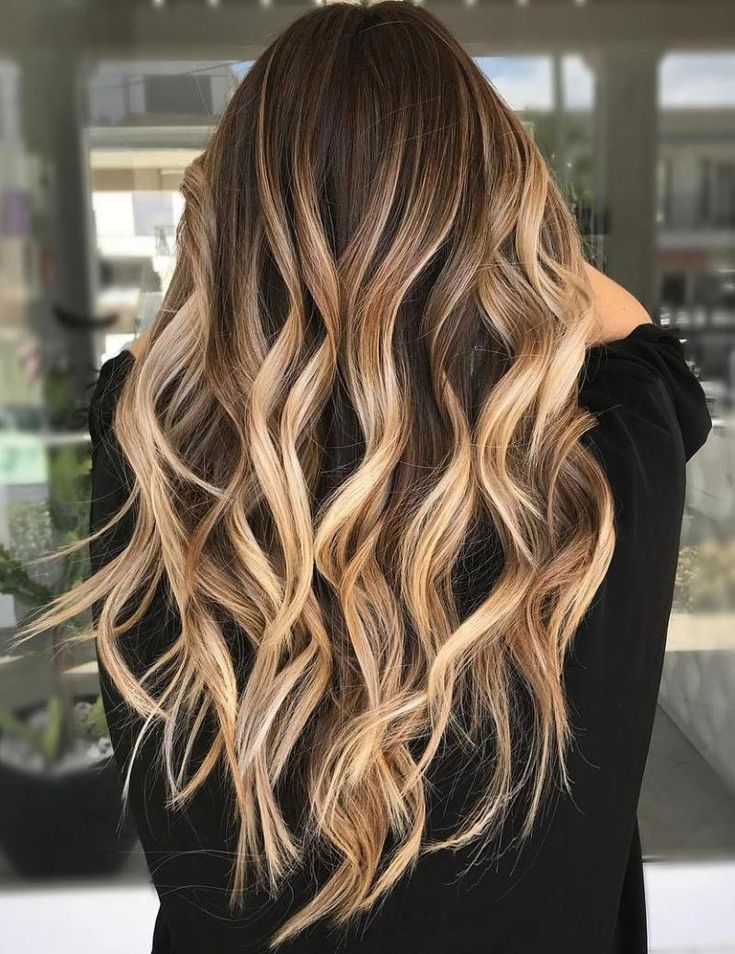
Ombré Shag

Complete with dramatic curtain bangs, this whimsical cut truly shines with a complementary color job. The ombré effect transitions smoothly from the client’s natural brunette at the roots to a soft beige blonde at the tips, making it easy to grow out while maintaining a stylish appearance.
Medium Cut with Jagged Waves
Free spirits will absolutely adore the grungy haircut. By chopping into mid-length hair and incorporating some boho flicks, you can effortlessly embrace a fresh new look. This cut can be styled by hand, allowing you to create fun waves in seconds for a carefree vibe.
’70s Shag
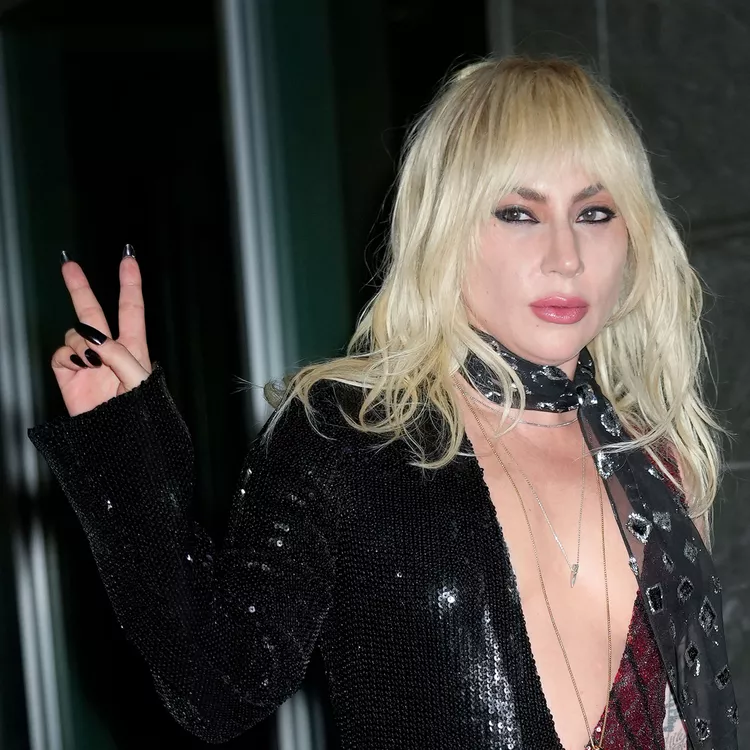
The secret to achieving a ’70s-inspired shag haircut, as seen on Lady Gaga, is to keep styling minimal. Steer clear of gels that can make your hair stiff; instead, use styling creams with medium hold for a more natural, effortless look.
Short And Sleek Shag
While most shag haircuts are often associated with wavy or curly hair, this ultra-smooth style demonstrates that those with straight hair can also rock a shag. The sleek finish adds a modern twist to the classic cut, showcasing its versatility.
Long Shag With Soft Waves
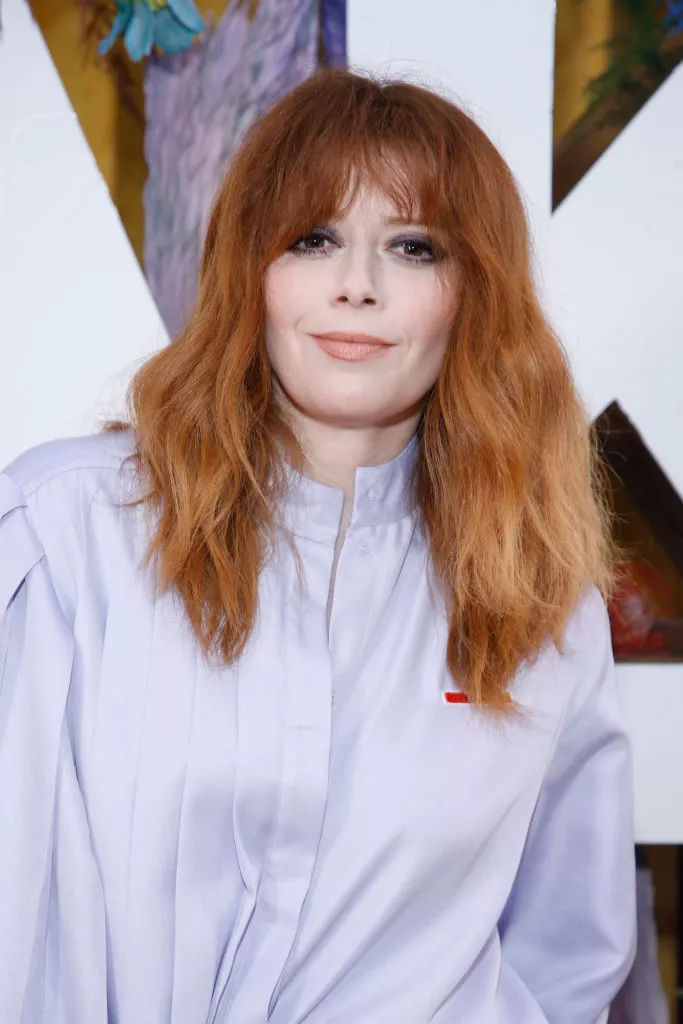
Longer hair can still be beautifully shaped, as seen with actress Natasha Lyonne. Her dyed red locks strike a perfect balance between shaggy and elegant, showcasing the versatility of longer-length hairstyles.
Clavi-Cut with Curtain Bangs
Frame your face and enhance your look with soft curtain bangs. Layering thick hair not only adds a whimsical touch but also makes styling much easier, giving your hair movement and shape.
Undercut Long Shag
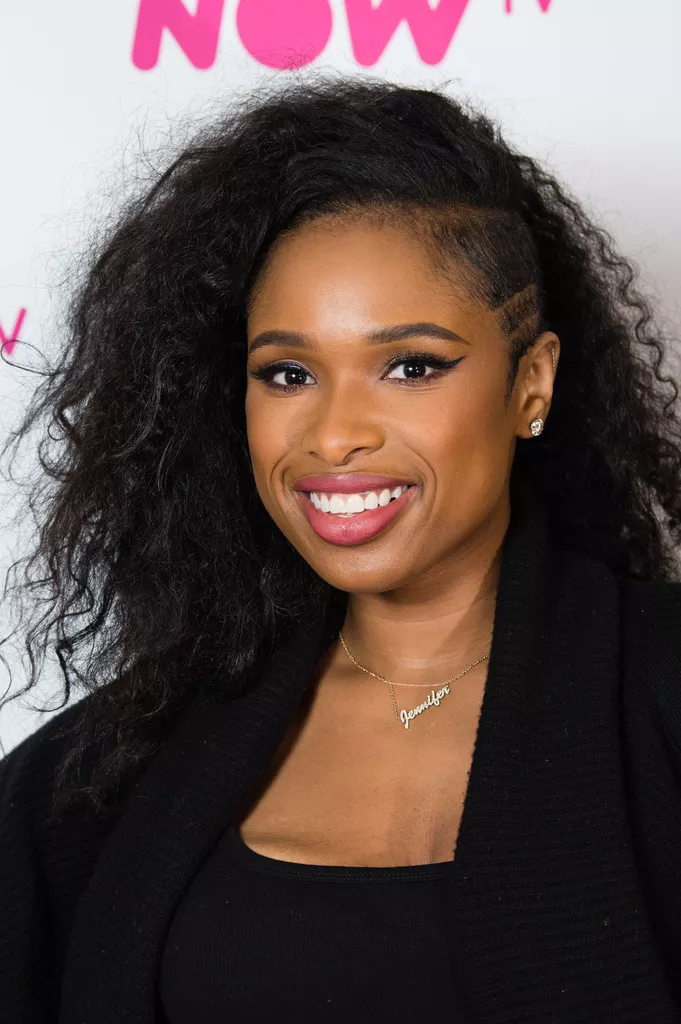
For a bold, statement-making look, a shag haircut with a side shave is the way to go. Take inspiration from Jennifer Hudson and ask your stylist for an undercut. To style the rest of your hair, use a texture spray to create a tousled, defined finish.
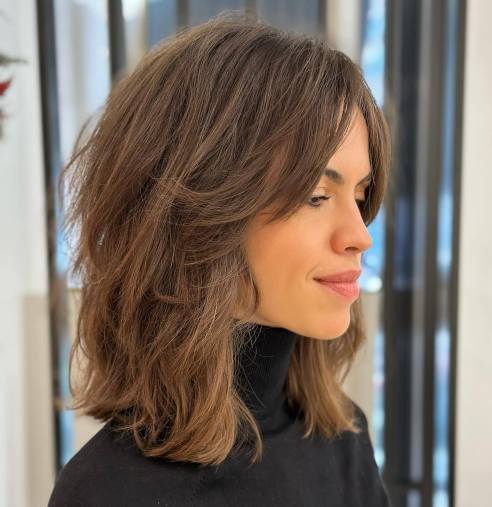
Wavy Midi Shag with Side Bangs
Naturally wavy hair and a mid-length shag are the perfect pairing. Enhance your waves and define the wispy ends with a lightweight mousse for a soft, textured look. If you have a diamond-shaped face, try styling your shaggy bangs to one side to balance your features.
Lob Shag
Haircut with Thin Feathered Layers
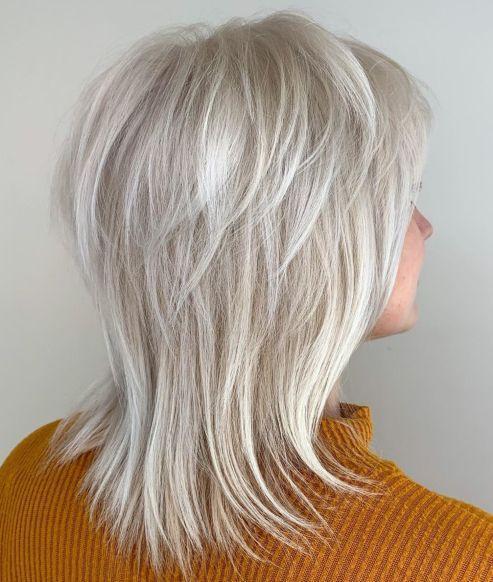
A silver-blonde, shoulder-length shag with feathered ends is a true nod to the 1970s, when this style was a favorite among housewives and busy women. The tousled, choppy crown adds texture, while the longer, sleek layers that graze the shoulders create the illusion of added length and volume, making it an ideal choice for women with fine hair.
Shag With Baby Bangs
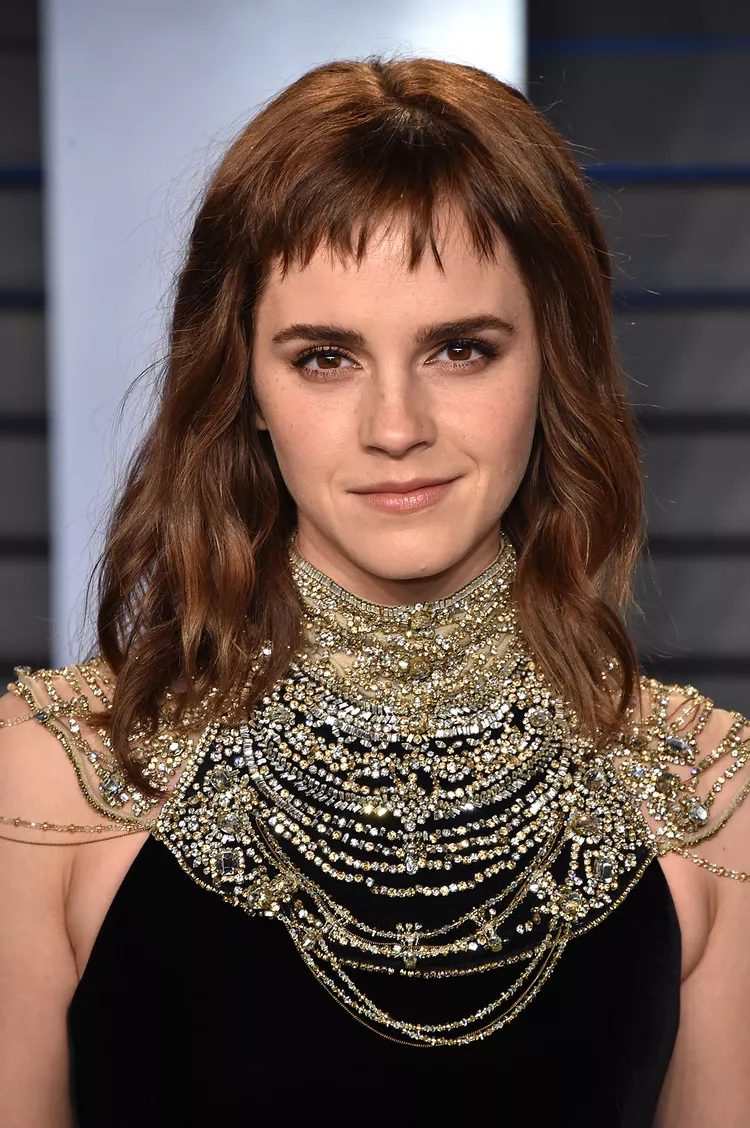
If you’re up for the maintenance, baby bangs are a great addition to a shag haircut, as Emma Watson demonstrates. Be prepared to visit the salon every four to six weeks to maintain the short length and keep the look fresh.
Textured Shullet
For a celebrity-inspired haircut reminiscent of Heather Locklear, an ash-blonde layered cut like this one is perfect. Ideal for women with thick, straight hair, the cut can be styled with a middle or off-center part. The slicing technique tames volume and keeps the hair looking sleek and polished.
Blown Out Shag
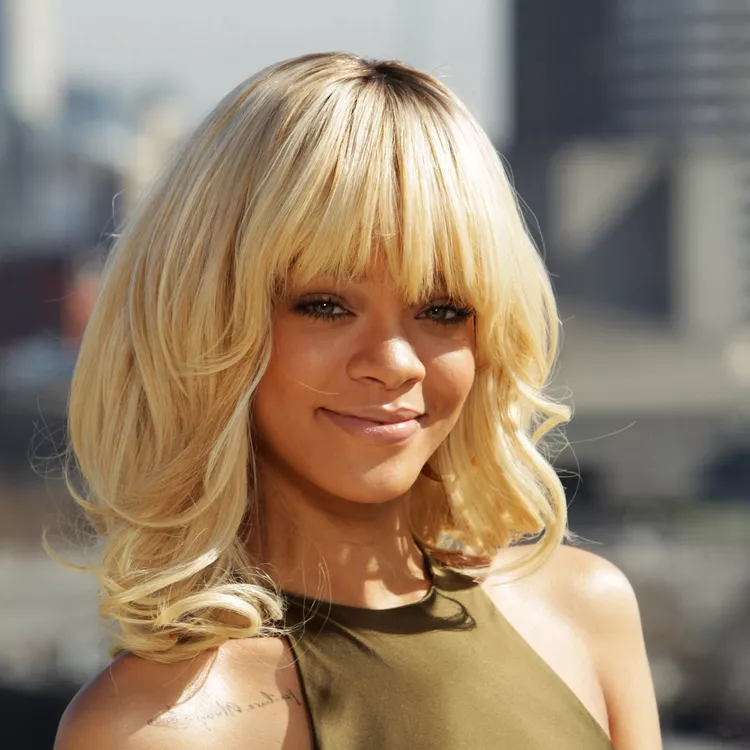
While a shag is usually all about texture, Rihanna’s blown-out shag in buttery blonde brings a fresh and sleek twist to the style, giving us all the feels with its smooth, voluminous finish.
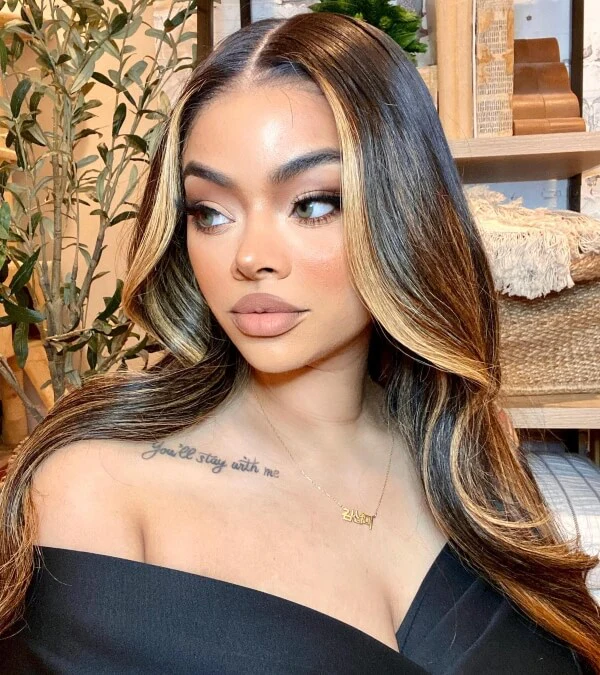
Feathered Face-Framing Cut
Your shag will look vibrant and shiny with long layers in the back that subtly flip up at the ends. Wispy bangs frame the face, while copper highlights provide a glossy sheen. This medium-length haircut is versatile too, easily pulled back into a ponytail while maintaining visual interest around the face.
Wavy Shag With Soft Fringe
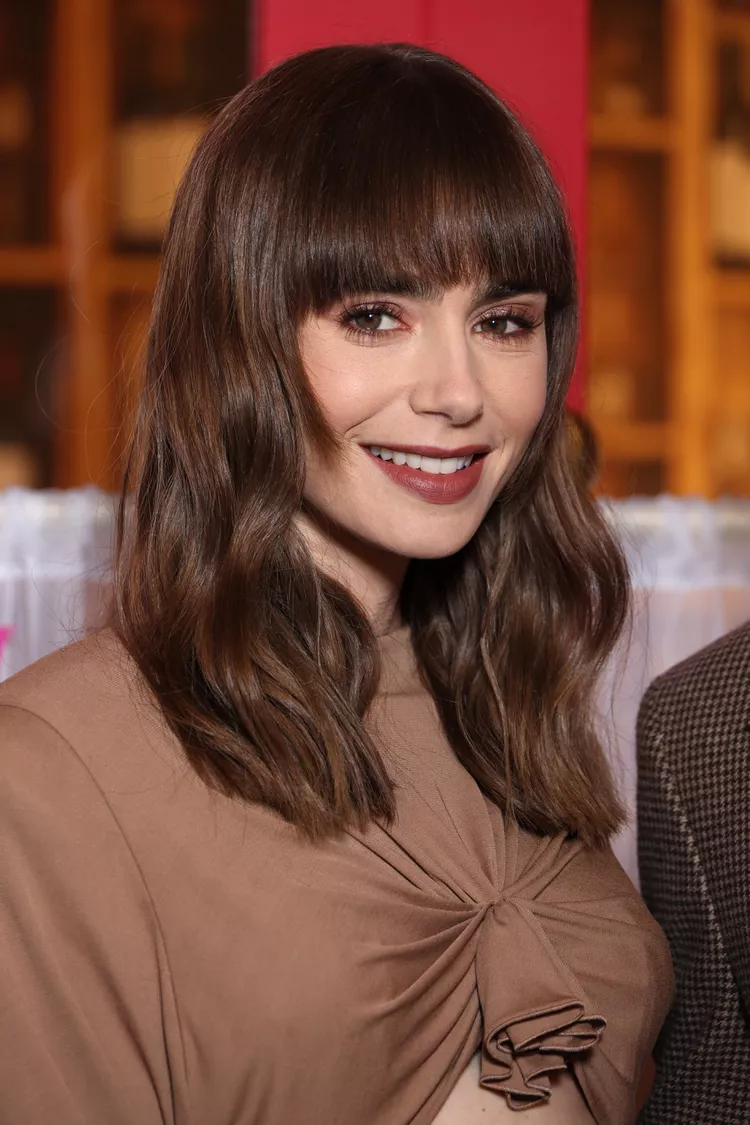
There’s a compelling argument for Lily Collins being the ultimate queen of fringe. In this look, her wispy, choppy bangs beautifully complement a loosely waved shag, creating a effortlessly chic style.
Platinum Shag
This blonde shag features blunt ends that graze just above the shoulders, while soft layers throughout the cut introduce texture and movement, giving the style a modern edge.
Wet Look Shag
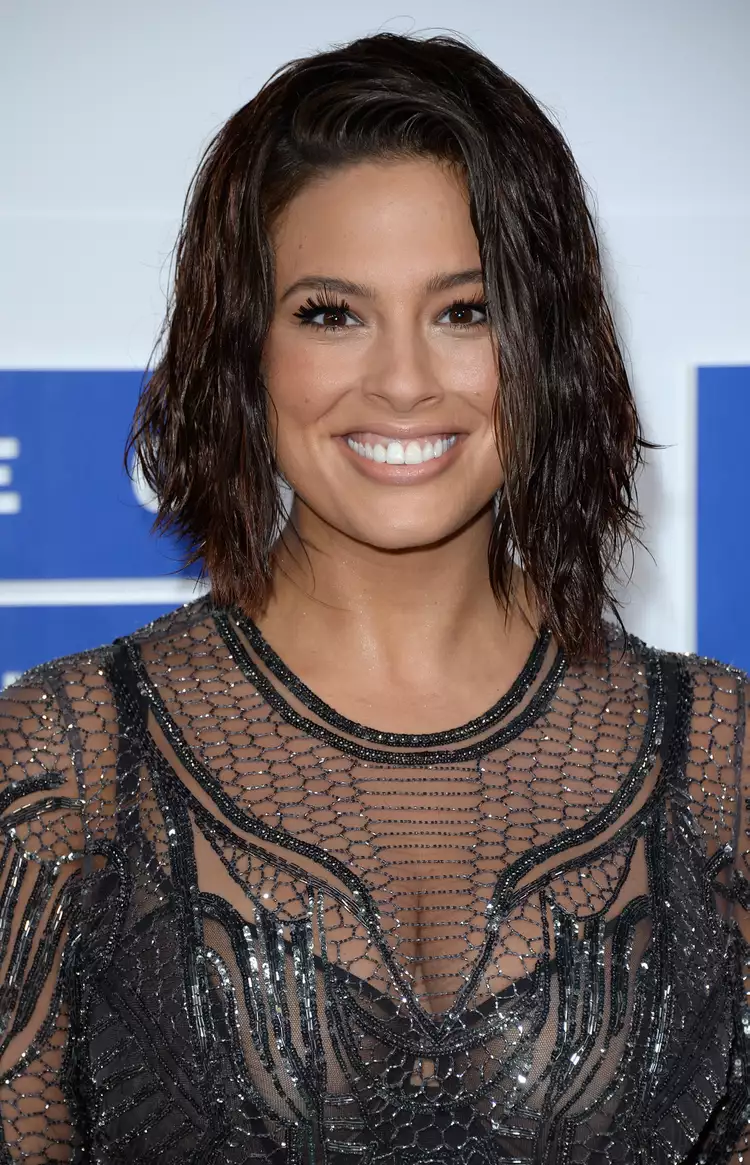
We’re loving Ashley Graham’s wet-look bob, which showcases an asymmetrical design due to the unique parting of her hair. This stylish take adds an edgy twist to the classic bob, creating a striking and contemporary look.
CONCLUSION
In the realm of hairstyles, shaggy cuts offer a unique blend of edgy and chic. They’re versatile, flattering, and can suit a wide range of hair types and textures. The key to a great shaggy cut is finding a stylist who understands your hair and can tailor the style to your specific needs. With the right care and styling, a shaggy haircut can be a fun, fashionable, and low-maintenance choice.