Looking for a stylish and low-maintenance hairstyle? Knotless braids with beads offer a perfect blend of beauty and practicality. These intricate braids, adorned with colorful beads, can add a touch of glamour to any occasion. Whether you’re attending a special event or simply want to refresh your everyday look, these 30 ideas will inspire you to create stunning and unique hairstyles.
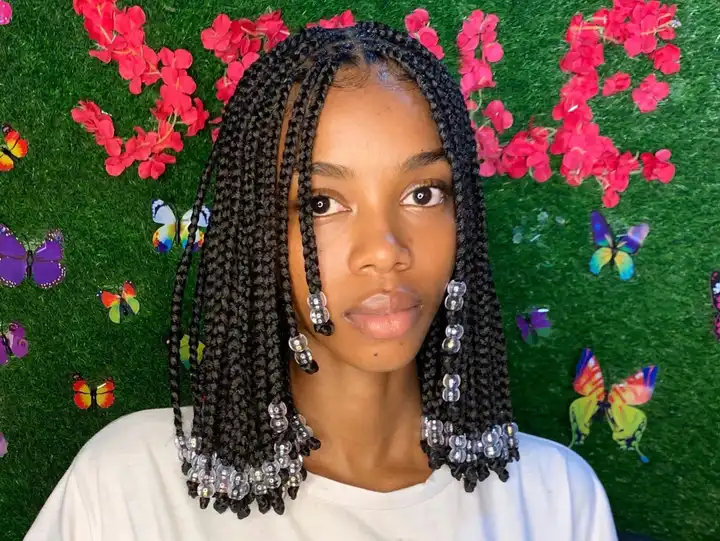
BOX BRAIDED BOB WITH GREEN BEADS

Want to make a statement? Consider a short box braided bob with green beads. The vibrant color adds a playful touch to the classic bob style. This look is ideal for those with shoulder-length or shorter hair. Remember, the longer your hair, the more it will need to be folded to achieve the bob length. To keep your style fresh, experiment with different bead color combinations.
HEART-SHAPED BRAIDS WITH A STREAK OF BLUE
Want to make a romantic statement this Valentine’s Day? Consider a heart-shaped braided hairstyle with beads. This whimsical and charming design is sure to turn heads and add a touch of love to your look.
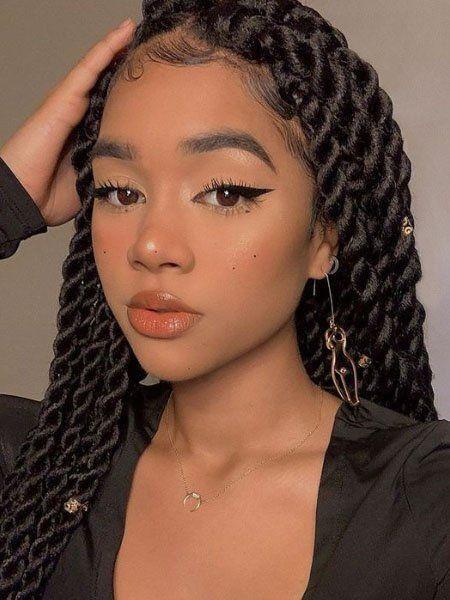
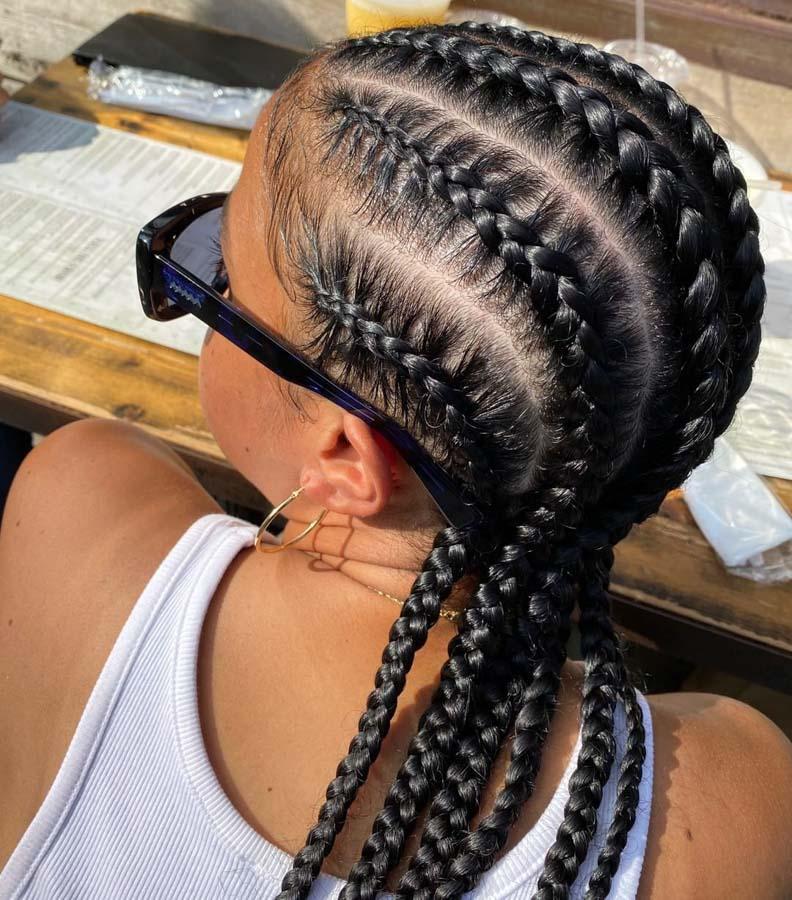
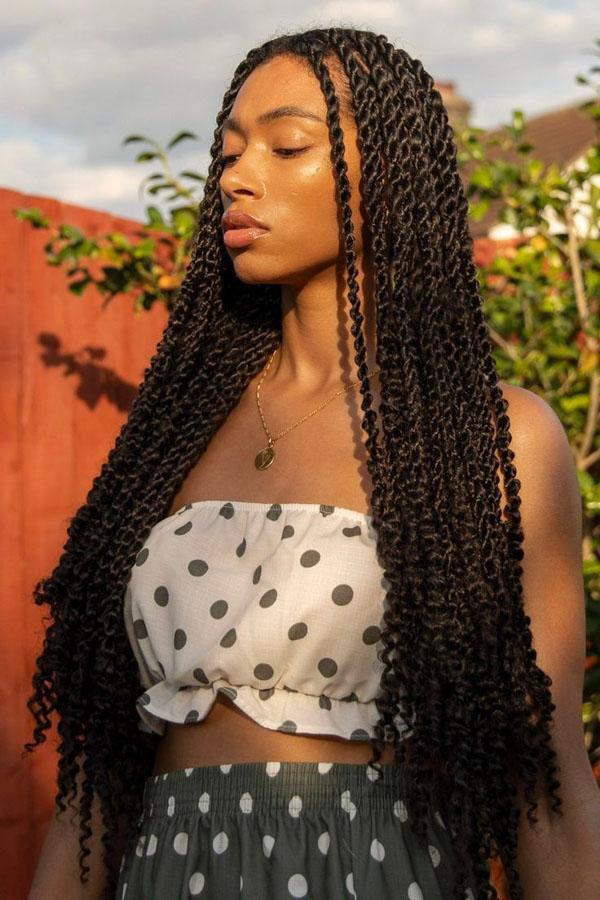
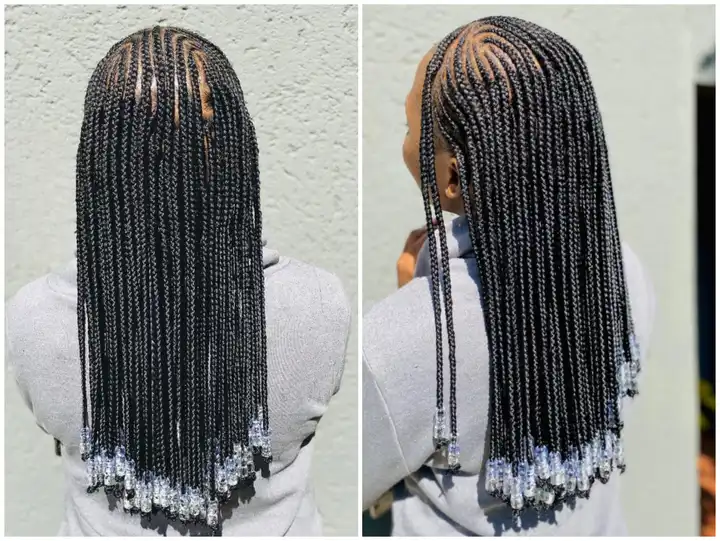
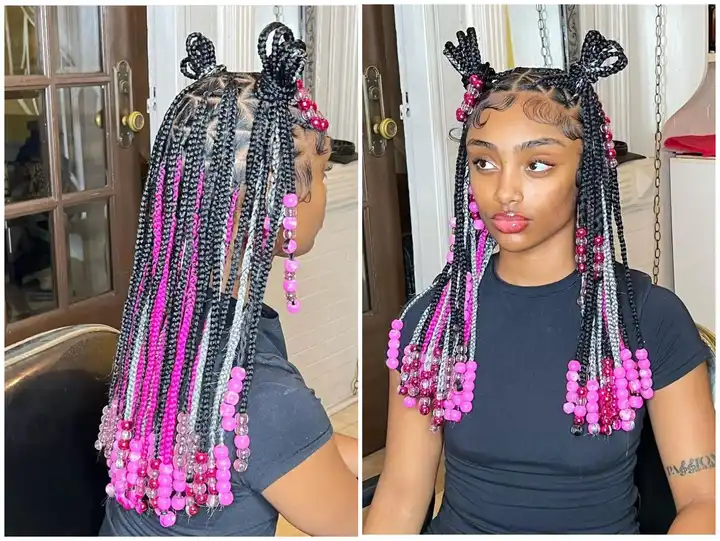
MID-BACK KNOTLESS BRAIDS WITH A MIX OF BEADS
Mid-back knotless braids are both stylish and practical, offering a comfortable option that’s on-trend. The mid-back length strikes a perfect balance between easy maintenance and versatility, allowing for a wide range of styling possibilities.
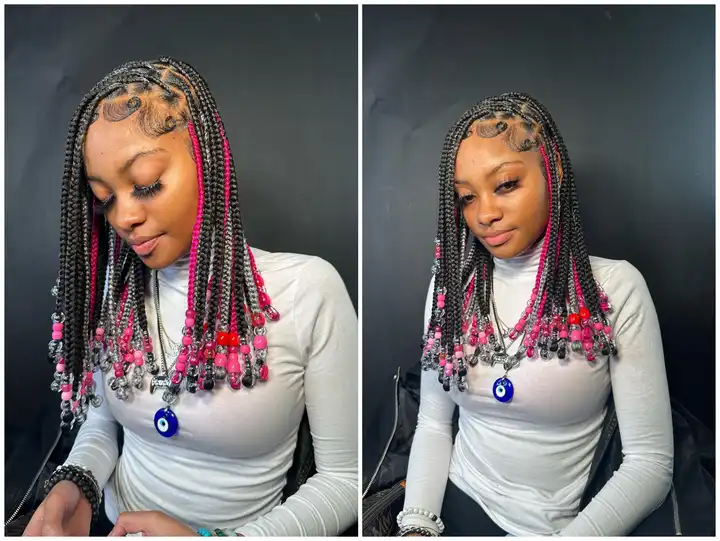
RED OMBRE BOX BRAIDS WITH TRANSPARENT BEADS
If you want a youthful and trendy braid style, try red ombre box braids with transparent beads at the ends. This bold look lets the red pop through the clear beads, creating a unique accent that’s growing in popularity. Plus, the light clinking of the beads adds a playful sound to your day. For flawless baby hair designs, use edge control like Style Factor Edge Booster and a small brush to shape the edges as desired.
BOHEMIAN KNOTLESS BRAIDS WITH BEADS
Bohemian knotless braids with ornaments are a chic and free-spirited hairstyle that captures the essence of boho style. Perfect for music festivals, beach parties, or adding a bohemian touch to your everyday look, this hairstyle is both fashionable and expressive.
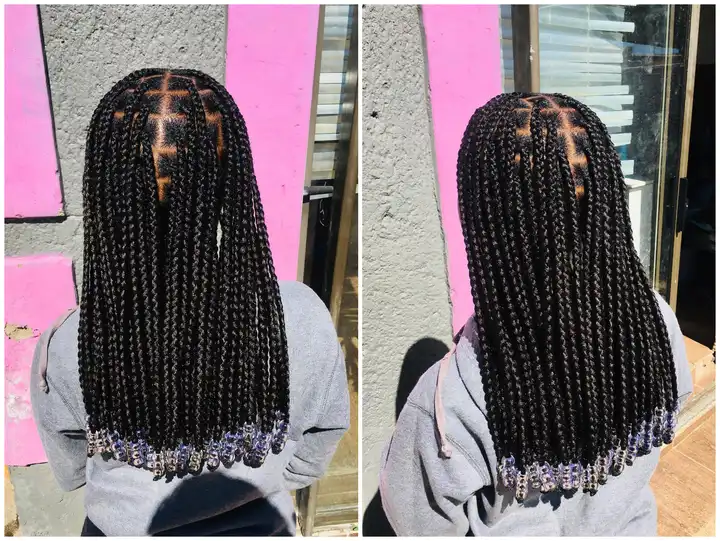
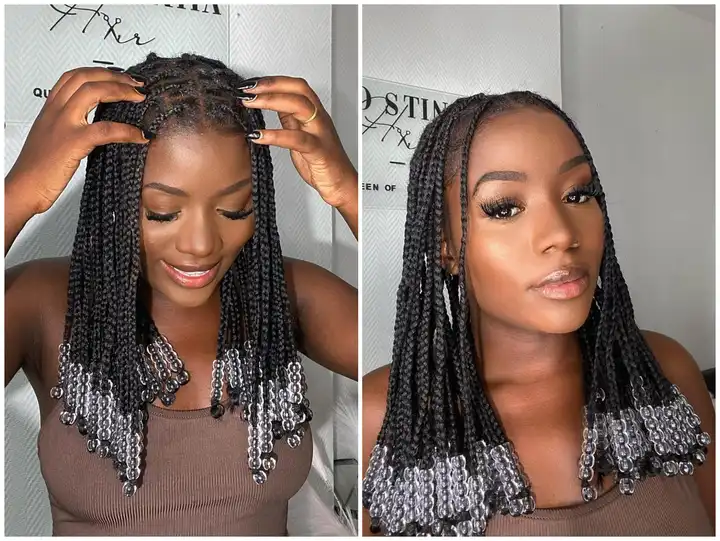
CLASSIC KNOTLESS BRAIDS WITH WHITE AND CLEAR BEADS
Knotless braids with beads offer a timeless hairstyle that blends elegance with practicality. This look is not only visually striking but also gentle on the hair and scalp, making it both beautiful and practical.
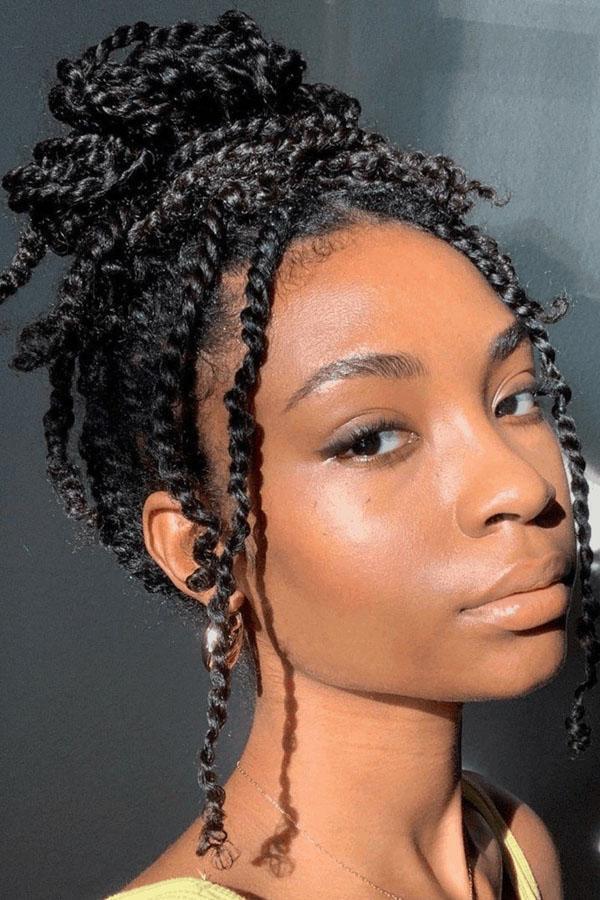
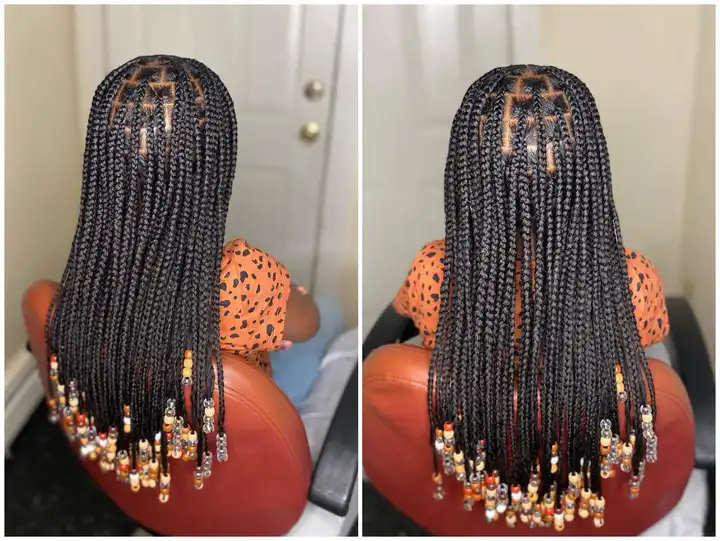
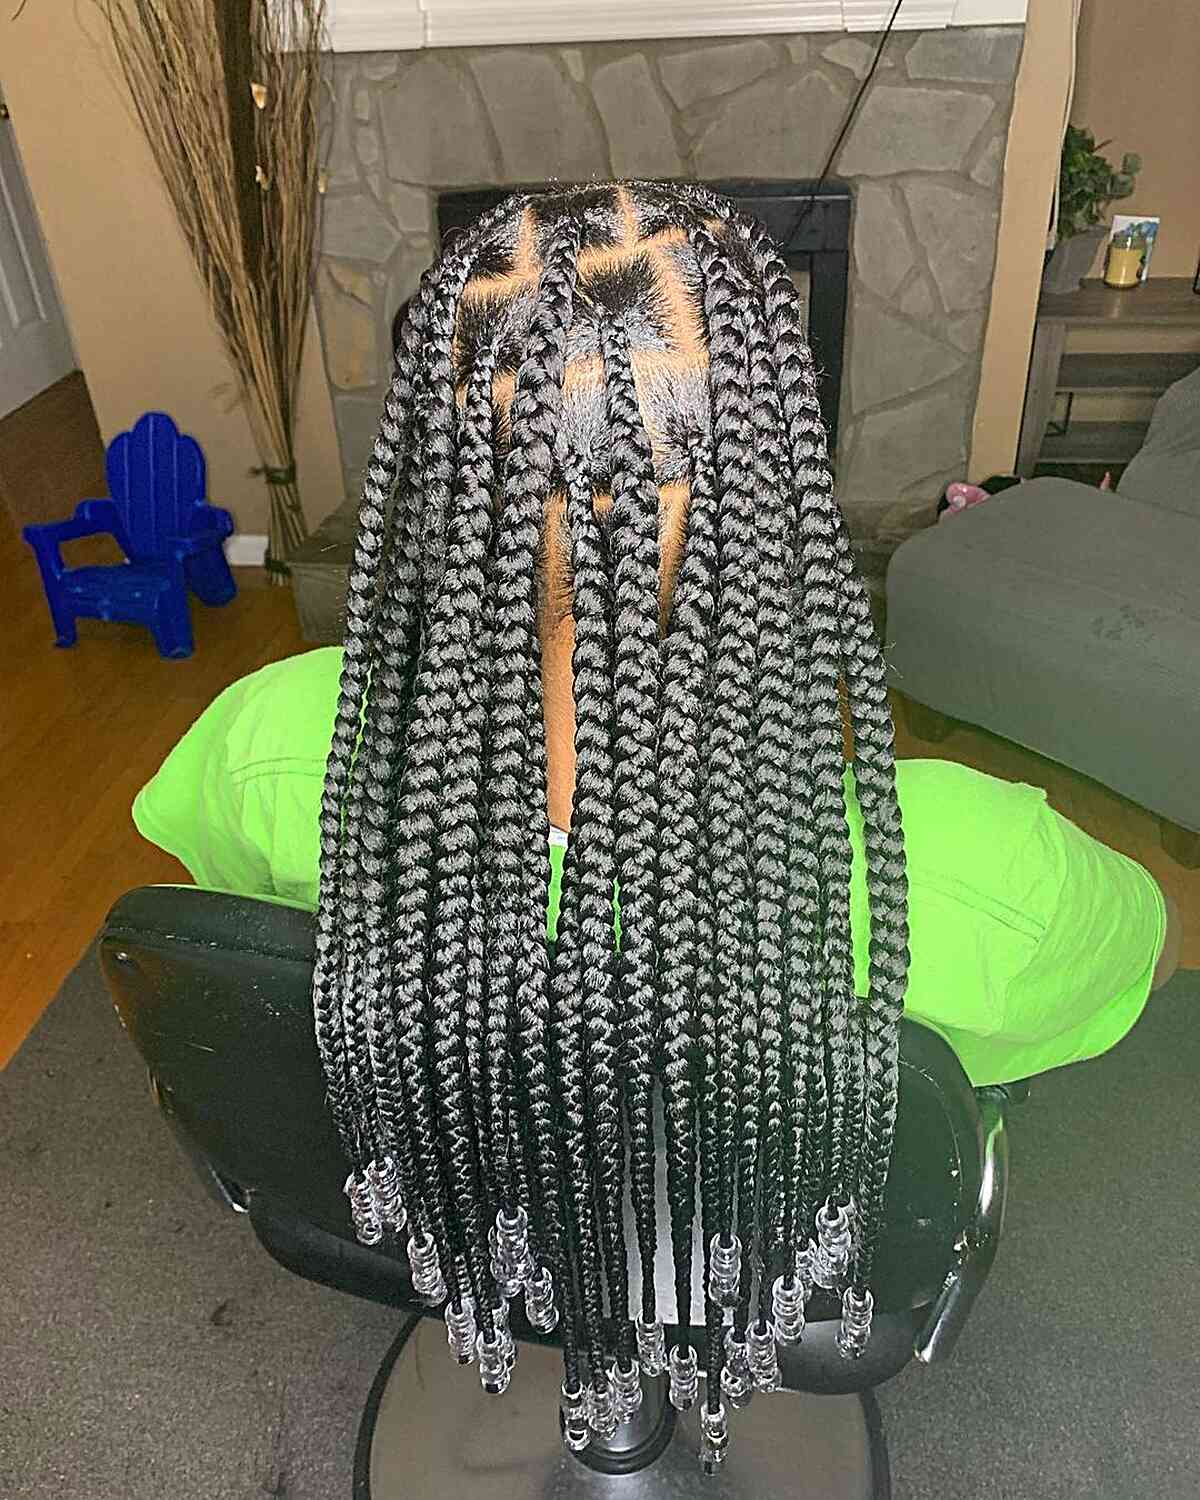
BEADED WAIST-LENGTH LARGE BRAIDS
Looking for a quick yet trendy style? Consider beaded waist-length large braids for your next vacation or short-term look. Even with large or jumbo braids, the secret to adding beads lies in well-tapered ends. Tapering gradually reduces the braid’s thickness, allowing it to transition smoothly from thick to thin. You can customize your look with as many or as few large beads as you like, making it uniquely yours.
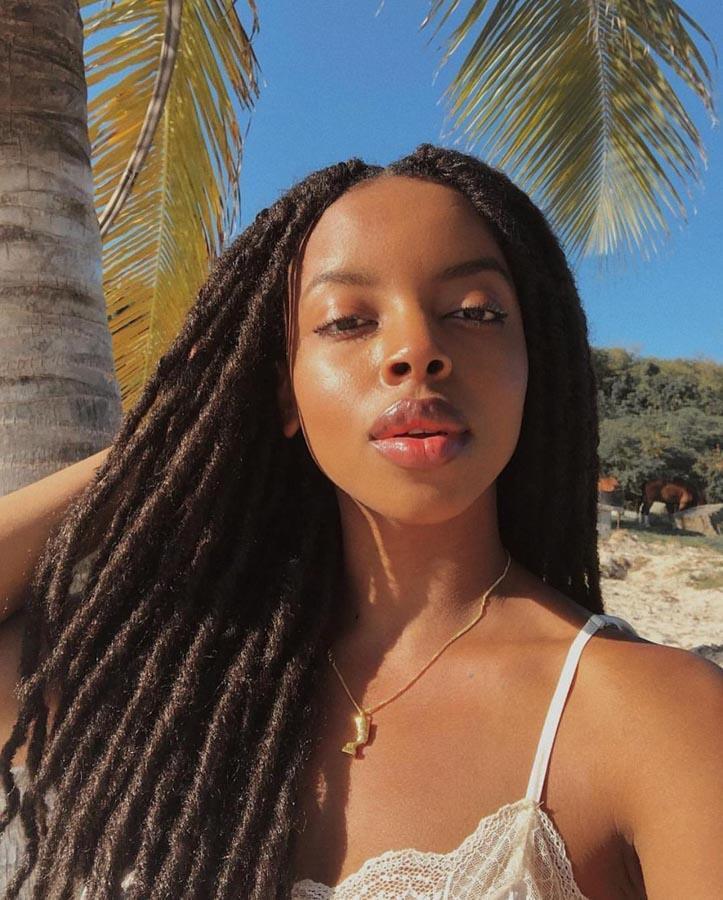
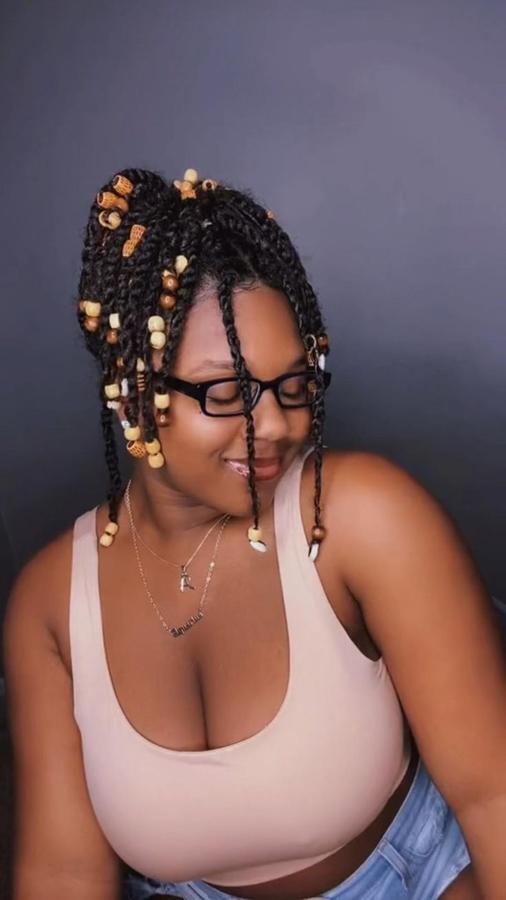
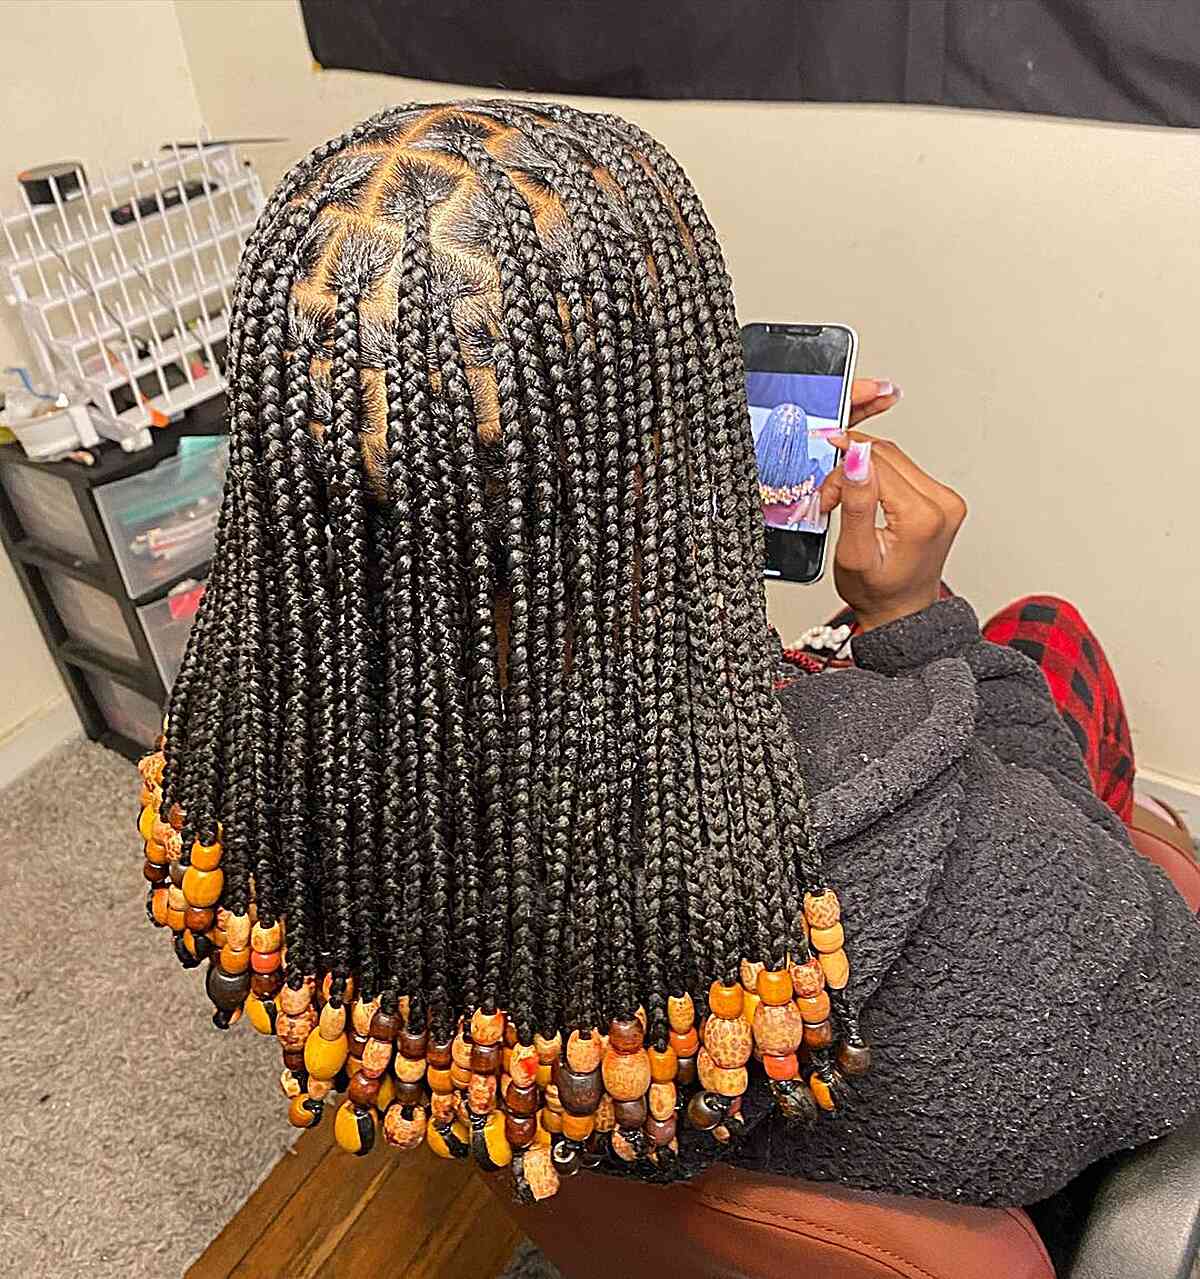
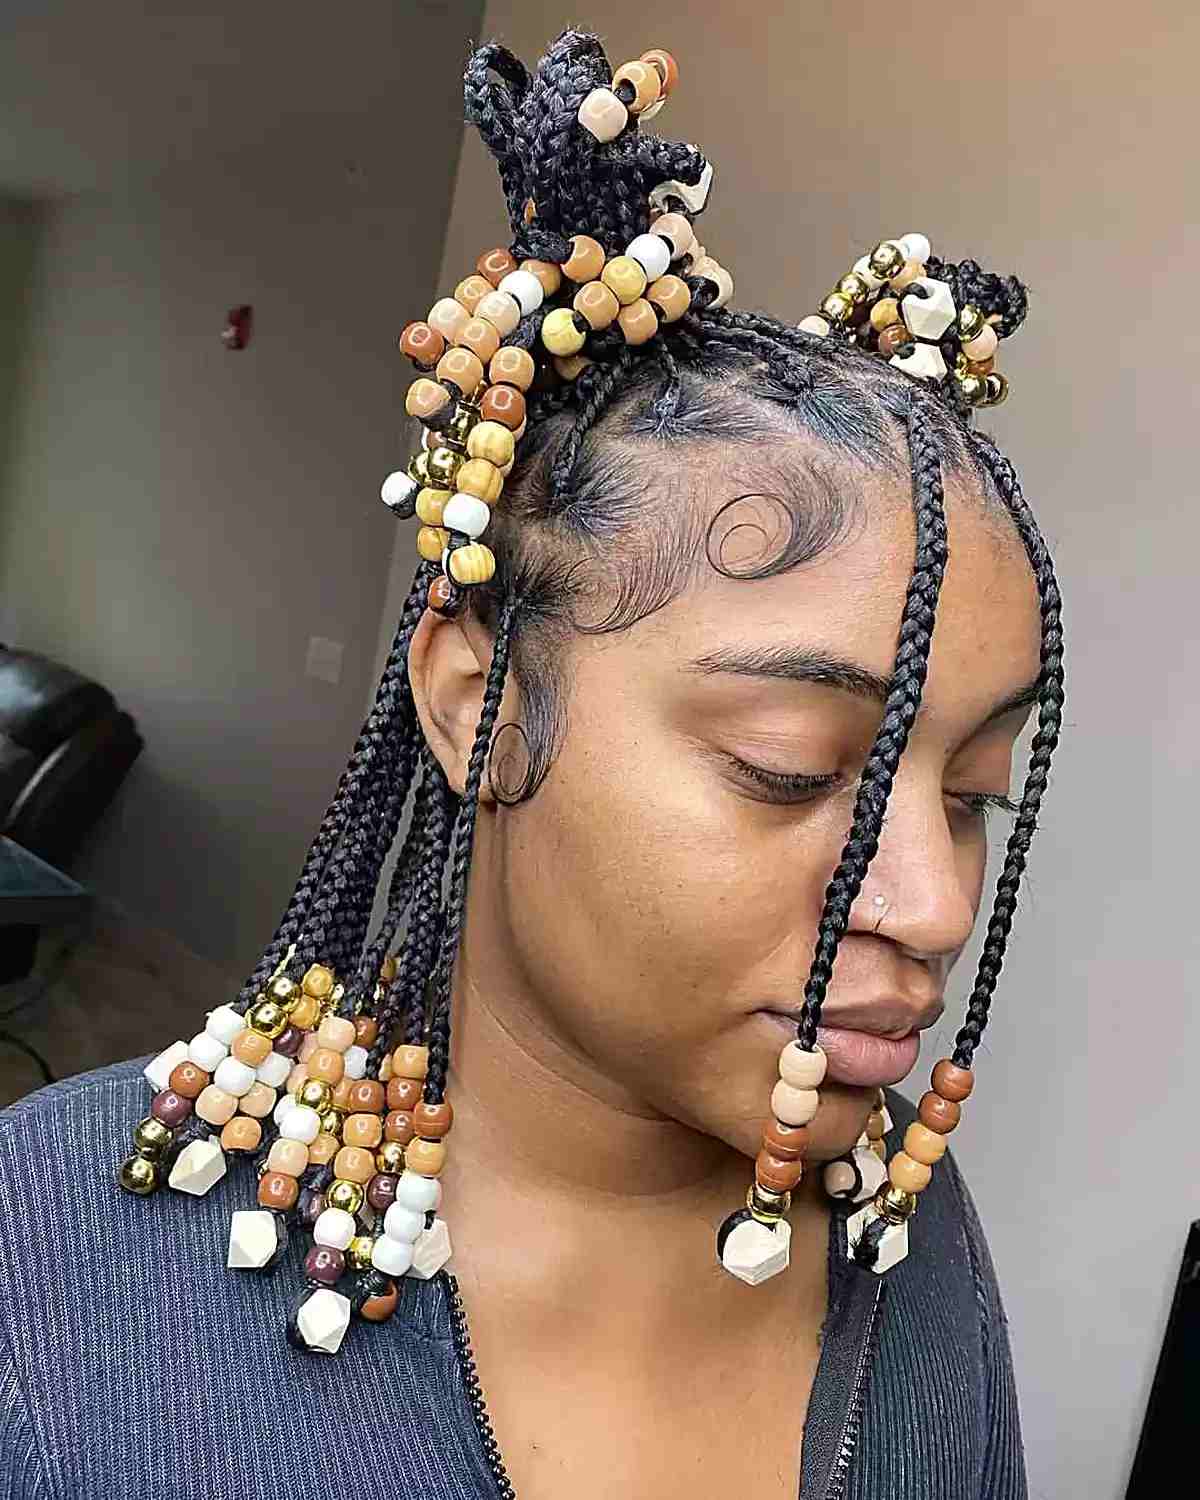
LONG AND THICK KNOTLESS BRAIDS WITH WOODEN BEADS

This is a classic and versatile hairstyle that radiates timeless beauty. The length of the braids offers endless styling possibilities, from casual, loose looks to detailed updos.
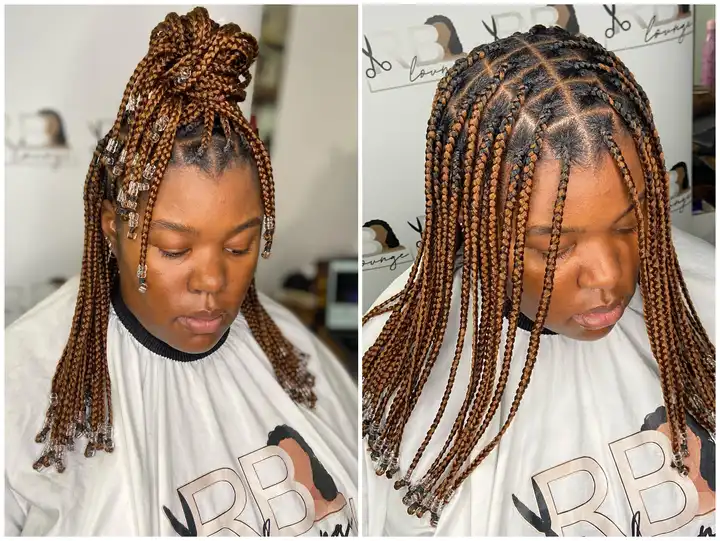
BROWN AND GOLDEN KNOTLESS BRAIDS WITH BROWN BEADS
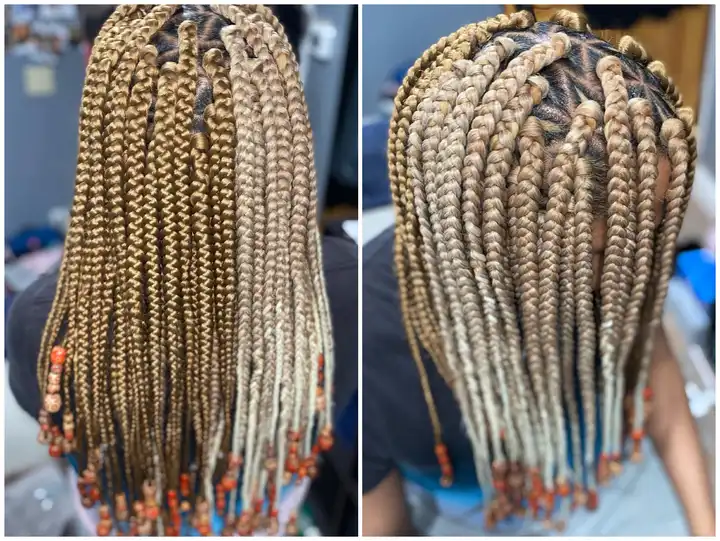
Brown and golden knotless braids with brown ornaments offer a trendy and distinctive take on traditional braids. The combination of two hair colors creates a dynamic and striking look that stands out.
BIG NO-KNOT BRAIDS WITH CLEAR ROUND BEADS
Brown and golden knotless braids with brown ornaments offer a trendy and distinctive take on traditional braids. The combination of two hair colors creates a dynamic and striking look that stands out.
TRANSPARENT BEADS ON KNOTLESS BOX BRAIDS
The fun part about beads is that you can switch up colors and shapes to suit your style. Transparent beads on knotless box braids let you embrace the bead trend while effortlessly matching any outfit. Clear beads can even create the illusion of longer braids since they let the braid show through. Keep your knotless braids looking fresh with tea tree oil for itch relief and setting mousse for added shine and control of flyaways.
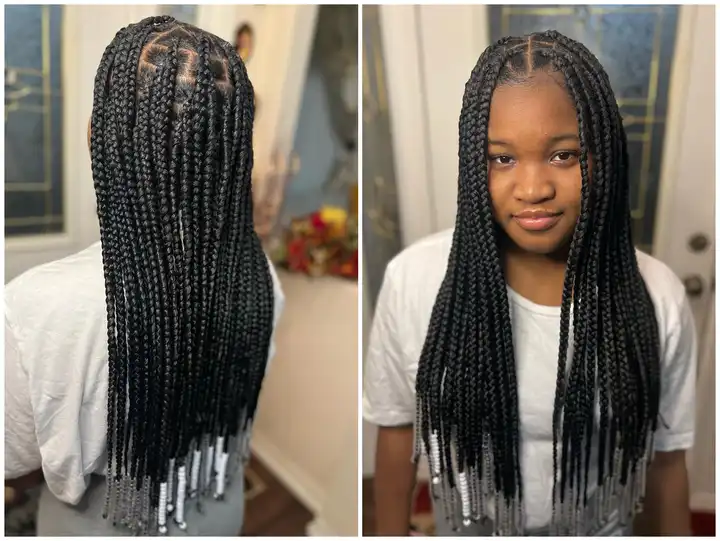
BROWN MEDIUM KNOTLESS BOX BRAIDS WITH BEADS
Shoulder-length knotless box braids are both durable and easy to maintain. They provide a stylish look without putting too much strain on the scalp, making them a comfortable option for many. Upkeep is simple, requiring regular moisturizing and gentle cleaning to keep them looking fresh.
CRIMSON RED COLOURED KNOTLESS BRAIDS
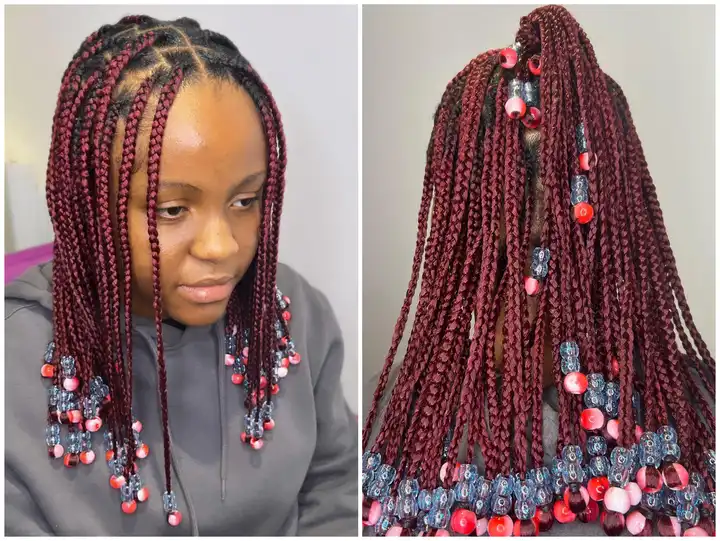
The shoulder-length deep red knotless braids are ideal for women seeking both style and convenience. This look features medium-length braids that are quick to install, long-lasting, and easy to manage.
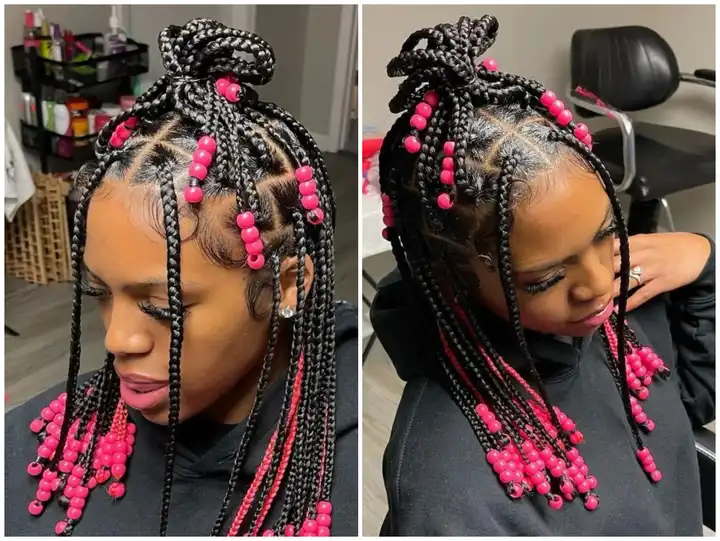
MEDIUM BOX BRAIDED STYLE WITH PINK BEADS
Embrace this summer with medium box braids adorned with pink beads! This low-maintenance style requires minimal upkeep and the shoulder-length cut means less time spent in the chair during installation. Knotless braids are perfect for lightweight, versatile styles. For the best results, have a professional braider handle the installation for precise parting and a neat, consistent braid. You can find pink beads at most beauty supply or craft stores.
SHOULDER-LENGTH BLACK BRAIDS WITH ORANGE BEADS
If long hair isn’t your usual style, try shoulder-length black braids with a pop of color, like orange beads on the ends. Beaded hairstyles are gaining popularity due to the endless bead options available. For the best results, choose beads without painted designs or fake chrome, as oil and water can damage them quickly. Wooden beads are a great choice, coming in various sizes and shades of brown and orange, and are lightweight for added comfort.
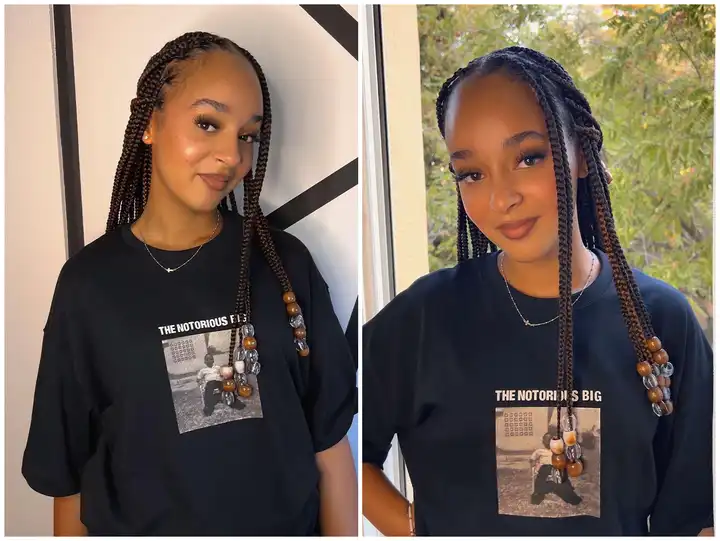
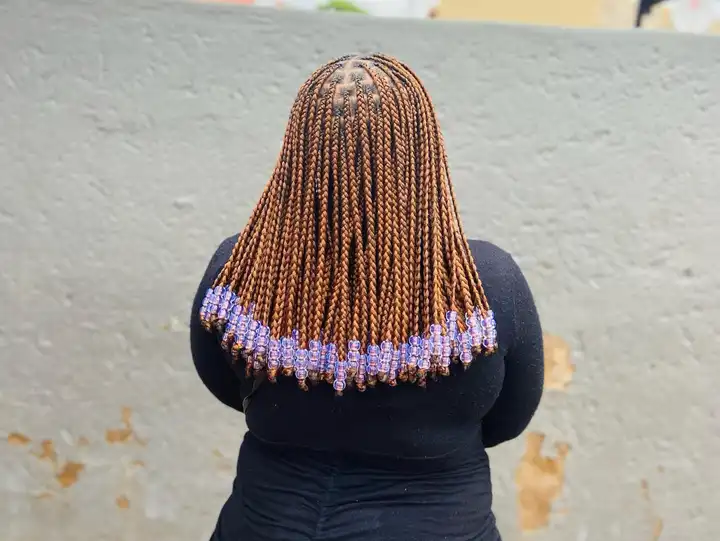
BEADED BROWN KNOTLESS BRAIDS
If brown is your favorite color, you’ll love the painting above. For a stylish touch, have your stylist incorporate both brown and clear beads to create a striking contrast in your hairstyle.
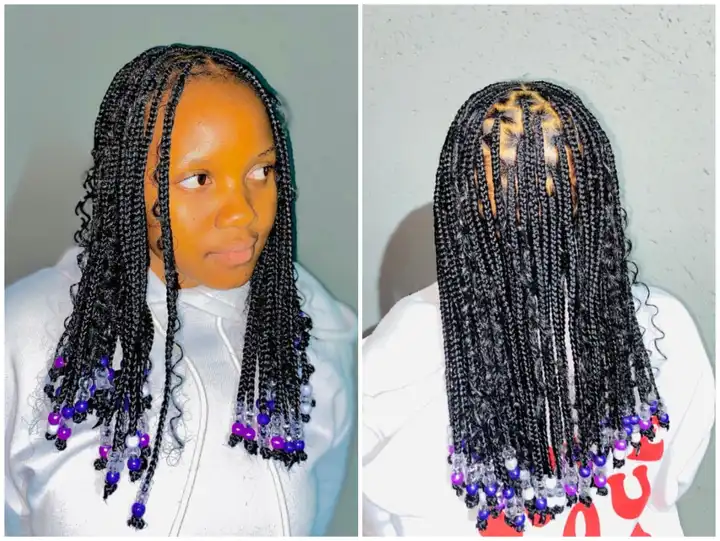
BLENDED KNOTLESS BOX BRAIDS WITH PURPLE BEADS
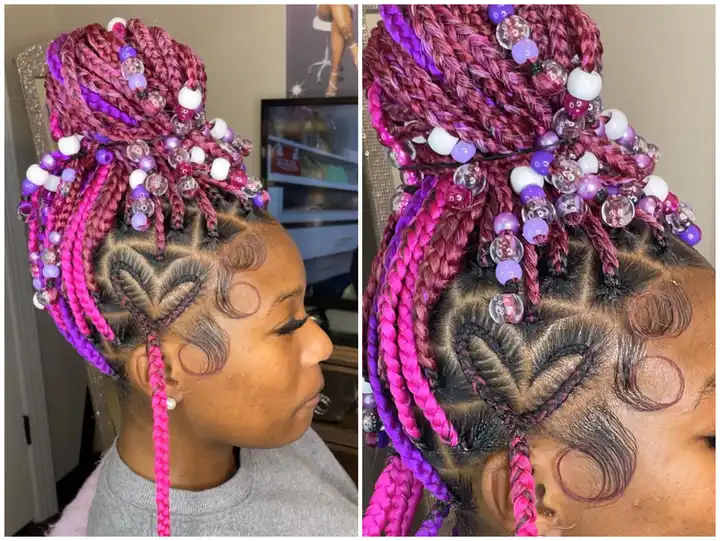
The blended no-knot box braids feature a fusion of different hairstyle designs. This unique style combines triangle, heart shape, and classic box braids into one cohesive look.
COLOURED BRAIDS AND BEADS WITH SLEEK EDGES
Looking for a fun and carefree hairstyle for your next vacation? Consider knotless braids with beads and colorful accents. This style is perfect for enjoying the summer vibes and feeling confident under the sun.
BLONDE BEADED BRAIDS WITH WAVY STRANDS

Blonde beaded braids with wavy strands create a bohemian-inspired knotless style. To achieve a balanced look, carefully consider the proportion of wavy hair and the weight of the beads. Avoid overloading the braids on either end. Let the braids be the focal point of the style by maintaining clean parts and consistent sizing. Add a few beads to the ends and incorporate wavy strands throughout for a subtle and stylish touch.
CENTRE PARTED BEADED BOX BRAIDS
Center-parted beaded box braids feature a precise parting down the center of the head, with neatly braided sections on each side. If you’re seeking a symmetrical and polished hairstyle, this design is an excellent choice.
KNOTLESS GODDESS BRAIDS WITH PURPLE BEADS
Knotless goddess plaits offer a contemporary take on the classic box braid style. Perfect for both vacations and everyday wear, these braids are elevated with the addition of eye-catching beads.
MID-LENGTH BRAIDED STYLE WITH BEADS AND BUNS
Looking for a playful and stylish hairstyle? Consider a mid-length knotless braided style with beads and Minnie Mouse buns. Knotless braids are ideal for this type of styling due to their flat base, allowing for easy creation of ponytails and buns. Warm shades of brown and wooden beads add a touch of elegance to the look. To keep your baby hairs in place, use an edge control product and a small brush to style them along your hairline.
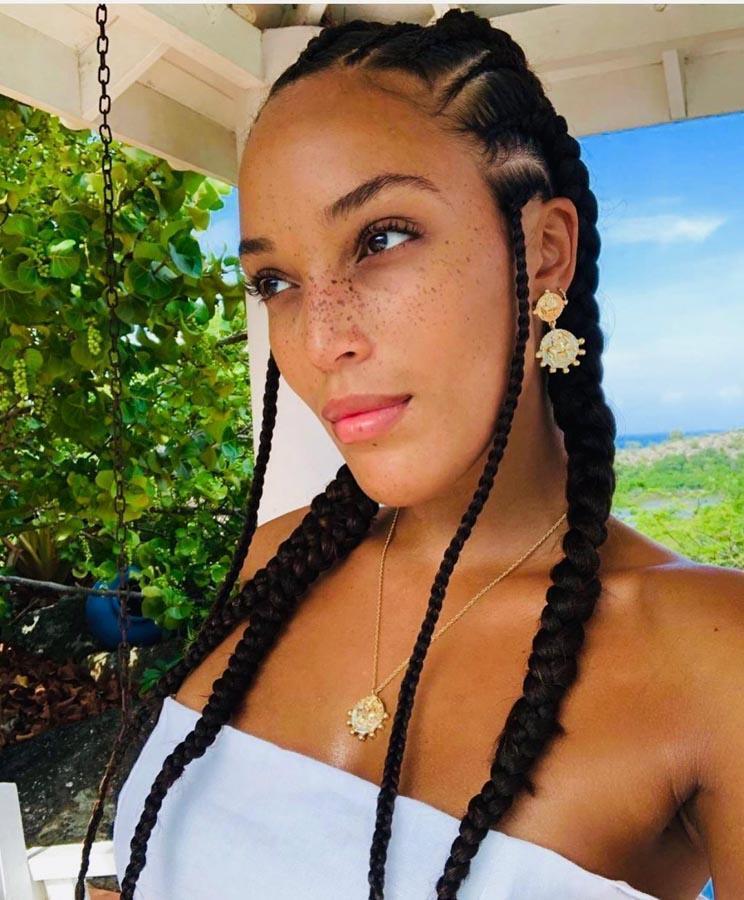
BEADED MID-LENGTH FULANI BRAIDS
Beaded mid-length Fulani plaits embody traditional elegance. This hairstyle features a combination of cornrows and plaits, adorned with clear, transparent beads for a subtle and sophisticated touch.
CRISS-CROSS KNOTLESS WITH BEADS
Criss-cross knotless braids are a perfect choice for those seeking a unique and artistic hairstyle. This design features intricate criss-crossed plaits adorned with brown and white ceramic or shell beads.
LONG CHUNKY BRAIDS WITH BEADS ON THE ENDS
Long chunky braids with beads are a popular and stylish choice. Don’t worry if you don’t have naturally thick hair; an experienced braider can add additional hair to each braid section to achieve the desired thickness. Customize the look with beads in various shapes and colors, allowing for endless possibilities and easy changes.
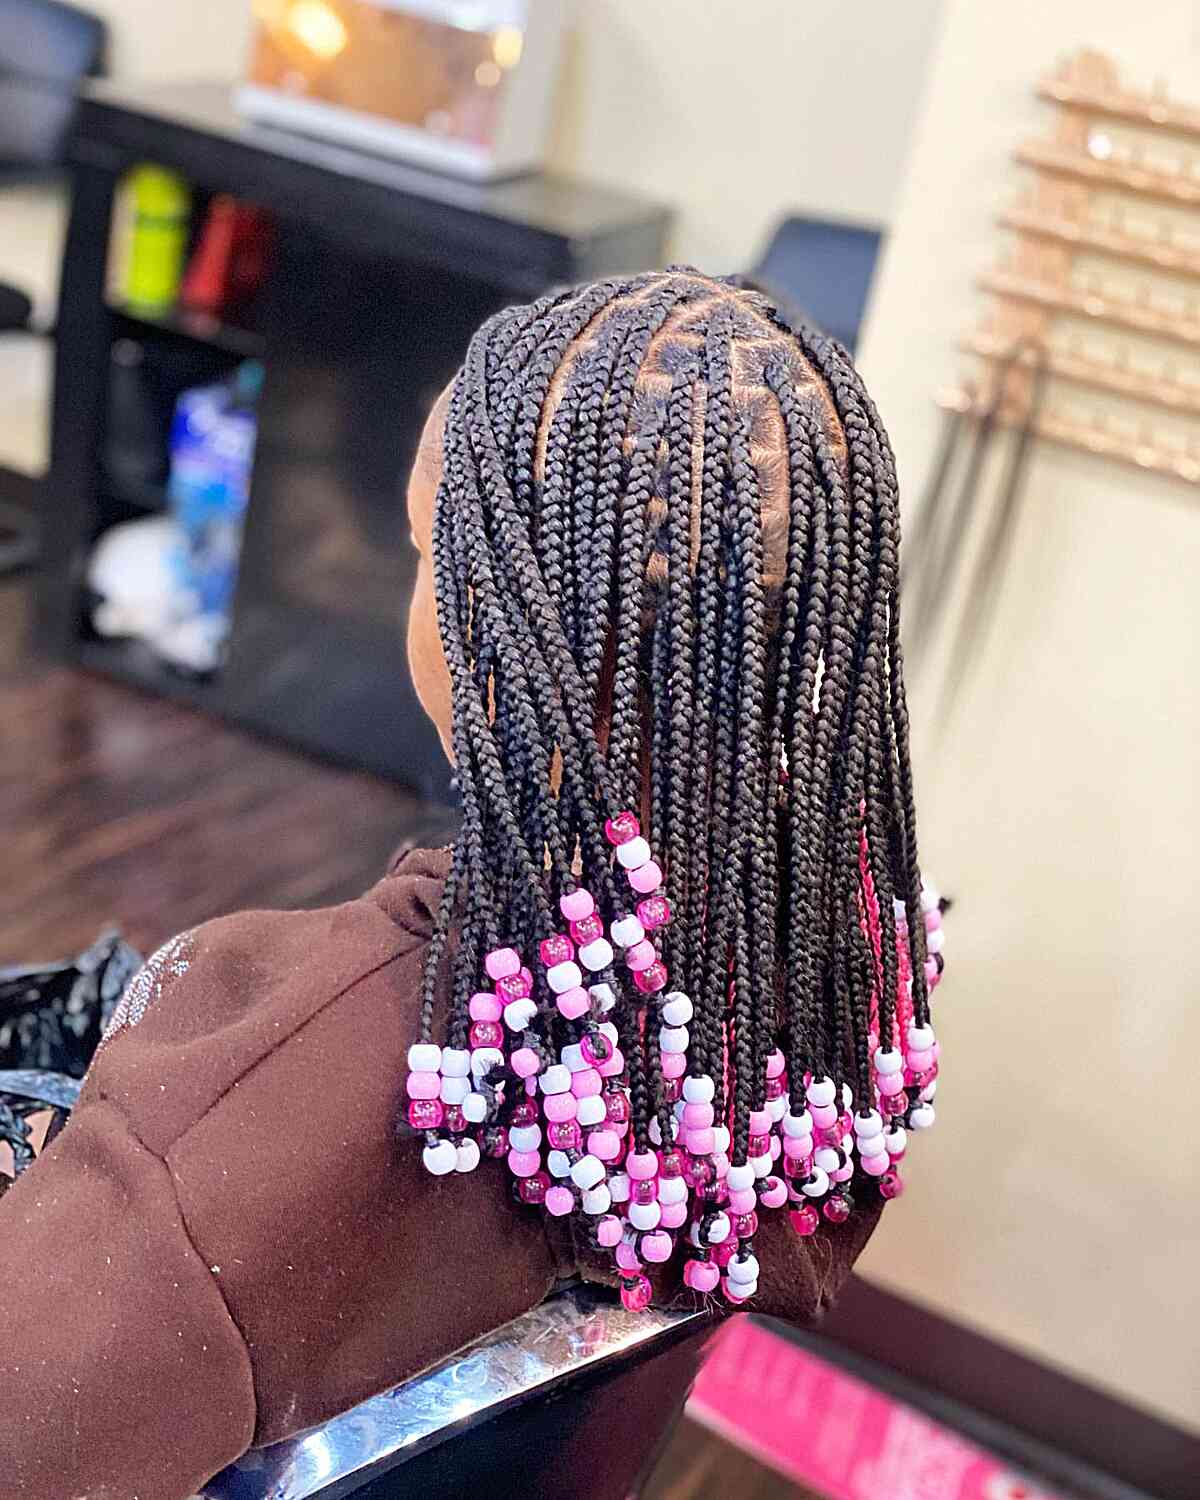
SHOULDER-LENGTH KNOTLESS BRAIDS WITH PINK BEADS
Looking for a vibrant and playful hairstyle for your little girl? The shoulder-length medium knotless plait with pink beads is a perfect choice. Its colorful design makes it one of the best options for knotless braids with beads for young girls.
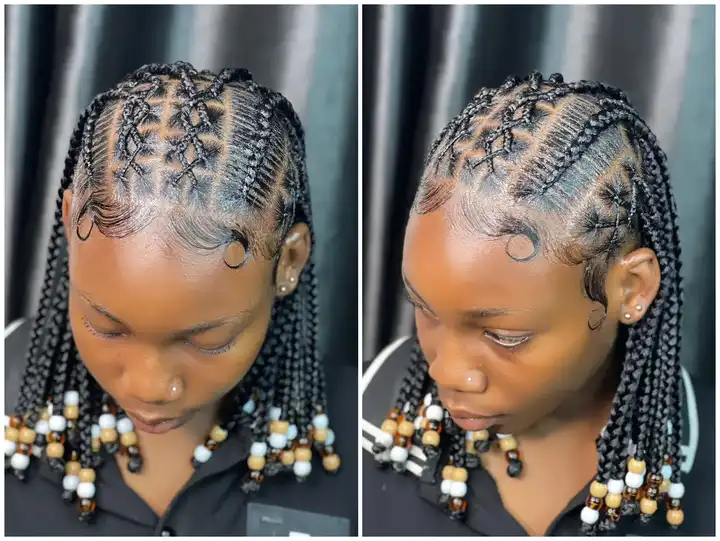
TRIANGLE KNOTLESS BRAIDS WITH BEADS
These unique medium knotless plaits with beads showcase a creative and artistic design. The triangular pattern adds a distinctive element to the hairstyle, while the assortment of light and dark-colored beads complements the look.
SHORT KNOTLESS BRAIDS WITH BEADS
Short knotless braids with beads offer a convenient and stylish option for women seeking a low-maintenance hairstyle. Ideal for summer and perfect for beach days or other outdoor activities.
BEADED KNOTLESS JUMBO BRAIDS

Although the classic box braid technique may not have a flat base like knotless braids, it’s still a protective style that offers excellent durability. With proper care, beaded box braids can last longer. A helpful tip: after tapering the ends, dip them in hot water to facilitate bead placement.
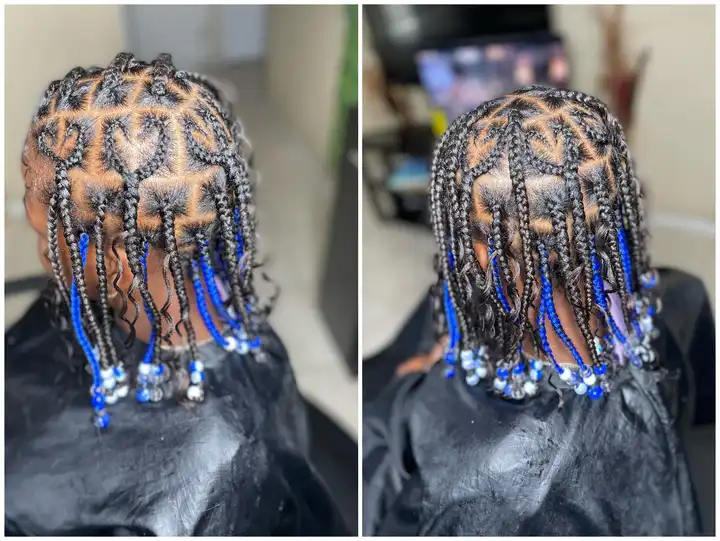
THICK KNOTLESS BRAIDS WITH BLUE BEADS
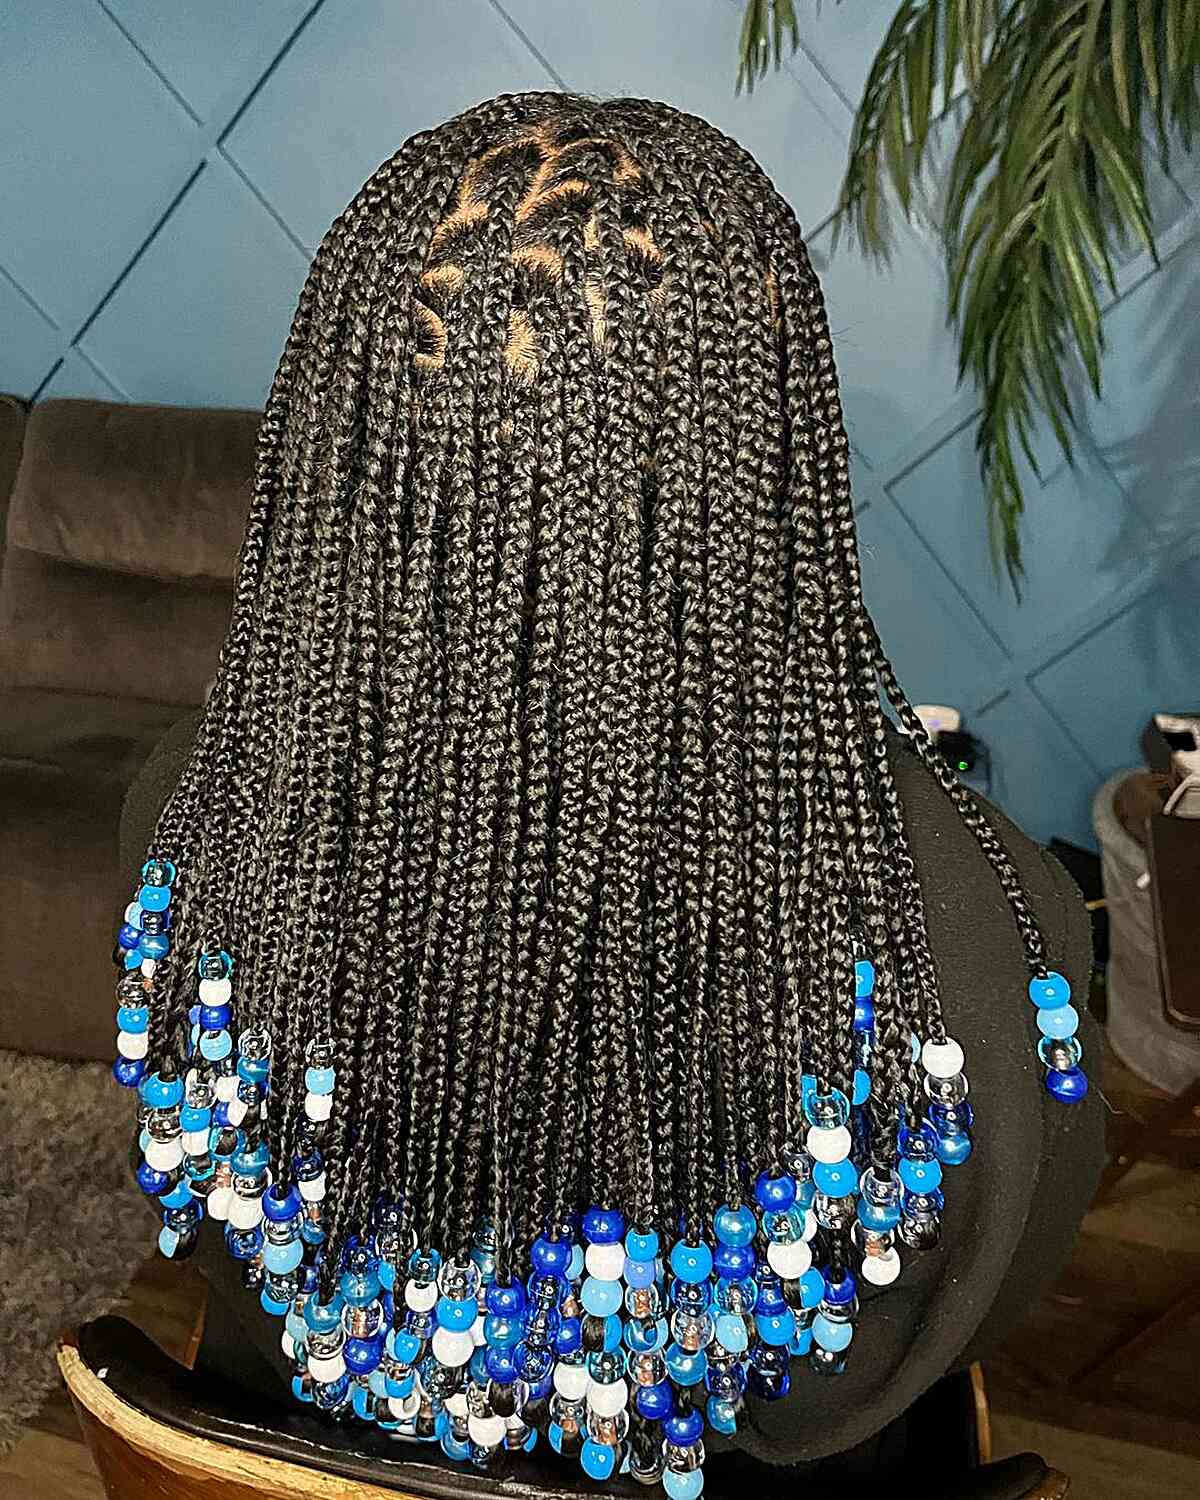
Want a full and flowing hairstyle without excessive thickness? Ask your braider for freestyle small knotless braids and add a touch of personality with blue beads on the ends. Freestyle parting helps to avoid harsh parting lines and create a more natural look. Consider half-moon parting to incorporate additional braids and increase volume. Experiment with different bead color combinations for a fun and personalized style.
CONCLUSION
Knotless braids with beads offer a versatile and stylish option for those seeking a unique and eye-catching hairstyle. From vibrant colors to intricate patterns, the possibilities are endless. By incorporating beads into your braids, you can add a touch of personality and glamour to your look. Whether you’re attending a special event or simply want to refresh your everyday style, these 30 ideas will inspire you to create stunning and unforgettable hairstyles.