Planning your wedding day hairstyle can feel like a military operation. From preparing your hair to finding the perfect stylist, and incorporating veils and accessories, there’s a lot to think about. This is especially true for Black brides, as Black British bridal hair specialists haven’t received the recognition they deserve, and many bridal guides primarily focus on Caucasian hair types. This article is dedicated to you! We’ve put together a list of 18 stunning hairstyles for Black brides to help you shine on your special day. Ready to get inspired? Keep reading!
CHOOSING THE BEST BLACK BRIDAL HAIRSTYLES
First, think about your hair texture—whether it’s natural, relaxed, or styled in a protective way like braids or twists. Each texture provides unique styling options, from sleek updos to voluminous curls.
Next, take your face shape and features into account to identify which styles will best enhance your look.
Consider the theme and formality of your wedding as well. Elegant updos or sophisticated, sleek styles may suit a formal affair, while loose curls or braided styles may be more fitting for a relaxed or bohemian celebration. Don’t forget to match your hairstyle with your wedding dress and accessories to ensure a cohesive bridal look.
Finally, it’s wise to schedule a trial session with your hairstylist to experiment with different styles and find the one that makes you feel the most beautiful and confident on your big day.
WEDDING HAIRSTYLES FOR BLACK WOMEN
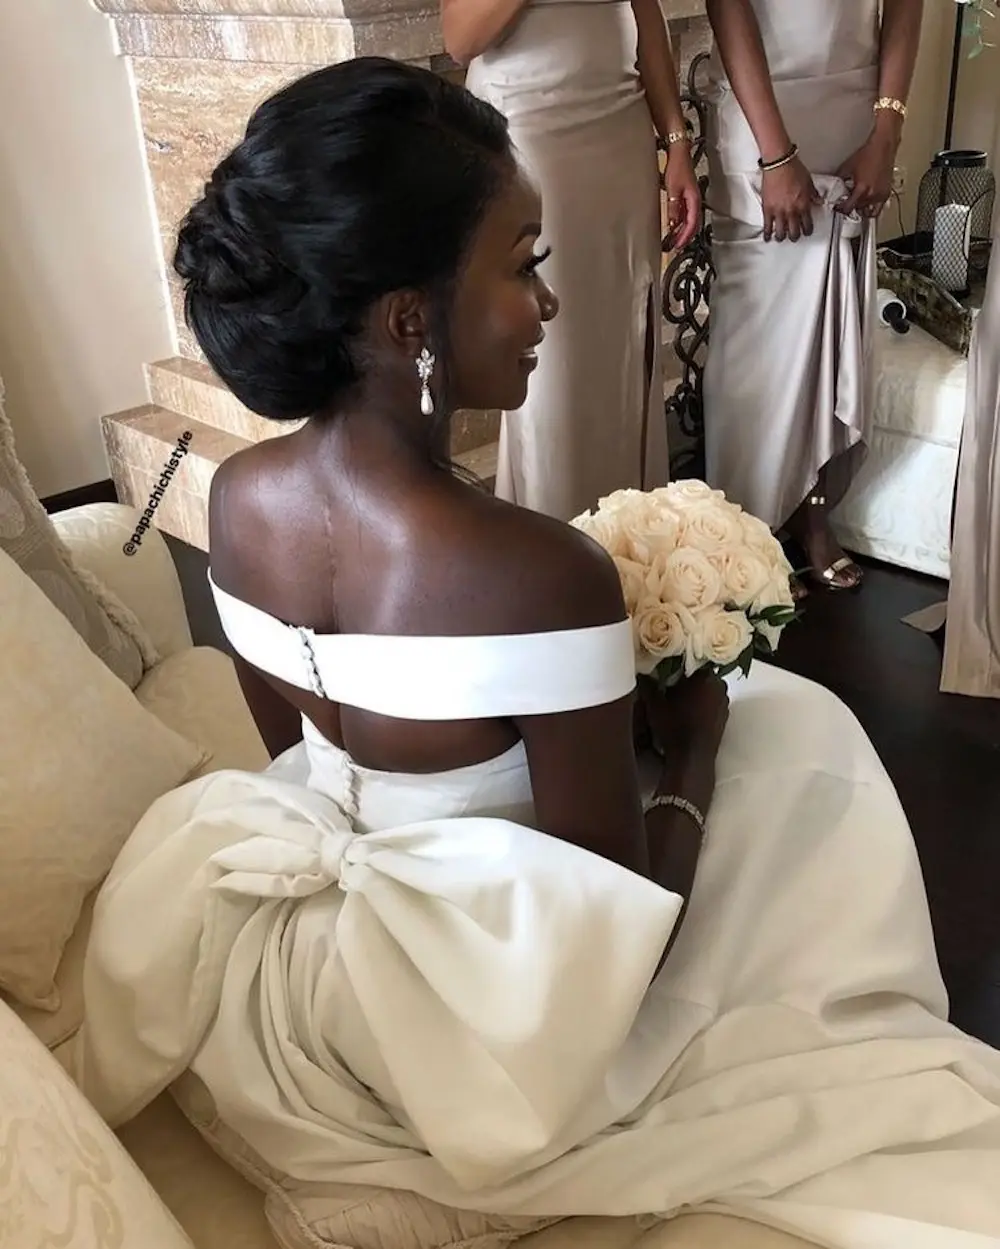
BRAIDS WITH A MEGA BOW
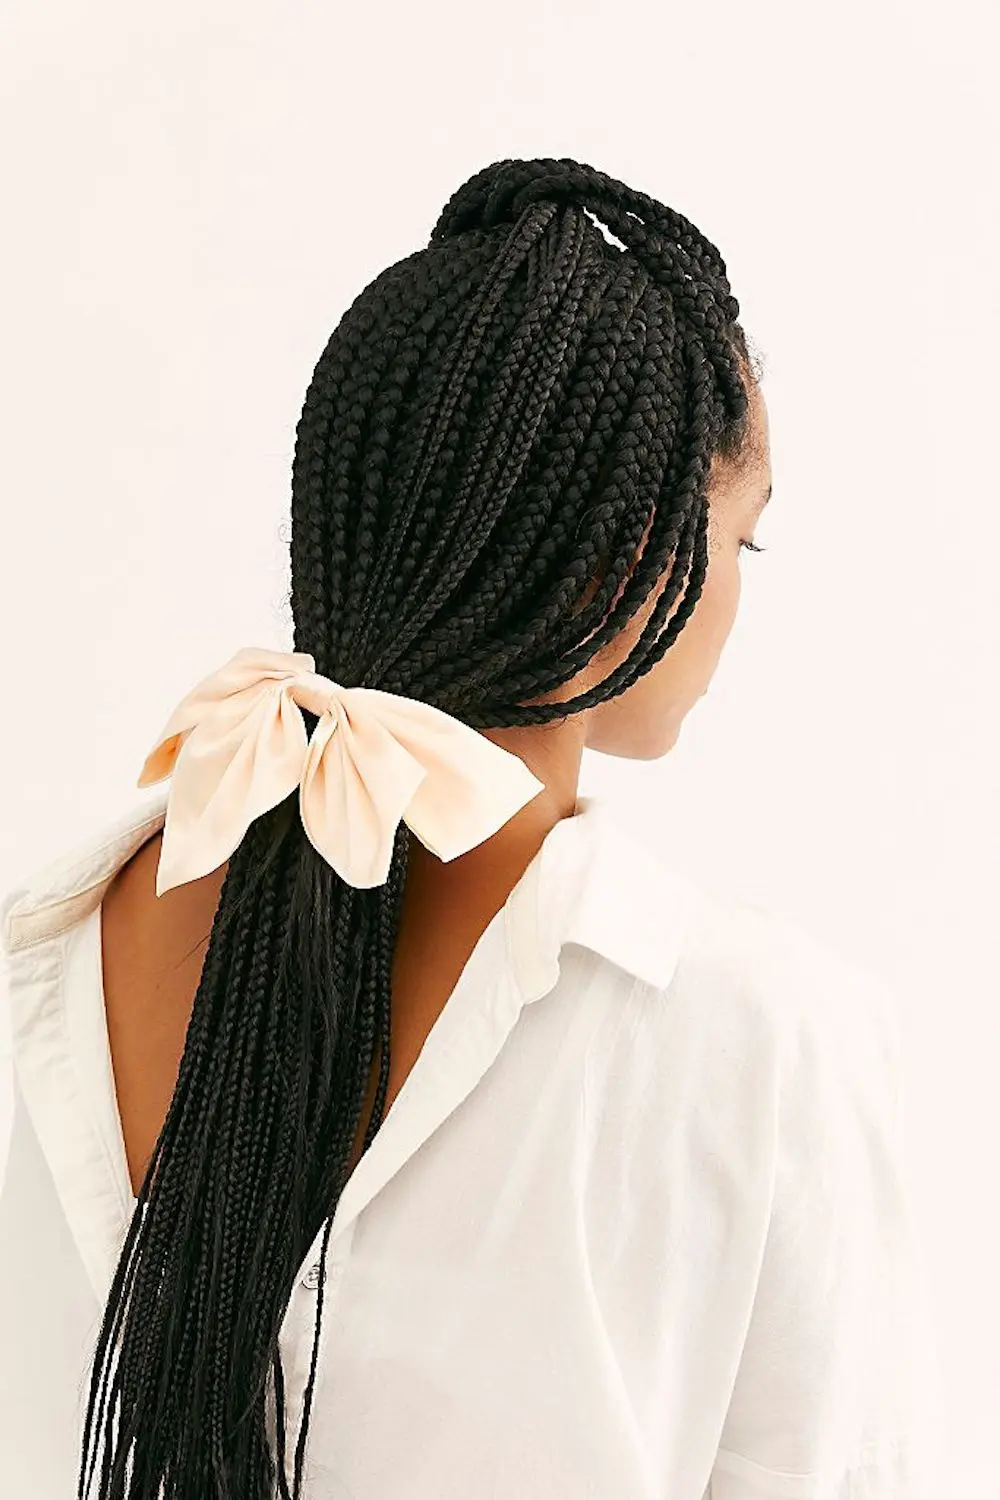
Secure various-sized braids at the nape of your neck with a large, luxurious bow—the more opulent the material, the better! Lace, silk, and velvet are all excellent choices. Now that your hairstyle is taken care of, what about your nails? Don’t miss our roundup of stunning wedding nail ideas that go beyond just nude shades!
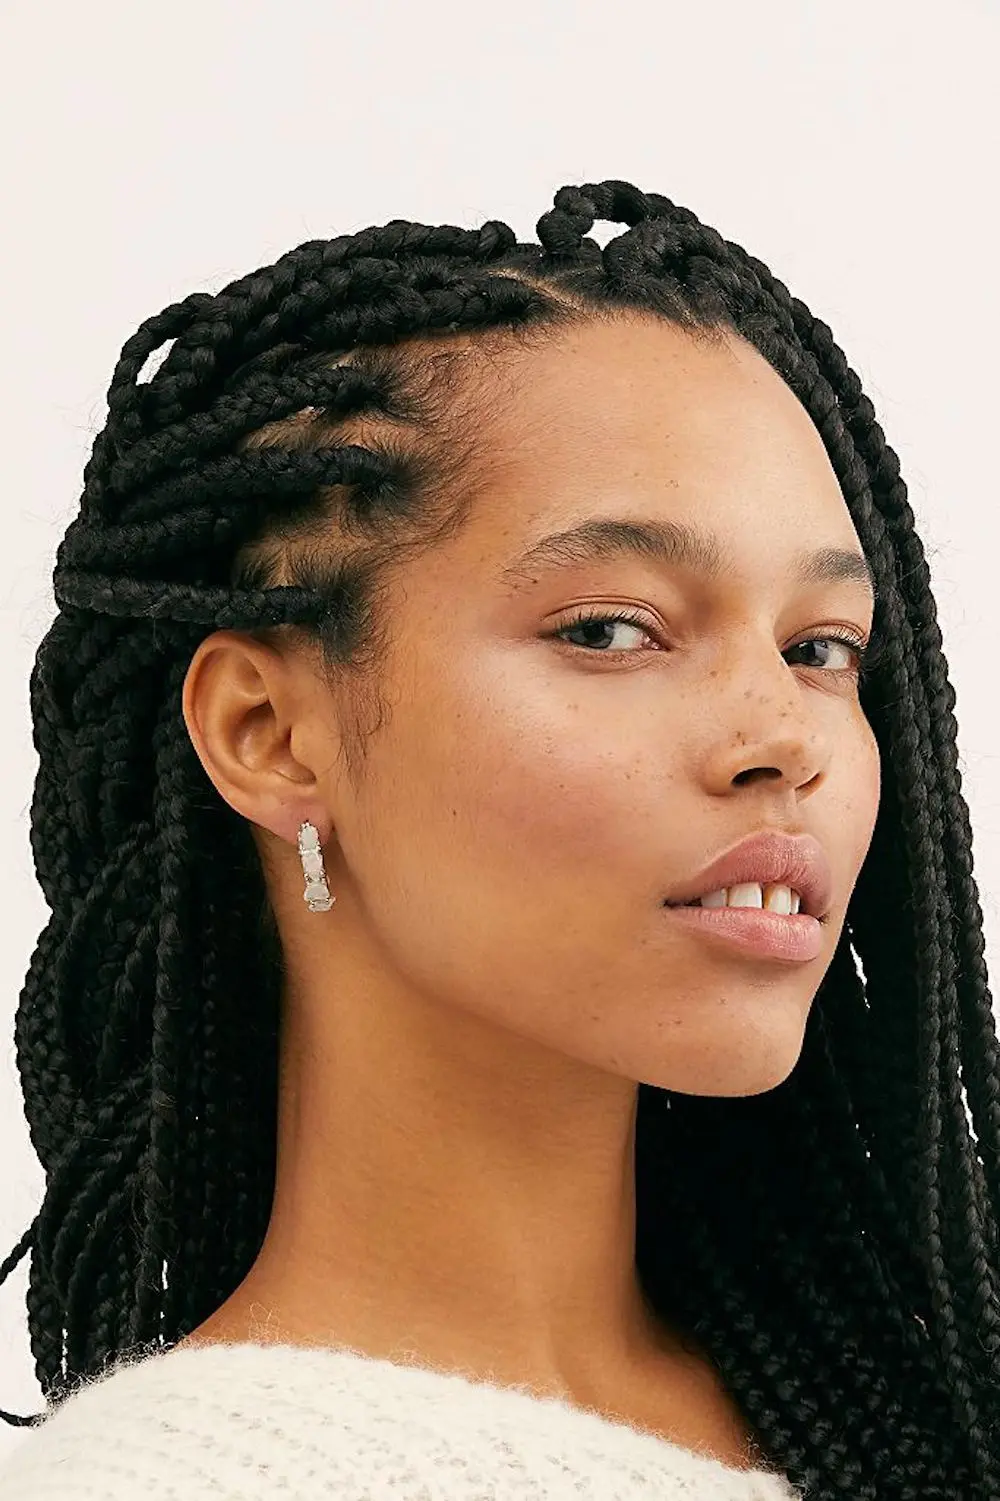
MINI TWISTS
That sounds like a stylish choice! Mini twists paired with ‘Mrs’ earrings definitely create a chic and modern bridal look. This combination adds a playful yet elegant touch to the overall aesthetic. Are you planning a specific hairstyle or outfit to complement this vibe?
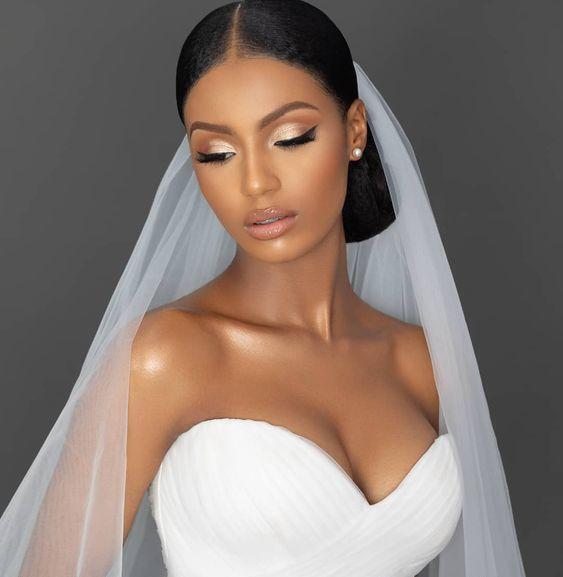
HIGH VOLUME HAIR WITH A VEIL
That’s a fantastic tip! Pinning the veil below your chosen hairstyle allows both elements to shine. Whether you choose an updo or short curls, this approach adds elegance and showcases your hair beautifully. Additionally, it creates a lovely flow and can enhance your overall bridal look. Do you have any specific styles in mind?
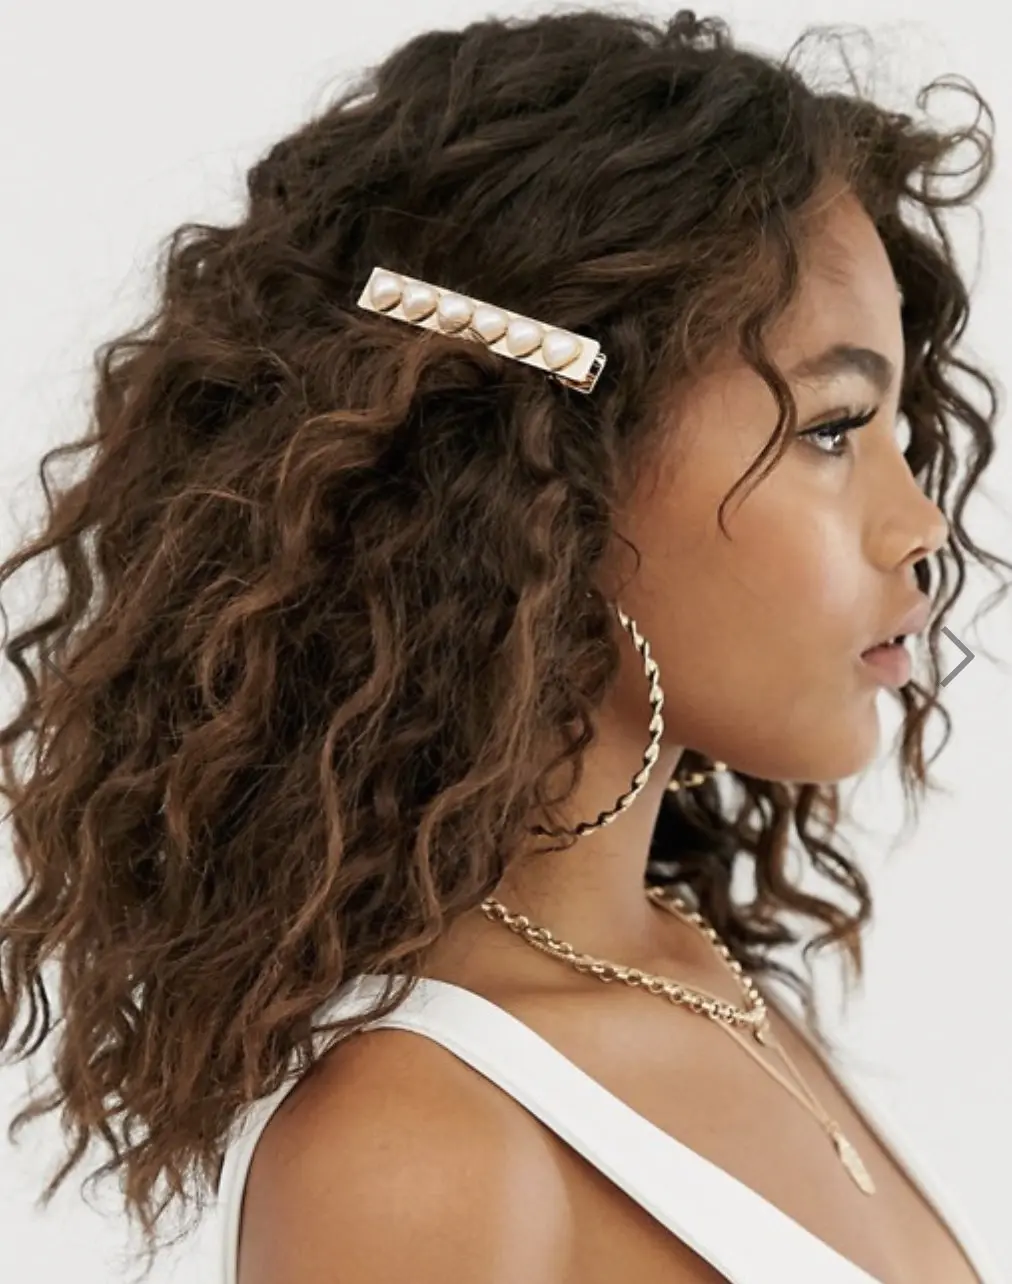
LAYERED CURLS WITH A COMB

That’s a great idea! Layered curls can add a lot of volume and movement to your hair. Clipping one side up with a dramatic hair accessory not only adds flair but also creates an asymmetrical look that can be very striking. It’s a perfect way to balance elegance with a touch of drama. Have you thought about what kind of accessory you’d like to use?
GHANA BRAIDS WITH LOOSE CURLS
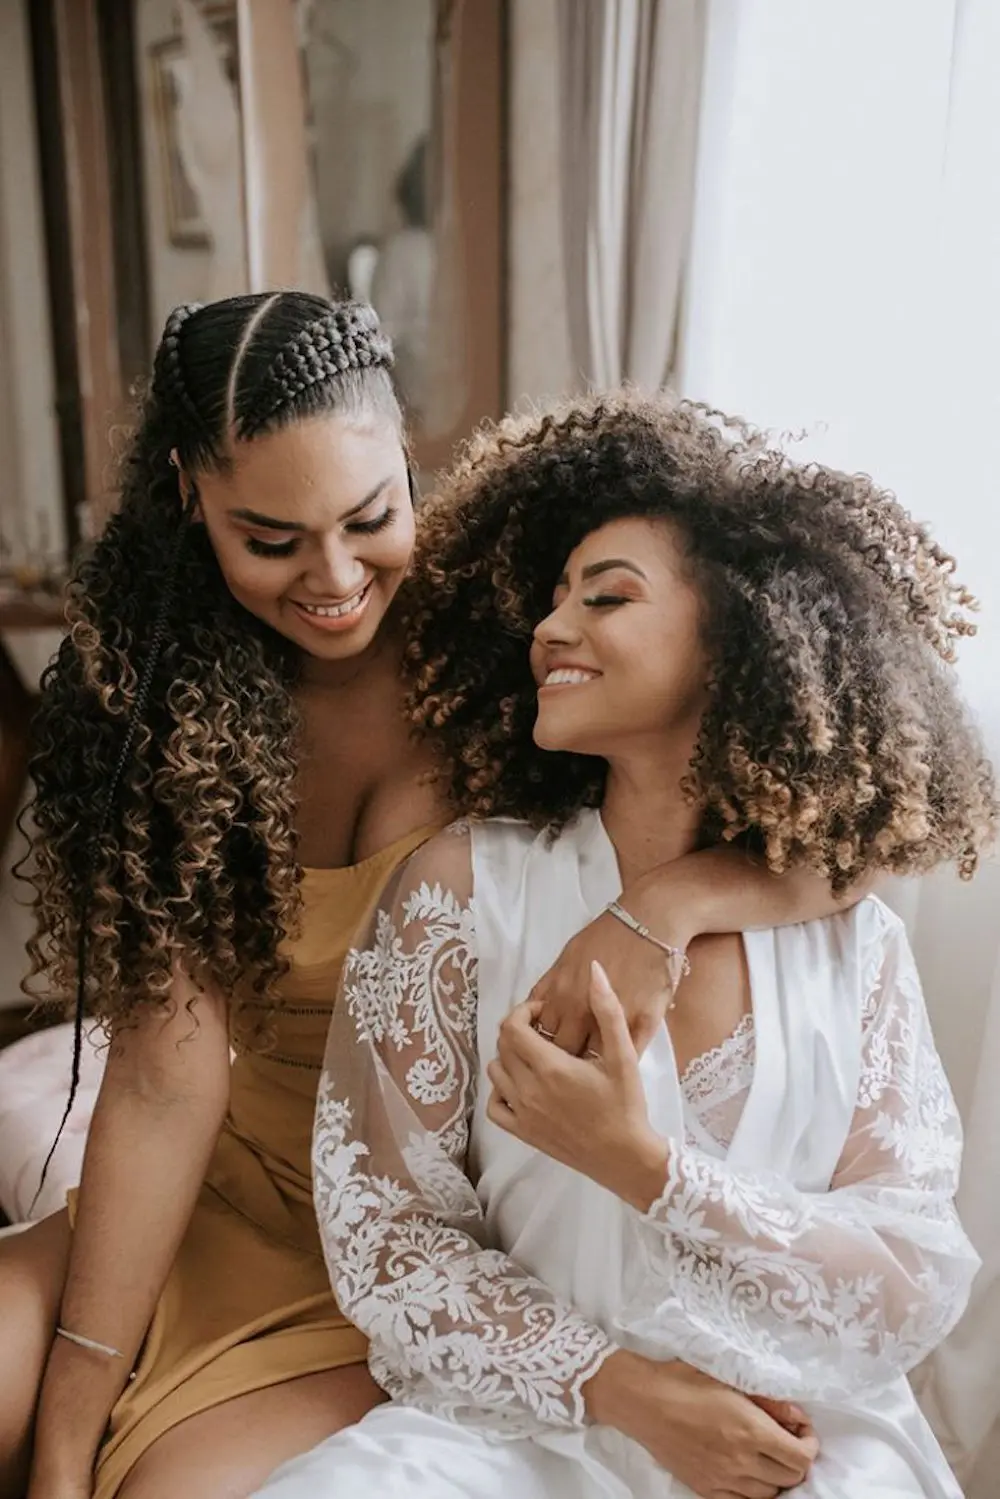
That sounds like a stunning and modern hairstyle! Chunky twin braids combined with tiny cornrows can create a unique look, especially with the ends left free and curly. Keeping edge control gel and a tiny bristle brush handy is smart; it helps achieve that polished finish, especially for braids or tight updos. This approach not only keeps your hairstyle neat but also adds a stylish touch. Are you considering this for a wedding or another special occasion?
LOCS WITH TRINKETS
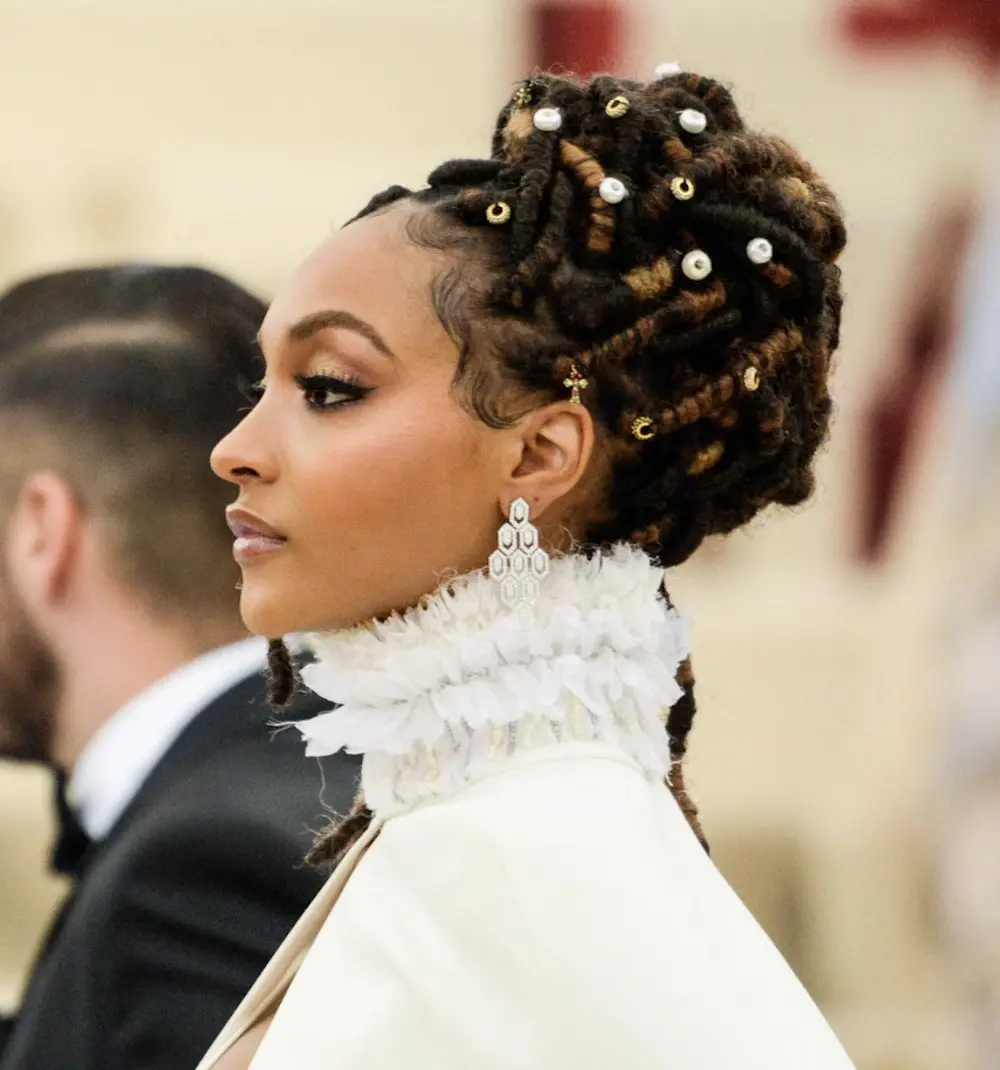
Jourdan Dunn’s faux locs are indeed a stunning choice! Incorporating trinkets or hair accessories can elevate the look and give it a unique, glamorous touch, much like her Met Gala appearance. Are there specific trinkets you have in mind to channel that vibe?
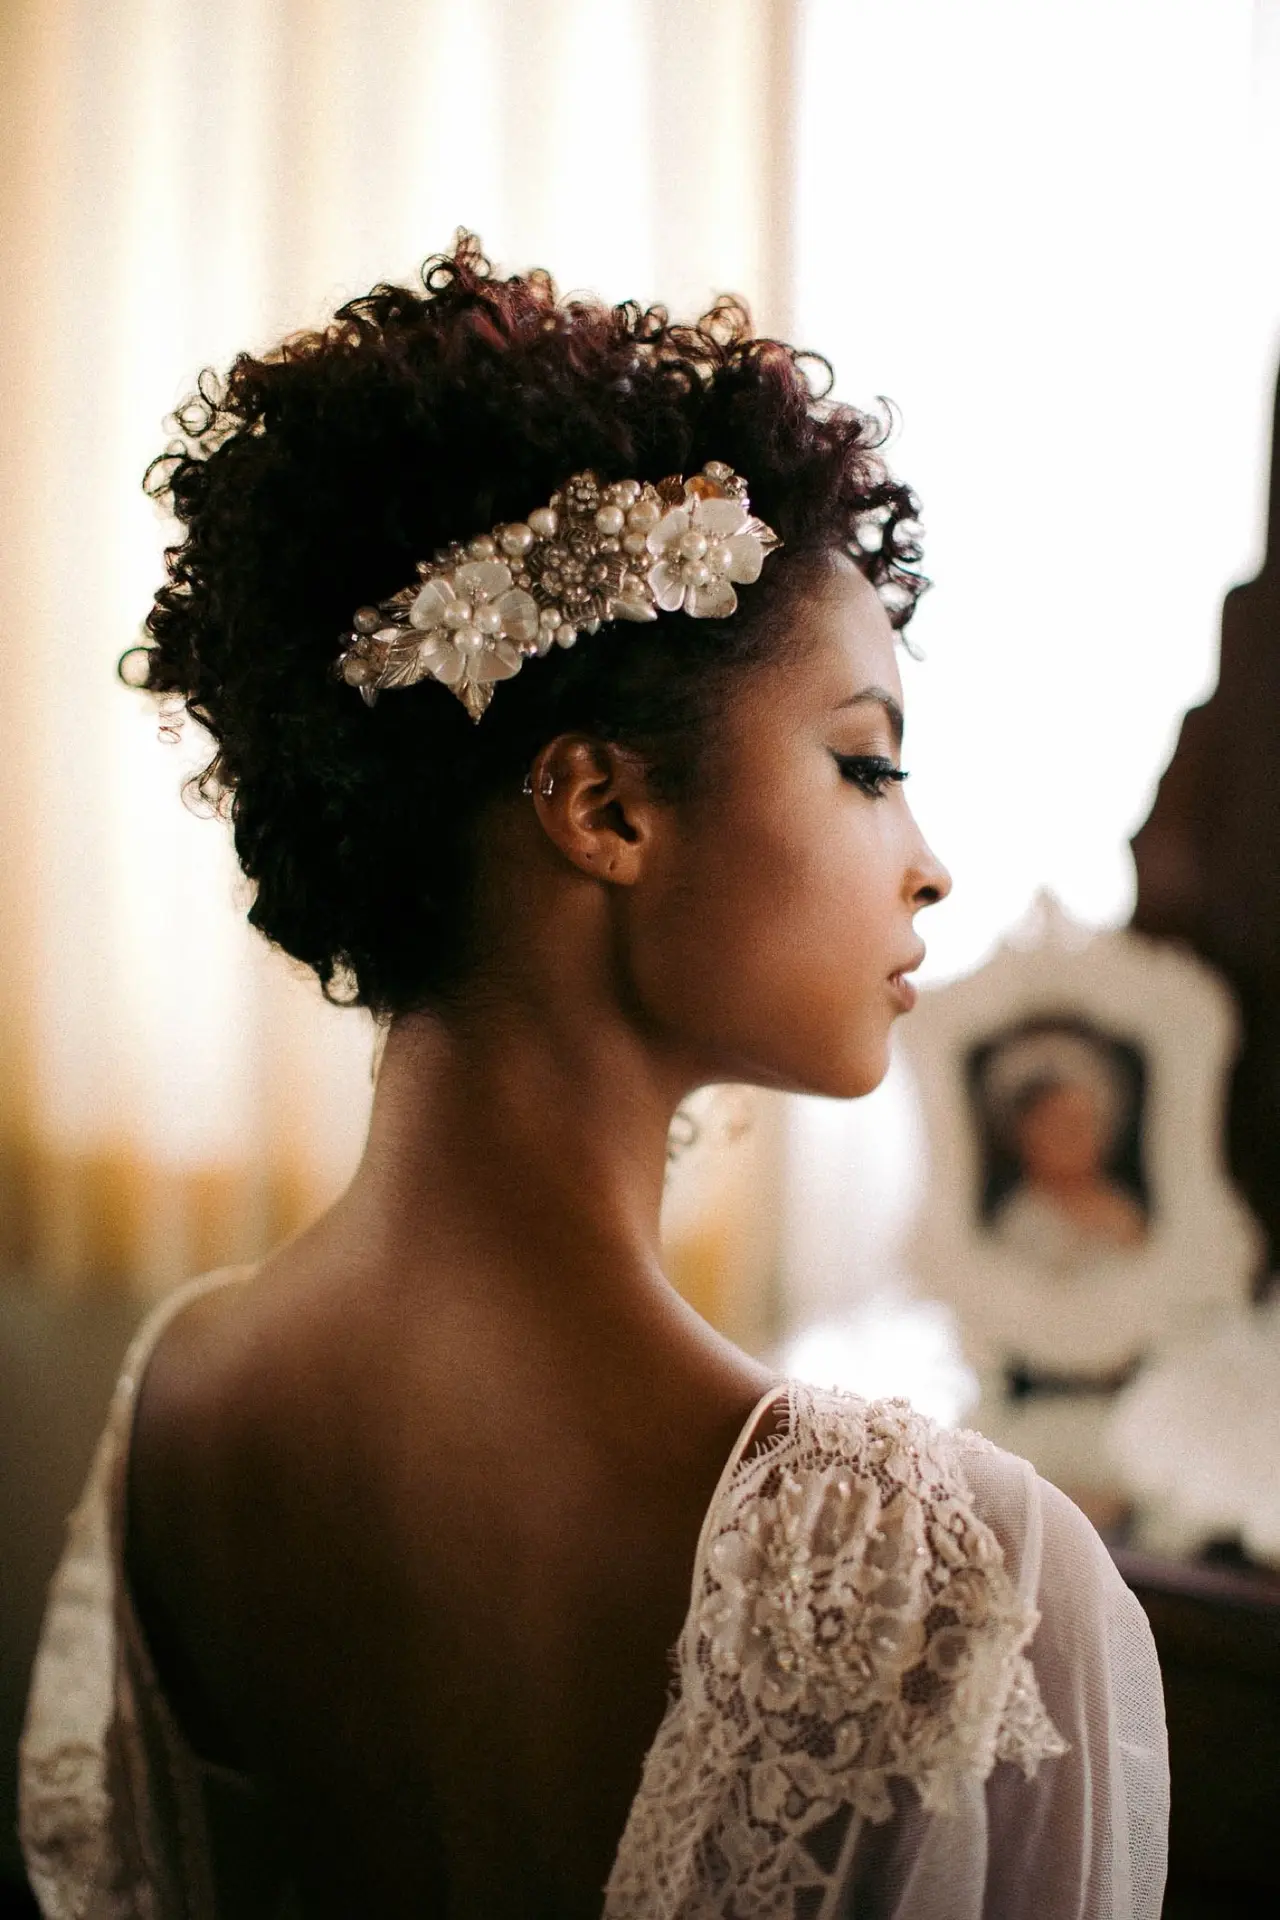
SOFT UPDO WITH SILK FLOWERS
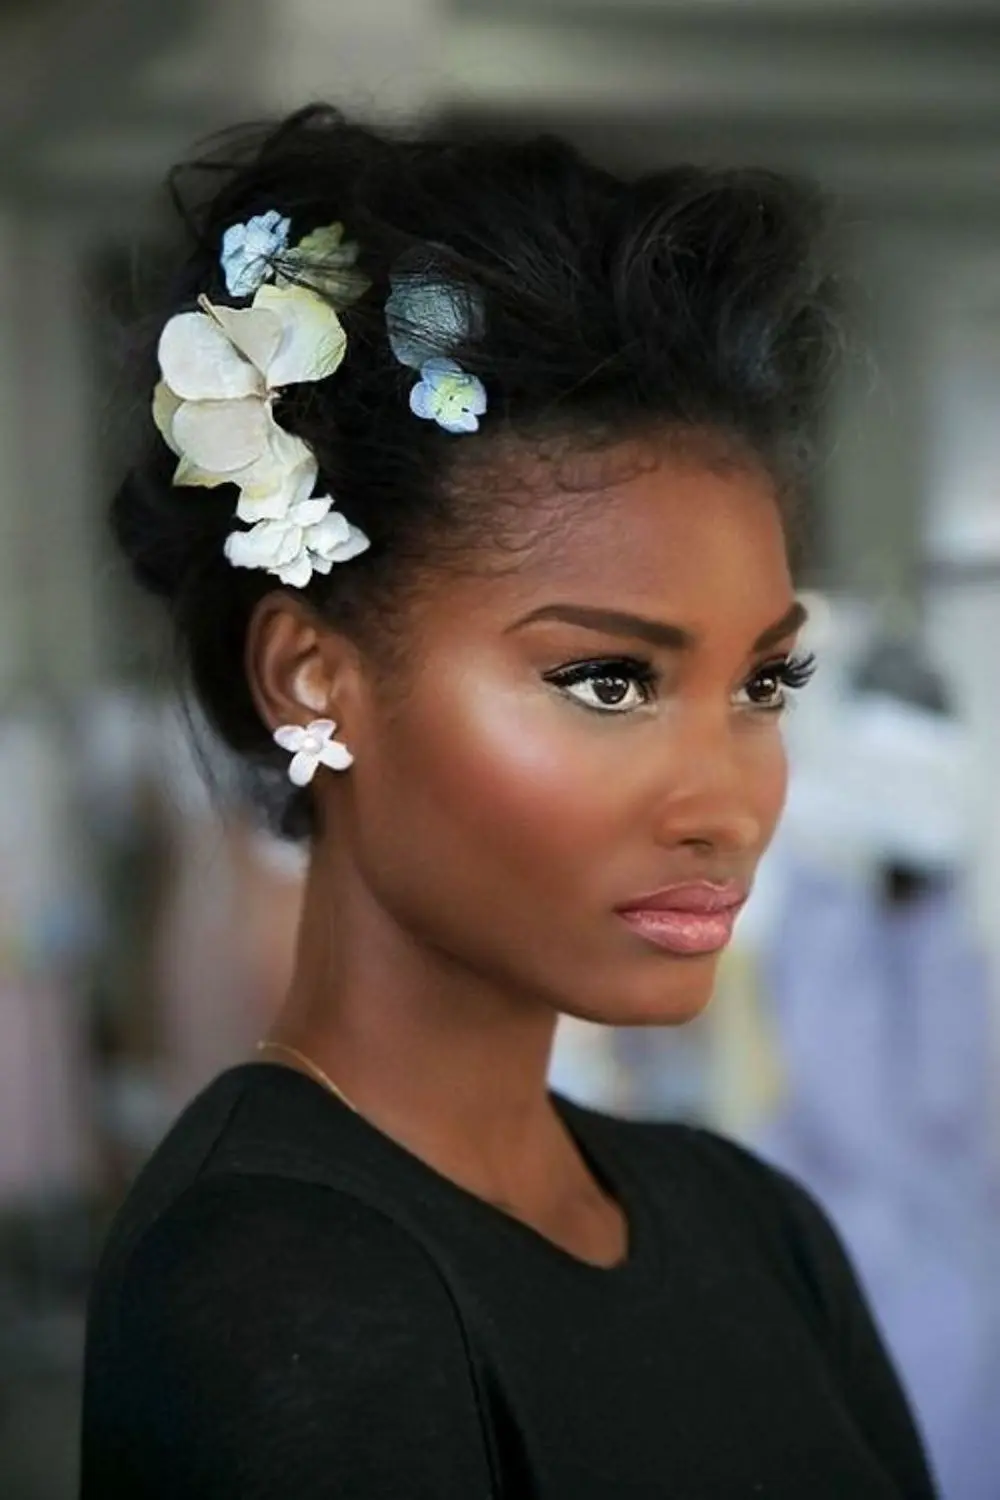
That’s a lovely idea! Silk flowers cascading from a soft updo bring a romantic and ethereal touch, perfect for a spring wedding. They add a whimsical element without the worry of wilting, allowing you to enjoy your special day without concern. This style beautifully combines elegance with a natural feel. Have you thought about color schemes or specific types of flowers to use?
LOW BUN WITH OVERSIZED CLIP

That sounds fabulous! A giant clip can add a bold statement to a curly low bun, making it both stylish and sophisticated. Placing the accessory at the back not only highlights the bun but also adds an element of surprise to your hairstyle. Are you considering any particular colors or designs for the clip?
LOW SIDE PARTING WITH A BEJEWELLED CLIP
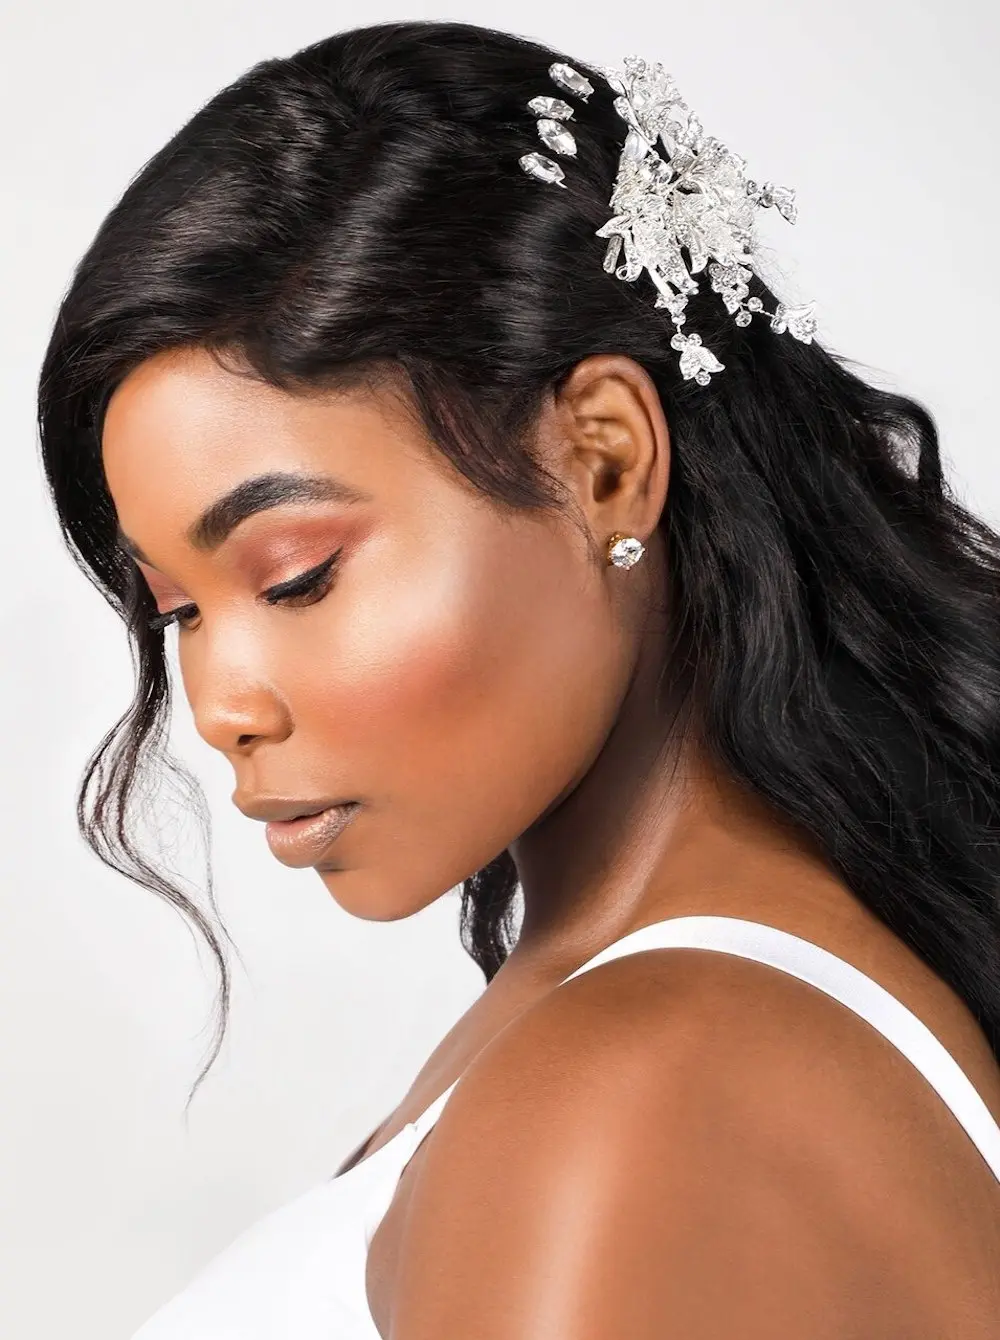
Absolutely! A simple hairstyle acts as a great backdrop for a statement clip. Whether it’s a sleek ponytail, a low bun, or straight hair, the contrast allows the clip to shine and become the focal point of your look. This balance between simplicity and a touch of glamour can create a stunning effect. Do you have a specific clip in mind that you’d like to use?
CHIGNON
A classic chignon is a timeless choice, especially if your wedding dress highlights the back! It elegantly showcases your neckline and any intricate details on your gown. Plus, it’s versatile enough to add accessories or keep it minimal. Have you thought about any specific embellishments to pair with the chignon?
BOX BRAIDS
Loosely secured box braids create a relaxed and effortlessly cool vibe, and you’re right—imperfection adds character to the style. By randomly clipping up sections, you can beautifully highlight your bone structure and showcase any statement jewelry you choose to wear. This approach adds an artistic touch and keeps the look fresh and dynamic. Are there particular pieces of jewelry you’re excited to feature with this style?
LOOSE CLIP WITH CURLS
That’s excellent advice! Applying a curl cream or custard helps enhance and define your natural curl pattern, giving your hair a beautiful, bouncy look. Adding a loose slide on one side and leaving tendrils free around your face creates a relaxed, effortlessly chic vibe.
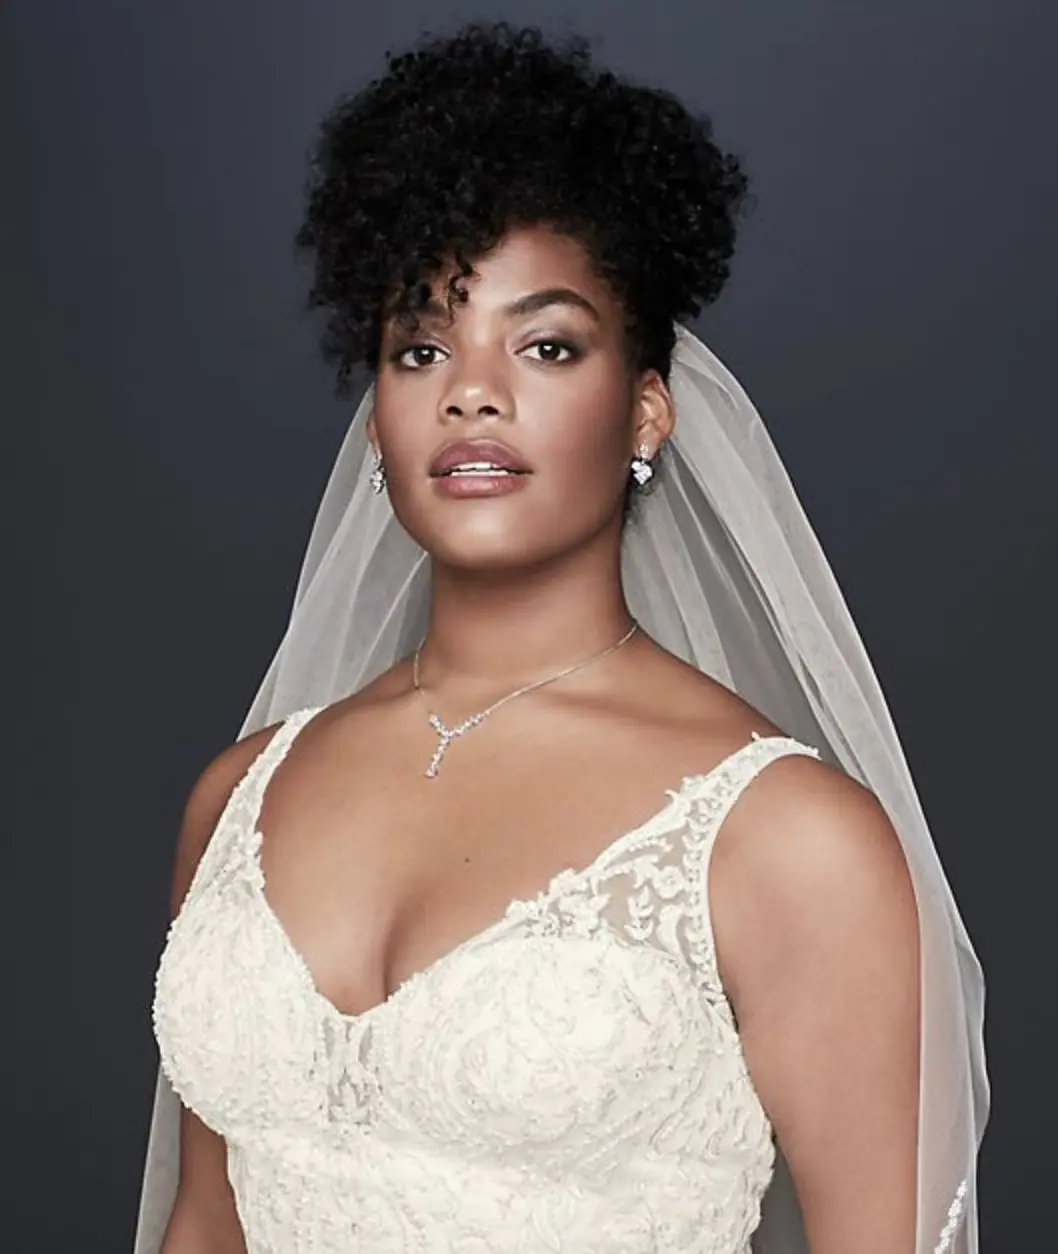
DYED CROP
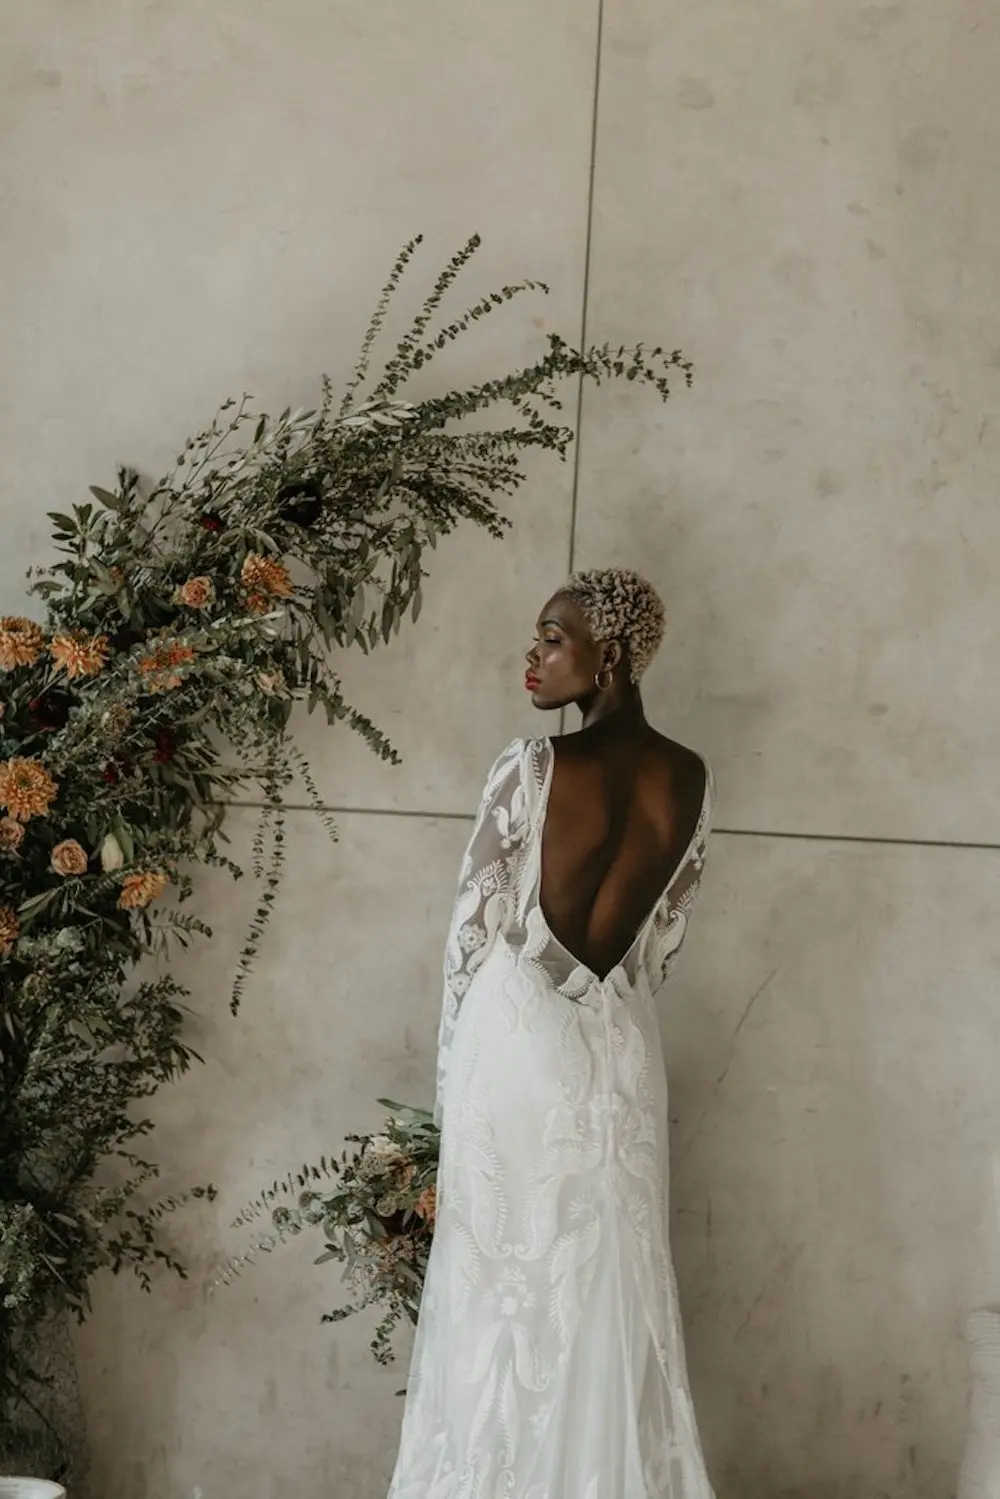
That’s a smart approach! Dyeing short hair can definitely add dimension and make a bold statement, especially for a wedding. It’s crucial to have a thorough discussion with your hairdresser to understand the implications, as coloring can affect texture and overall health.
LONG GHANA BRAIDS
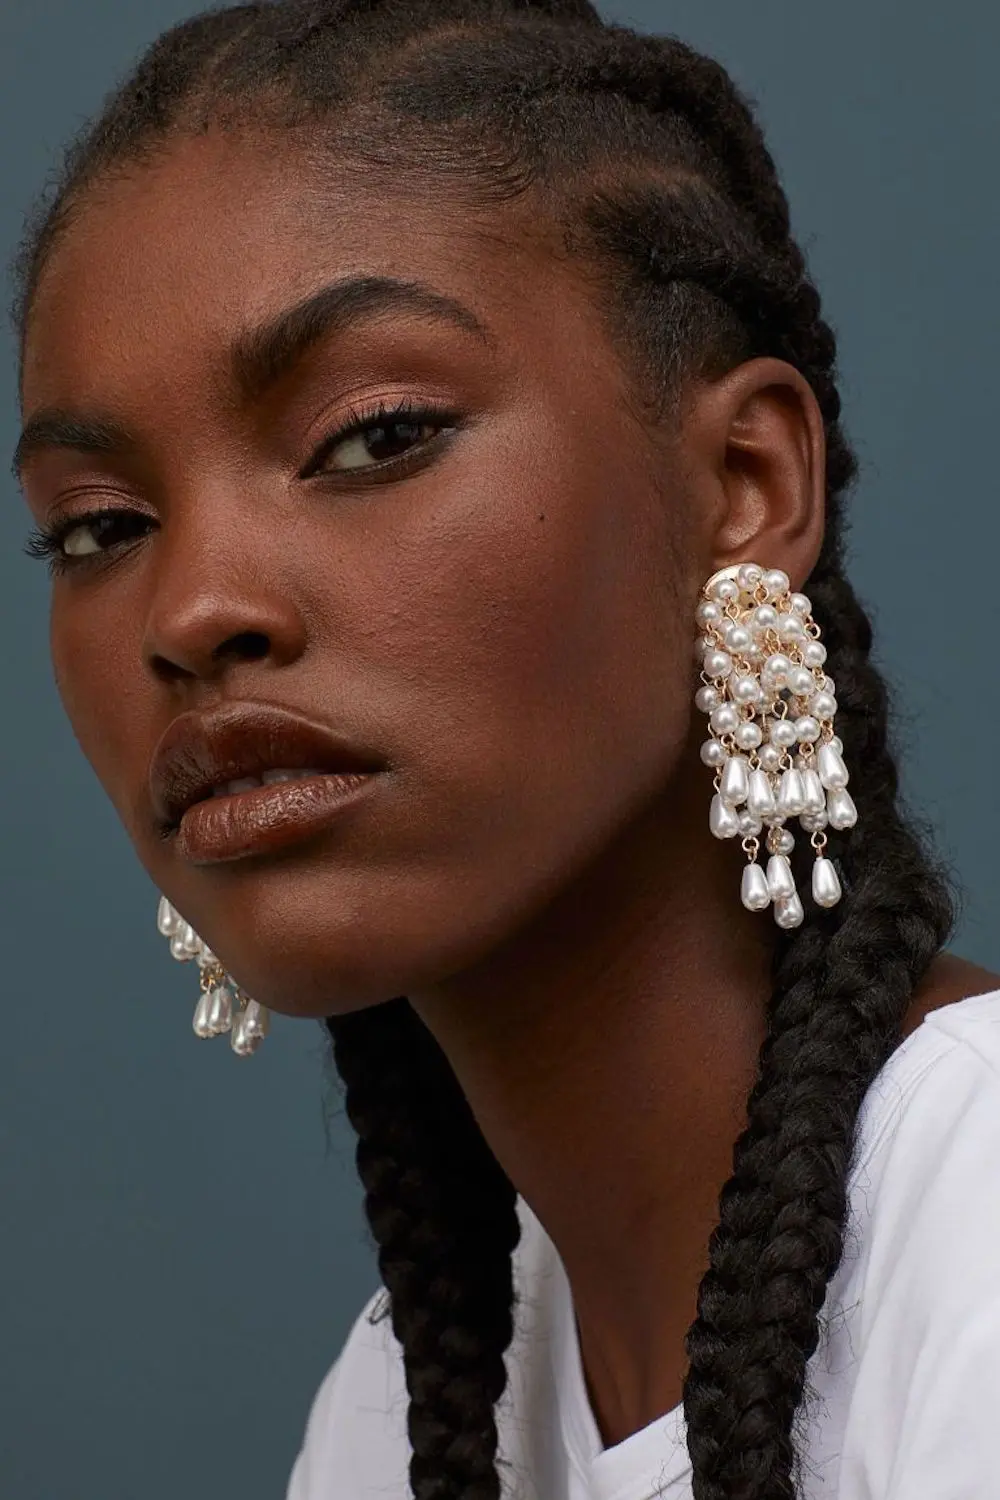
That sounds stunning! Long Ghana braids secured into larger plaits at the nape of the neck create a chic and elegant look while drawing attention to your earrings. This style not only showcases your accessories but also keeps your hair neat and stylish. It’s a great way to make a statement and allow your lobes to shine. Do you have a particular pair of earrings in mind that you’d love to wear with this hairstyle?
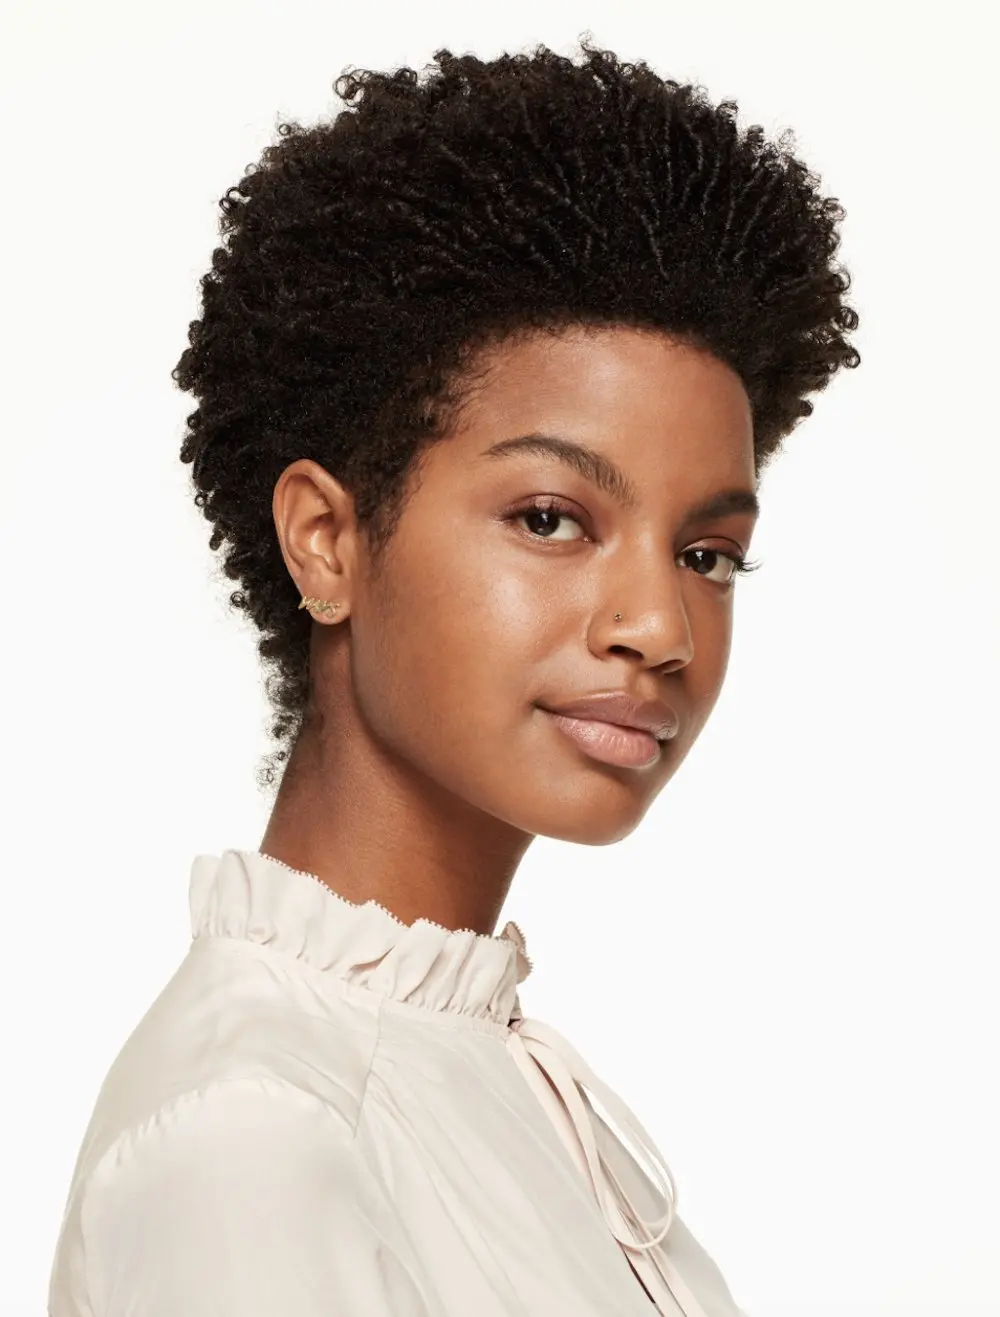
DELICATE CORNROWS
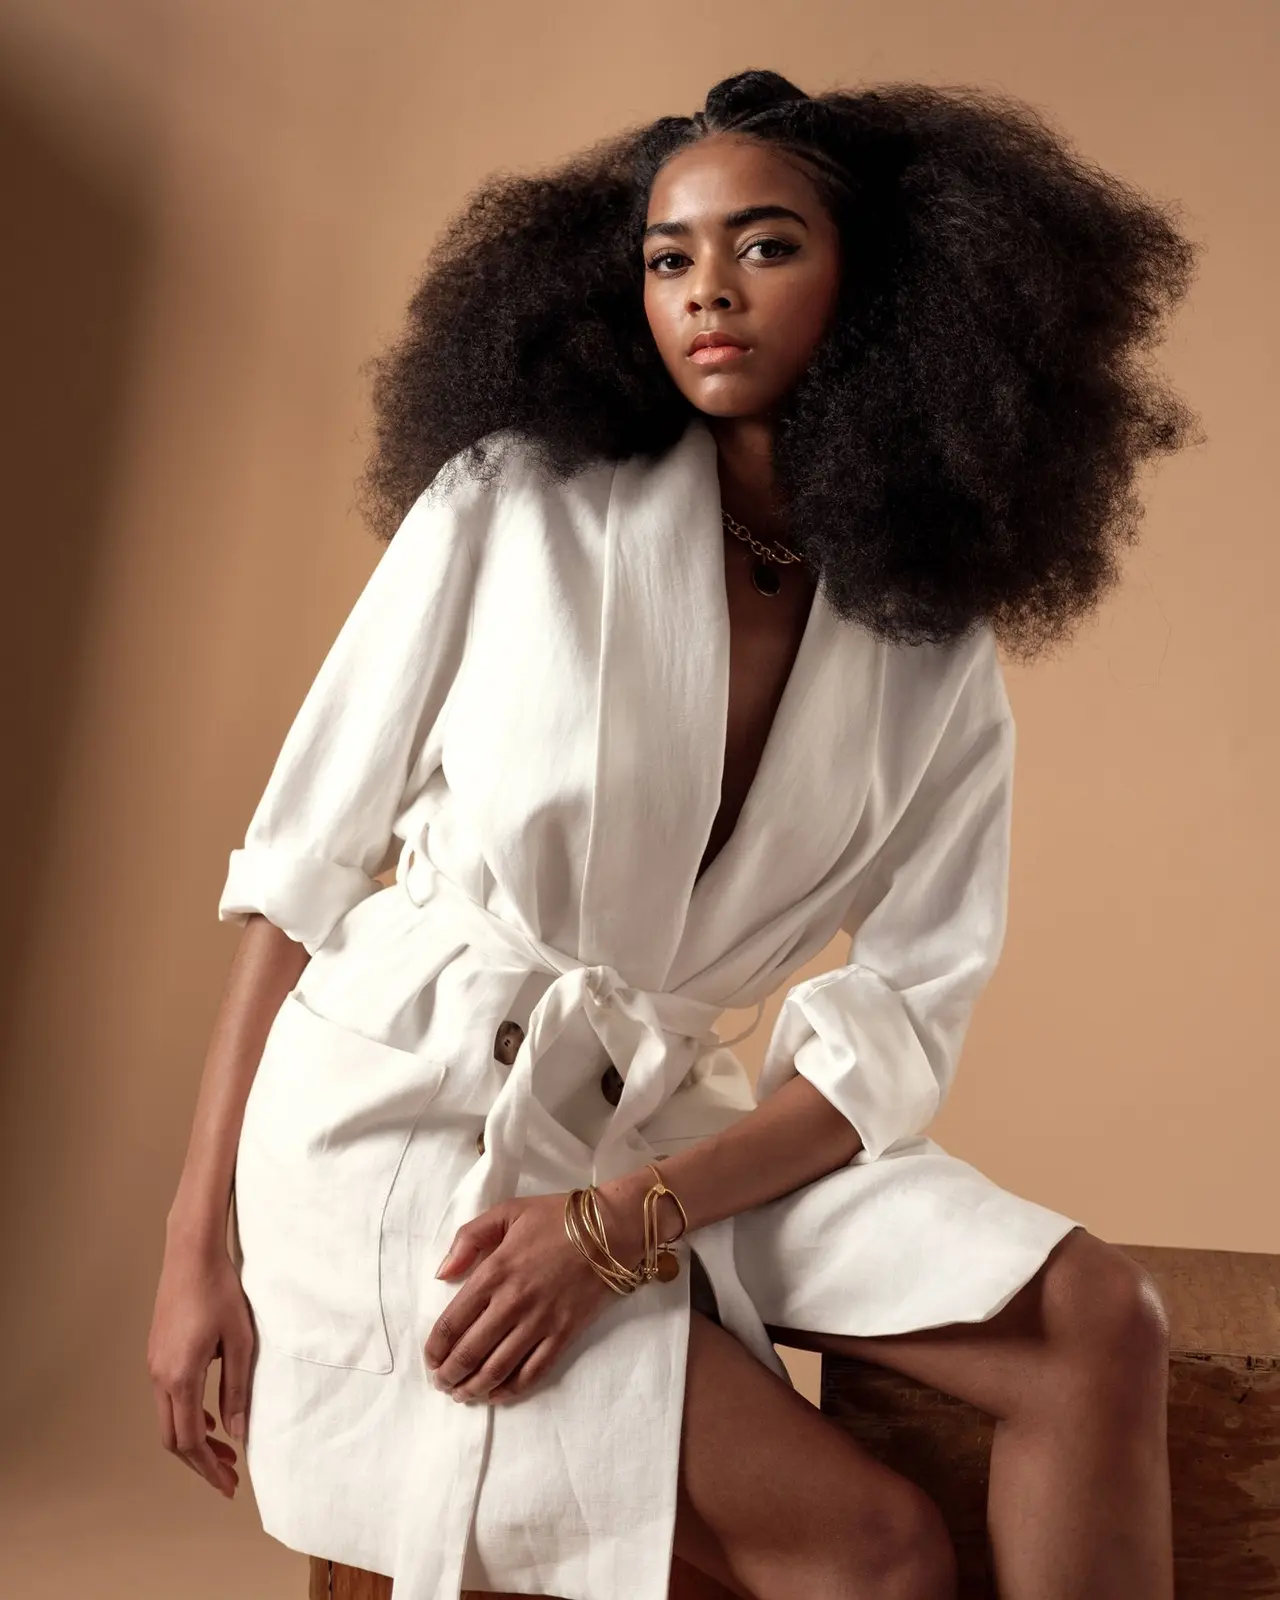
That’s a fantastic choice! Face-framing cornrows paired with a combed-out afro create a striking and dramatic look. The cornrows can beautifully accentuate your features while the afro adds volume and texture, making for a bold statement. This combination is perfect for showcasing your natural beauty and adding a touch of flair. Are you thinking about any specific styles or embellishments to complement this look?
VINTAGE BARRETTE
That sounds perfect for a vintage-inspired wedding! A pearl and enamel encrusted barrette adds a touch of elegance and can beautifully enhance your hairstyle. Placing it thoughtfully can create a stunning focal point, especially with side-swept curls. The contrast of delicate earrings with the vintage barrette adds a modern twist that keeps the look fresh and stylish. Have you chosen a specific hairstyle to pair with the barrette?
HALO BRAID
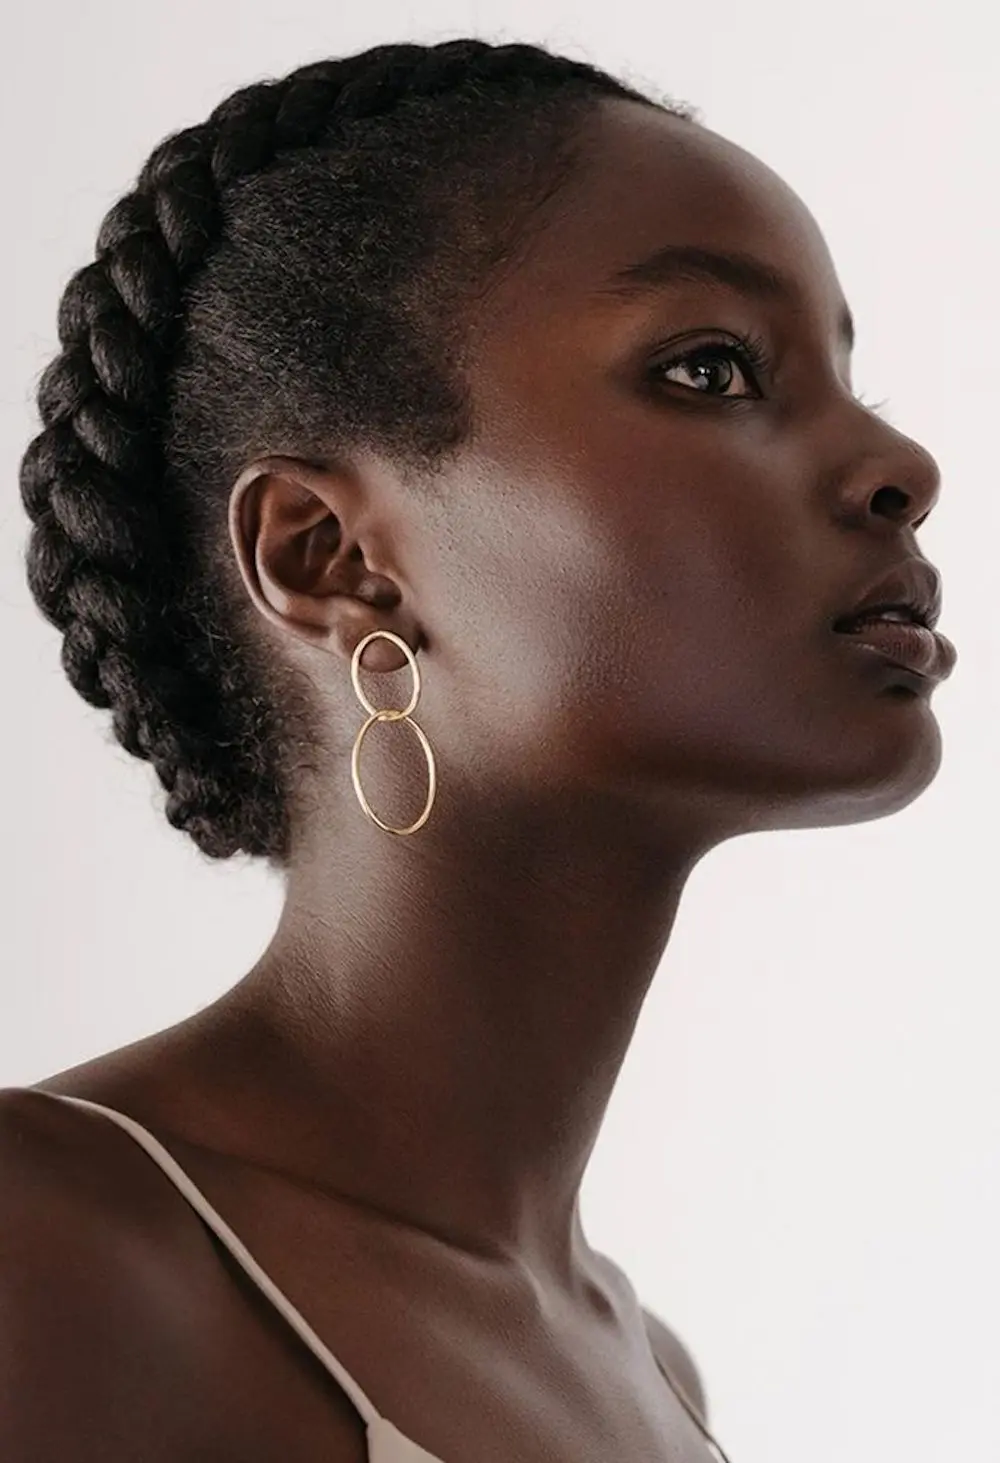
A halo braid is indeed a timeless choice for weddings! It adds a romantic and ethereal touch, making it perfect for the occasion. Pairing it with modern drop earrings creates a beautiful contrast that keeps the look fresh and contemporary. This combination strikes a lovely balance between classic elegance and modern flair. Are there specific drop earrings you’re considering to complement the halo braid?
CURLS AND BIRDS
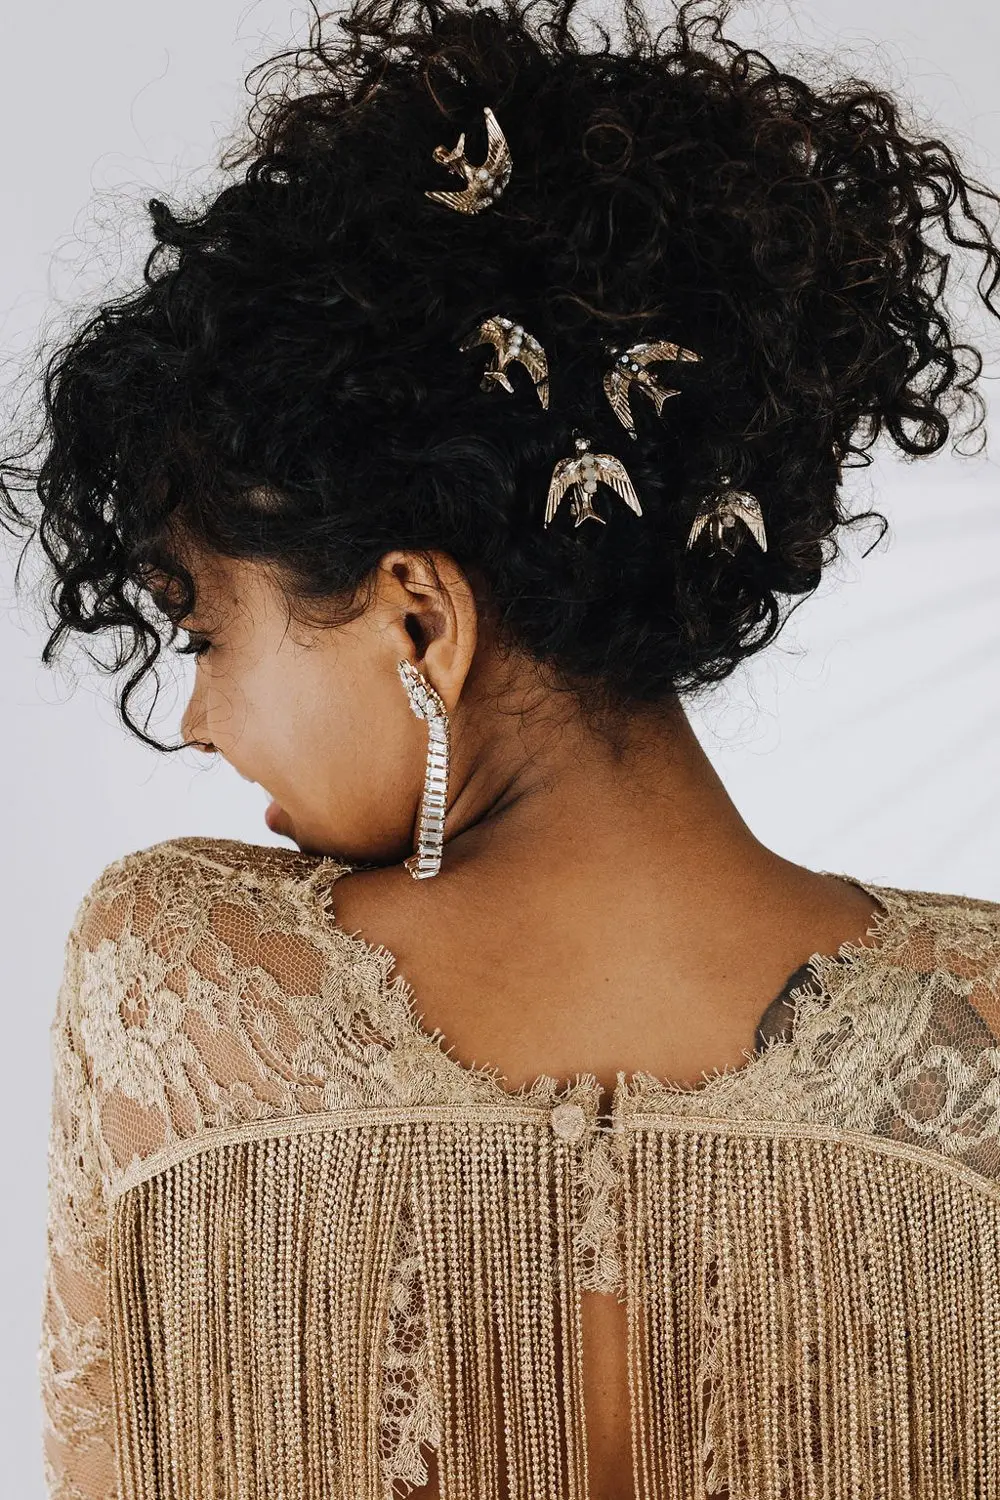
That’s a creative idea! Swapping leaves for birds in your curly updo adds a whimsical and unique touch. Decorative birds can bring a playful elegance to the hairstyle, making it stand out beautifully. This choice is perfect for a nature-inspired or bohemian wedding theme. Are you thinking about using feathers, clips, or other types of bird-inspired accessories?
CONCLUSION
Choosing the perfect hairstyle for your wedding day is a crucial decision. It should complement your face shape, dress style, and personal style. For Black women, there’s a vast array of stunning hairstyles to choose from, ranging from classic updos to modern braids. Whether you opt for a sleek bun, elegant curls, or intricate braids, the key is to select a style that makes you feel confident and beautiful. Remember, it’s your special day, so let your hairstyle reflect your unique personality.