20 AT-HOME SPA ESSENTIALS YOU SHOULD CHECK

Some days—or even weeks—can feel overwhelmingly hectic, leaving you craving a moment to unwind. While reading a novel or meditating can offer some relief, there are times when only a little extra pampering will do. To clear your mind and restore balance, a full-on spa day might be just what you need. The best part? You can create this soothing experience right at home. Here are the must-have essentials for the ultimate at-home spa day, ensuring the most relaxing “me time” possible.

BATH BOMBS

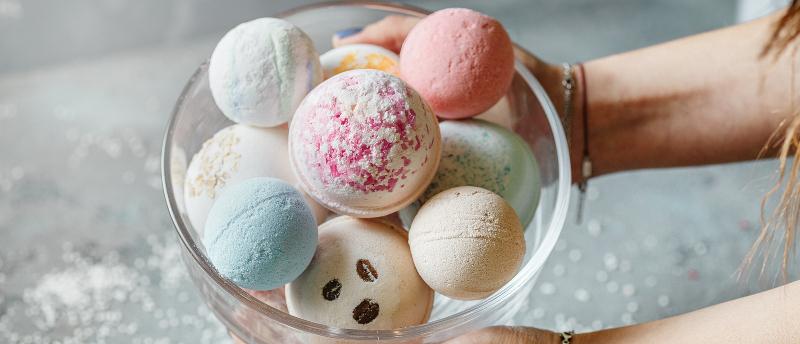
Transform your bath into a luxurious retreat with bath bombs. These fizzing delights contain citric acid for gentle exfoliation and nourishing oils to hydrate your skin. Choose calming scents like lavender or chamomile for relaxation, or opt for lemongrass to lift your spirits.

EPSOM SALTS

If fizz isn’t your thing, consider Epsom salts. Known for soothing sore muscles and softening skin, these salts can be enhanced with essential oils like lavender or eucalyptus. Add them to warm water and soak for up to 20 minutes for a rejuvenating experience.
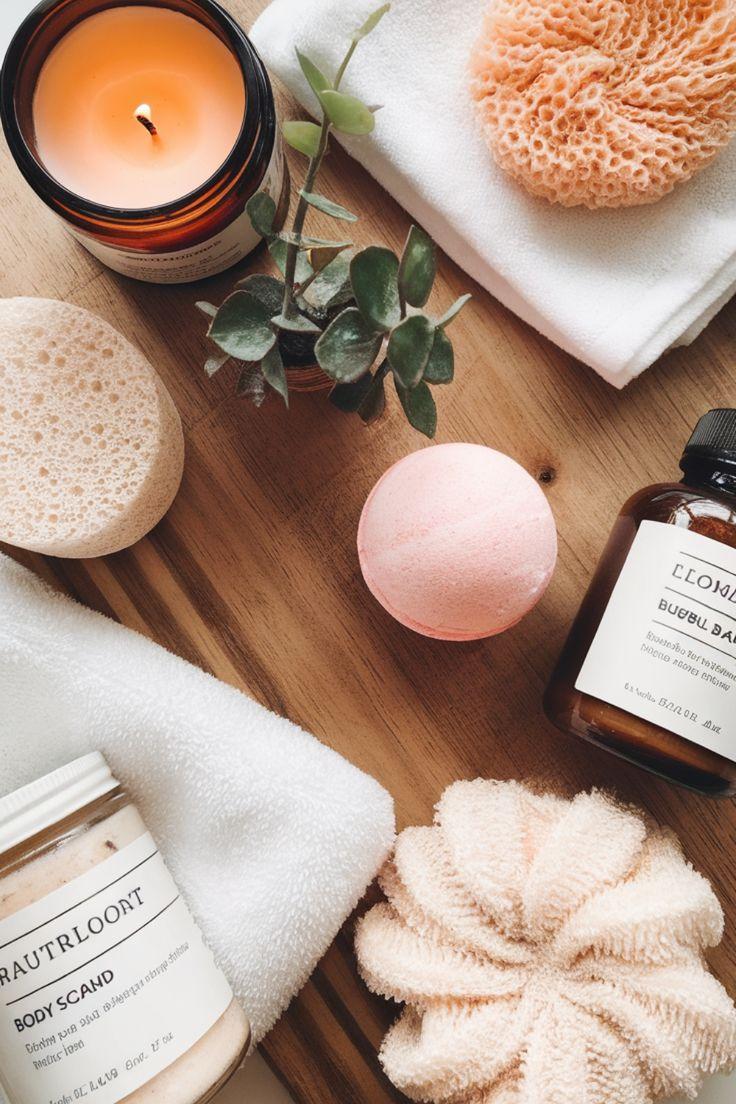
BODY SCRUB

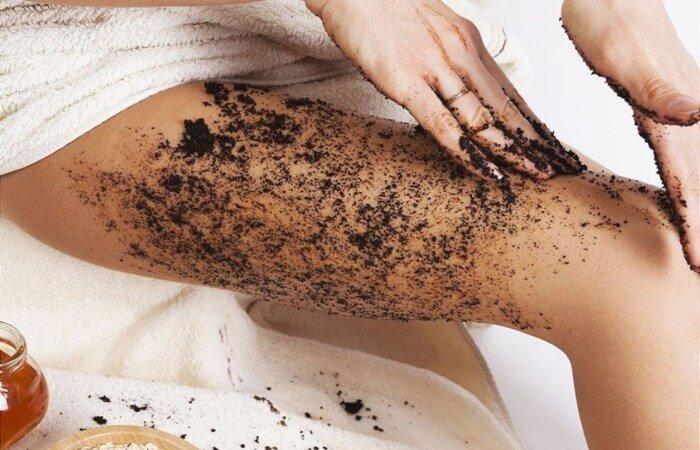
Body scrubs are essential for sloughing off dead skin and revealing a healthy glow. Available in delightful scents like rose and coconut, they can be easily incorporated into your routine. Apply in circular motions on damp skin, rinse, and follow up with lotion.

DRY BRUSH

Dry brushing is a simple way to exfoliate and invigorate your skin. Use a stiff-bristled brush on dry skin before your shower to eliminate flakes and promote circulation. It’s a quick and effective way to unwind.

FACE CLEANSERS

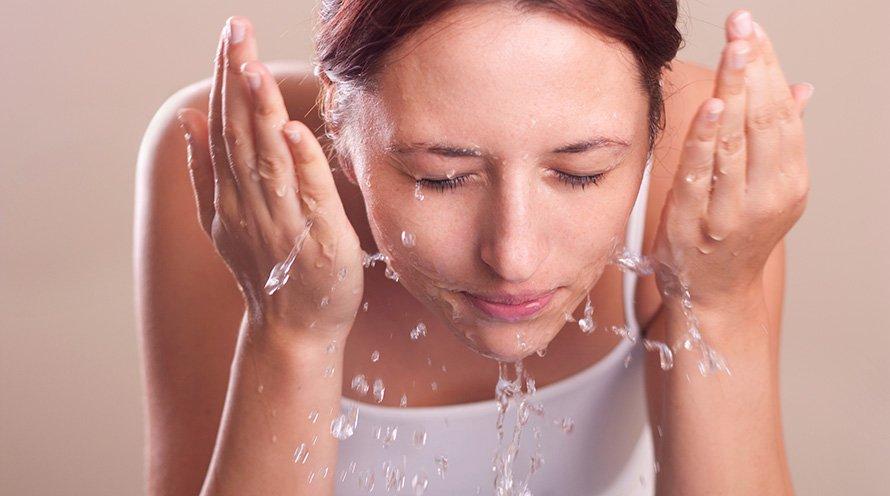
A good skincare routine begins with a gentle face cleanser. Choose one suited for your skin type and use it to refresh your face in the morning. Follow with oils and moisturizers for a complete routine.

FACE MASKS

Pamper yourself with a face mask while you relax. Whether you prefer sheet masks or creamy formulas, they can hydrate and rejuvenate your skin, giving you a spa-like glow at home.

EYE MASKS

Target puffiness and dark circles with cooling eye masks. Store them in the fridge for an extra refreshing touch. They’re perfect for use after a shower or as part of your morning routine.

HAIR MASKS

Don’t forget your hair! Hair masks hydrate your scalp and help reduce dry ends. Apply a small amount, wrap your hair in a hot towel, and let it sit for 10 to 30 minutes for best results.

PIMPLE PATCHES

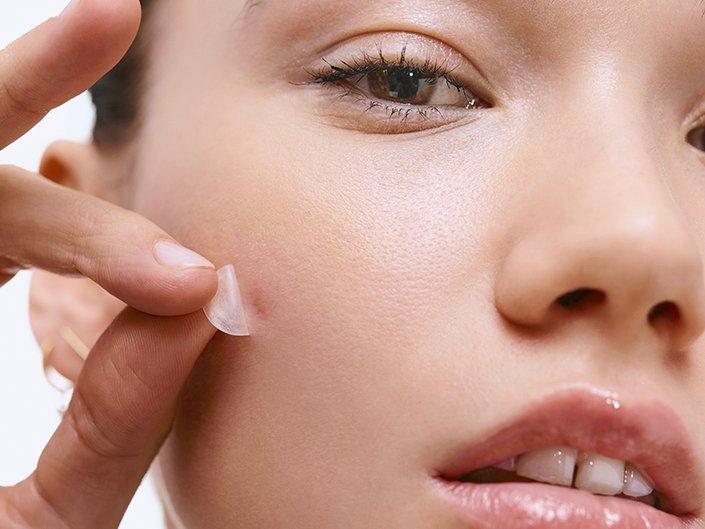
Combat stress-related breakouts with pimple patches. Apply them to emerging blemishes before bed, and wake up to calmer skin.

HYDRATING MOISTURIZER

Finish off your spa day with a hydrating moisturizer. It nourishes your skin, fights acne, and can diminish the appearance of aging. Use it morning and night for a dewy look.
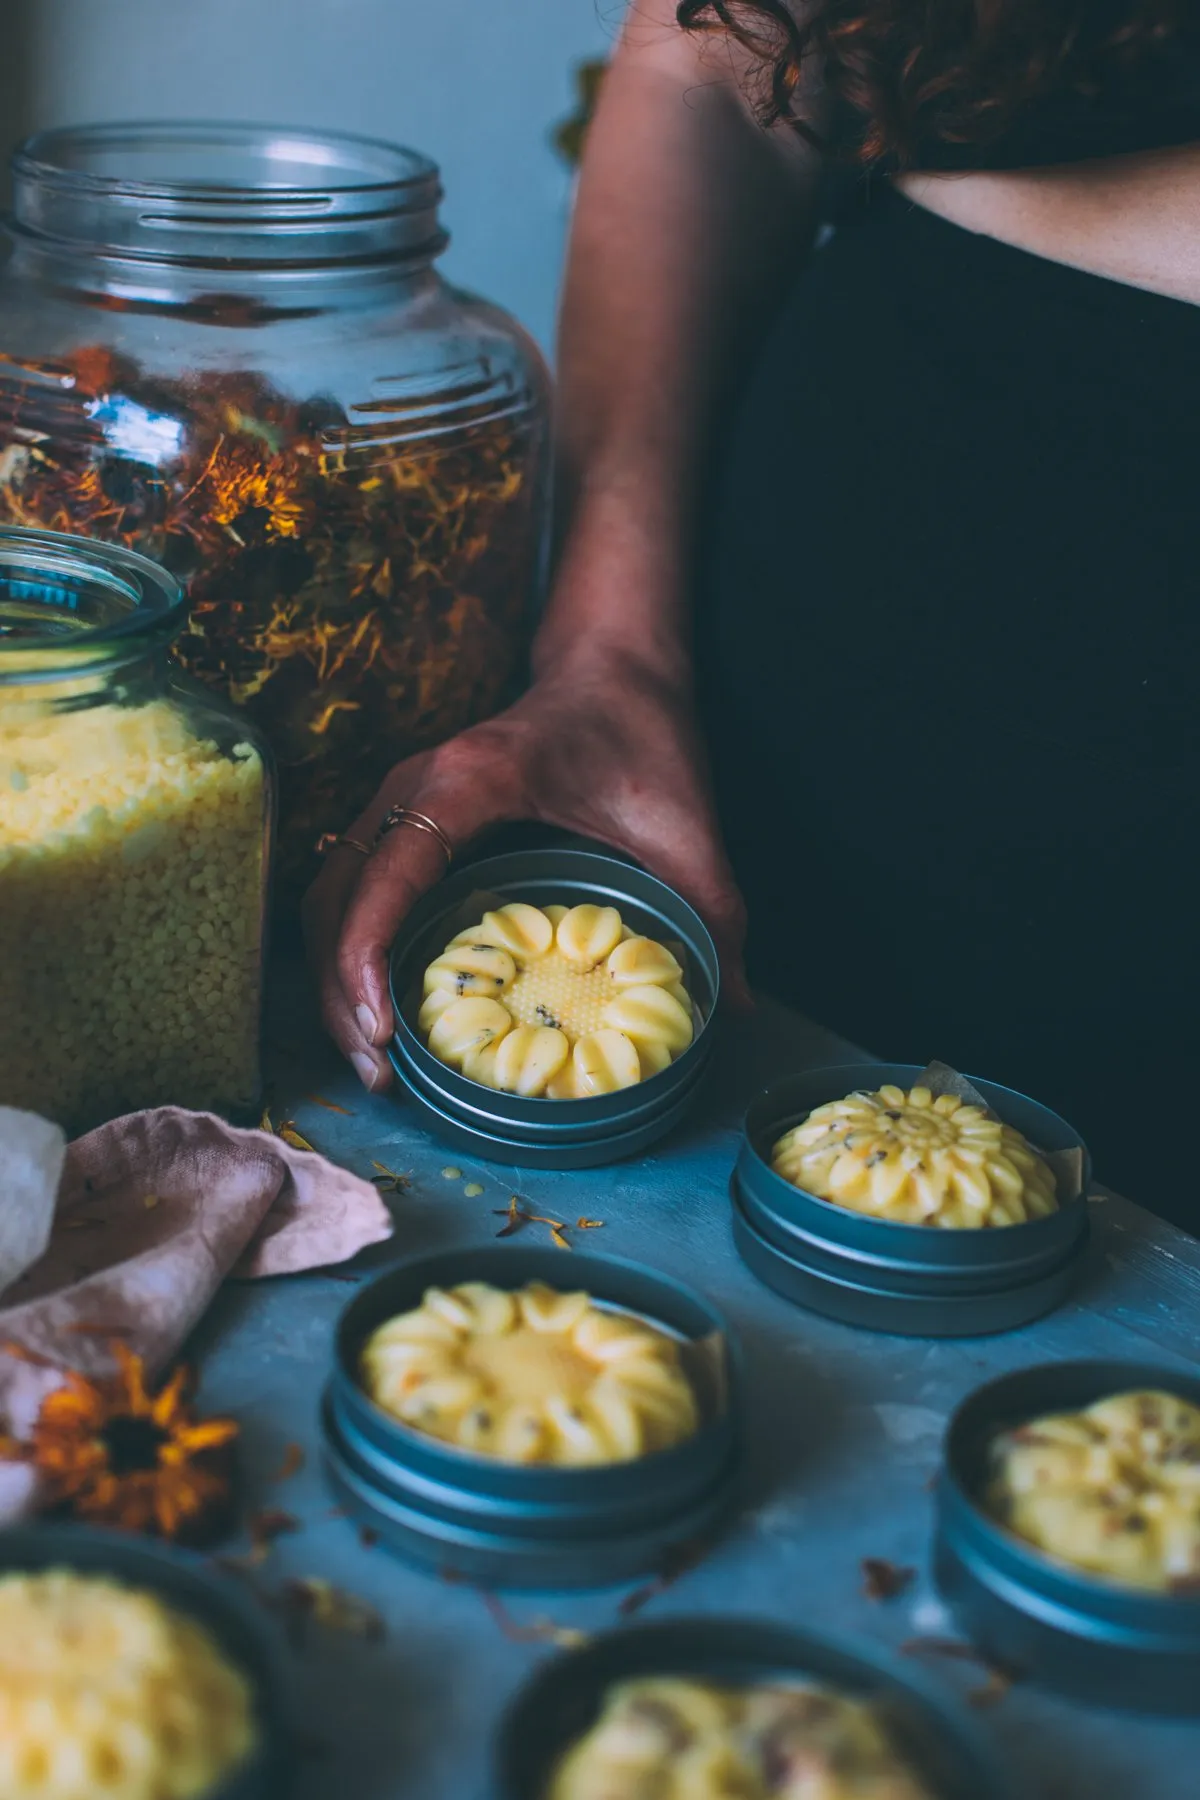
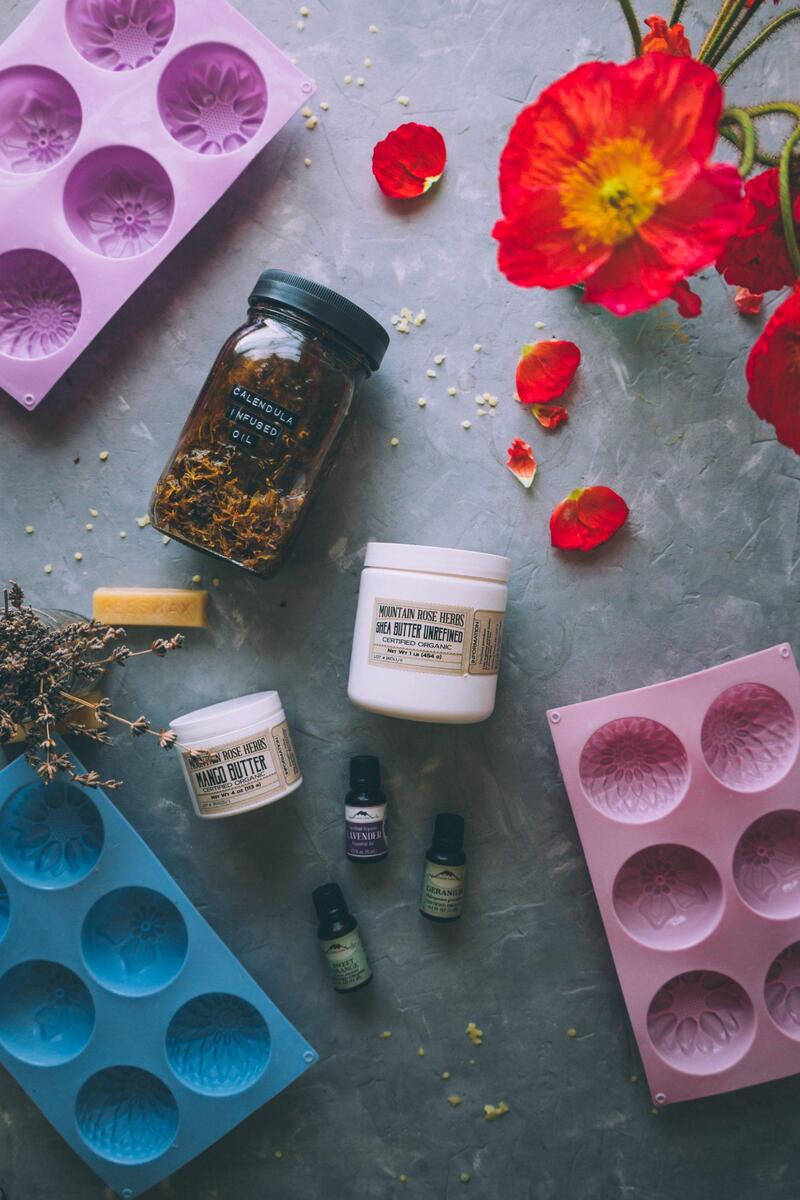
SHEA BUTTER

Use shea butter for its soothing properties. A small amount can be applied to dry areas after your shower for extra hydration.

FACIAL ROLLER

Elevate your skincare routine with a facial roller. These cool stones help reduce puffiness and enhance relaxation. Keep it in the fridge for an invigorating treatment.

TOWEL WARMER

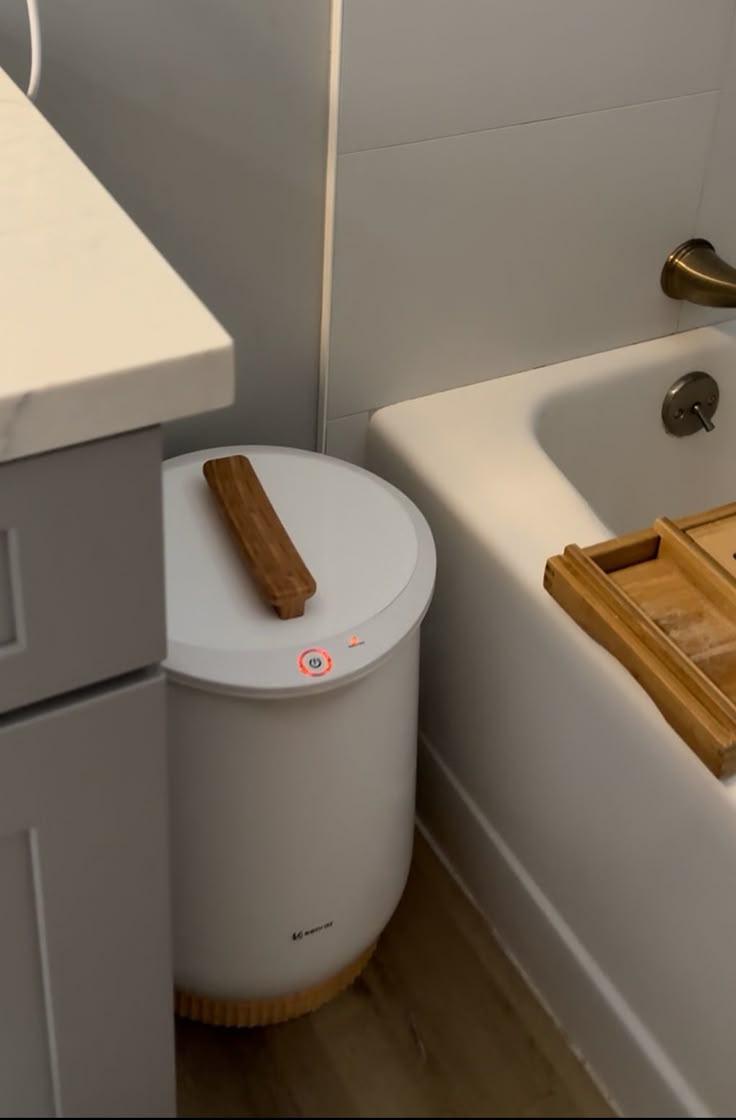
Enjoy the luxury of heated towels after your shower. A towel warmer adds a touch of elegance to your at-home spa experience.

COMFY ROBE AND FUZZY SLIPPERS

Stay cozy with a plush robe and fuzzy slippers. They keep the spa vibe alive long after your bath, allowing your skin to absorb hydrating products.

FOOT SPA

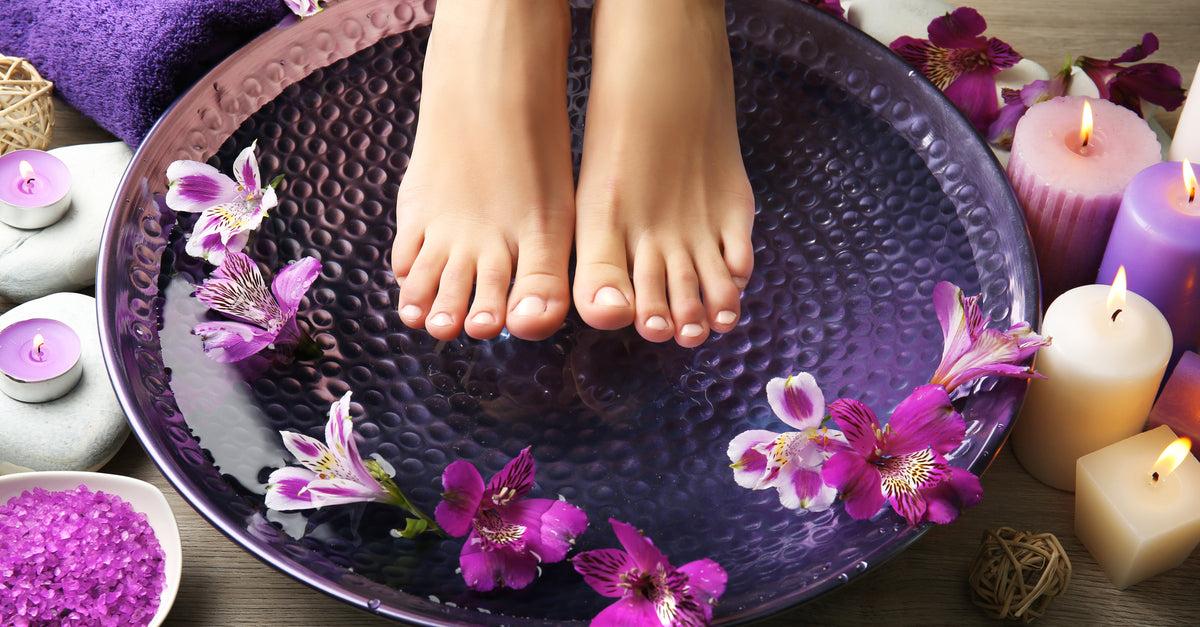
Indulge your feet with a foot spa. Compact and convenient, it’s perfect for a relaxing soak without leaving home.

DEEP TISSUE MASSAGER

Relieve sore muscles with a deep tissue massager. These devices offer adjustable speeds for a customizable massage, perfect for unwinding after a long day.

A GOOD BOOK

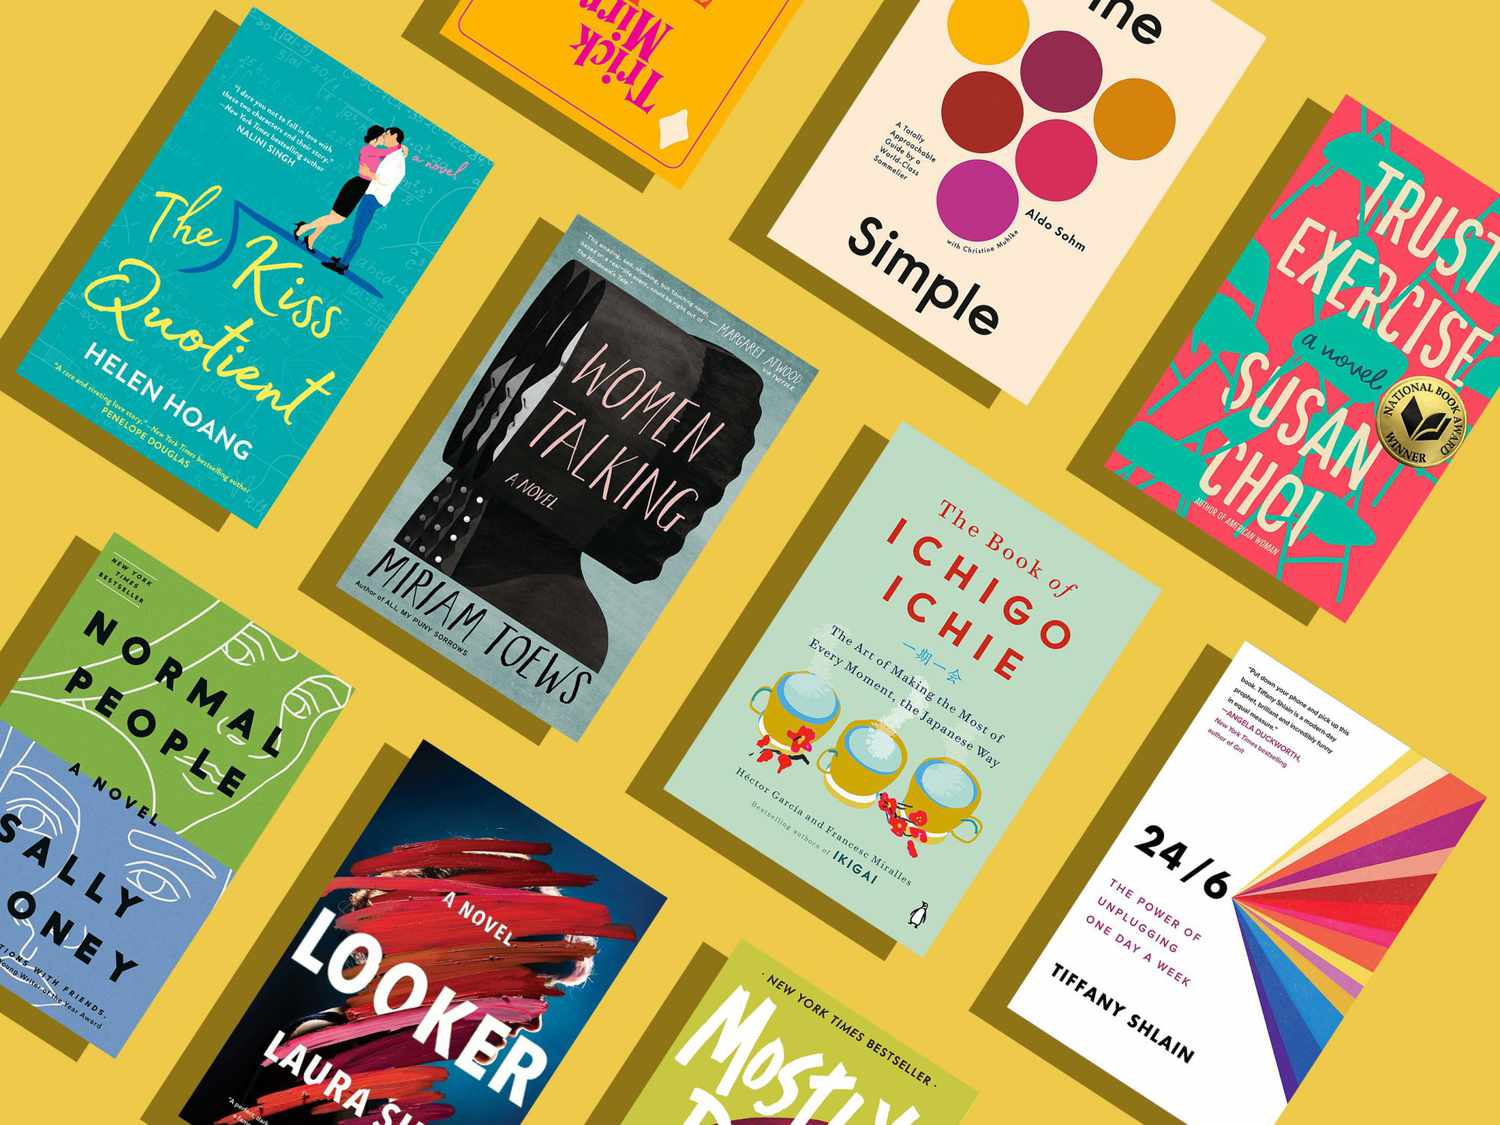
Reading can be a wonderful way to relax. Settle in with a good book after your bath to enhance your sense of calm.

FAVORITE MOVIE OR STREAMING PLATFORM

Watching a movie or show can be an enjoyable way to relax. Pair it with skincare treatments for a cozy night in.

HOT TEA

Sip on soothing hot tea as part of your spa day. It can enhance relaxation and improve your mood, making it the perfect companion for your bath.

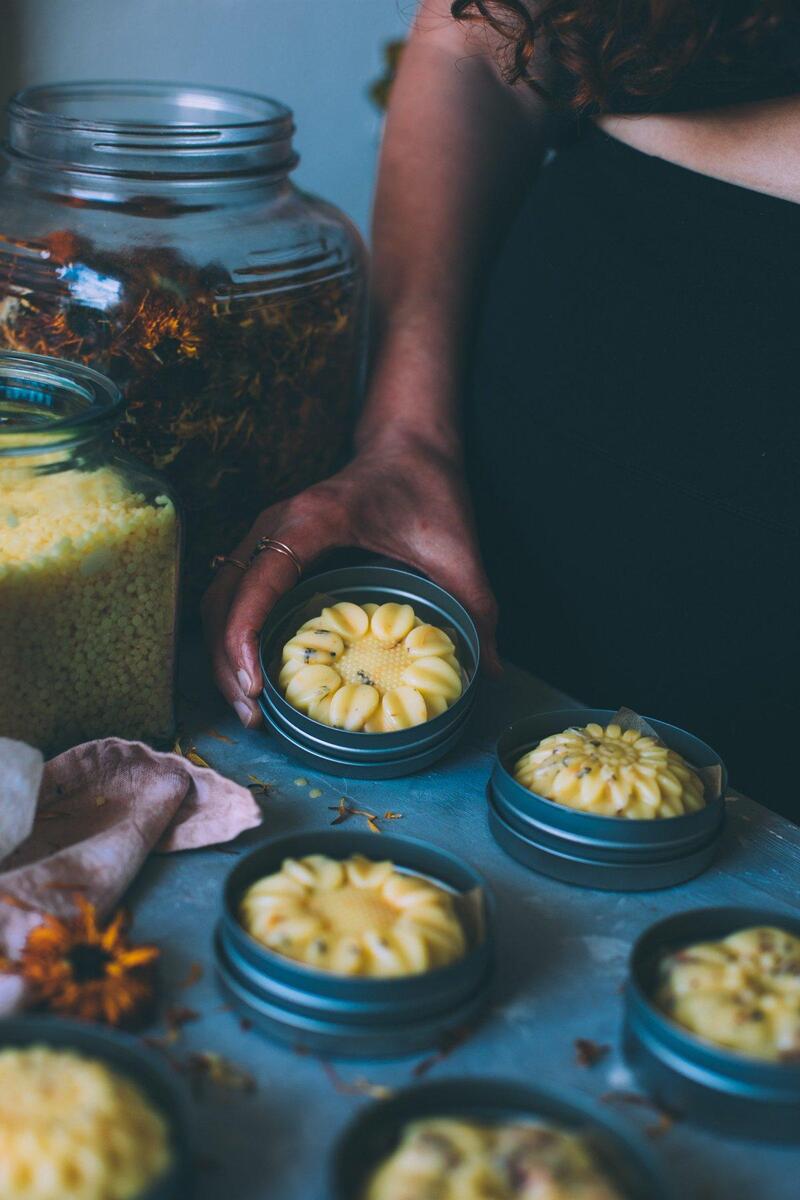
CANDLES WITH WOODEN WICKS

Create a calming atmosphere with candles featuring wooden wicks. They crackle like a fireplace, adding a cozy ambiance to your spa experience.

HOW TO MAKE DIY FLORAL LOTION BARS

Making my own homemade lotion bars means a lot to me because I know exactly where every ingredient comes from. The best part is blending the beautiful scents of natural herbs and flowers into my lotion bars. It allows me to get creative and craft different magical scents that not only smell amazing but also soothe the skin.

If you’ve never made your own lotion bars before, let me guide you through the process! With this recipe, you’ll create a lovely lotion bar to treat yourself or gift to a friend or loved one, no matter the season. This particular recipe features flowers that bloom in spring, but if you’re looking for a winter-inspired option, check out my Homemade Winter Forest Lotion Bars.

BEAUTIFUL FLOWER LOTION BARS

Wildflower season in Southern California is in full swing! This time of year is hands down my favorite time of year here on the west coast. The flowers are popping up everywhere. You can find CalendulaLavender, Roses, Poppies and all sorts of beauty everywhere you go. I always daydream of going to lay safely in a bed of flowers, yet I don’t because I don’t want to disrupt their beauty.

Ever since I made my Winter Forest Lotion Bars, I’ve been dreaming of making a version inspired by all of the magical flowers. Since I can’t quite go lay in a bed of flowers without disturbing the blooms, the next best thing is to make a lotion bar infused with their scent that magically transports me to this daydream. Every piece of this recipe’s aroma is extracted naturally so you get the full benefit of the flowers.

HOW TO MAKE THE FLOWER-INFUSED OIL BASE

The base of this lotion bar recipe is olive oil, and you have two options: you can use plain olive oil, or you can take it a step further and make your own flower-infused olive oil! I personally love using the flower-infused oil because it brings additional skin-nourishing benefits and a subtle, magical scent.

For this recipe, I’ve created a calendula-infused oil, but you can get creative and use any skin-safe flower to infuse. I’ve made oils with calendula, rose, and lavender, and each one has an incredible fragrance! I believe in using what you already have, so there are plenty of options.

Making your own flower-infused oil is super simple. For this example, I’ll guide you through creating a calendula-infused oil. If you prefer a different flower, simply swap out the calendula for your chosen blooms. Start by placing dried or fresh calendula flowers into a jar, then pour olive oil over the flowers, ensuring they are fully covered. Let the flowers infuse in a dark place for 4-6 weeks, though you can leave them longer if you’d like. A pantry or apothecary works perfectly for this process! Once your infusion is ready, strain out the flowers using a strainer or cheesecloth.

If you’re in a hurry and don’t have the time for infusing, you can always skip the step and just add a few drops of essential oils for your desired aroma. While I believe infusing the whole flower is truly magical, this quick method works too.

For more tips and tricks, check out my instructions on how to make Flower-Infused Body Olive Oil. The secret to consistently making homemade lotion bars or skincare products is to always have a flower-infused oil ready in your apothecary. That way, when inspiration strikes, you’ll be all set!

CREATING YOUR HOMEMADE LOTION BAR

Once your flower-infused oil is steeped and ready, it’s time to create your homemade lotion bars! The best part is that they’re super easy to make, and you can get really creative with the process. Let your imagination run wild and have fun!

Start by melting the beeswax into your infused flower oil. This forms the base of your lotion bar. Once the beeswax is fully melted, turn off the heat and add in the shea butter, mango butter, and essential oils. You don’t want to overheat the butter, so turning off the heat once the beeswax is melted is key. The oil and beeswax will retain enough heat to melt and blend the butters evenly. If it’s taking a little longer to melt, just turn your stove to the lowest setting and stir often.

After the infused oil, shea butter, mango butter, and essential oils have blended with the beeswax, pour the mixture into silicone molds. This is where you can really get creative! I love adding dried flowers to the molds for an extra touch of beauty. The lotion bars will take on the shape of the mold, and the dried flowers will make them even more stunning. Make sure to use silicone molds—this ensures the bars will pop out easily once they’re set.

Let the lotion bars cool and cure completely before using them. In my experience, they take about 20-30 minutes to fully cool and set. Once they’re ready, pop them out of the molds and place them in small containers, like 4 oz push-top tins or wide jars, lined with parchment paper. I recommend storing them in small metal containers or jars. Keep them in a cool, dry place away from direct sunlight.

Now comes the best part—enjoying your beautiful, homemade lotion bars!

BENEFITS FOR YOUR SKIN

There are so many wonderful benefits to using these homemade lotion bars! The natural olive oil and beeswax work together to moisturize and soften the skin, leaving it feeling incredibly nourished and smooth. But that’s not all—the aromatherapy from the flowers helps to ground you and bring a sense of peace and relaxation. Plus, the flowers and essential oils in this recipe provide additional skin benefits.

In this lotion bar, I used Patchouli, Geranium, Ylang Ylang, and Lavender essential oils. When applied to the skin, these oils offer several advantages:

  • Nourish the skin with essential nutrients
  • Energetically grounding, helping you feel centered and balanced
  • Support the lymphatic system, aiding in detoxification
  • Promote healing for wounds and skin irritations
  • Hydrate all skin types, leaving your skin soft and moisturized

These lotion bars not only nurture your skin but also offer a soothing, holistic experience with every use!

HOW TO USE LOTION BARS

Now that we’ve made these beautiful lotion bars and discussed their amazing benefits, you might be wondering how to use them. Fortunately, they’re super easy to apply! All you need to do is take the lotion bar and warm it slightly with the heat of your hand. Once it softens a bit, gently massage the bar into your skin. As you rub it in, the lotion bar will start to melt and absorb, just like any other lotion. Once softened, continue to massage it over your body and feel the moisturizing effects. Let the calming scent and soothing properties transport you to that wildflower field as you pamper yourself!

Here are a few personal tips for using your lotion bar:

  • I recommend applying it right after you shower when your skin is warm and more receptive to absorbing the benefits. Whether it’s a morning or evening shower, your skin is in the perfect state to soak in the nourishment.
  • Make using your lotion bar part of your self-care or self-love ritual. The process of massaging it into your skin is incredibly relaxing and grounding, adding an extra touch of peace to your routine.

conclusion

In conclusion, making and using homemade lotion bars is not only a creative and enjoyable process but also a wonderful way to nourish and pamper your skin naturally. By infusing your own flower oils and choosing the right essential oils, you can customize your lotion bars to suit your needs, whether it’s for hydration, relaxation, or a touch of aromatherapy. The benefits of these lotion bars go beyond just moisturization—they offer grounding, soothing effects while supporting your skin’s health.

So, take time to enjoy this self-care ritual, incorporating it into your daily routine for the ultimate indulgence. Whether you’re gifting them to loved ones or treating yourself, these lotion bars are a beautiful, natural way to feel pampered and connected to the magic of nature.