FLAVORED WATER RECIPES USING WATER FLAVOR PACKETS

Say goodbye to plain water with these irresistible flavored water recipes using convenient water flavor packets! Enjoy the perfect blend of taste, ease, and health benefits as you create delicious, refreshing drinks right at home.

WHY YOU’LL LOVE THESE FLAVORED WATER RECIPES WITH WATER FLAVOR PACKETS

If you’re looking for a simple and convenient way to enhance your water, flavor packets are the perfect solution!

Infused with natural fruit flavors, these packets offer a healthier alternative to sugary drinks while making hydration more enjoyable.

One of the biggest perks of using water flavor packets is their incredible convenience—just pour one into your glass or bottle, give it a quick shake, and enjoy a refreshing burst of flavor.

With a wide variety of options available, you’re sure to find flavors you love, making it easy to switch things up and keep your water exciting.

Not only are water flavor packets an affordable alternative to store-bought flavored water, but they also help you save money without sacrificing taste.

Plus, they’re an eco-friendly choice! By using them in your reusable water bottle, you can cut down on plastic waste while still enjoying a deliciously flavored drink.

Give these flavored water recipes a try and experience the perfect balance of taste and convenience. You might just discover your new go-to flavor!

TIP FOR SMOOTH, CLUMP-FREE FLAVORED WATER

To achieve perfectly smooth flavored water without any clumps or residue, try dissolving the flavor packet in a small amount of warm water before adding it to your bottle or tumbler.

This simple trick may seem small, but it makes a big difference in ensuring a smooth and enjoyable drink. After all, no one wants to take a sip and end up with an unexpected clump of undissolved powder!

Here’s how to do it:

  • Pour about ½ cup of warm water into a glass.
  • Add your flavor packet and mix until fully dissolved.
  • For best results, use a battery-operated whisk or blender to blend the liquid until smooth.
  • If you don’t have a whisk, a jar with a tight-fitting lid works just as well—simply shake until the mixture is fully dissolved.

With this easy technique, your flavored water will always be smooth and refreshing. Now, let’s go over the supplies you’ll need to create delicious, homemade flavored water effortlessly!

SUPPLIES FOR MAKING FLAVORED WATER AT HOME

Creating delicious flavored water at home is easy with just a few essentials!

  • A large water bottle or tumbler – Perfect for mixing and carrying your flavored water on the go.
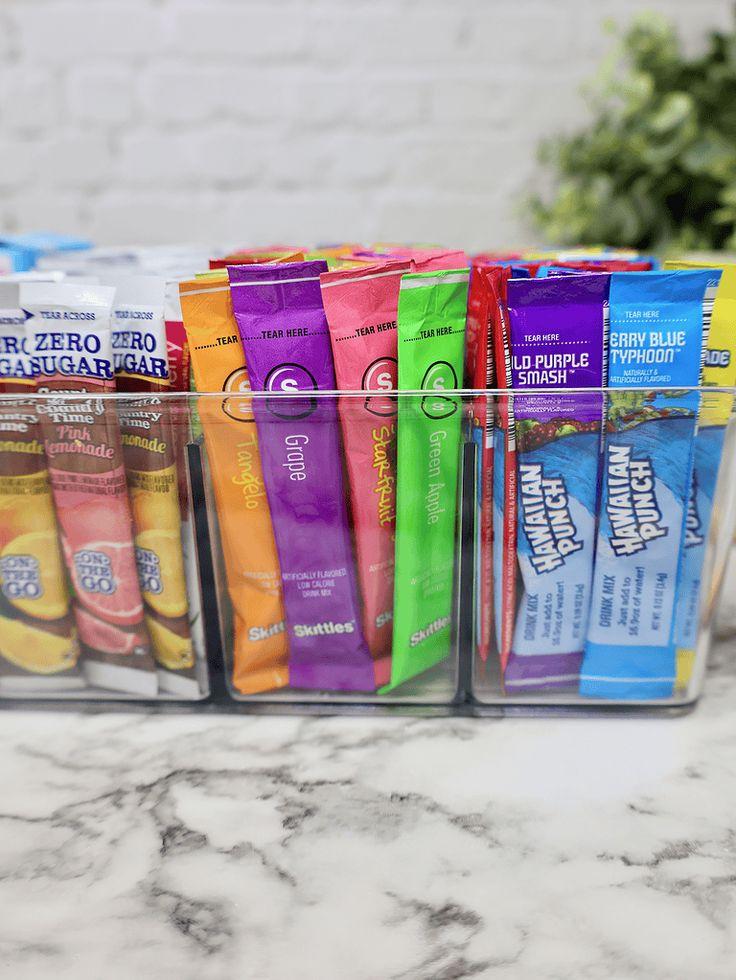
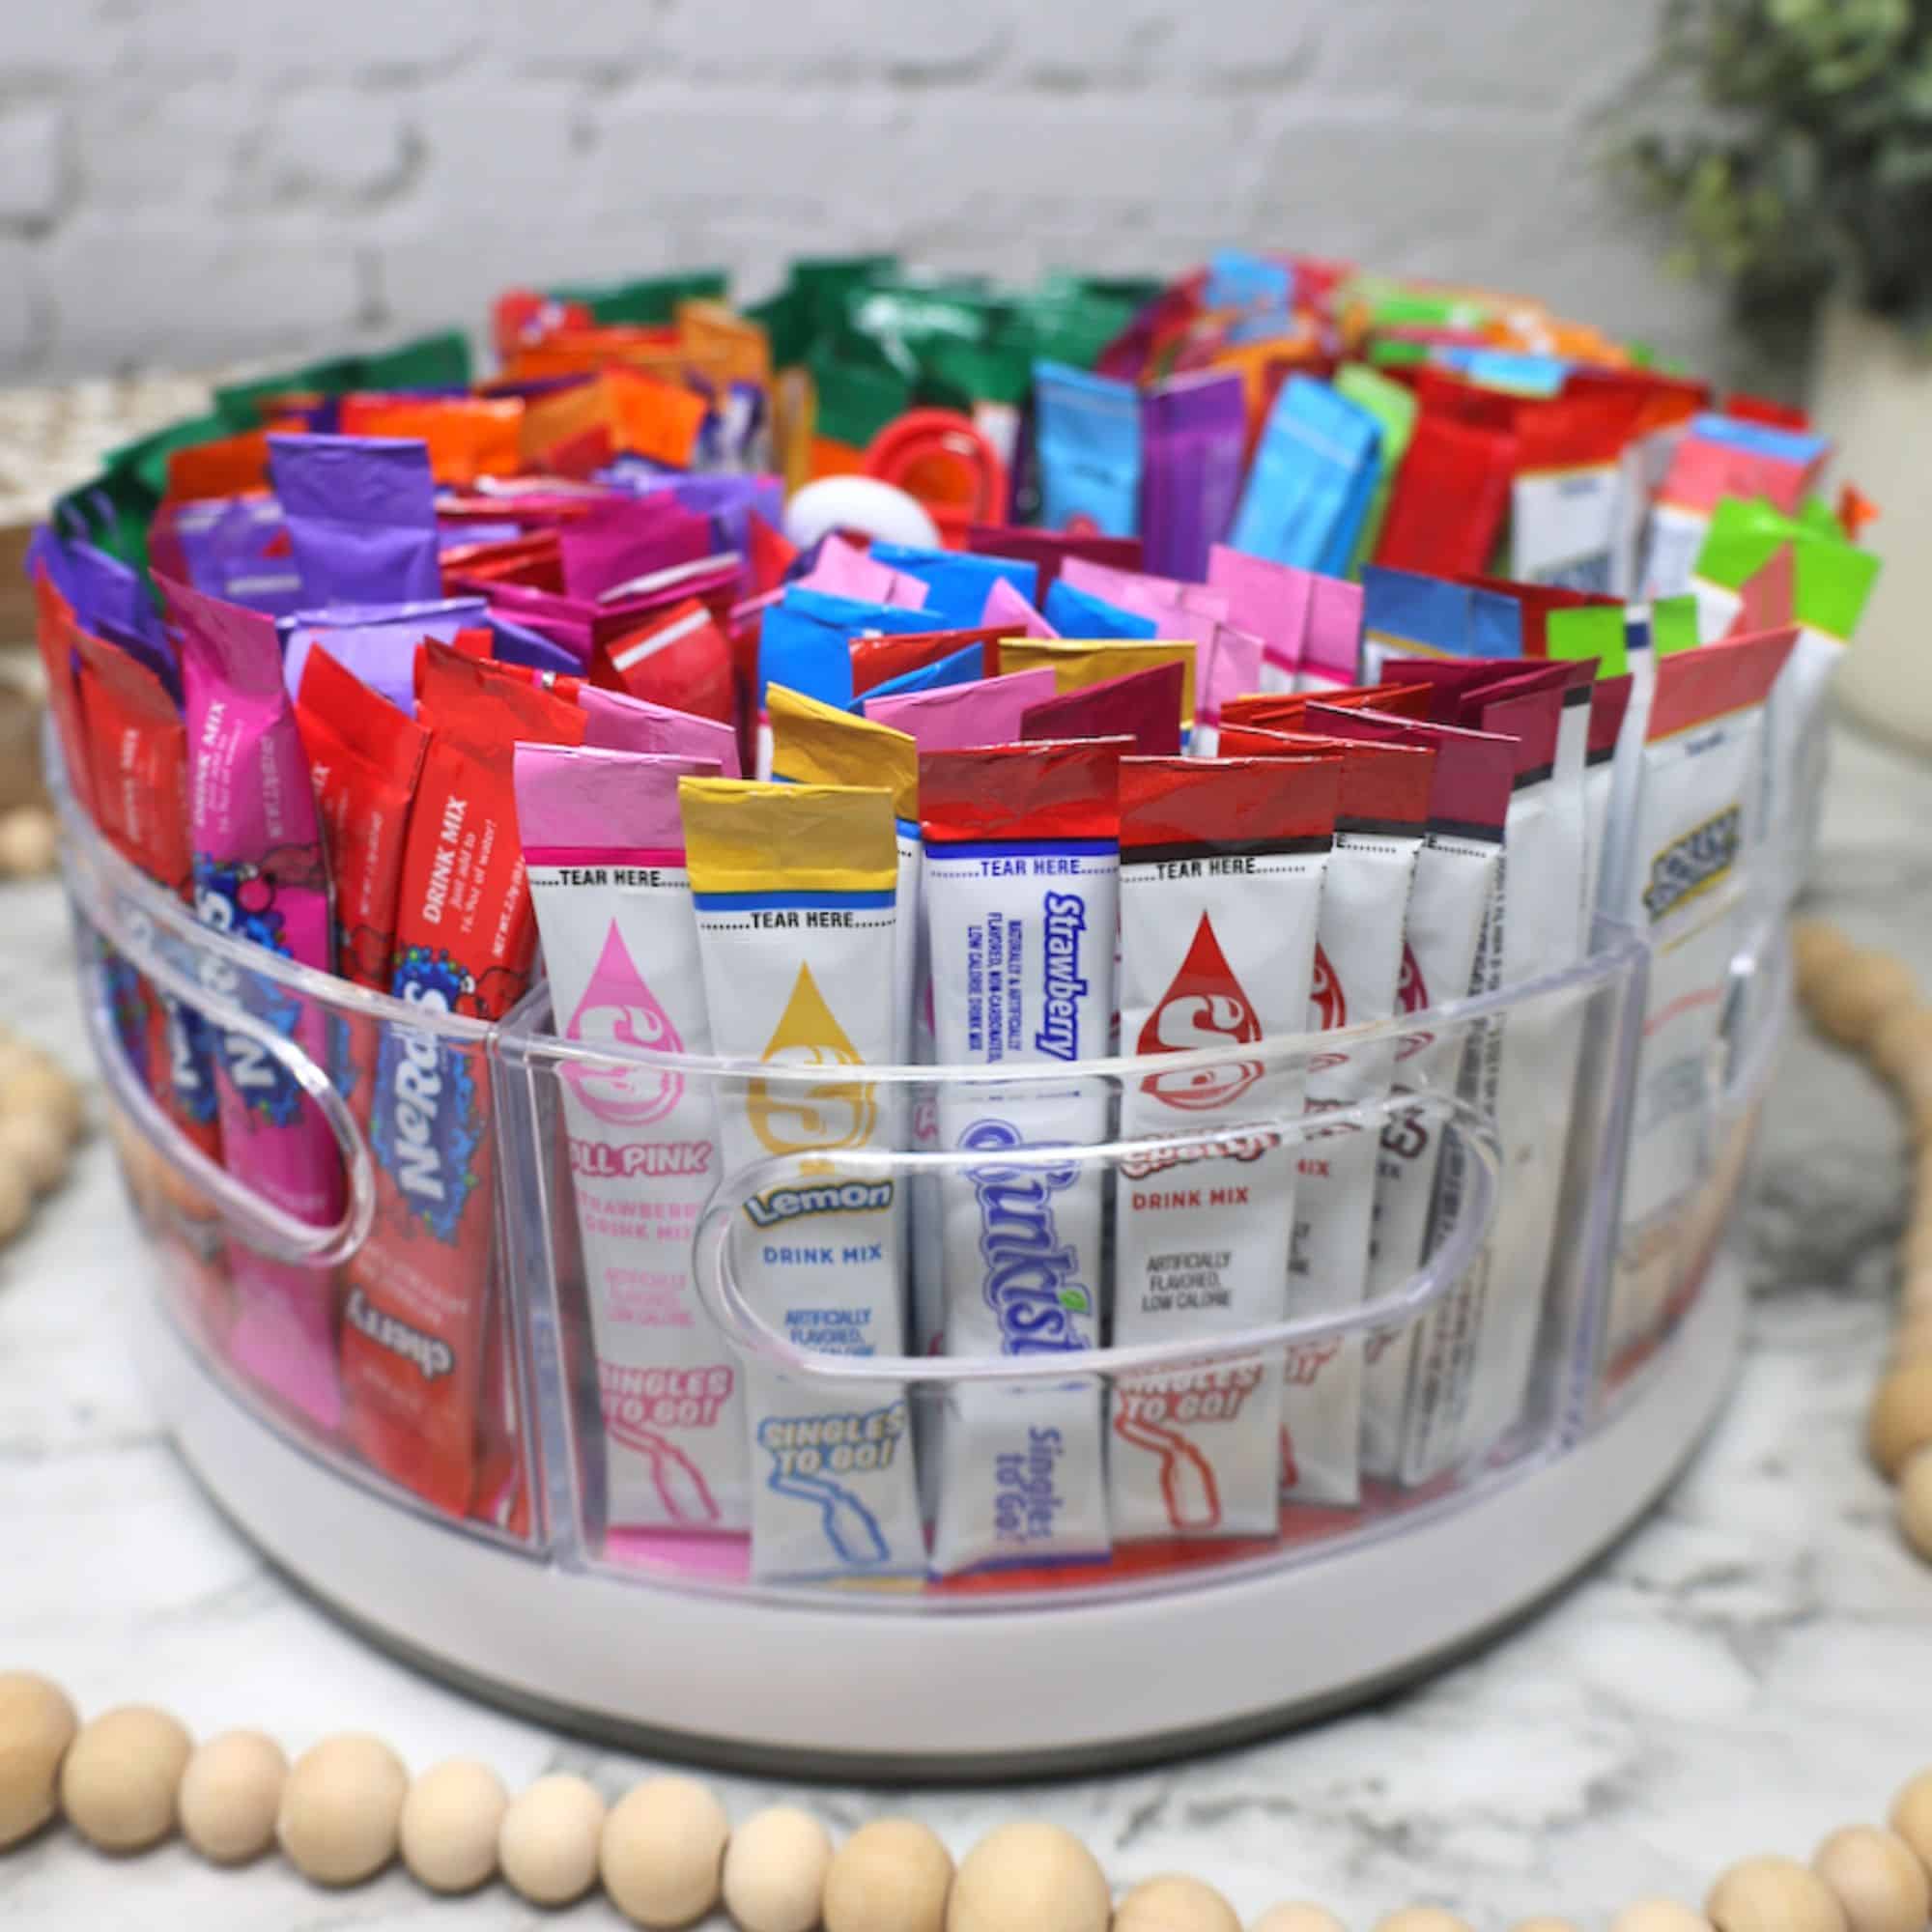
  • Water flavor packets – Choose from a variety of options like Crush, Skittles, Starburst, 7-Up, A&W Root Beer, and more.

With these simple supplies, you can enjoy refreshing and flavorful water anytime, anywhere!

NATURAL ALTERNATIVES TO WATER FLAVOR PACKETS

If you prefer to avoid artificial flavorings and additives, there are plenty of natural ways to enhance your water!

  • Fresh Herbs – Add a refreshing twist with mint, basil, or rosemary.
  • Citrus Fruits – Lemons, limes, and oranges not only boost flavor but also provide a dose of vitamin C.
  • Edible Flowers – Lavender, rose petals, and hibiscus create a unique, aromatic drink.
  • Fruit & Herb Combinations – Experiment with different pairings to craft your own signature blend.

These natural alternatives not only make your water more flavorful and refreshing but also connect you to fresh, wholesome ingredients. Give them a try and discover how they can take your flavored water to the next level!

FLAVORED WATER RECIPES TO TRY

Our recipes are designed for a 40-ounce water bottle, but feel free to adjust based on your bottle size.

  • Using a 20-ounce bottle? Try using half a packet of each flavor for a balanced taste.
  • Mixing Instructions: Add your ingredients, shake until fully dissolved, and enjoy!
  • Best Results: Use cold, filtered water for the freshest flavor.
  • Love fizzy drinks? Add ½ cup of carbonated water after mixing for a refreshing, bubbly twist.
  • Storage Tip: Keep your flavored water refrigerated for maximum freshness.

Have a favorite flavor combination? Share it in the comments! I’d love to try your suggestions!

HOW TO CREATE YOUR OWN BATH BOMS

Discover how to make bath bombs with this easy and fun recipe. Create vibrant, spa-like experiences right at home with these colorful homemade bath bombs!

DIY Bath Bombs

Bath bombs are a simple and enjoyable way to indulge in self-care. When you drop these fizzing “bombs” into your bath, they dissolve and release ingredients that relax muscles (Epsom salts), detoxify the body and soothe itchy skin (baking soda), hydrate the skin (almond oil), and promote relaxation (essential oils).

For our bath bombs, we selected a fresh grapefruit scent, but feel free to use calming lavender for a nighttime bath or orange blossom to ease anxiety. You can create single-color bombs or go for a fun multi-colored effect like we did, or even skip the color for a classic white bomb.

Homemade bath bombs also make thoughtful gifts. Simply place a few in a cellophane bag and tie it with a ribbon. Making bath bombs is a fun and easy activity for both adults and kids (with supervision).

Here’s what you’ll need:

You can find the full printable instructions at the end of this post, but here’s a list of similar products available on Amazon and Target that you can use for making bath bombs:

  • Baking Soda
  • Citric Acid
  • Epsom Salt
  • Cornstarch
  • Mica powder
  • Sweet Almond Oil
  • Essential oil
  • Bath bomb molds

Where can I buy supplies to make DIY bath bombs?

You can find citric acid in grocery stores, typically in the canning or baking section. Epsom salt is commonly available at pharmacies or Walmart in the bath and body aisle.

Bath bomb molds and mica powder are sold at Michaels or other craft stores. Essential oils can be found in the home decor section of Walmart, while sweet almond oil is available in pharmacies or Walmart in the beauty or hair care aisles.

And, of course, Amazon is a great one-stop shop for all of these items!

Can you make bath bombs without a mold?

While bath bomb molds are the most straightforward way to shape your bath bombs, there are plenty of creative alternatives you can try! With a little imagination, you can make bath bombs without molds and still get great results.

There are many items you can use to make bath bombs without traditional molds. Try muffin tins, silicone baking molds, silicone muffin liners, ice cube trays, candy molds, measuring cups, plastic Easter eggs, or even cookie cutters—the possibilities are endless!

If you’re looking for a quick and simple method, you can also press the bath bomb mixture tightly in your hands. While it may not be as perfectly shaped, it will still work beautifully in the bath!

What if I don’t have sweet almond oil?

In our bath bomb recipe, sweet almond oil serves both as a moisturizer and a binder for the dry ingredients. However, you can substitute it with almost any oil, such as olive oil or canola oil.

Other great options include jojoba oil, avocado oil, rosehip oil, baby oil, or sunflower oil. You can even use melted coconut oil, shea butter, or cocoa butter for a more luxurious touch.

How do I colour my homemade bath bombs?

We used mica powder to color our bath bombs. Mica is a natural mineral with a metallic sheen, commonly used in cosmetics and soap for its vibrant hues.

Alternatively, you can use a water-soluble liquid colorant to add color to your bath bombs. These dyes, often used for bath bombs and soaps, are skin-safe and won’t stain your bathtub, making them a great choice for a colorful touch without the mess.

Bath Bomb Recipe

Learn how to make bath bombs with this super easy recipe! Pamper yourself with bath bombs that not only look beautiful but smell incredible too.

MATERIALS:

  • 1 cup Baking soda
  • 1/2 cup Citric acid
  • 1/2 cup Epsom salt
  • 3/4 cup Cornstarch
  • 3 tablespoons Sweet almond oil
  • 10-20 drops Essential oils 
  • 1/2 teaspoon Mica powder 

EQUIPMENT:

  • Mixing bowl(s)
  • Spoon
  • Bath bomb mold

INSTRUCTION:

Step 1: Make the Bath Bomb Mixture
Add all the dry ingredients to a mixing bowl and stir them together until well combined.

Slowly pour in the sweet almond oil, mixing continuously to ensure it’s evenly incorporated into the dry ingredients.

Add the drops of essential oil to the mixture, stirring well to evenly distribute the fragrance throughout.

Stir the mixture thoroughly, breaking up any clumps to ensure it’s smooth and evenly combined.

The mixture may look dry, but when you pick it up and squeeze it together, it should hold its shape and stick together.

Step 2: Add Color
If you want to create bath bombs with multiple colors, divide the mixture into several smaller bowls. Add your chosen mica powder color to each bowl and mix well until no white streaks remain.

We divided the mixture into four portions and added just 1/8 teaspoon of mica powder to each. The more mica powder you add, the more vibrant the color of your bath bombs will be.

Step 3: Form the Bath Bombs
Spoon the mixture into one half of the mold. You can use one color or combine several. Press the mixture firmly into the mold using the back of a spoon or your fingers to pack it tightly.

Once the mold is full, press down on the mixture to pack it in tightly, ensuring it’s compact and holds its shape.

Add another scoop of the mixture on top of the packed layer, letting it mound over the top of the mold without packing it down.

Repeat the process with the second half of the mold, adding the mixture and pressing it down lightly, then mounding it up without packing it.

Repeat the process with the second half of the mold, adding the mixture and pressing it down lightly, then mounding it up without packing it.

Carefully pull the molds apart. If the bath bomb doesn’t come out easily, gently tap the outside of the mold with a spoon to help loosen it.

Unmold the second half of the bath bomb in the same way, gently pulling the mold apart and tapping it with a spoon if needed to release the bath bomb.

Place the bath bomb on a baking tray or another dry surface and let it dry overnight to harden.

Your homemade bath bomb is now complete! Enjoy your relaxing, fizzy creation in the bath!

Helpful Tip:

Troubleshooting

  • Bath bombs won’t come out of the molds: This usually means the mixture is too wet. Try adding a little more cornstarch to the mixture. Remember, this recipe does NOT require any water.
  • Bath bombs crumble after coming out of the mold: This happens if the mixture is too dry or wasn’t packed tightly enough. Try pressing the mixture into the mold more firmly. Overflow the molds with extra mixture and press the sides together tightly. If that doesn’t work, add a few more drops of oil to the mixture to help it bind better.

Learning how to make a bath bomb at home is a fun and creative activity! Drop your DIY bath bomb into the water and enjoy the bubbles and fizz as you unwind with a relaxing soak from the bath bomb you made yourself!

CONCLUSION

In conclusion, making your own bath bombs is a simple, enjoyable, and rewarding activity that allows you to personalize your bath time experience. With just a few ingredients, you can create colorful, fragrant bath bombs that not only look great but also offer relaxation and skincare benefits. Whether you’re treating yourself or gifting them to others, homemade bath bombs add a special touch to any self-care routine. Enjoy the fizzy fun and the satisfaction of using something you’ve crafted yourself!