In this article, we’ll explore the boiled egg diet plan for weight loss. This simple yet effective plan can help you shed extra pounds without any side effects. Follow this diet to maintain a healthy body shape. Keep reading to learn more!
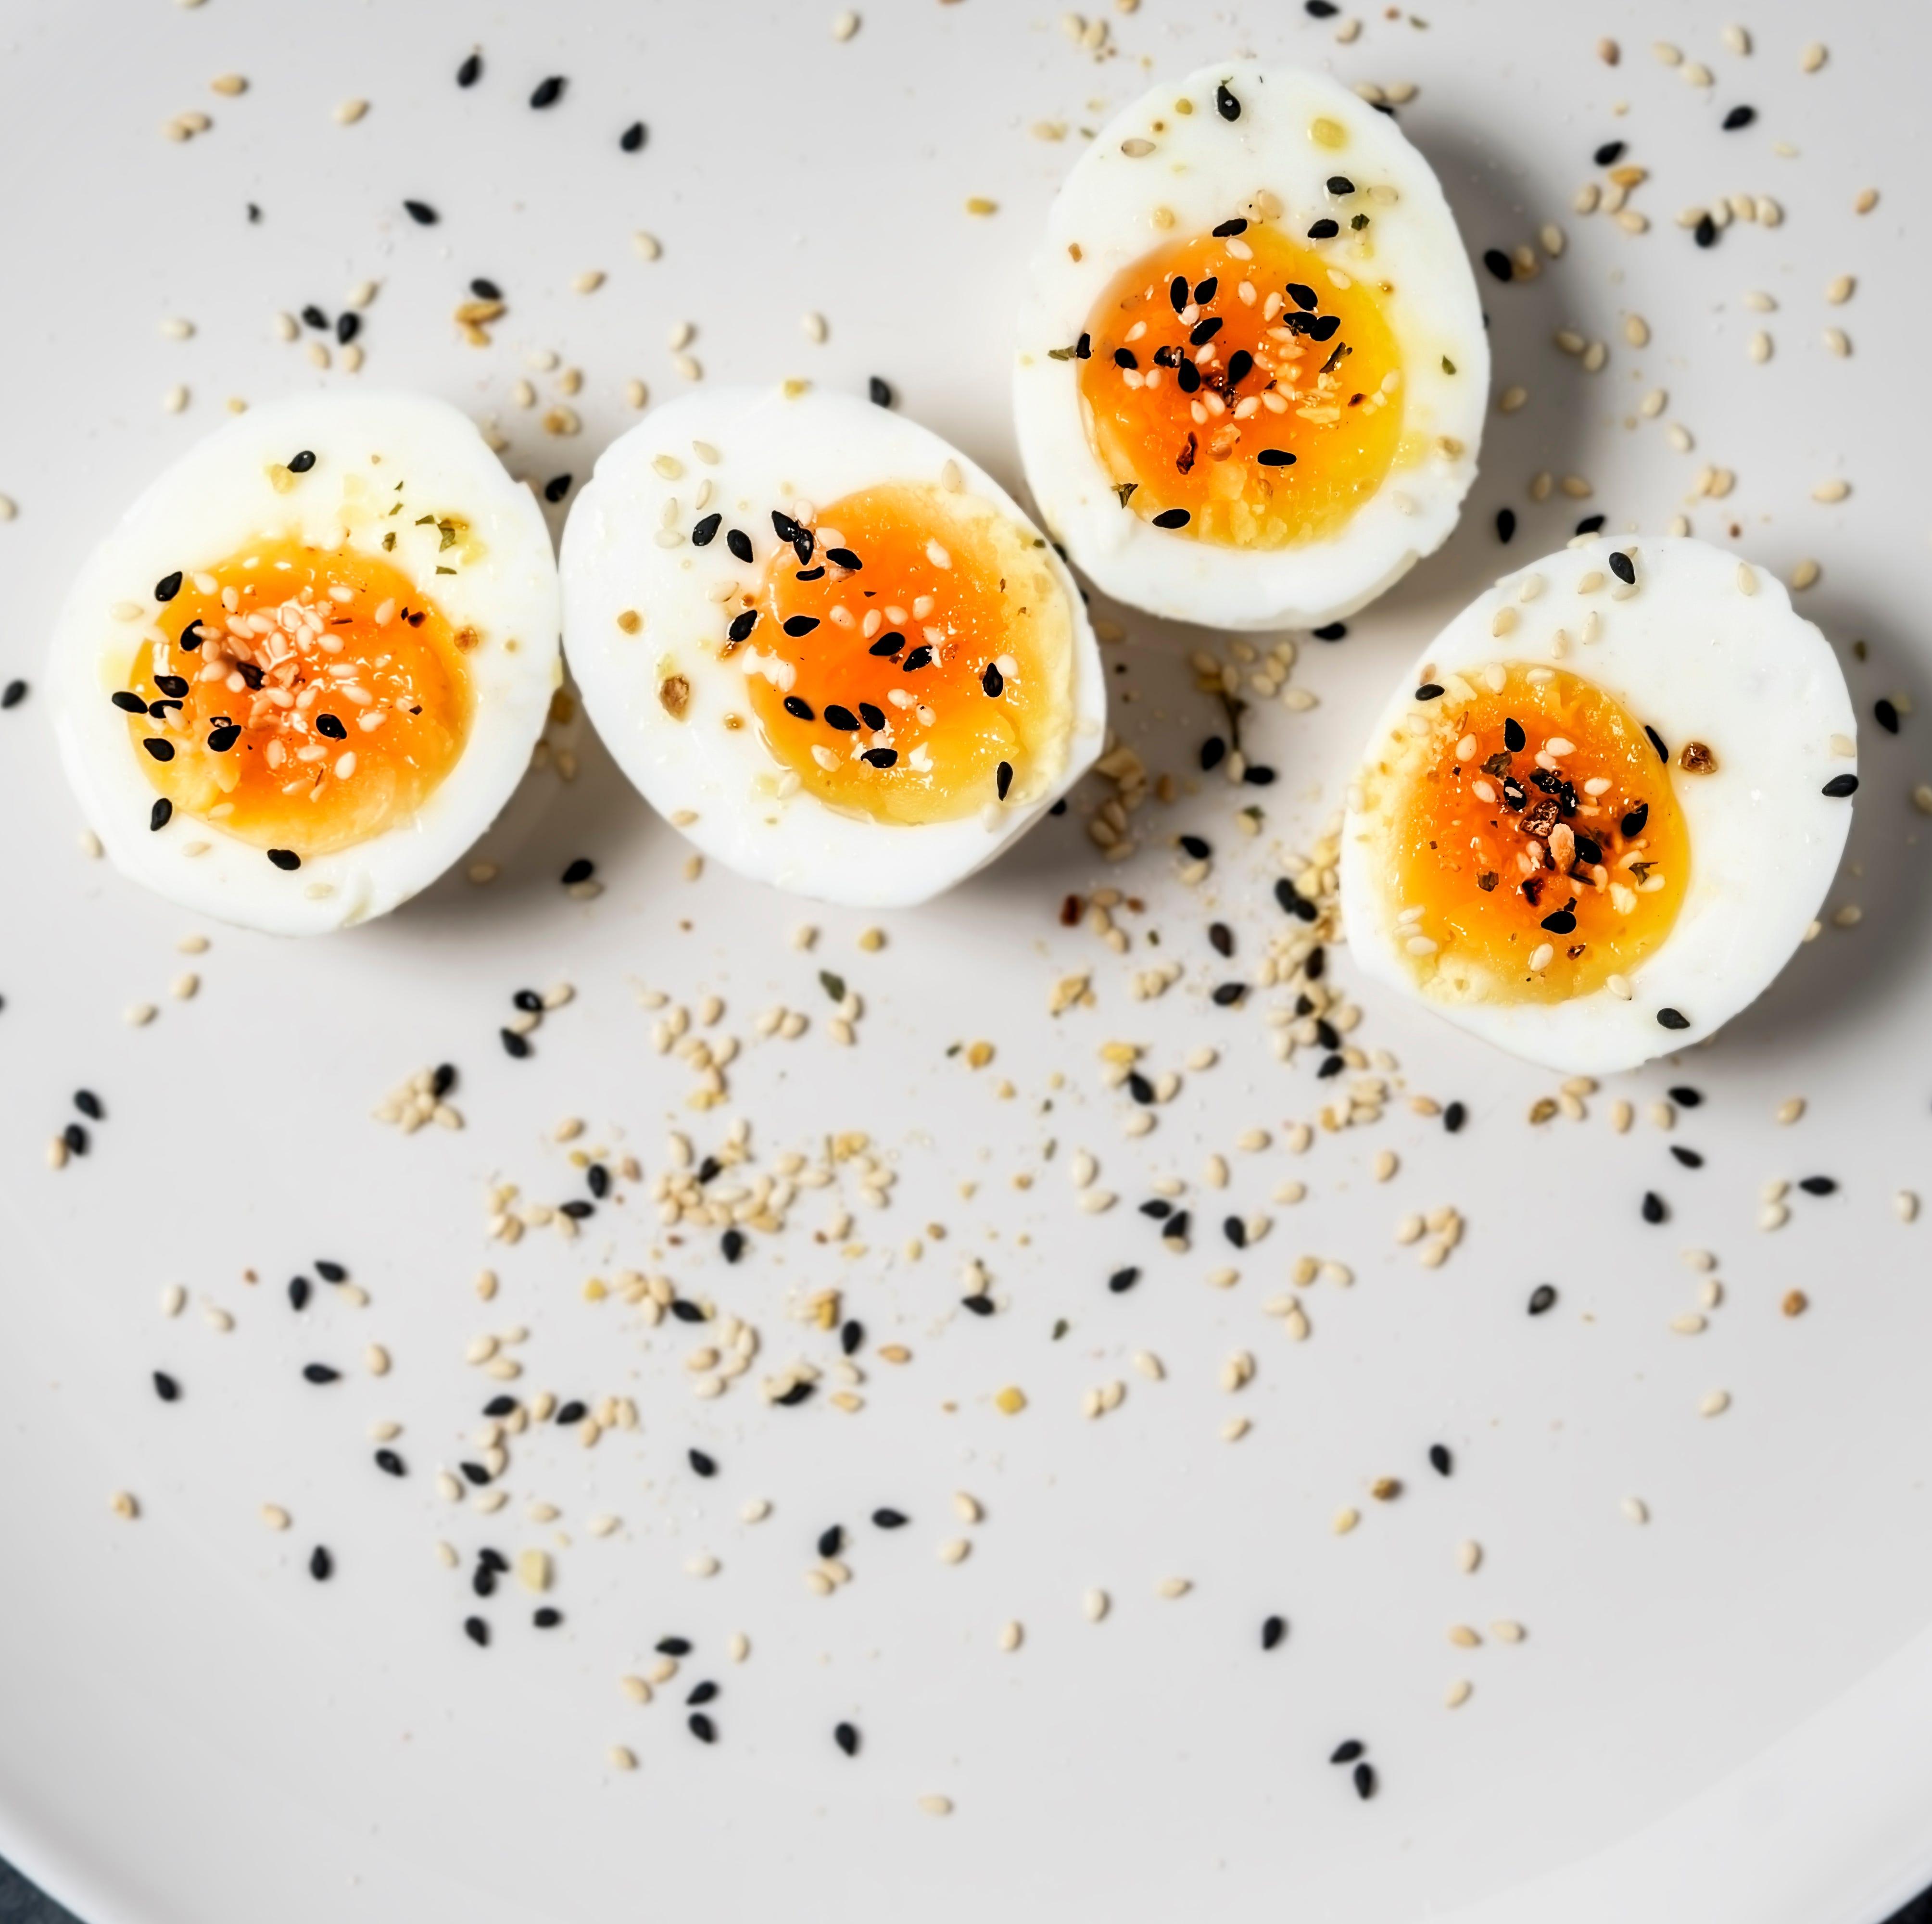
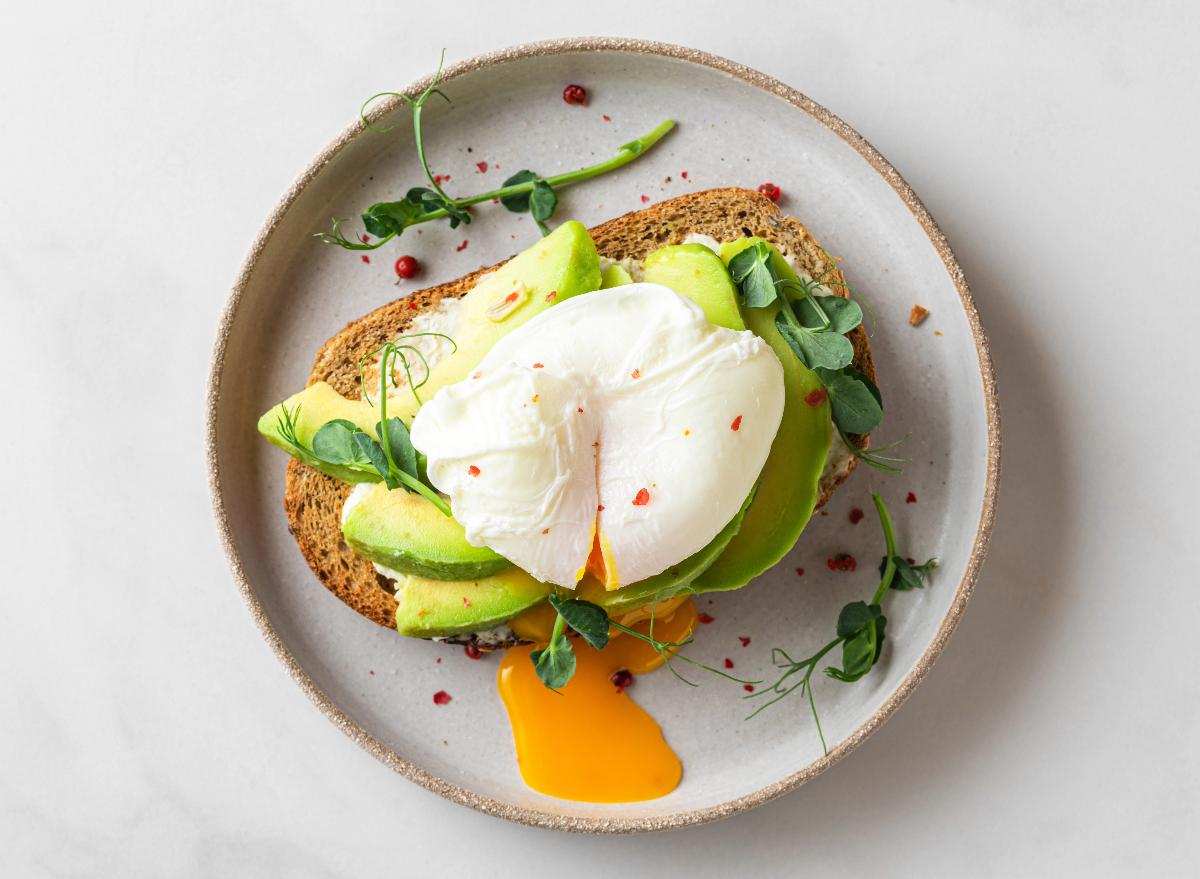
Among the many diet plans for weight loss, the 14-day boiled egg diet stands out as one of my favorites. It offers unique benefits that may support weight loss efforts. Eggs are a highly nutritious, weight-loss-friendly food packed with high-quality protein, healthy fats, vitamins, and minerals. They can also help boost metabolism, making them a great addition to a weight loss plan.
NUTRITION FACTS OF AN EGG
A large egg contains:
- Calories: 71.5
- Fat: 5.8g
- Vitamin A: 160mcg
- Calcium: 56mg
- Vitamin D: 2mcg
- Riboflavin: 475mg
- Vitamin B12: 89mg
- Folate: 47mcg
- Vitamin E: 1.05mg
- Niacin: 0.75mg
- Iron: 1.75mg
WEIGHT LOSS WITH THE BOILED EGG DIET PLAN
The boiled egg diet offers numerous benefits, making it a simple and cost-effective approach to weight loss. Unlike other diet plans, there’s no need to buy expensive products—just incorporate eggs into your meals. This diet not only supports weight loss but also boosts metabolism and provides essential nutrients.
Hydration is key during this diet. Start your day with a glass of water, and continue drinking one glass every hour throughout the day. Staying hydrated can enhance weight loss and improve overall well-being.
TIPS TO FOLLOW DURING THE EGG DIET
To maximize results, keep these guidelines in mind:
✔️ Avoid junk food.
✔️ Limit salt intake (use sea salt if necessary).
✔️ Eliminate alcohol.
✔️ Prioritize sleep and stay active.
✔️ Mentally and physically prepare yourself before starting the diet.
✔️ Avoid junk food.
✔️ Limit salt intake (use sea salt if necessary).
✔️ Eliminate alcohol.
✔️ Prioritize sleep and stay active.
✔️ Mentally and physically prepare yourself before starting the diet.
By following these steps, you can successfully achieve your weight loss goals with the boiled egg diet.
THE FIRST WEEK OF THE DIET
MONDAY
Breakfast: Start with a glass of water, then eat two boiled eggs. After five minutes, enjoy an apple or any whole fruit of your choice.
Lunch: Two sweet potatoes and two apples.
Dinner: A large plate of salad and one chicken leg piece.
TUESDAY
Breakfast: Two boiled eggs, followed by a fruit of your choice after 5-10 minutes.
Lunch: A bowl of green vegetables with chicken.
Dinner: Green vegetable salad, two boiled eggs, and one orange.
WEDNESDAY
Breakfast: Two boiled eggs and your favorite fruit (preferably an apple).
Lunch: One fruit of your choice to keep hunger at bay.
Dinner: Salad and steamed chicken.
THURSDAY
Breakfast: Two boiled eggs with a citrus fruit of your choice.
Lunch: Steamed vegetables, low-fat cheese, and two boiled eggs.
Dinner: One plate of salad and one piece of chicken.
FRIDAY
Breakfast: Two boiled eggs with a citrus fruit of your choice.
Lunch: Two boiled eggs and steamed vegetables.
Dinner: Grilled fish with salad.
SATURDAY
Breakfast: Two boiled eggs with a citrus fruit.
Lunch: Two fruits of your choice.
Dinner: One piece of chicken and steamed vegetables.
SUNDAY
Breakfast: Two boiled eggs and one fruit.
Lunch: Salad, steamed vegetables, and one piece of chicken.
Dinner: Steamed vegetables.
THE SECOND WEEK OF BOILED EGG DIET PLAN/ DIET MENU FOR WEIGHT LOSS
MONDAY
Breakfast: Two boiled eggs and a fruit of your choice.
Lunch: Chicken pieces with salad.
Dinner: Two boiled eggs, an orange, and some salad.
TUESDAY
Breakfast: Two boiled eggs and your favorite fruit.
Lunch: Steamed vegetables with two boiled eggs.
Dinner: A small plate of salad and grilled fish.
WEDNESDAY
Breakfast: Two boiled eggs and a citrus fruit of your choice.
Lunch: Salad with one piece of chicken.
Dinner: Two boiled eggs, half a plate of veggie salad, and one orange.
THURSDAY
Breakfast: Two boiled eggs and a fruit of your choice.
Lunch: Low-fat cheese, steamed vegetables, and two boiled eggs.
Dinner: A small plate of salad with chicken pieces.
FRIDAY
Breakfast: Two boiled eggs and your favorite fruit.
Lunch: Grilled fish or salmon with salad.
Dinner: Two boiled eggs and salad.
SATURDAY
Breakfast: Two boiled eggs and a fruit of your choice.
Lunch: A small portion of chicken with a plate of salad.
Dinner: A plate of your favorite fruits.
SUNDAY
Breakfast: Two boiled eggs to start your day.
Lunch: Steamed vegetables with chicken.
Dinner: The same meal as lunch to end your day.
This high-protein, low-carb meal plan is designed to support weight loss while keeping you energized and full throughout the day!
CONCLUSION
Now you understand why this is called the “boiled egg diet plan.” The meals included are simple, quick to prepare, and require minimal effort. However, before starting any diet plan, it’s important to consult with your doctor to ensure it’s suitable for your health. Never rely solely on online information—always verify before making any dietary changes.