Medium-length hair offers a versatile canvas for creating stunning updos. Whether you’re looking for an elegant style for a special occasion or a quick and easy everyday look, there’s an updo to suit your needs. This collection showcases 15 of the trendiest updos that are perfect for medium-length hair, from classic chignons and romantic braids to playful twists and effortless knots.
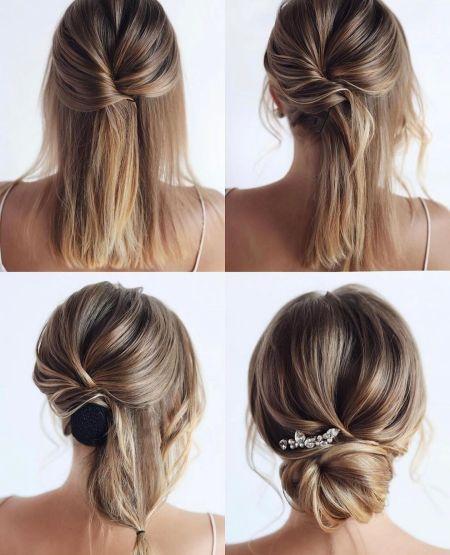
Bun with Face-Framing Strands
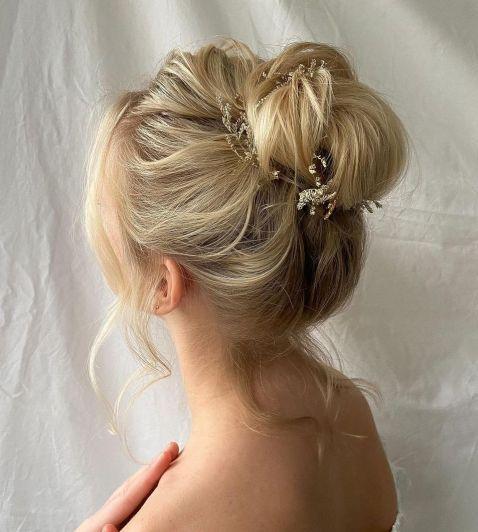
If you love romantic hairstyles, this dreamy updo inspired by Jane Austen’s films will captivate you. Elevate your look with sparkling accessories, while allowing a few soft tendrils to gently frame your face and enhance the elegance of a high bun.
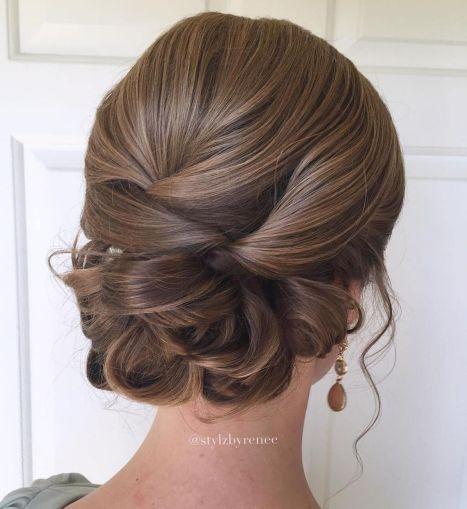
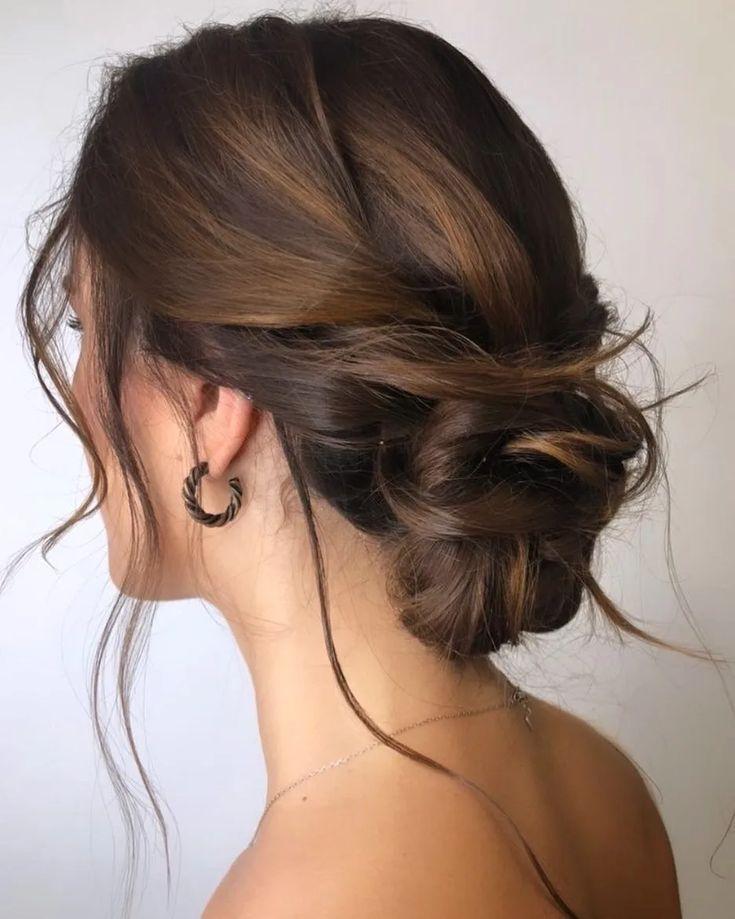
Low Updo with Loose Waves
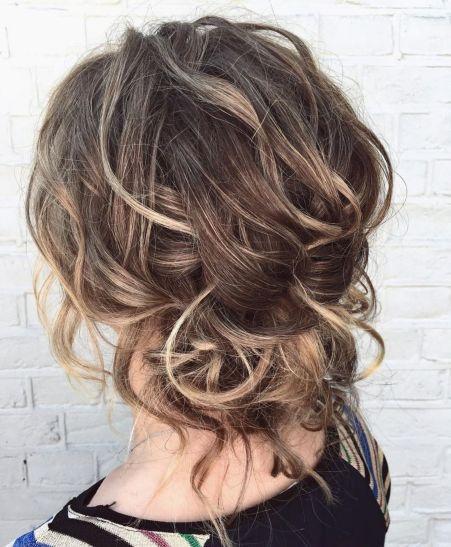
A messy updo is timeless. The highlighted waves add texture and effortless detail to chic styles like this one. Complete the look with statement earrings or a necklace, and you’re all set! Loose, wavy strands are essential for achieving that perfectly tousled vibe.
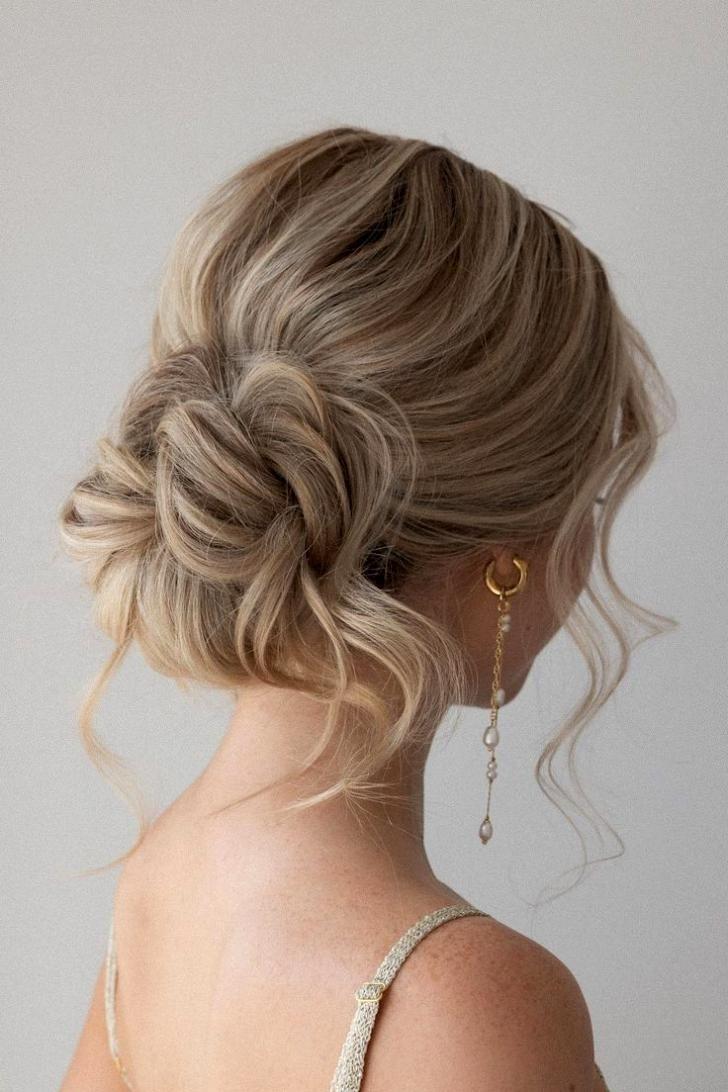
Messy Wrapped Chignon
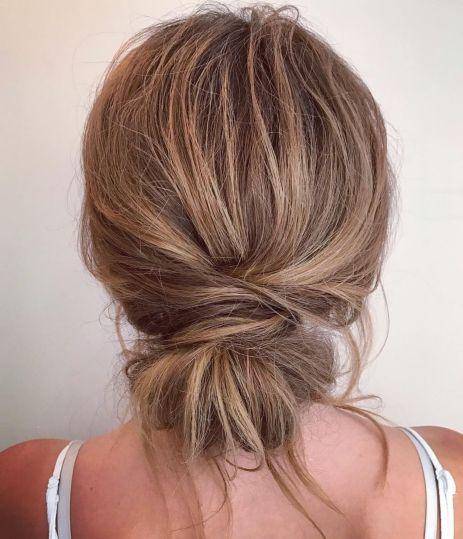
The messy chignon, a favorite of fashion icons like Lauren Conrad, remains a classic trend. Start by sectioning off a chunky piece on each side, then create a low looped ponytail with the rest of the hair. Wrap the side sections around the chignon, tucking the ends under the elastic or securing them with bobby pins.
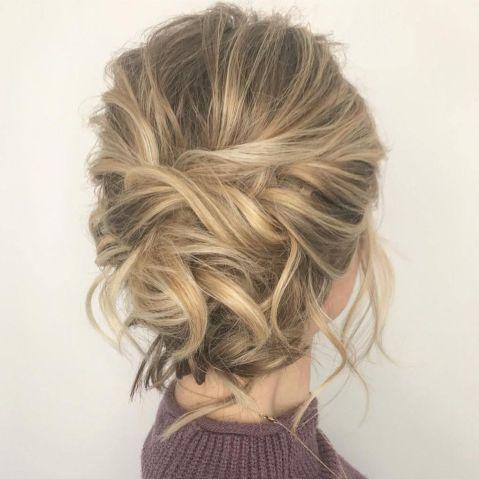
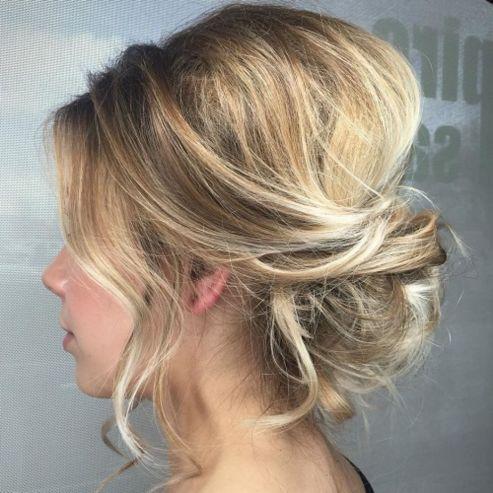
Messy Wavy Updo
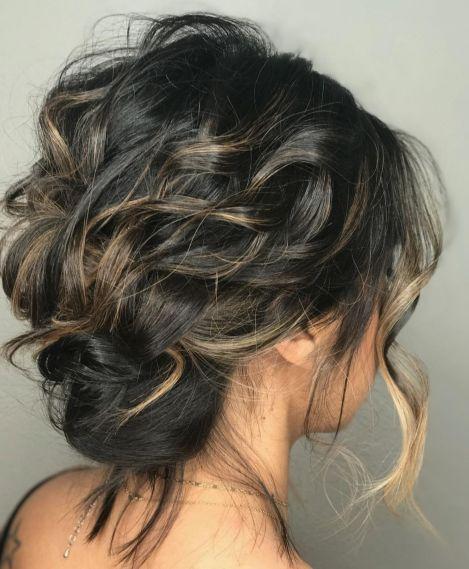
Attending a more casual, relaxed event? This boho-chic updo with a wavy low bun combines color and texture for an effortlessly stylish look. The highlighted waves take center stage, ensuring you feel like the star of the show.
Buns and Chignons

Minimalism is a major fashion trend, and it effortlessly translates into the beauty industry. The simple yet elegant hairstyles pictured here would make the perfect complement to a polished shift dress or a cashmere sweater paired with a midi skirt.
Deconstructed Roll
Texture is the secret to a cool style. Whether your hair is tied up or flowing down your back, the piecey layered look paired with waves will always draw compliments. The perfect finishing touch? A balayage to enhance the depth and dimension.
Loopy Updo with Bangs
This loopy style with bangs is perfect for medium-length hair. Whether your bangs are cut straight across the forehead or swept to the side, they add a touch of girly delicacy to complete the look.
Messy Bun with Loose Strands

Who doesn’t love a simple, messy bun? No one would ever guess you were rushing to work or class when you gathered your bedhead hair into a low bun. The secret to this style is keeping it deliberately undone, with loose strands adding a flirty, feminine touch.
Low Bejeweled Bun
For the perfect low bun, grab some hair texture powder, bobby pins, a teasing comb, and padding. If you’re not up for a DIY hair adventure, simply bring this as an inspirational photo to your hairstylist. Messy updos never go out of style, but to add a touch of sophistication, accessorize with shiny, elegant details.
Weaved and Looped Style
Intricate details make formal updos truly stand out. The looping and weaving create a visually captivating and refined look. Finish off the style with a couple of soft tendrils around the face for a romantic and endearing touch.
High Tuck-In
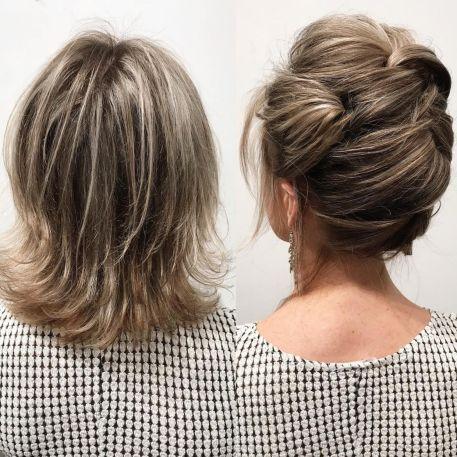
If the back sections of your hair are shorter and you’re aiming for a high updo, try tucking and pinning each section at different heights to achieve the desired lift. Loosen a few strands around the face to add softness and balance to the look.
Loopy Twisted Updo

This lovely twisted style adds incredible thickness and volume to fine hair! The next time you have a wedding to attend, let this be your go-to hairstyle. For an extra touch, you can add a small flower or jeweled barrette to enhance the look.
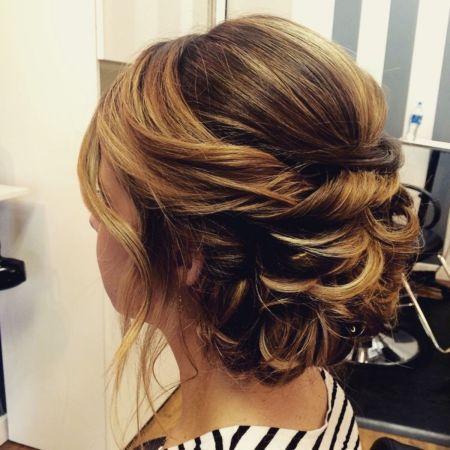
Looped ‘Do with Highlights
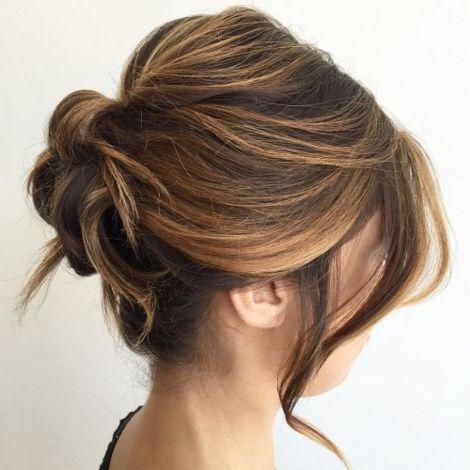
If you’re going for a relaxed look like this messy looped style, chunky highlights can really enhance the texture. They’re especially flattering when twisted together, creating a beautiful swirl of caramel and coffee hues.
Bouffant Hairstyle
Fine hair can sometimes appear flat in updo hairstyles, as the strands lack volume and width. In cases of dark hair, the scalp may even peek through. To counter this, add height at the crown with a bold bouffant to create a fuller, more voluminous look.
Chunky Braid Updo
Updos don’t always have to be formal. Take this French braid, for example. The exaggerated weaving adds a cool, effortless vibe. While it’s a more laid-back look, it’s versatile enough for everything from brunch with friends to date night. Add some accessories to dress it up for a formal event.
CONCLUSION
With a little creativity and the right techniques, medium-length hair can be transformed into a stunning array of updos. These 15 styles demonstrate the versatility of this hair length, proving that you don’t need long locks to achieve elegant and sophisticated looks for any occasion.