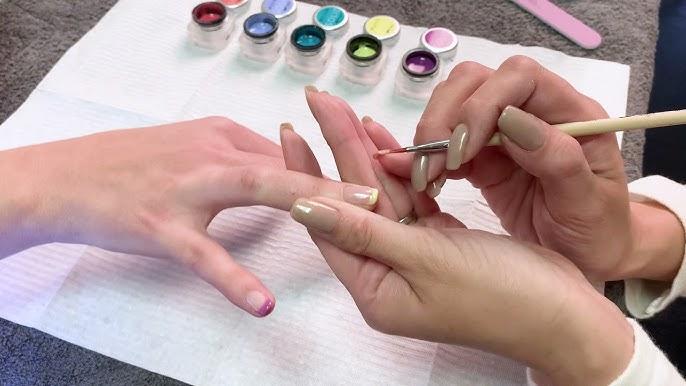
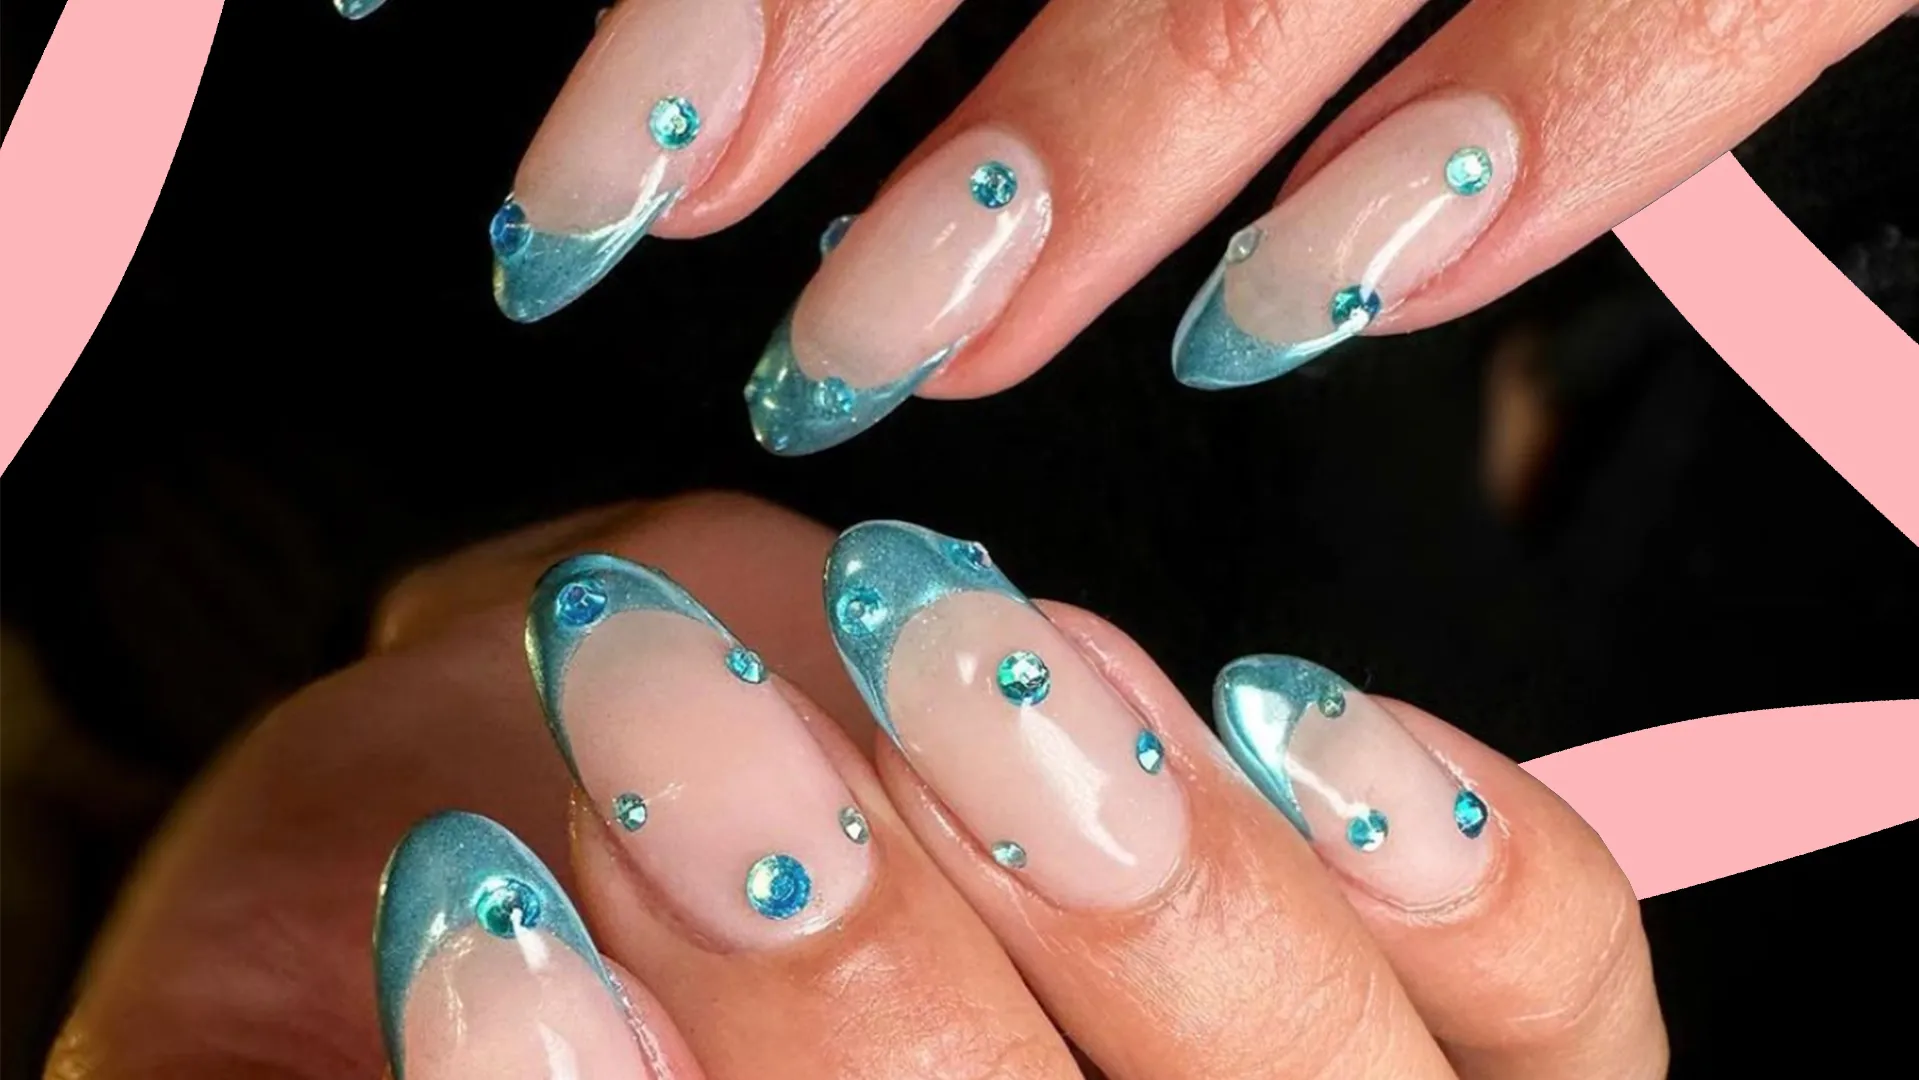
The ocean’s mystique and beauty have always been a source of inspiration, and this season, it’s making waves in the world of nail art. Blue swirl designs that echo the sea’s dynamic beauty are transforming nails into stunning works of art. Whether you’re looking for something subtle and sophisticated or bold and eye-catching, these 12 ocean wave-inspired blue swirl nail designs are sure to make a splash.
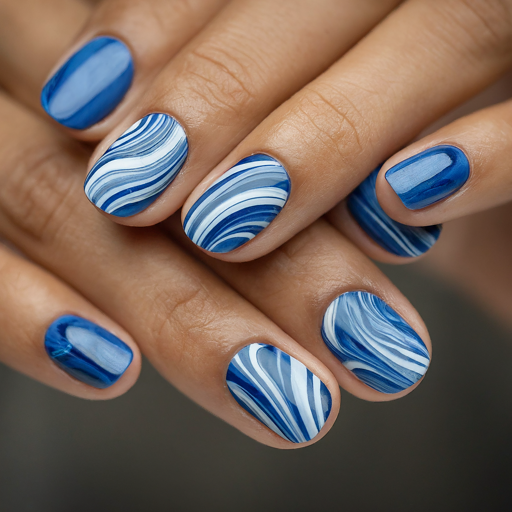
Unleash your inner artist with the mesmerizing Blue Swirl Nail Design, a captivating trend that effortlessly blends elegance and modern flair.
This design features a rich spectrum of blues, swirling together in hypnotic patterns that evoke the serene beauty of ocean waves and the enigmatic allure of twilight skies. The intricate swirls create a dynamic, fluid effect that dances across your nails, giving them a polished and sophisticated look. Perfect for making a statement at any event or simply adding a touch of luxury to your everyday style, the Blue Swirl Nail Design offers a chic and refreshing take on nail art. Whether you opt for a soft, pastel gradient or a bold, deep azure, this design promises to elevate your manicure to a work of art that is both eye-catching and timeless.
CLASSIC OCEAN GRADIENT
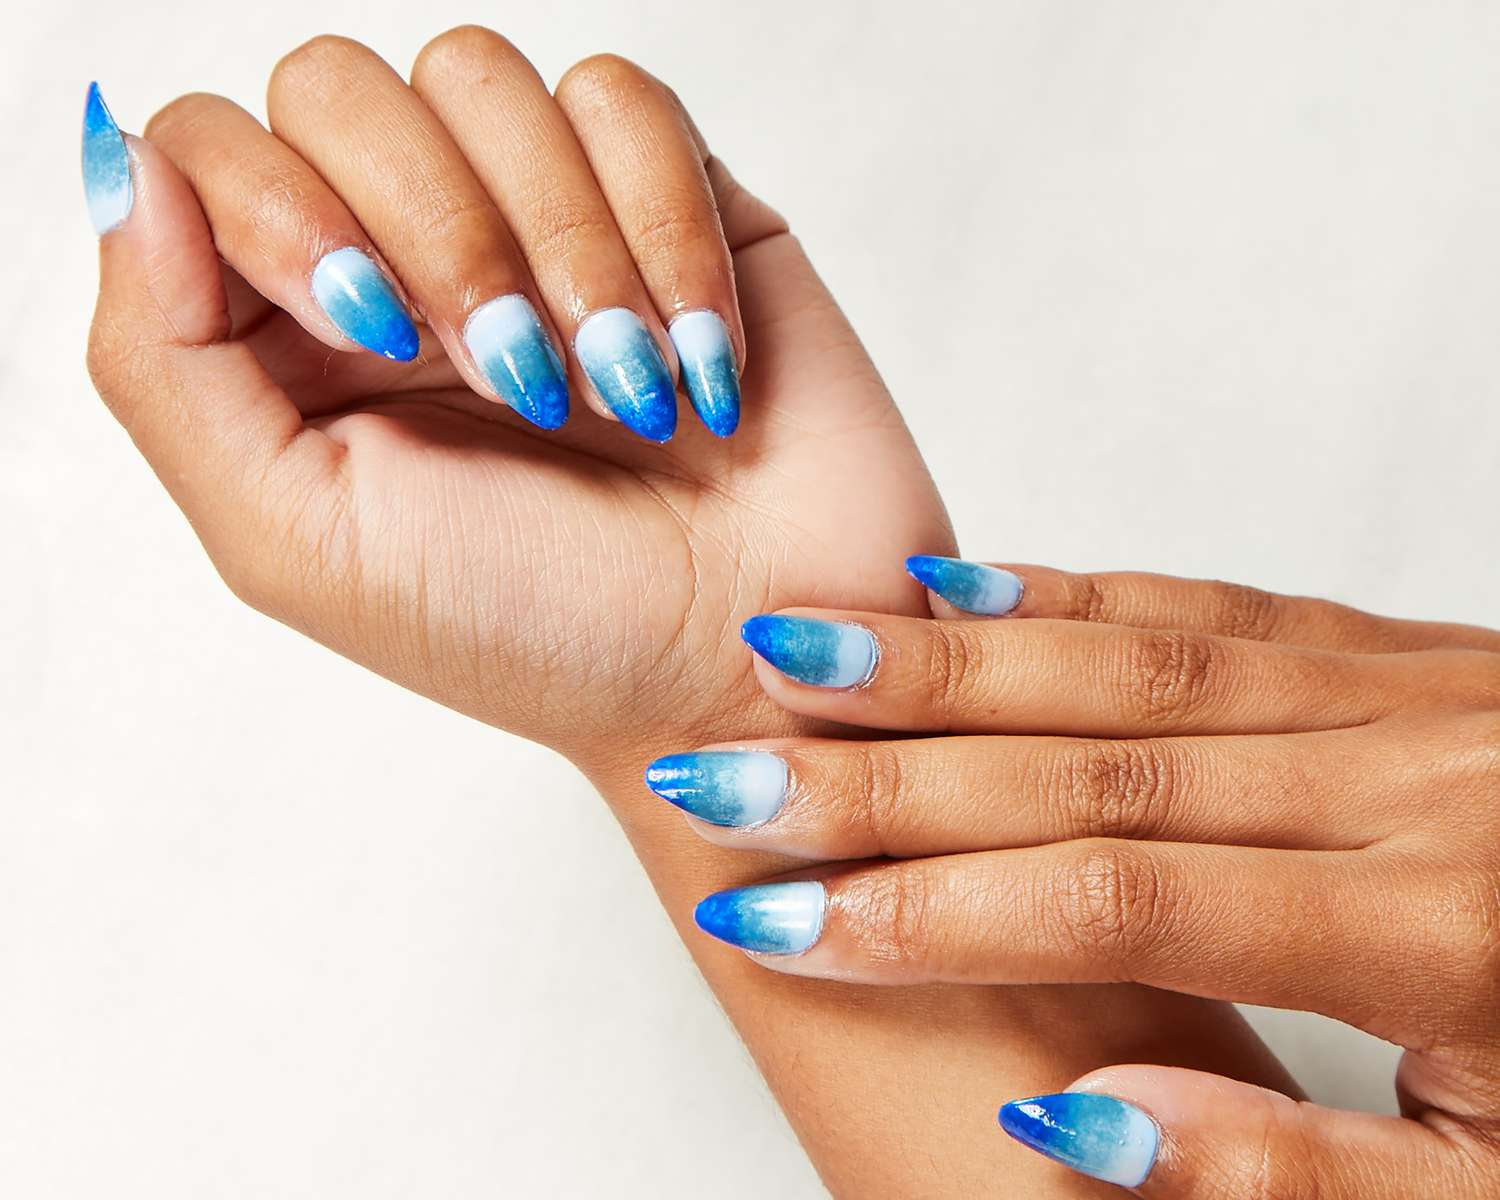
Not too simple like nude ombre nail, this design your fingertips in the tranquil beauty of the sea with the Classic Ocean Gradient. This design starts with a deep navy base that transitions seamlessly into a soft sky blue at the tip. The gradient reflects the depth and serenity of the ocean, while the delicate white swirls at the tip mimic the foamy waves that gently kiss the shore. This elegant design offers a sophisticated yet serene look that’s perfect for any occasion, from everyday wear to special events.
TROPICAL WAVE FUSION
Transport yourself to a sun-drenched tropical paradise with the Tropical Wave Fusion design. This vibrant look combines various shades of turquoise and teal, interspersed with energetic swirls of coral and gold. The result is a dazzling representation of tropical waves, with gold accents adding a sun-kissed glow. Ideal for summer and beach outings, this design brings a burst of warmth and color to your manicure, evoking the carefree spirit of island life.
MIDNIGHT WAVES
Capture the enchanting mystery of the night sea with Midnight Waves. This design features a rich, almost-black blue base, overlaid with swirling patterns of silver and midnight blue. The dark, moody hues reflect the ocean’s depths under a starlit sky, creating a dramatic and sophisticated look. Ideal for evening events or adding a touch of nocturnal elegance to your daily style, this design embodies the allure of the deep night sea.
SUNSET SWIRLS
Bring the magic of a seaside sunset to your nails with Sunset Swirls. This design starts with a gradient of soft blue that transitions into warm, inviting hues of orange and pink. The swirling patterns evoke the fluid, dynamic nature of a sunset over the ocean, blending beautifully with the colors of the sky. This vibrant and uplifting design is perfect for adding a splash of color and energy to your look, capturing the fleeting beauty of twilight.
ICY WAVES
Embrace the crisp, cool elegance of winter with Icy Waves, ocean insprited nail designs to enchant. Begin with a frosty blue base, then add delicate swirls of light blue and white to simulate the serene, crystalline quality of icy waves. This design evokes the serene beauty of a frozen sea, with a touch of shimmer to capture the glistening surface of winter’s chill. Perfect for those who appreciate a refreshing, wintry aesthetic, this design brings a cool and elegant flair to your nails.
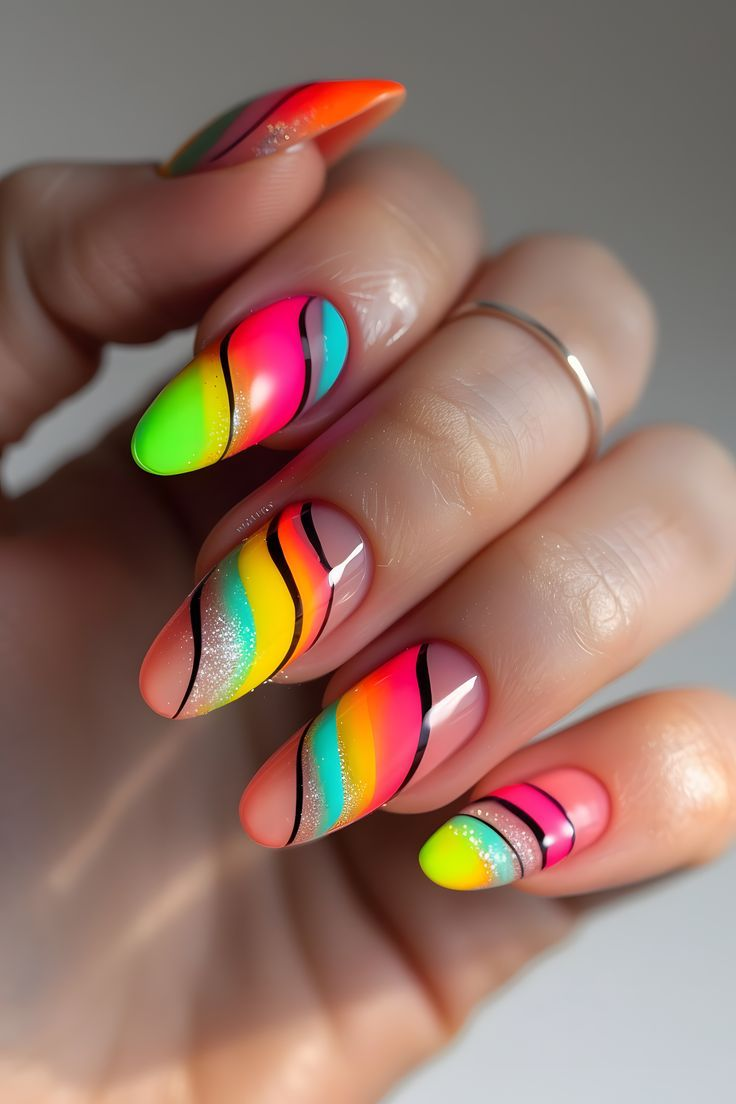
NEON OCEAN SPLASH
Make a bold statement with Neon Ocean Splash, where vibrant neon blues and greens swirl together in an electrifying design. Against a dark or black base, these neon swirls create a high-energy, eye-catching effect that mirrors the dynamic and exhilarating nature of ocean waves. Ideal for those who love to stand out and make a splash, this design adds a pop of modern, vibrant color to your manicure.
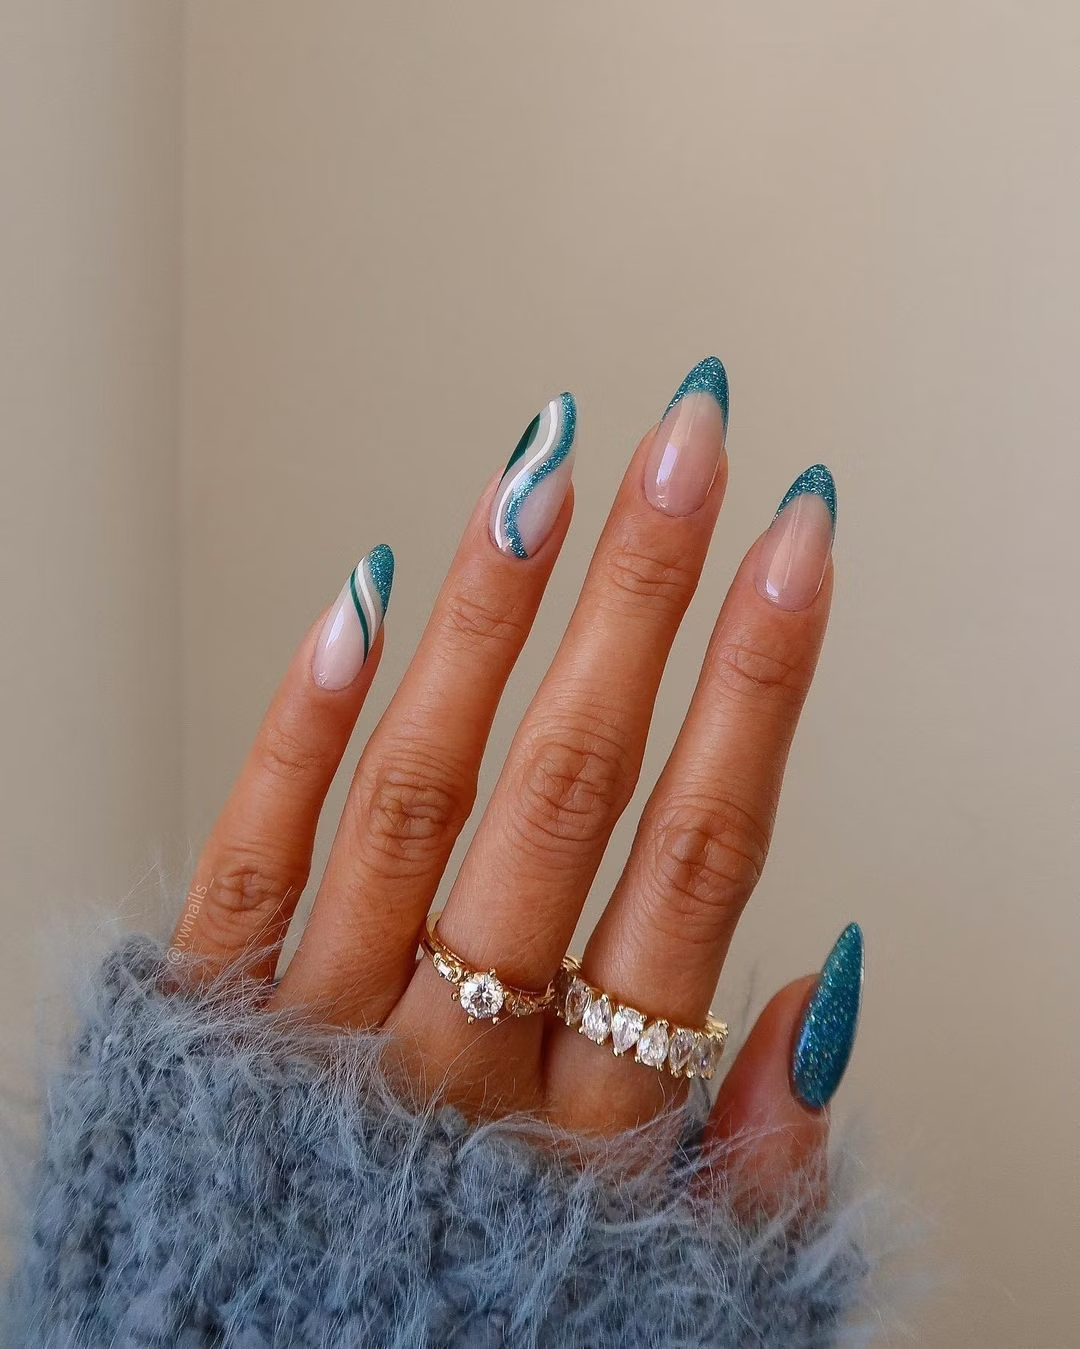
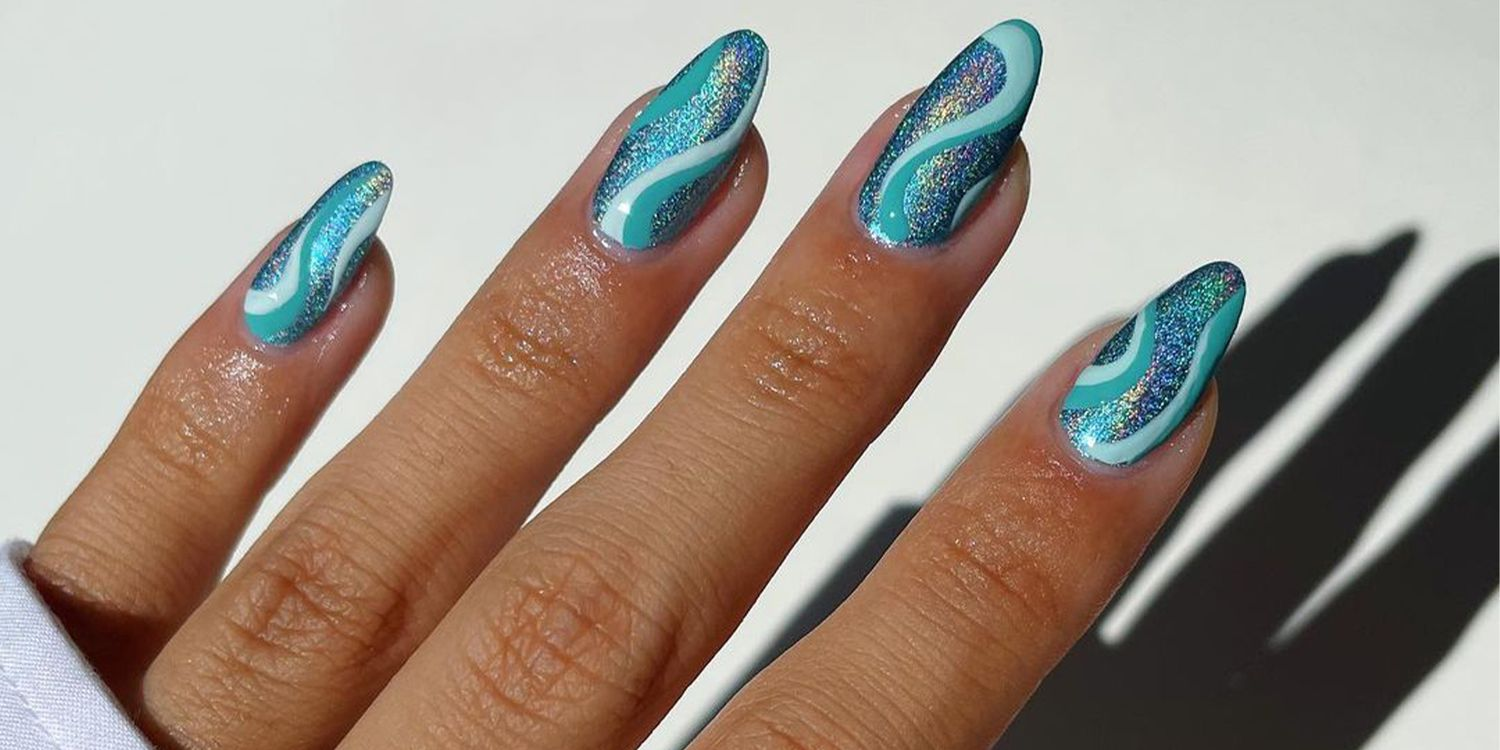
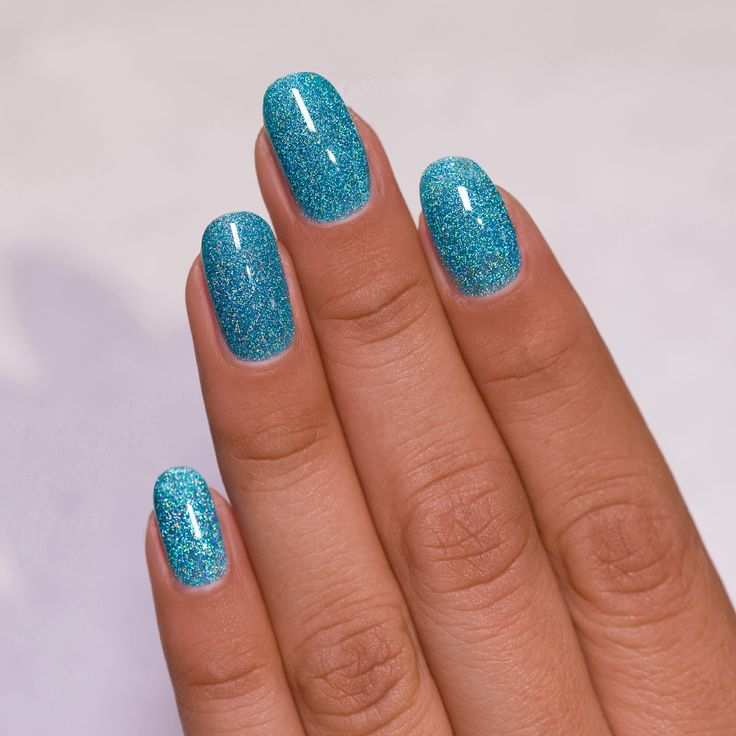
MYSTIC LAGOON
Discover the enchanting allure of a secluded lagoon with Mystic Lagoon. Start with a deep, rich blue base and layer in swirling aqua and teal patterns. Add a touch of holographic glitter to mimic the way sunlight sparkles on the surface of a hidden lagoon. This dreamy and mystical design captures the essence of a tranquil, magical place, offering a sophisticated yet fantastical look that is perfect for adding a touch of whimsy to your style.
OCEAN FOAM ACCENTS

Dive into the invigorating allure of the sea with Ocean Foam Accents, a nail design that captures the crisp, effervescent beauty of ocean waves. This refreshing look starts with a deep navy or ocean blue base, reminiscent of the deep sea. Playful swirls of white and light blue then emerge, mimicking the frothy, bubbly foam of crashing waves. The contrast between the rich base and the airy foam accents creates a dynamic and lively effect, evoking the fresh, invigorating feel of the ocean’s edge. Ideal for those who love a vibrant and playful touch, Ocean Foam Accents adds a burst of coastal charm to your manicure, offering a look that’s both stylish and brimming with the refreshing energy of the sea.
PEARLESCENT WAVES
Immerse yourself in the serene beauty of the sea with Pearlescent Waves, a nail design that captures the ethereal charm of sunlit waves. This sophisticated look features a soft, shimmering blue base that reflects the tranquil hues of the ocean. Delicate swirls of iridescent or pearlescent finishes dance across the surface, mimicking the way sunlight glimmers and ripples on the water. The subtle interplay of colors creates a mesmerizing, multi-dimensional effect, evoking the gentle elegance of waves caressing the shore. Perfect for those who appreciate understated luxury, Pearlescent Waves brings a touch of oceanic grace to your manicure, offering a refined and enchanting style that’s ideal for any occasion.
UNDERWATER FANTASY
Transform your nails into a mesmerizing aquatic wonderland with the Underwater Fantasy design, where the enchanting depths of the sea come alive on your fingertips. This captivating look features a blend of serene ocean blues, soothing sea greens, and whimsical lavender hues, swirling together to create a dreamlike underwater effect. The fluid patterns evoke the gentle movement of ocean currents and the playful dance of marine life, offering a glimpse into a fantastical aquatic realm. Delicate touches of holographic or pearlescent finishes mimic the shimmering light that filters through the water, adding an ethereal glow to your nails. Perfect for those who wish to infuse their style with a touch of whimsy and imagination, Underwater Fantasy delivers a tranquil and enchanting manicure that transports you to a serene and magical oceanic world.
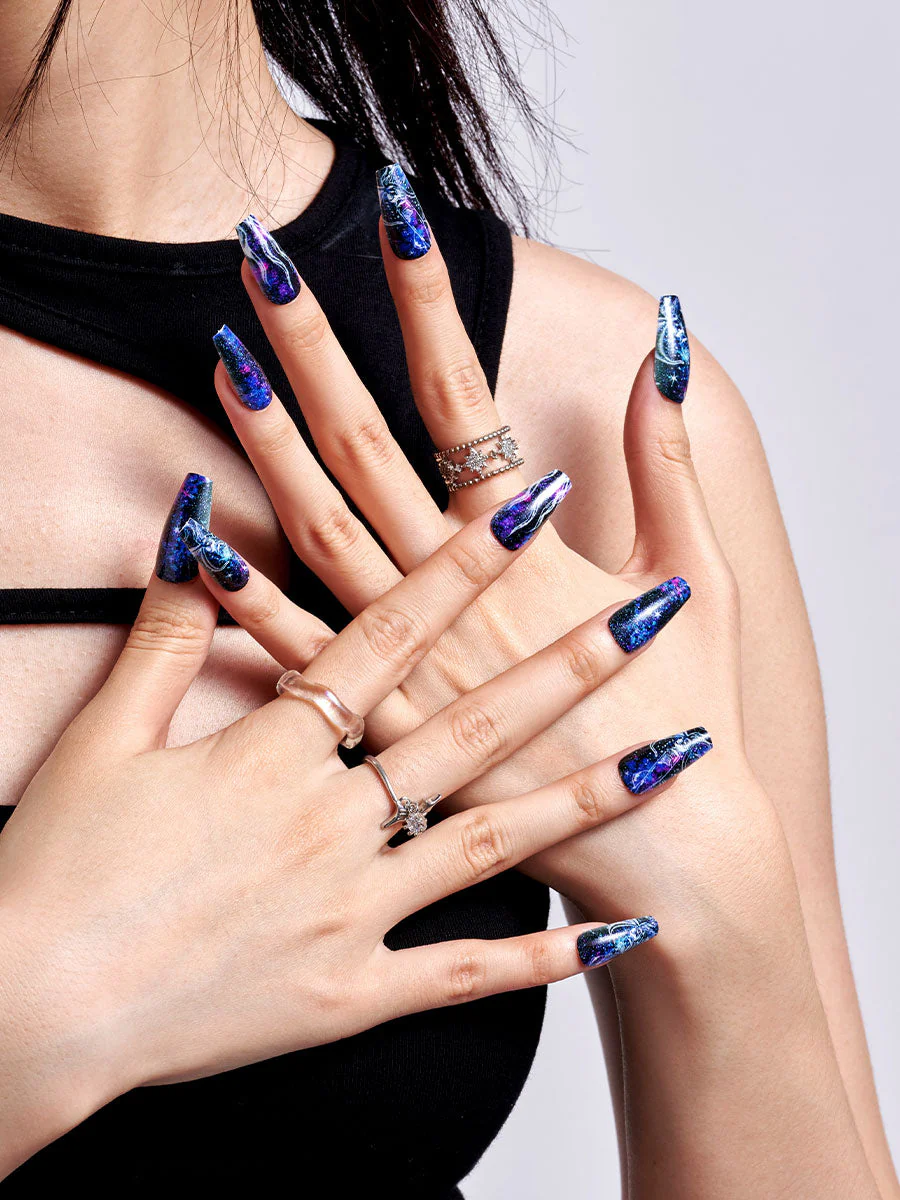
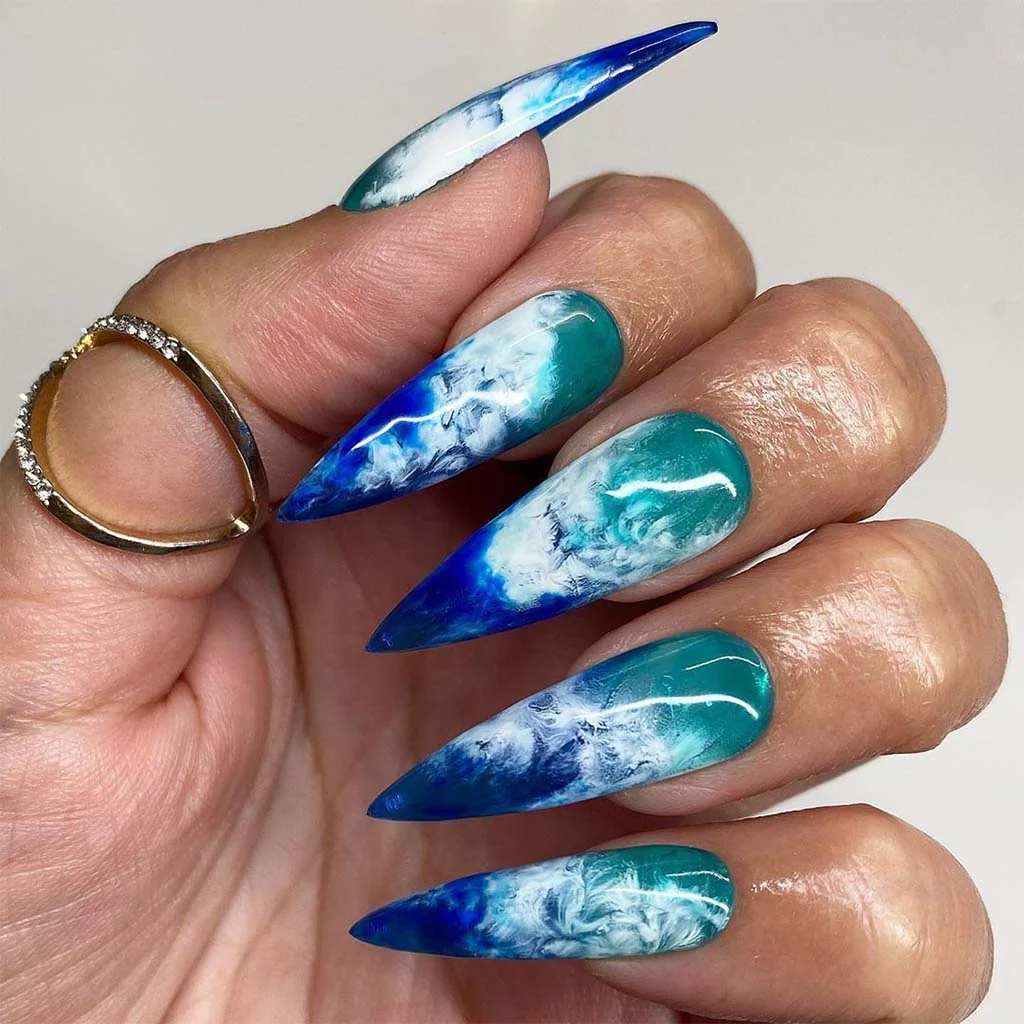
STORMY SEAS
Immerse your nails in the fierce beauty of the ocean with the Stormy Seas design, a bold and captivating tribute to nature’s raw power. This dramatic nail art features a deep, brooding palette of dark blues and charcoals, expertly swirled together to evoke the tumultuous energy of a tempestuous sea. The swirling patterns mimic the chaotic dance of waves and storm clouds, creating a striking visual effect that’s both intense and mesmerizing. Accents of silver or metallic shimmer add a touch of lightning-like brilliance, catching the light and enhancing the stormy illusion. Perfect for those who crave a bold statement, Stormy Seas offers a dramatic, edgy look that channels the awe-inspiring majesty of a stormy ocean, transforming your manicure into a powerful work of art.
CORAL REEF INSPIRATION
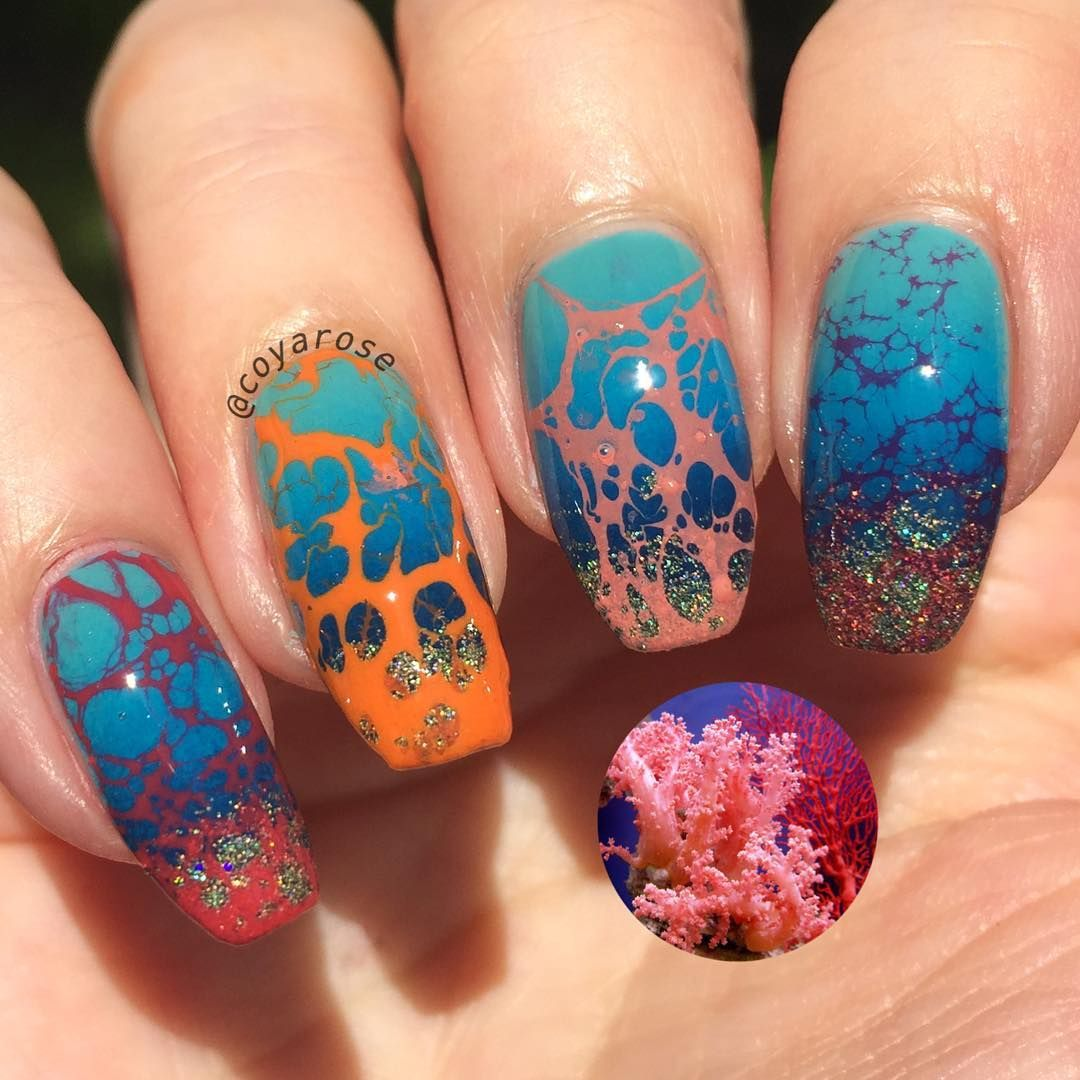
Celebrate the vibrant life of a coral reef with Coral Reef Inspiration. Mix bright blue swirls with lively coral and seafoam green accents to create a dynamic, colorful effect. This design captures the vivid, bustling colors of a coral reef, adding a playful and engaging element to your nails. Perfect for adding a burst of color and excitement, this design brings a touch of the vibrant marine world to your manicure.
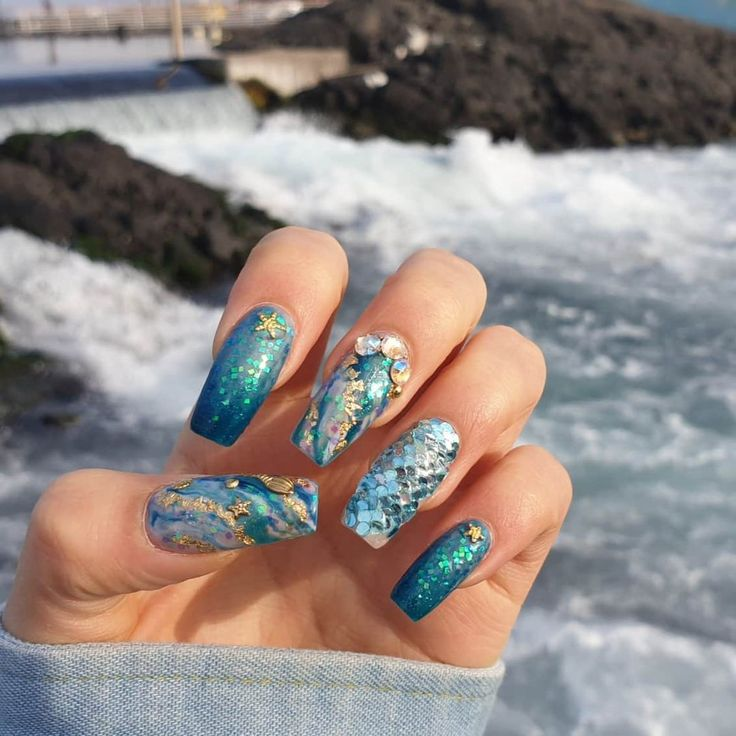
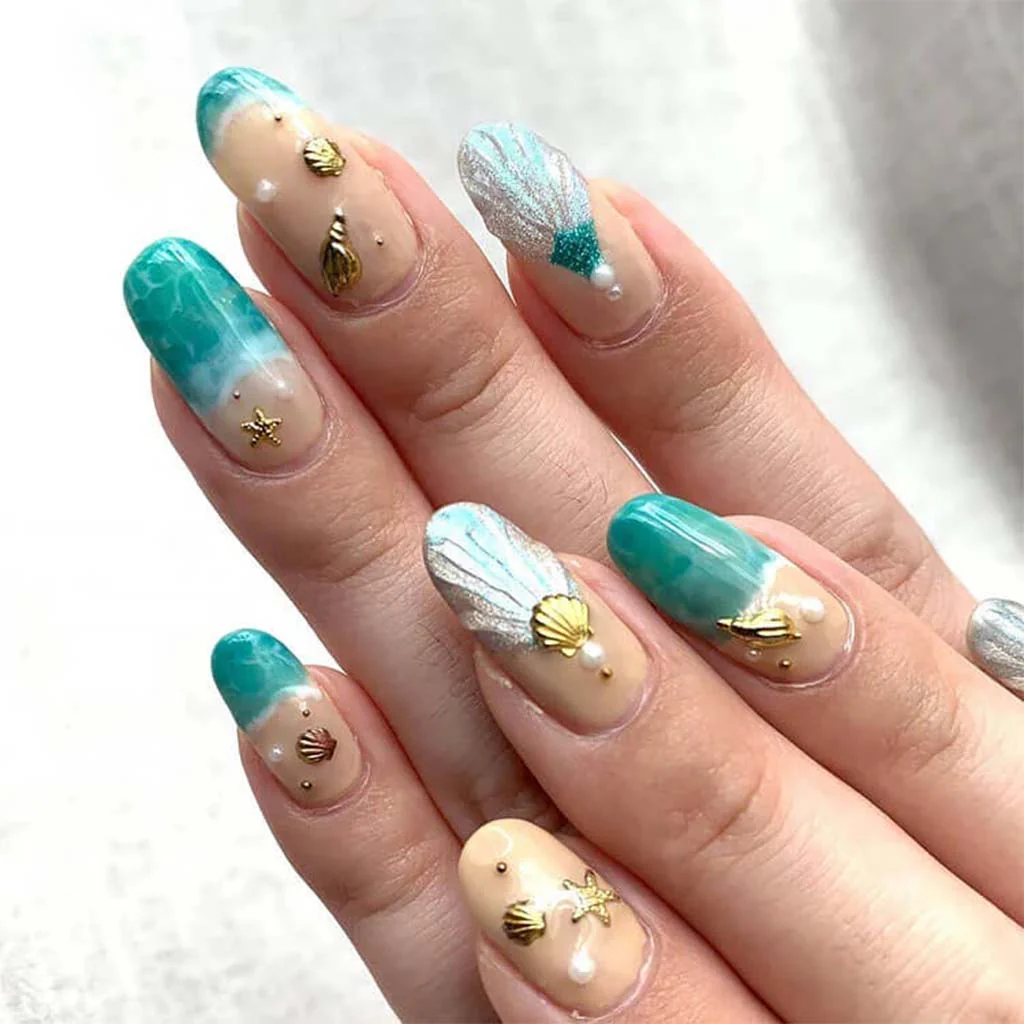
ACRYLIC OCEAN NAILS
These ocean-inspired acrylic nails are pure surf-and-turf glam! They’re a stunning design that even the pros at the North Shore would envy. While they might be a challenge for beginners, your local nail artist could totally rock this look. Show them the photo and let’s see what they can do! Remember, you can customize the length and shape to perfectly suit your style.
SEASIDE SPARKLE
Transform your nails into a dazzling display of oceanic beauty with the Seaside Sparkle design. This captivating look features a delicate blend of soft, sandy beige and shimmering sea blues, reminiscent of the sunlit shores where land meets the sea. The base colors create a serene, beachy backdrop, while glittering accents of gold and silver mimic the glint of sunlight on the water and the sparkle of tiny seashells scattered along the shore. This design captures the essence of a perfect day at the beach, combining tranquility with a touch of glamour. Ideal for those who want to bring a bit of seaside magic to their everyday look, Seaside Sparkle offers a radiant, luminous finish that shines as brightly as a sun-kissed ocean wave
CHARMING SEASIDE NAILS
This captivating look features a delicate blend of soft, sandy beige and shimmering sea blues, reminiscent of the sunlit shores where land meets the sea. The base colors create a serene, beachy backdrop, while glittering accents of gold and silver mimic the glint of sunlight on the water and the sparkle of tiny seashells scattered along the shore. This design captures the essence of a perfect day at the beach, combining tranquility with a touch of glamour.
To achieve this look, you can hand-paint the ocean waves for a personalized touch, or opt for stickers that beautifully imitate the sunlit water. For added texture and realism, a makeup sponge can be used to create the frothy white edges of the waves, giving your nails a dynamic and natural appearance. Ideal for those who want to bring a bit of seaside magic to their everyday look, Seaside Sparkle offers a radiant, luminous finish that shines as brightly as a sun-kissed ocean wave.
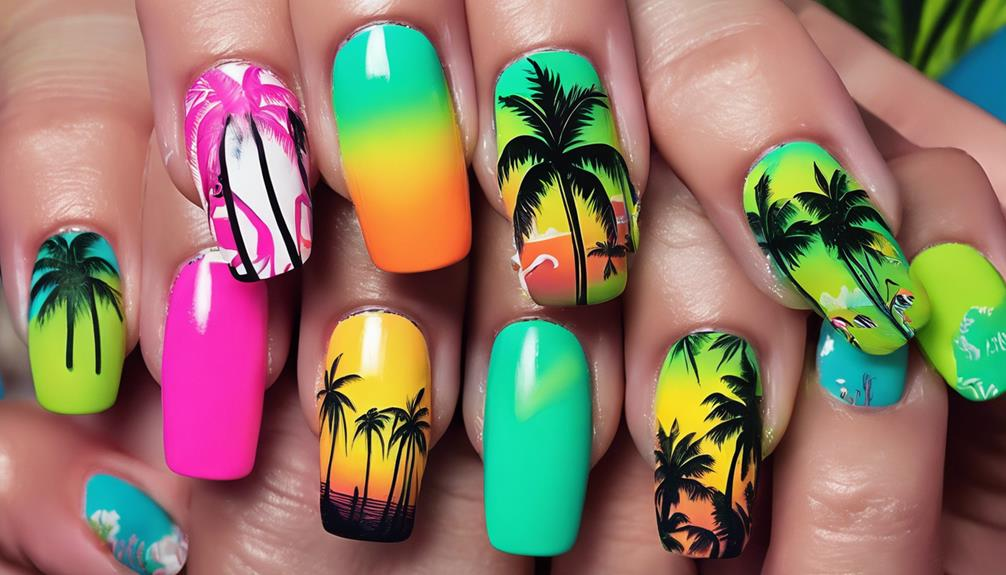
OCEAN NAILS WITH A PALM TREE
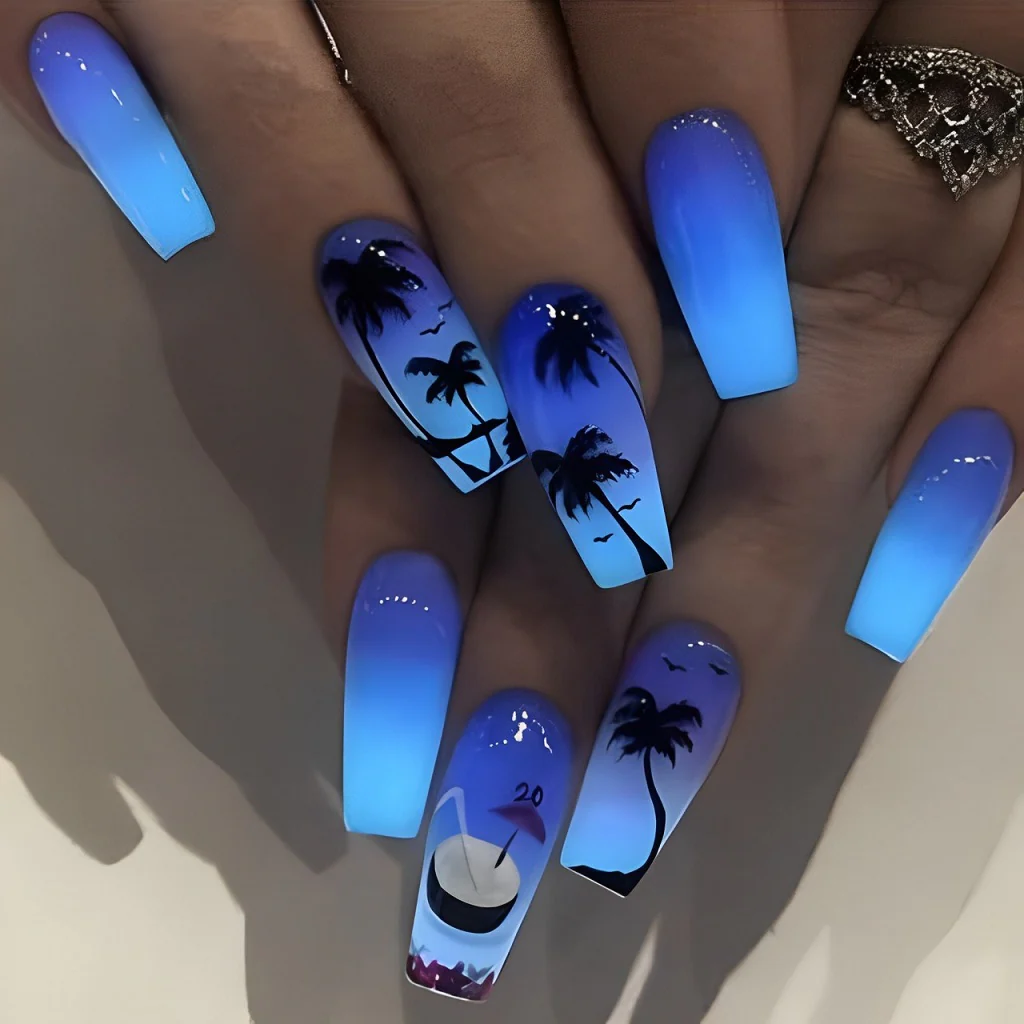
Escape to a tropical paradise with the Ocean Nails with a Palm Tree design, a perfect blend of serene ocean hues and exotic island vibes. This stunning nail art features a gradient base of deep blues and turquoise, capturing the mesmerizing beauty of the ocean’s depths and the lighter, sunlit waters near the shore. To complete this idyllic scene, an elegantly painted palm tree stands tall against the vibrant backdrop, swaying gently as if caught in a coastal breeze.
The ocean base can be achieved through a smooth gradient effect, blending rich navy at the cuticle into lighter aqua and turquoise tones toward the tips. For added realism, you can incorporate subtle white streaks to mimic the movement of waves. The palm tree, with its slender trunk and gracefully arching fronds, can be hand-painted using a fine brush, or you can use decals for a more uniform and precise look.
CONCLUSION
Each of these ocean-inspired nail designs captures a different facet of the sea’s beauty, allowing you to express your love for the ocean with a manicure that’s as enchanting as it is stylish. Dive into these designs and let your nails reflect the captivating allure of the ocean.