The world of nail art is constantly evolving, and TikTok is a major source of inspiration for the latest trends. If you’re looking to stay ahead of the curve, you’ll want to check out these 30 hottest coquette nail trends that are taking TikTok by storm in 2025. From delicate florals to bold chrome finishes, there’s a coquette nail design out there for everyone. So get ready to unleash your inner nail art enthusiast and dive into the world of TikTok’s most popular coquette nail trends!
THE COQUETTE NAILS TREND
Ready to embrace your inner maximalist? Get excited because coquette nails are here to cure your summertime sadness! This ultra-feminine and charming trend has taken the nail art world by storm, making waves on TikTok, Instagram, and Pinterest.
Inspired by the romantic and elegant flair of Bridgerton, the coquette nails trend adds a touch of class and whimsy to your manicure. This look typically features soft designs, feminine colors, and plenty of glitz and glamor. Think:
- Pastel shades
- Floral patterns
- Lace details
- Pearls and rhinestones
- 3D accents like bows and hearts

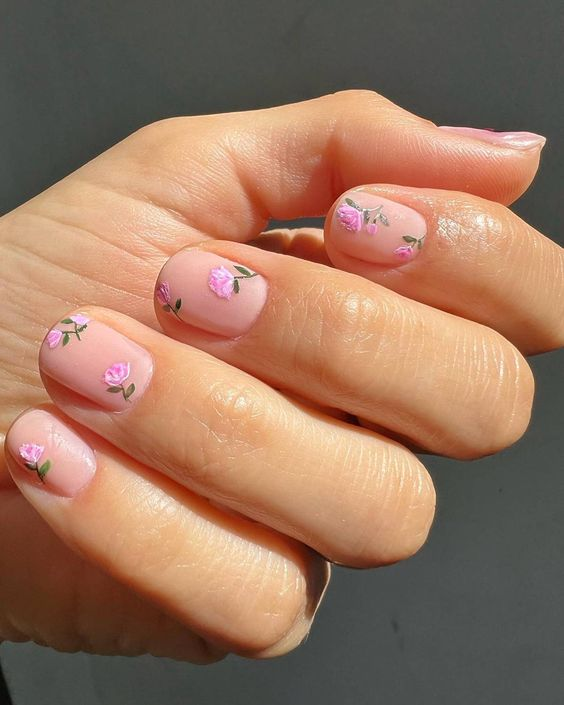
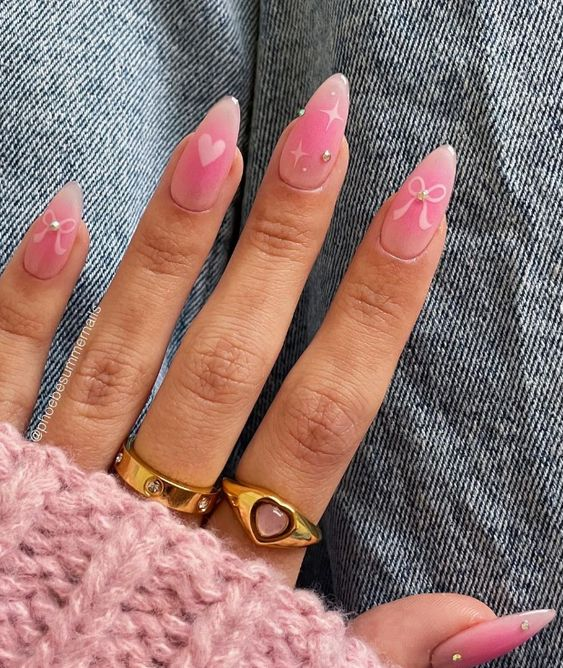
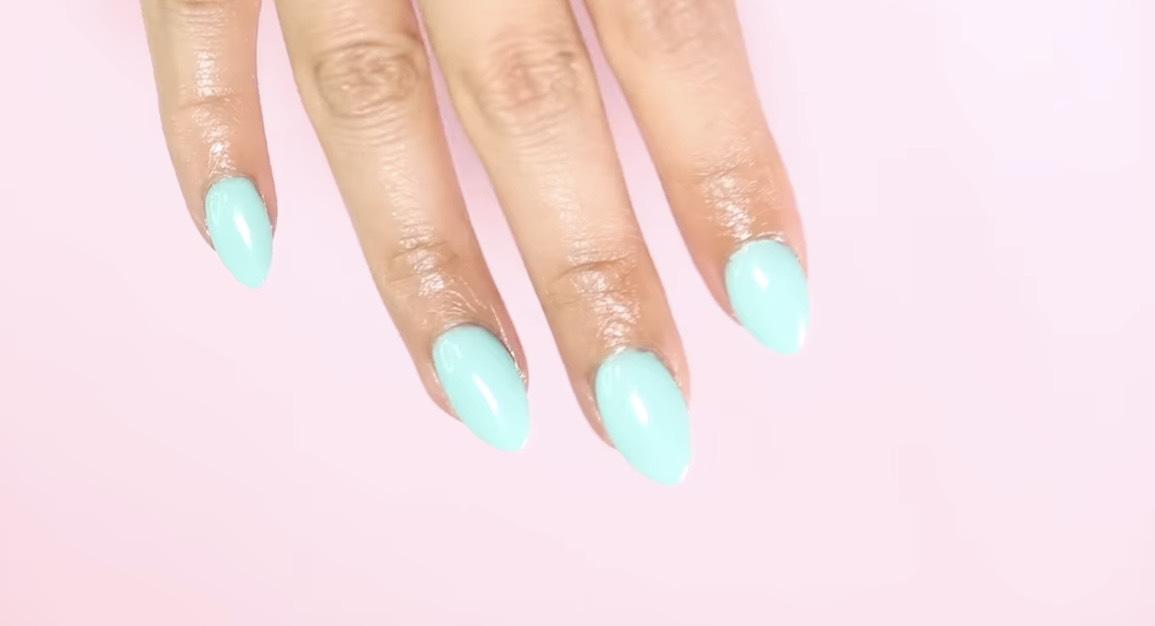
Summer is the perfect time to try out this playful trend. For a coquette nail aesthetic, start with a soft base color like pink, lavender, or mint green. Then, add delicate, intricate designs such as lace, flowers, or tiny portraits of your favorite Bridgerton characters.
Get creative with your coquette nail art on social media platforms like Instagram and TikTok. Show off your unique manicure and you might even go viral!
To enhance your look, consider adding fun, flirty touches like crystal accents, gold foil, or charms. Embrace your inner soft girl and infuse your manicure with feminine energy to capture the true essence of the coquette trend.
COLOR PALETTE AND DESIGNS FOR COQUETTE NAILS
POPULAR COLORS
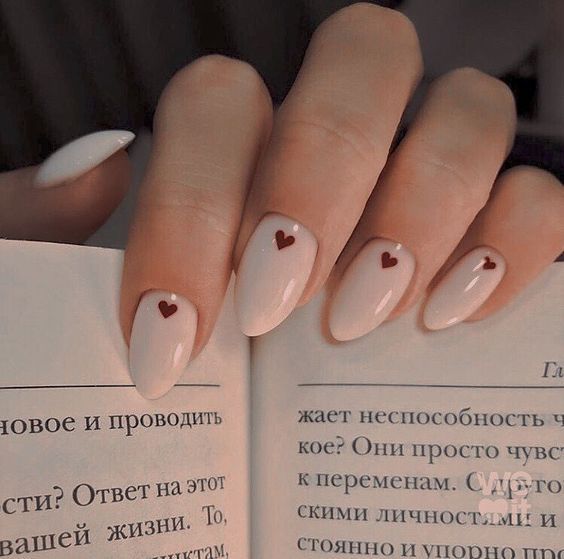
Calling all romantics! The coquette nail trend is all about embracing soft, dreamy colors. Think swoon-worthy shades like baby pink, creamy beige, delicate ivory, and pearly white. Feeling a touch playful? Lilac or butter yellow can add a delightful pop. These pastels will cast a spell of elegance and femininity on your fingertips. And the best part? You can mix and match different hues to create a one-of-a-kind look that’s truly you.
PATTERNS AND STYLES

Let’s get creative! Now that you’ve chosen your perfect pastel shade, it’s time to explore the dazzling world of coquette nail designs.
Feeling Glamorous? Sprinkle some magic dust with glitter or sparkling accents. Classic gold or silver always work, but don’t be afraid to break the mold with a bold red or inky black shimmer.
Craving Something Subtly Sweet? Blush hues are your best friend! This delicate shade takes things up a notch when paired with an “aura” effect, where a gentle gradient deepens the color for added dimension.
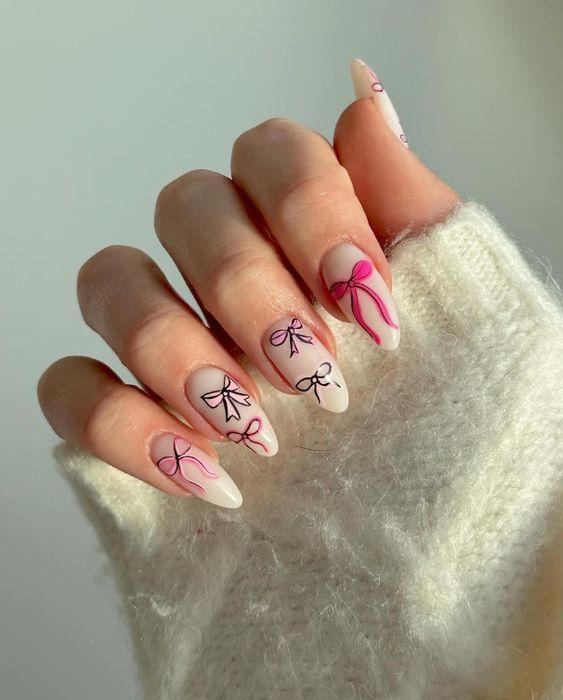
Channel Your Inner Ballerina: The world of ballet offers endless inspiration for a dreamy, romantic look. Imagine a pearly white or pastel base adorned with delicate lacework, tiny bows, or other ballet-inspired flourishes. Your nails will be a work of art!
Reimagine a Classic: The French manicure gets a coquette makeover! Ditch the stark white tips and embrace the softness of pastels. Pair your chosen pastel shade with a neutral base for a look that’s both timeless and charming.
COQUETTE AESTHETIC AND ELEMENTS
CLOTHING

The coquette aesthetic celebrates femininity through a collection of girly, youthful, and cute clothing items. This style often includes lace, ribbons, and tulle details, drawing inspiration from vintage glamour and cottagecore to create a romantic and dreamy vibe. The color palette typically features soft, delicate shades like pale pink, cream, ivory, lilac, red, and black.
HYPER-FEMININE DETAILS
What makes the coquette aesthetic stand out are the ultra-feminine and charming accents that make it so appealing. Bows, hearts, and gems are key elements, often seen in hair accessories, jewelry, and nail decorations.
Other cute details in coquette fashion include cartoon characters, clouds, and tiny flowers. Together, these create a look that is both sophisticated and whimsical, making you feel like a modern-day princess.
As you explore the charming world of coquette nails and style, you’ll fall in love with its sweet and vintage appeal. Embrace your inner coquette by adding bows, charms, and stickers to your outfits, and watch as your style transforms into something truly magical.
HAIR AND MAKEUP
Hair and makeup are key parts of the coquette look. Channel your inner with soft waves, braids, or updos decorated with ribbons and flowers. For makeup, go for a fresh, flirty, and playful vibe. Think pastel eyeshadows, winged eyeliner, rosy cheeks, and a swipe of your favorite lipstick to finish the look.
EMBELLISHMENTS AND ADD-ONS
RHINESTONES AND PEARLS
Add rhinestones and pearls to your coquette nails for a touch of elegance and sparkle. You can create detailed patterns or add a few gems for extra glam. To apply nail jewelry, use a small dot of nail glue, gently press the rhinestone or pearl onto your nail, and hold it for 20-30 seconds to secure it.
Here are some ideas:
Create a symmetrical pattern on each nail.
Outline the shape of your nail with tiny rhinestones.
Add a single pearl or gem to the base of each nail for a minimalist look.
3D BOWS AND CHARMS
Want to make your coquette nails pop? Add 3D bows and charms to your manicure! These adorable, eye-catching pieces can instantly enhance the girly look of your nails. Choose from various designs like flowers, butterflies, and kiss-inspired accents. Simply attach your selected charms with nail glue or a strong adhesive, and you’re all set!
STICKERS AND GEMS
For a playful twist on your coquette nails, try using stickers and gems. These easy-to-apply decorations come in various designs, from delicate flowers and bows to intricate patterns and motifs. Stickers and gems offer a simple way to add a personal touch to your nails without the hassle of hand-painted art. Just peel, stick, and finish with a clear topcoat to secure them in place.
MANICURE TECHNIQUES AND TIPS
MANICURE TOOLS AND SUPPLIES
To achieve perfect coquette nails, having the right tools and supplies is crucial. Here’s what you’ll need:
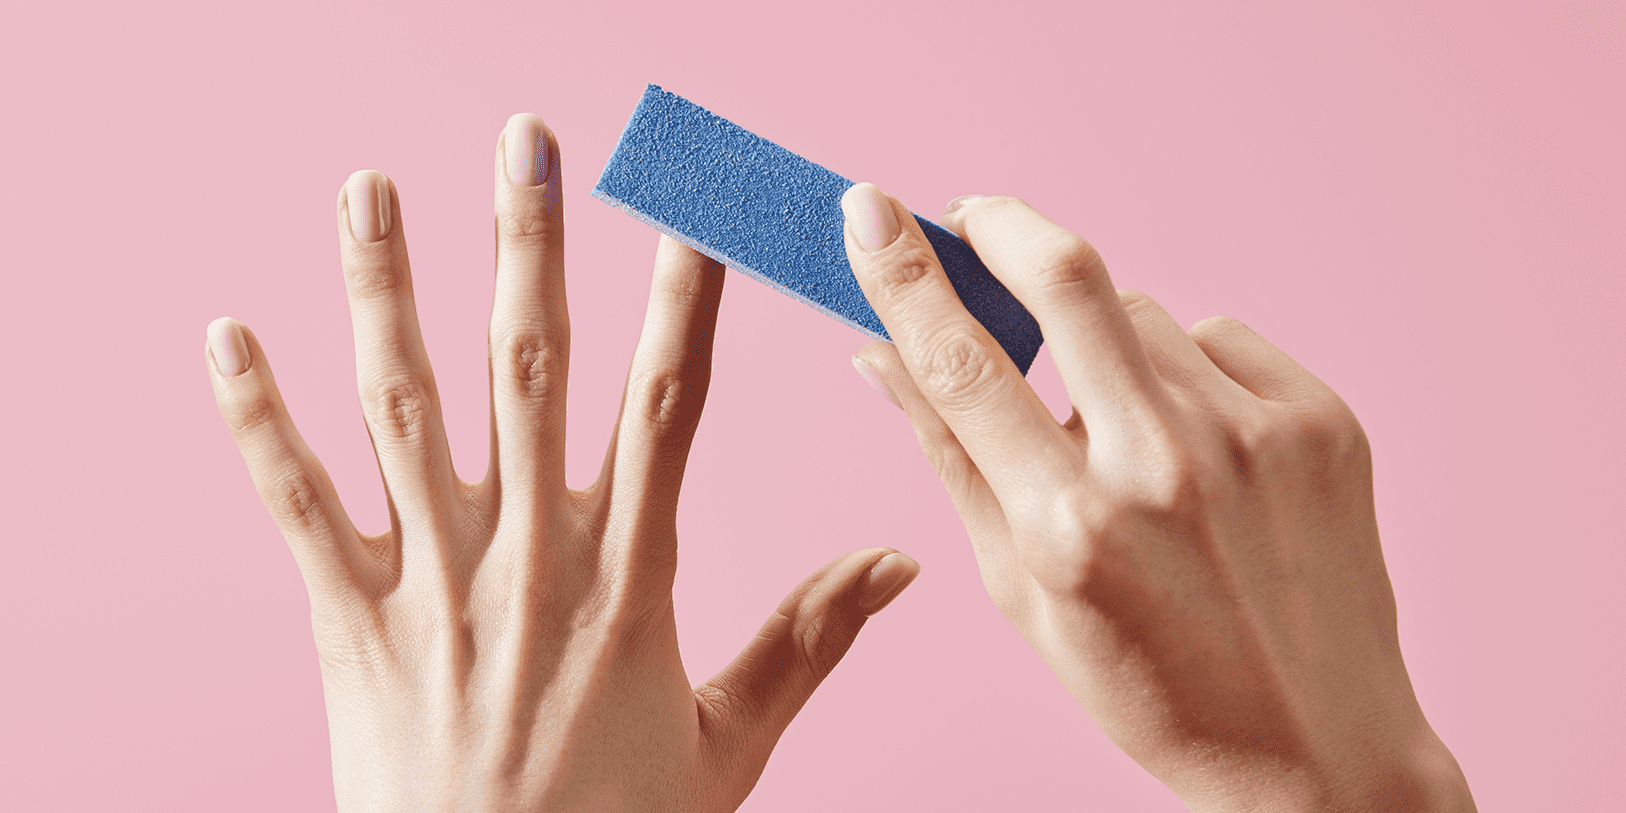
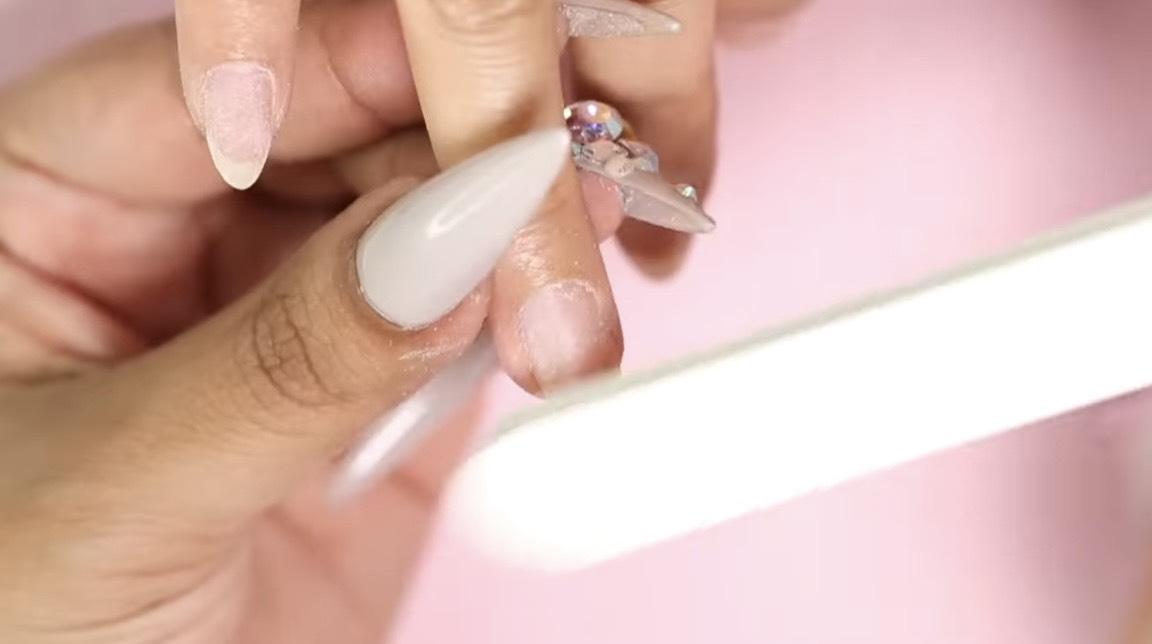
- Nail File: For shaping and smoothing your nails.
- Cuticle Pusher: To gently push back cuticles and create a clean canvas for your manicure.
- Nail Polish: Opt for colors that capture the coquette spirit, like pastels, baby pink, and cherry red.
- Top Coat: To seal your design and prevent chipping.
- Nail Art Tools: Dotting tools, brushes, and tweezers for applying decals, rhinestones, and other embellishments.
Make sure to gather everything you need before starting to ensure a smooth and enjoyable manicure session.
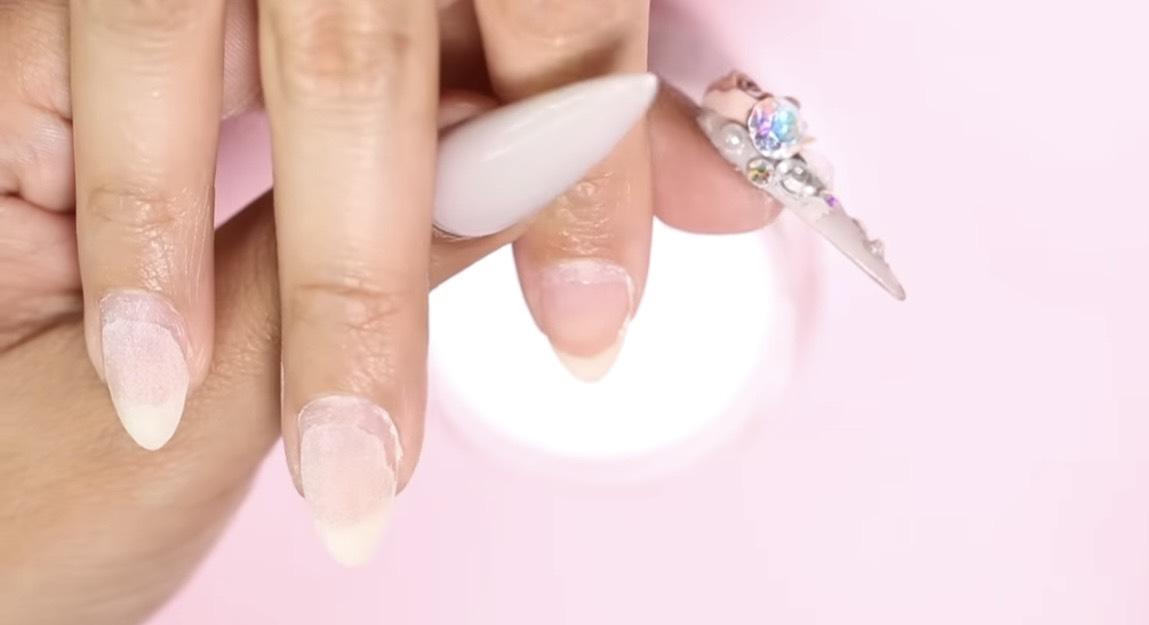
CHOOSING THE RIGHT NAIL SHAPE
The shape of your nails is key to achieving the coquette look. Popular choices include the classic almond shape, which adds elegance and sophistication. Try out different shapes to see which one best matches your personal style and enhances your overall coquette appearance.
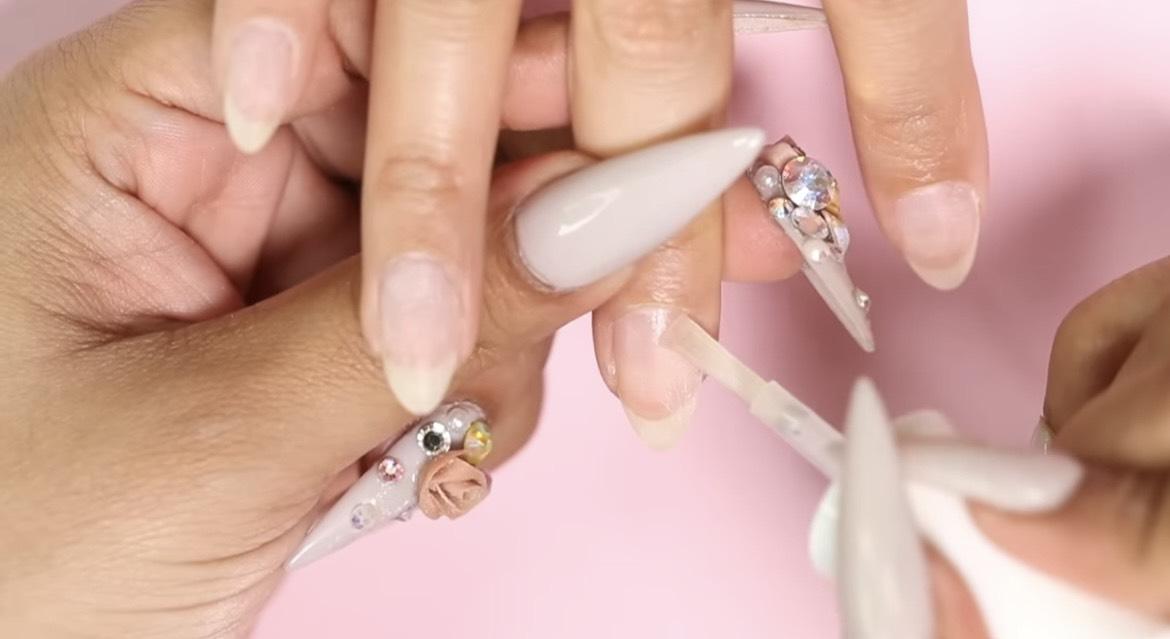
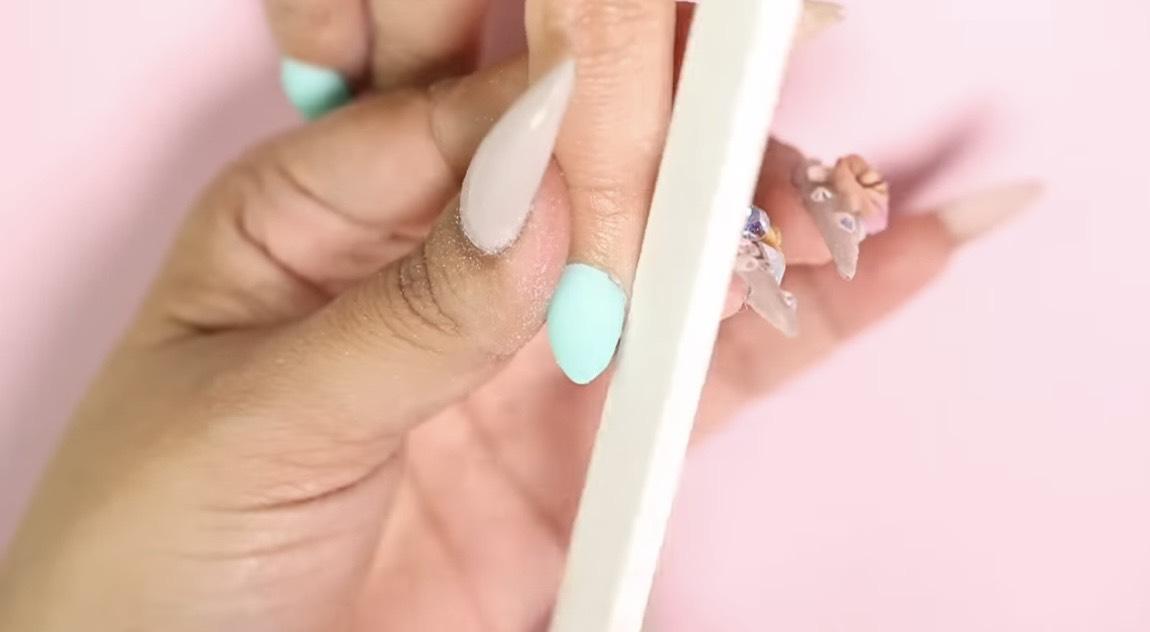
PRESS-ON NAILS AND APPLICATION
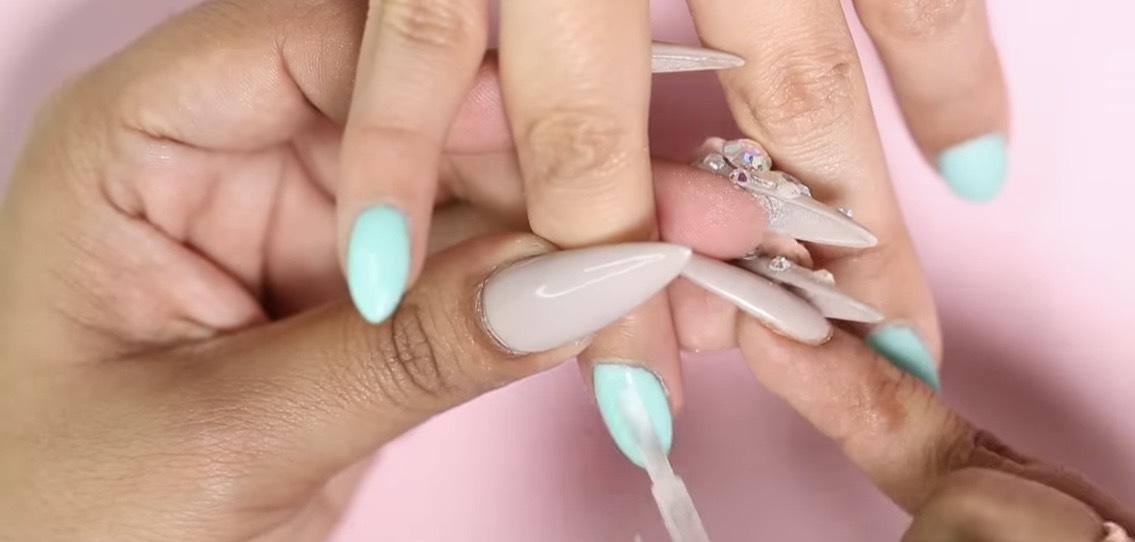
If you’re not confident in your nail art skills or are short on time, press-on nails can be a great alternative. Many coquette-inspired press-on nails are available, allowing you to get the look without visiting a manicurist. To apply press-on nails properly:
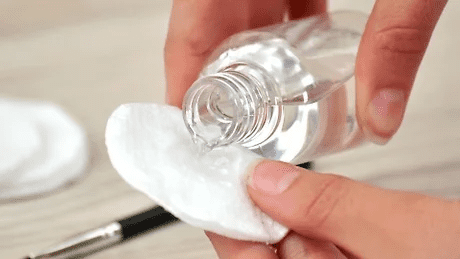
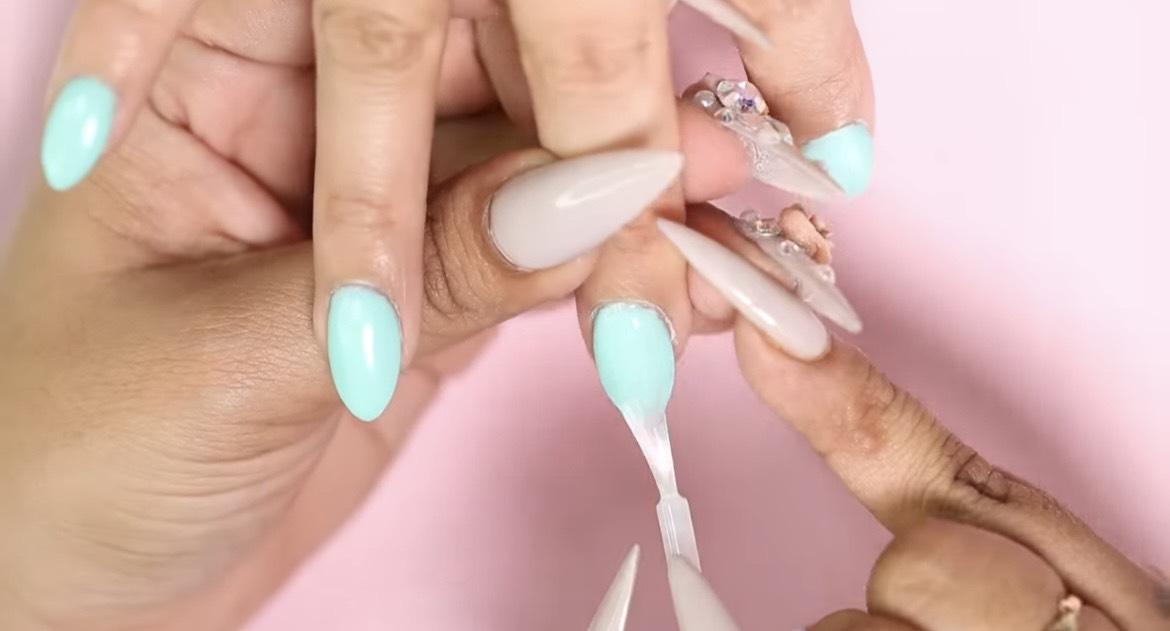
- Clean your natural nails to remove any dirt or oils.
- Use the provided nail glue or adhesive tabs to stick the press-ons to your nails.
- Gently press down on each press-on nail to ensure a secure fit and avoid air bubbles.
INCORPORATING COQUETTE NAILS INTO YOUR STYLE
COMPLEMENTARY MAKEUP LOOKS
To complement your coquette nails, choose makeup that highlights your natural beauty and gives you a youthful glow. Rosy pink cheeks are essential! Apply a soft blush to the apples of your cheeks for a fresh, radiant look.
Keep your eyeshadow light and neutral or go for a subtle peachy tone. Finish with a swipe of mascara to accentuate your lashes and use a tinted lip balm or gloss in a soft pink or red shade for a perfect touch.
MATCHING OUTFITS
When styling an outfit to match your coquette nails, keep the overall theme in mind. Choose a color palette with pastel shades, gingham prints, and touches of red. Embrace the playful charm of the coquette style! Pair your nails with a youthful, flowing dress in a coordinating color or a blouse with delicate lace details. The goal is to capture the essence of flirtatious femininity.
ACCESSORIZING WITH HAIR BOWS
To fully embrace the coquette dark aesthetic, add hair bows to your style. They not only enhance the cuteness factor but also provide a playful touch that complements your coquette nails. Opt for bows in colors that match your outfit or nails for a coordinated look. You can mix and match different sizes and styles, from small bows to oversized ones. To keep your nails as the main focus, consider keeping your hair simple with soft waves or a classic ponytail.
Disclosure: We only recommend products that we personally use and believe in. All opinions expressed are our own. Please note that this post may include affiliate links, which means we may earn a small commission at no extra cost to you.
INFLUENCERS AND INSPIRATION
TIKTOK TUTORIALS
TikTok is the perfect place to learn how to create gorgeous coquette nails on your own. You can find step-by-step tutorials and watch these manicures come to life in engaging short videos. Search for hashtags like #coquettenails and #nailtutorial to discover easy-to-follow guides for achieving this chic, flirtatious look at home. With a bit of practice and determination, you might even become the next TikTok nail sensation!
INSTAGRAM TRENDSETTERS
Instagram is full of accounts that highlight the latest coquette nail designs. Popular trends include 3D accents, glazed pink polish, and vintage-inspired details. Look out for hashtags like #coquettenails and #flirtynails to discover your new favorite nail artist. You can also follow well-known influencers such as @overglowedit and @nailsbycindyxo for a steady flow of inspiration.
PINTEREST FAVORITES
For a one-stop destination to explore a wide range of coquette nail ideas, Pinterest is your go-to. With boards filled with glitz, glamour, and delicate designs, you’ll find plenty of inspiration for your next manicure. Whether you’re looking for pearls, lace, bows, or hearts, Pinterest offers endless coquette aesthetics to spark your creativity.
CONCLUSION
So there you have it, the hottest coquette nail trends taking TikTok by storm in 2025! From the romantic color palette to the array of dazzling designs, there’s a perfect coquette nail look waiting for you. Whether you crave glamorous glitz, subtle sweetness, or a touch of ballerina magic, these trends offer endless inspiration to unleash your creativity. So go forth, flaunt those gorgeous coquette nails, and watch heads turn! Remember, don’t be afraid to experiment and mix-and-match these trends to create a look that’s uniquely you. Happy polishing!