
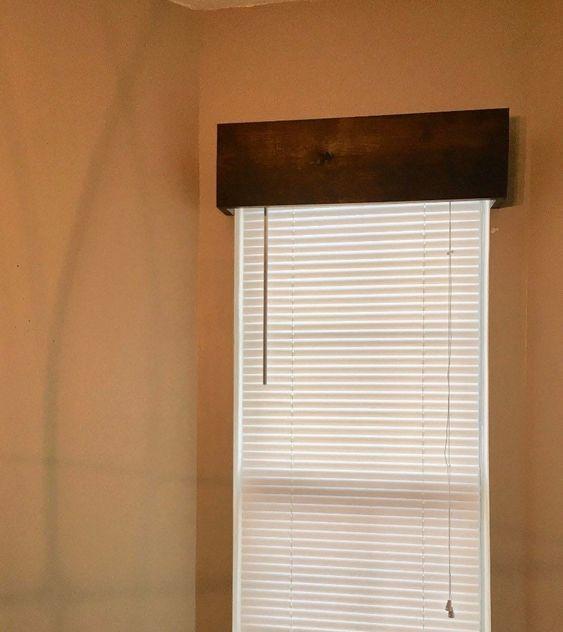
Looking to add a touch of natural beauty and warmth to your home? A DIY wood window valance is a simple yet stylish project that can elevate your interior design. This handcrafted piece not only provides a functional element but also serves as a focal point in any room. In this guide, we’ll walk you through the step-by-step process of creating a beautiful wood window valance that complements your personal style.
STEP 1
To start building your wooden window valances, first measure the length of your window and add 1.5 inches to account for the side pieces. If you want the valance to extend beyond the window, add any extra length you desire. For example, my wood window valances extend approximately 5 inches on either side of the window, providing additional clearance for existing roller shades.
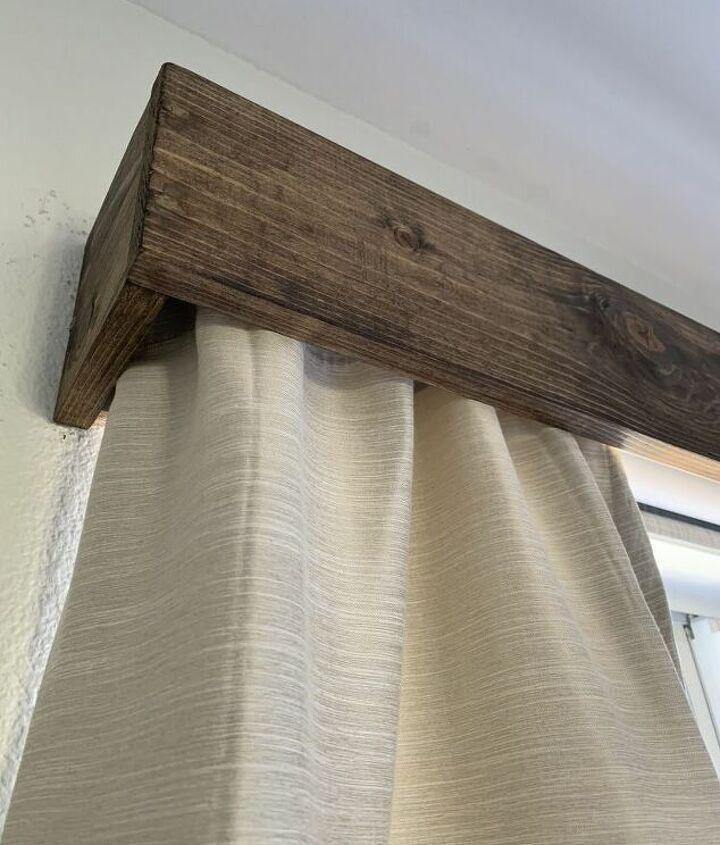
Next, measure and mark the dimensions for your side pieces. In my case, the side pieces are 5.5 inches deep; however, I wish I had made them a bit deeper to allow for easier movement of the curtains. Currently, the curtains take some effort to open and close, but since they primarily serve to block out light on the sides of the shades, they are more decorative than functional. If you don’t need to cover an existing shade, a depth of 3.5 inches should suffice for mounting. Still, it’s advisable to allow ample space for your curtains, as having more depth makes it easier to use them.
Remember, if your valances are shallower, ensure you purchase the corresponding telescoping shade—specifically one that is 2-2.5 inches deep. Once you have your measurements, use a miter saw to cut the wood to the required lengths. Finally, gently sand the edges to eliminate any sharpness and ensure a smooth finish.
STEP 2
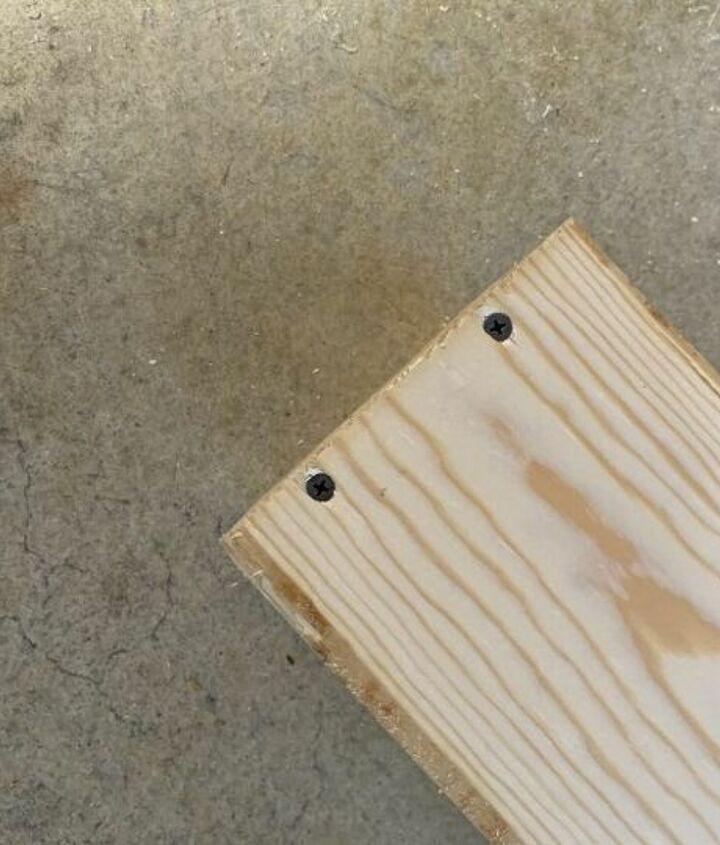
To attach the front face of your valance to the side pieces, use your 1.5-inch wood screws. If you prefer a cleaner look, you can utilize a Kreg jig to hide the screws, but I found that using wood fill works just as well. Let’s be honest—I’m all about taking the easiest route possible so you can recreate the same stylish look in your home without needing a ton of tools or complicated steps!
When attaching the front piece, be sure to overdrill your screws slightly to create a space for the wood fill. If you like the industrial rustic aesthetic, feel free to leave the screws exposed; in that case, there’s no need to overdrill. Finally, use a speed square to ensure that your side pieces are perfectly square to the front piece for a neat and professional finish.
STEP 3
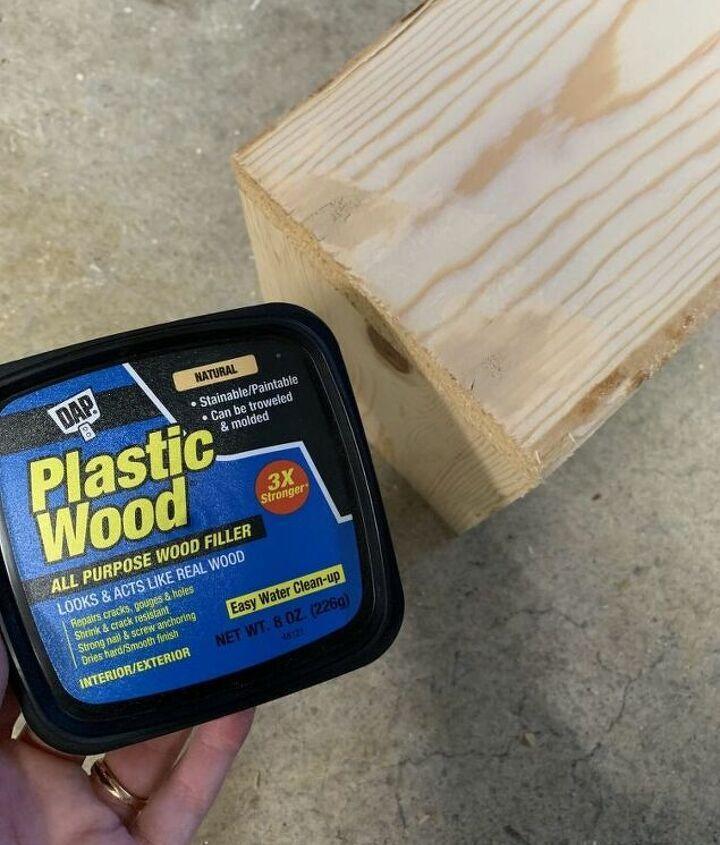
After securing the front face of your valance to the side pieces with screws, use wood fill to fill in any visible screw holes. Allow the wood fill to dry completely according to the manufacturer’s instructions. Once dry, gently sand the area to achieve a smooth, even finish. This step ensures a polished look for your valance, ready for the final touches.
STEP 4
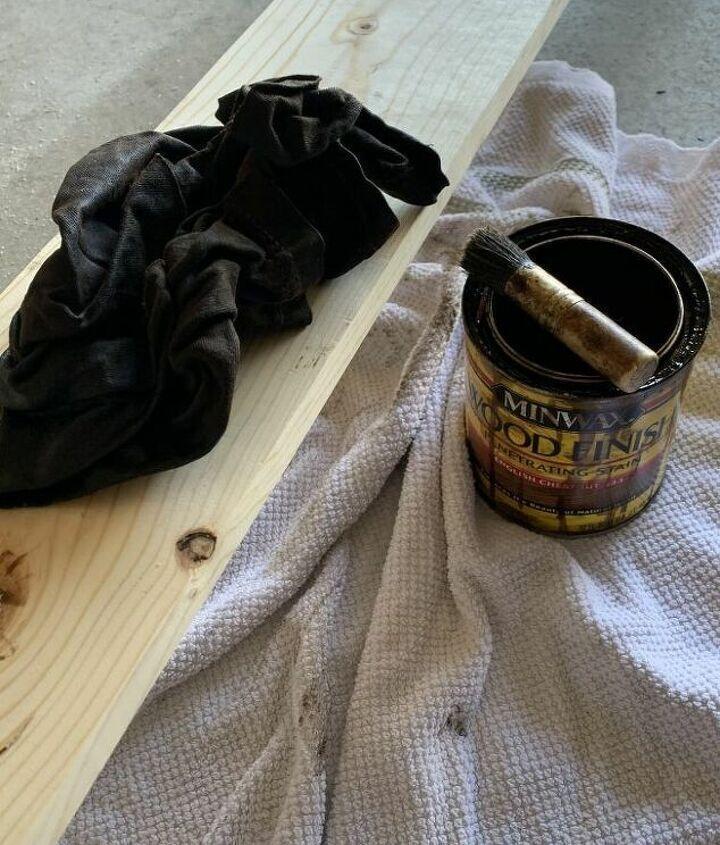
Once your valance is assembled and the screw holes are filled, it’s time to stain it. I recommend using an old rag for the larger surfaces and a brush to reach the nooks and crannies. I typically stain after building the valances to avoid wasting any stain, as there’s no need to stain the inside of the front face or the edge pieces that will ultimately be covered once assembled. Plus, I prefer not to stain twice; you would need to re-stain the filled screw holes after assembly anyway.
However, if you prefer to stain the pieces before assembly, feel free to do so! Just ensure that you allow the stain to dry for at least one hour. After drying, use a rag or paper towel to wipe off any excess stain for a clean and polished finish.
STEP 5
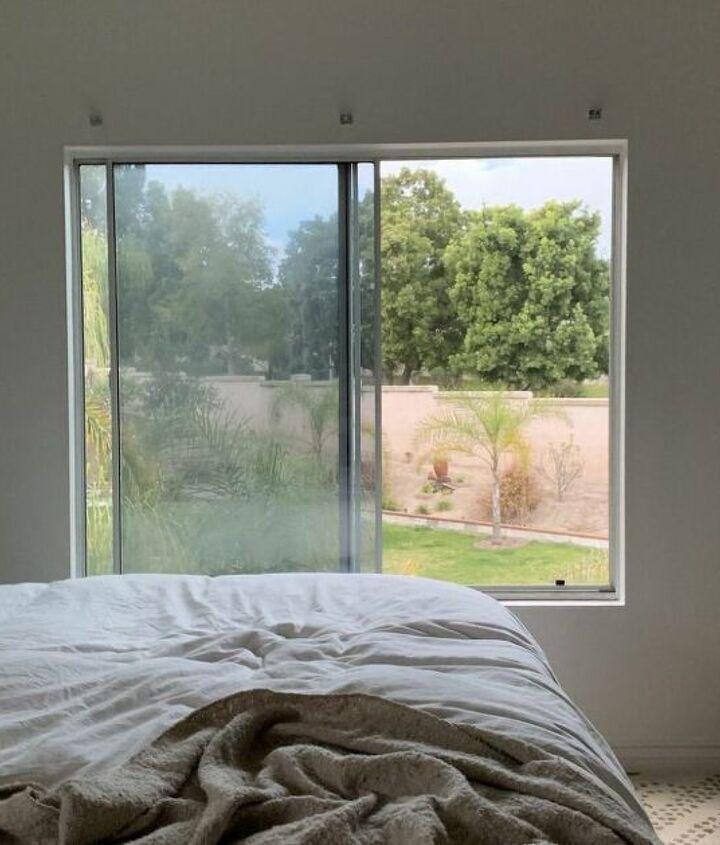
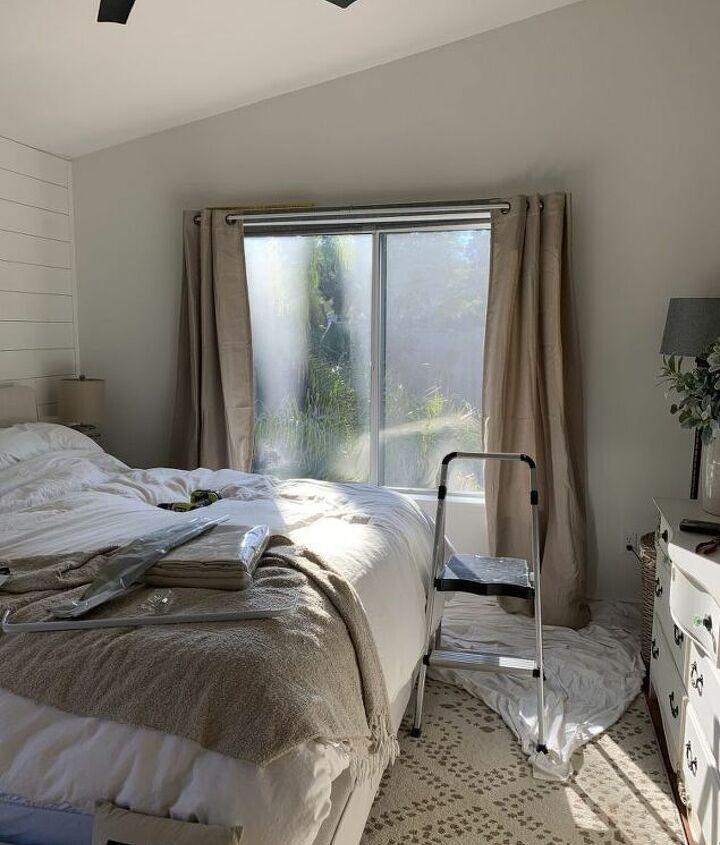
Once your wood window valances are completely dry, it’s time to hang them. If you have shorter windows, you can manage this step on your own, but having an extra set of hands is helpful for longer windows like mine.
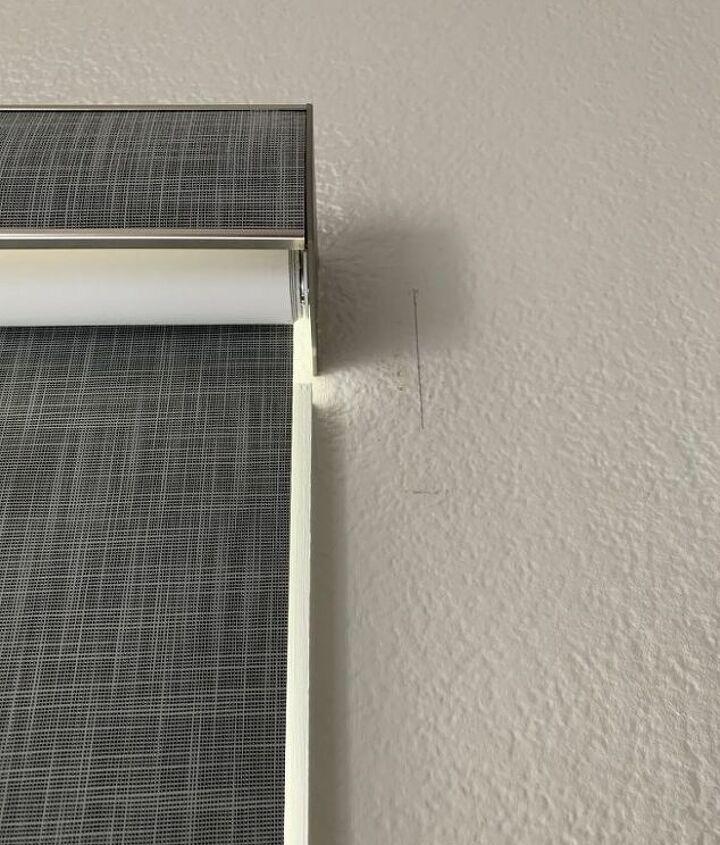
Begin by holding the valance up to the wall where you intend to install it, ensuring that it is both centered and LEVEL. Using a pencil, mark the INSIDE of each end of the valance. In the accompanying photo, you can see the line I drew; the inside edge of the right side of the valance will sit right against that line (to the right of it). I also recommend marking the TOP of your valance to ensure you install your 1x2s (which will be detailed below) at the same height.
Next, use your miter saw to cut two pieces of your 1″x2″ pine board, each measuring 4.5 inches long. These pieces will be used to secure the valance to the wall.
STEP 6
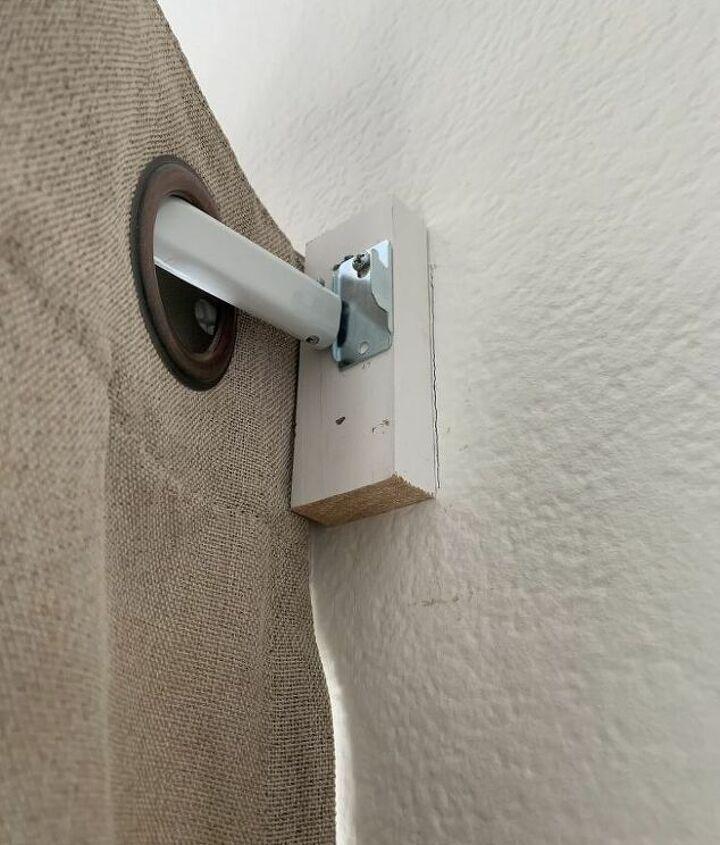
Using a stud finder, check for studs on each side of the window, specifically to the left of the line you drew on the right side of the window and to the right of the line you drew on the left side. If you locate a stud on both sides, you’re in great shape! If not, you’ll need to use drywall anchors to secure your 1″x2″ boards.
When attaching your 1″x2″ boards, position them 1/2 inch BELOW the line you marked at the top of the valance. Ensure they are attached to the window side of each line. If you’re drilling into a stud, use 4 brad nails to secure the boards. If you’re not hitting a stud, use drywall anchors and screws for a sturdy attachment. In my case, all of my attachments were into a stud, so the brad nails worked perfectly!
STEP 7
Next, follow the instructions for your curtain rod to attach each bracket to the front of your 1″x2″ boards, as shown above. Ensure that all brackets are installed at the same height; in our case, we positioned them approximately 1/2 inch lower than the top of the 1″x2″. It’s important to make sure the brackets are LEVEL.
Once the brackets are securely in place, feed your curtains through the curtain rod and attach the rod to the installed brackets.
STEP 8
Hold the valance up against the OUTSIDE of each of your 1″x2″ boards; it should fit perfectly. Use your brad nailer to secure the valance to the 1″x2″s. For added strength, you can also use wood screws— I placed one on each side.
If you prefer, you can opt to use only screws to attach the valance to the 1″x2″s, making the valance easily removable without any nails involved.
Since the screws are positioned on the side and are not very noticeable, I chose not to fill them with wood fill or stain. However, you can certainly do so if you want to conceal them completely.
STEP 9
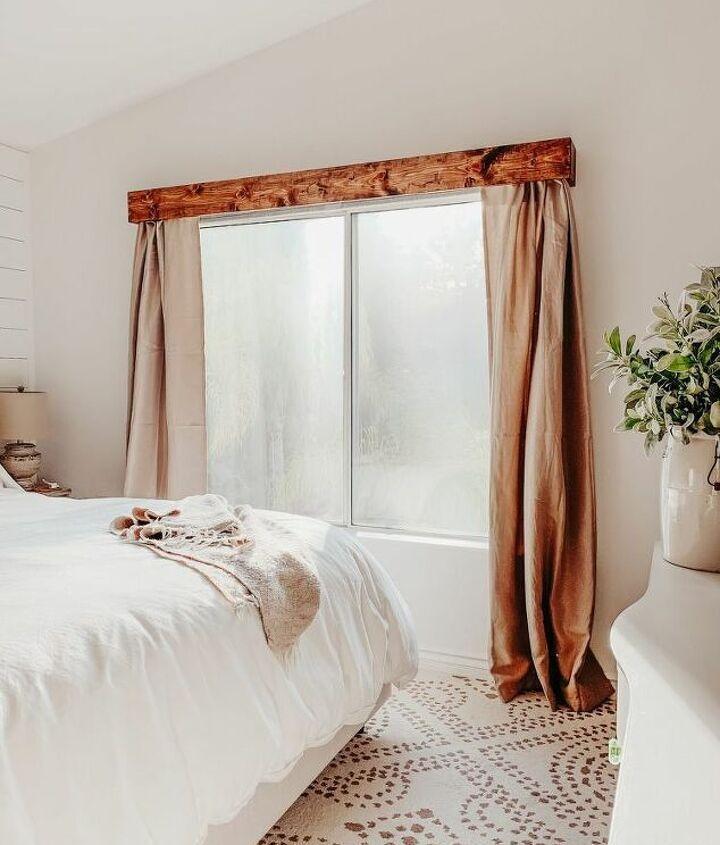
Once you’ve finished installing the valance, take a moment to touch up any areas of the wall that may have been scuffed or marked with wood stain. After that, you’re all set! Enjoy your beautifully transformed windows and the fresh look they bring to your space!


