When it comes to decorating Easter eggs, there are countless amazing ideas out there, many of which could keep you busy crafting for days. But if you’re more into a simple, rustic approach, you’re in luck—it’s super easy to make your own natural egg dyes using ingredients you probably already have at home. The best part? These dyes are totally edible, so you can enjoy the eggs afterwards without worry!
Years ago, I shared a method for dyeing eggs with onion skins, which creates a beautiful, rich color. The results are especially stunning if you rub the eggs with a bit of oil afterward to give them a lovely shine. Inspired by that, I decided to expand my natural dyeing techniques and experiment with a wider palette using vegetable scraps and other kitchen staples. Here’s everything you need to know about creating your own natural egg dyes using ingredients like beets, cabbage, turmeric, onion skins, and more.
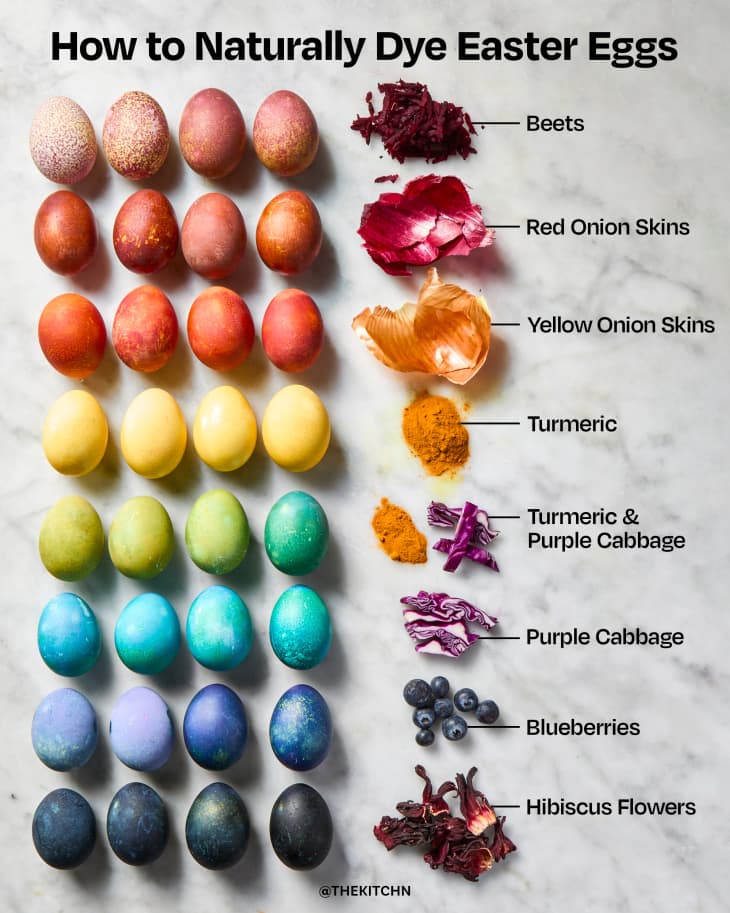
How to Create the Perfect Colors for Naturally Dyed Easter Eggs
Here’s a handy guide to naturally dyeing your Easter eggs with ingredients you probably already have at home:
MATERIALS:
- Hard-boiled eggs (white or brown)
- 2 cups of one of the following dye ingredients
- 2 cups water
- 1 tablespoon distilled white vinegar (per cup of dye liquid)
STEPS:
- Prepare the Dye: Pick one of the ingredients below and simmer with 2 cups of water (covered) for 15 to 30 minutes.
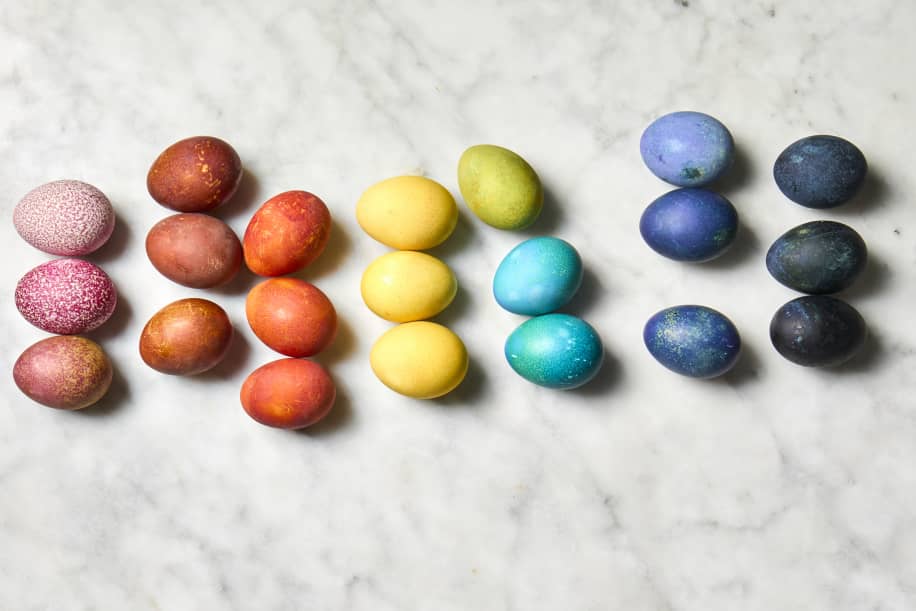
- Beets (2 cups shredded) = reddish pink on white eggs, maroon on brown eggs
- Red Onion Skins (2 cups) = reddish orange on white eggs, red on brown eggs
- Yellow Onion Skins (2 cups) = orange on white eggs, rusty red on brown eggs
- Turmeric (1/4 cup ground) = yellow eggs
- Purple Cabbage & Turmeric (2 cups cabbage + 1/4 cup turmeric, two separate soaks) = green eggs
- Purple Cabbage (2 cups chopped) = blue on white eggs, green on brown eggs
- Blueberries (2 cups) = blue eggs
- Dried Hibiscus Flowers (2 cups) = lavender or indigo eggs
- Strain the Dye: After simmering, strain out the plant matter and add 1 tablespoon of distilled white vinegar for every 1 cup of strained dye liquid. This helps the color set better.
- Soak the Eggs: Soak your hard-boiled eggs in the dye liquid and refrigerate. Note: 2 cups of dye liquid will dye around 6 eggs. You can experiment with how long you leave them in the dye, but remember: the more dips, the deeper the color!
- Dry and Polish: Once the eggs are fully dyed, let them dry completely. For extra shine, you can rub a little oil (like olive oil) on the eggs to give them a polished finish.
PRO TIP:
The key to getting the perfect color is not necessarily how long you soak the eggs, but how many times you dip them in the dye. The more dips, the richer the color will be, so feel free to experiment with different soaking times for varied shades.
Happy dyeing! Your natural Easter eggs are sure to be both beautiful and edible.
INGREDIENTS:
For the Eggs, Dyeing, and Finishing:
- 6 unpeeled, hard-boiled white or brown eggs (at room temperature, not fresh)
- 2 cups water
- Distilled white vinegar (1 tablespoon per cup of dye liquid)
- Neutral oil, such as vegetable or grapeseed (for polishing)
Dye Options (per 2 cups water):
- 2 cups shredded red beets (for pink on white eggs, maroon on brown eggs)
- 2 cups red onion skins (for lavender on white eggs, red on brown eggs)
- 2 cups yellow onion skins (for orange on white eggs, rusty red on brown eggs)
- 1/4 cup ground turmeric (for yellow eggs)
- 2 cups chopped purple cabbage (for blue on white eggs, green on brown eggs)
- 2 cups blueberries (for blue eggs)
- 2 cups dried hibiscus flowers (for indigo or lavender eggs)
EQUIPMENT:
- Saucepan with lid
- Fine-mesh strainer
- A second saucepan or bowl
- Baking dish or other container for soaking eggs
- Paper towels (for drying)
INSTRUCTIONS:
Combine 2 cups of water and your chosen dye ingredient (such as purple cabbage, onion skins, etc.) in a small saucepan. Bring to a boil over medium-high heat.
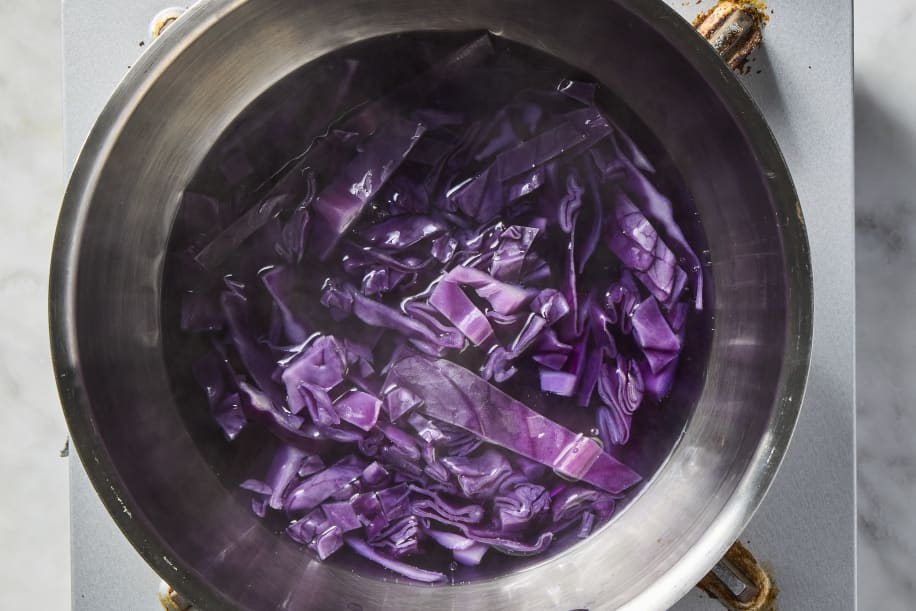
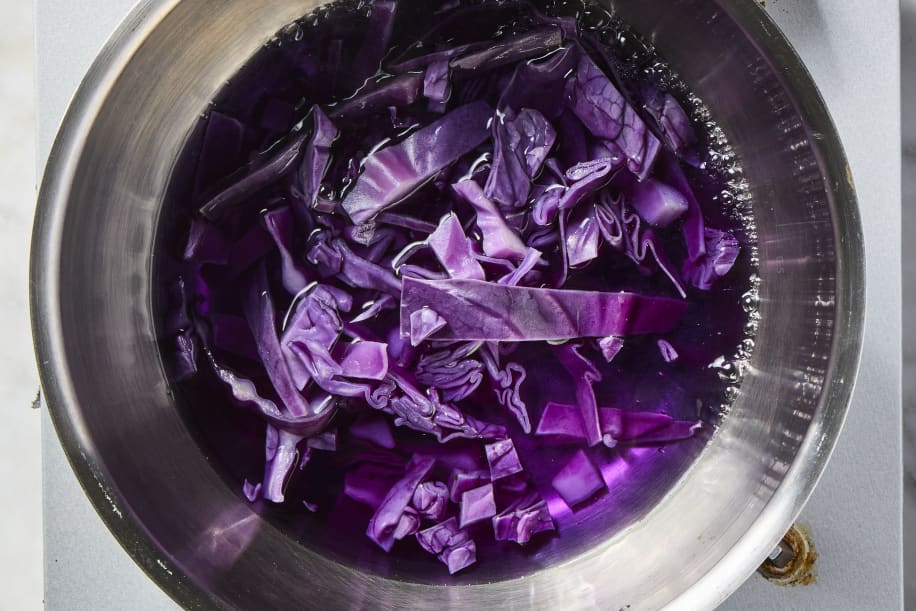
Reduce the heat to low, cover the saucepan, and let it simmer for 15 to 30 minutes, or until the color is a few shades darker than you want your egg to be. To check the color, drip a small amount of dye onto a white dish and adjust the simmering time if needed.
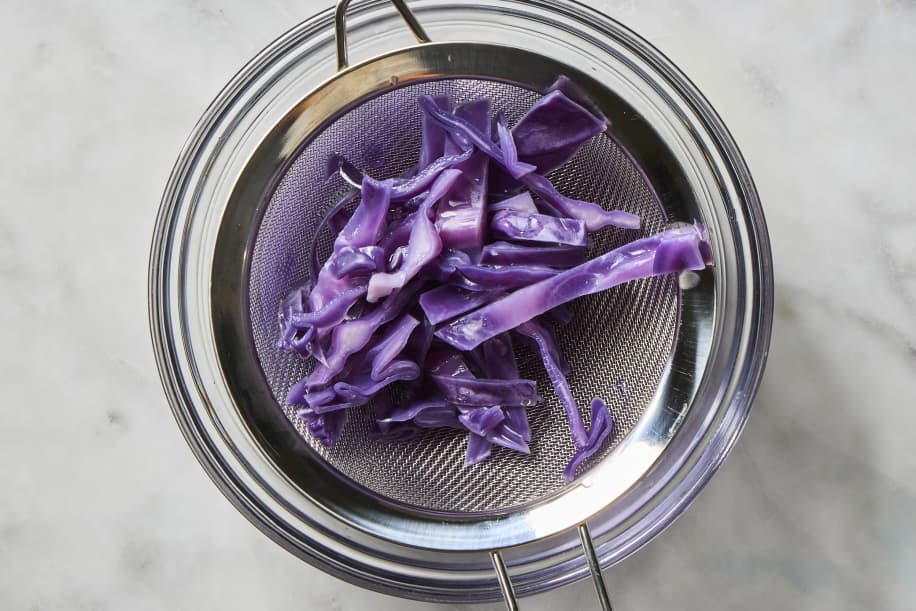
Remove the pan from the heat and let the dye cool to room temperature. Once cooled, pour the liquid through a fine-mesh strainer set over another saucepan or bowl. Press the solids in the strainer to extract as much liquid as possible, then discard the remaining contents.
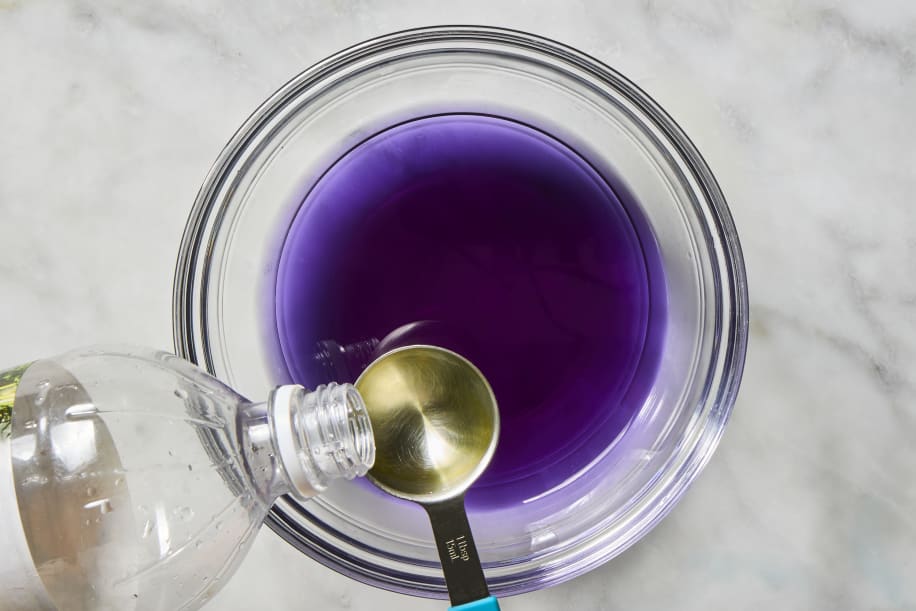
Measure the amount of strained liquid and add 1 tablespoon of distilled white vinegar for every 1 cup of liquid. Stir well to combine.
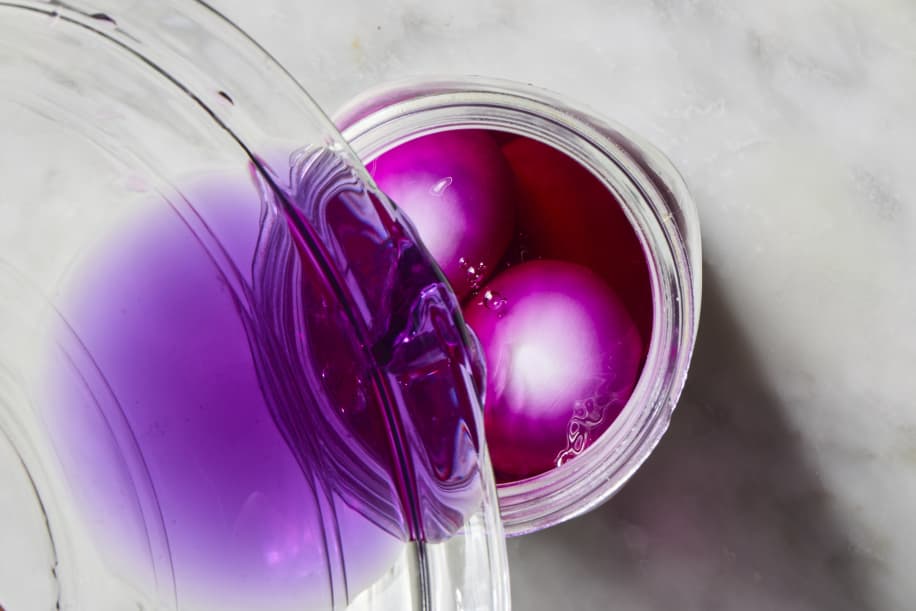
Place 6 room-temperature, hard-boiled eggs in a medium bowl or quart-sized container (like a yogurt container). Carefully pour the cooled dye over the eggs, ensuring they are completely submerged.
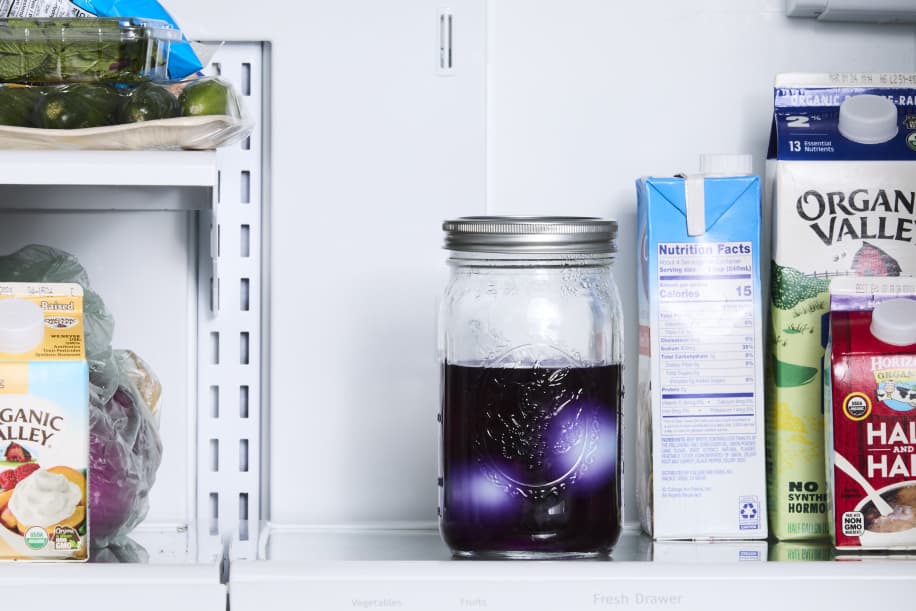
Refrigerate the eggs in the dye until they are chilled and have reached the desired color, which can take a few hours or up to overnight. Once they’re ready, remove the eggs from the dye and dry them with paper towels. For a more vibrant color, you can give the eggs multiple soaks in the dye, ensuring you dry them between each dip to build up the intensity.
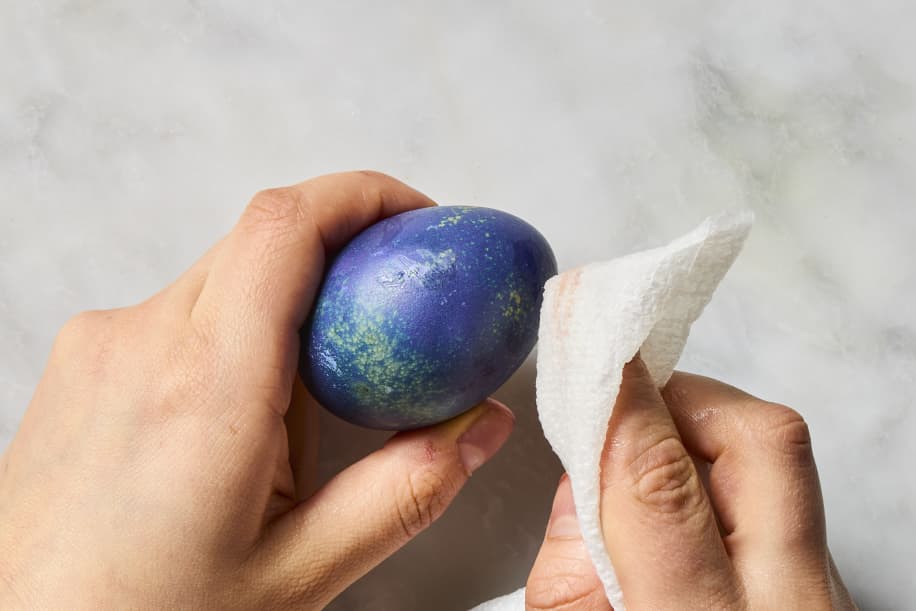
Once the eggs are dyed to your desired color, dry each one thoroughly with a paper towel. Gently rub a small amount of neutral oil (such as vegetable or grapeseed oil) into each egg to give them a shiny finish. Then, polish the eggs with a clean paper towel. Refrigerate until you’re ready to use or display them.
Try experimenting with different natural ingredients to create a variety of beautiful colors on your eggs — and the best part is, they’re all completely safe to eat! From vibrant pinks to deep blues, these natural dyes offer a fun and edible way to add color to your Easter eggs.
CONCLUSION
In conclusion, dyeing Easter eggs with natural ingredients is a creative and fun way to celebrate the season while keeping things simple, safe, and eco-friendly. Whether you opt for vibrant beets, earthy turmeric, or calming cabbage, the results are not only beautiful but also completely edible. With just a few natural ingredients and a bit of time, you can create a stunning array of colorful eggs to enjoy and share with family and friends. Happy dyeing!


