Unleash creativity and infuse your classroom with vibrant colors using bulletin board letters! These versatile letters are a quick and impactful way to enhance your bulletin boards, wall decor, and even your door. With an array of styles, patterns, and colors available, bulletin board letters enable you to design eye-catching displays that captivate your students and make learning exciting and engaging. There are countless ways to incorporate these letters into your classroom. Today, I’m sharing my top tips and tricks for using bulletin board letters effectively. Keep reading to discover all the details!
UNLIMITED POSSIBILITIES!
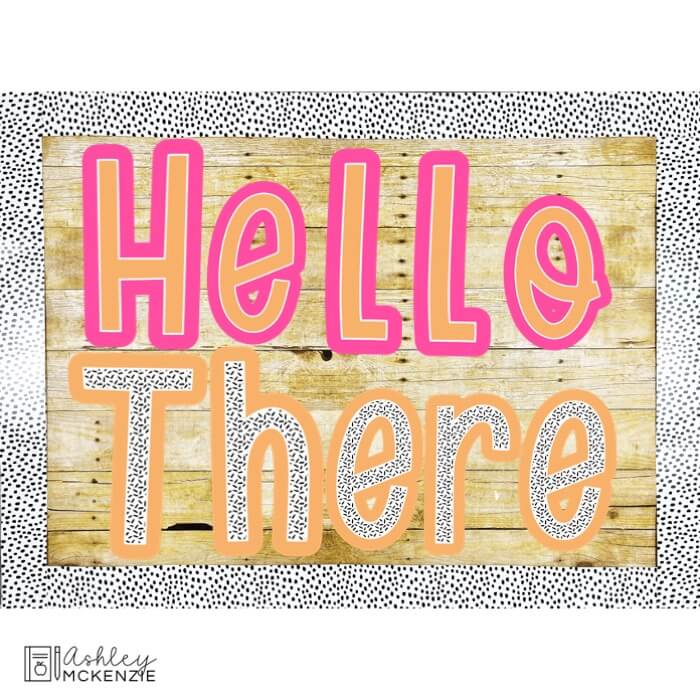
Have you ever bought a bulletin board kit and thought, “I wish I could create a completely custom message with this display…”? Now you can! I often receive requests for personalized sayings to complement my bulletin board kits, so I’ve started offering complete A-Z letter sets. This allows teachers to design unique displays tailored to their needs.
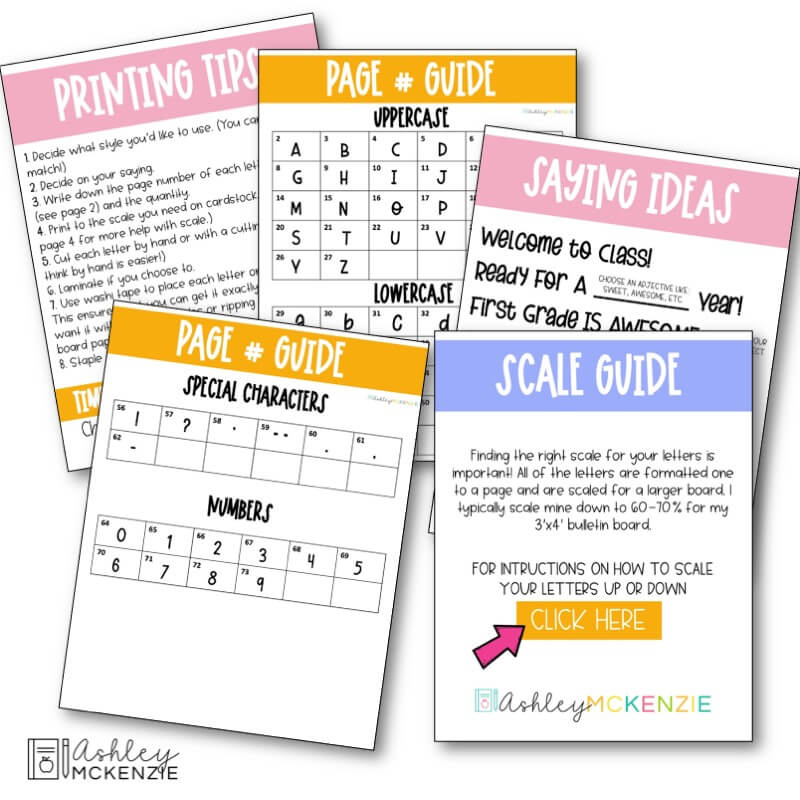
Use these letters to showcase your favorite quote, welcome students to your learning center, or create eye-catching wall and hallway displays. You can even personalize your door with your name or class slogan! Each A-Z letter set comes with punctuation marks and numbers 0 through 9, providing endless possibilities for customization.
PRINTING TIPS FOR BULLETIN BOARD LETTERS

Here are some pro printing tips to get the best results! First, always print your bulletin board letters on cardstock. I recommend using 110 lb. paper, which ensures your letters stay in great shape longer. The thicker paper also makes your colors more vibrant and durable.
Next, print your letters by page number. Each of my bulletin board letter sets includes a tips and tricks file with a reference guide that shows which letters are on which page. To print, determine which letters you need for your display, find the corresponding page numbers in the guide, and write them down. In your print settings, select “Pages” and enter the specific page numbers separated by commas.
Laminating the letters is optional but highly recommended if you plan to reuse them for multiple years or if they’ll be displayed in high-touch areas.
HOW TO CHANGE THE SIZE OF THE BULLETIN BOARD LETTERS
To change the size of the letters on a bulletin board, start by selecting the text you want to adjust. If you’re using a computer, open your bulletin board design software or application and find the text editing tools. Look for options to adjust font size, usually represented by a dropdown menu or a slider. Increase or decrease the font size as needed and apply the changes. For physical bulletin boards, you can use larger or smaller letter cutouts or stickers, or adjust the spacing of the letters to fit your desired size.
BEST WAY TO CUT THE LETTERS OUT

My best advice is to cut out the letters by hand. In my experience, this method often takes less effort! Grab your stack of printed letters and some scissors, put on your favorite show, and start cutting. Before you know it, you’ll have them all ready!
Another great time-saving tip is to enlist parent volunteers for this task. Many parents are eager to help but can’t do so during school hours or in the classroom. This project is perfect for them! Print out the letters you need for the month or even the entire semester if you’re feeling organized, and ask a parent volunteer to handle the cutting for you.
TIPS FOR SECURING BULLETIN BOARD LETTERS TO YOUR DISPLAYS
One of my favorite tools for creating decorative displays is washi tape. Use it to temporarily place your letters and other decorative items on your wall, door, or bulletin board. This allows you to easily adjust and reposition everything until it’s just right. Once you’re satisfied with the arrangement, secure the letters by stapling them in place. If you’re decorating a door or another surface where stapling isn’t an option, use double-sided tape instead.
Another popular method for placing letters involves arranging them in a straight line. On a flat surface like a table or the floor, line up your letters in the desired order. Use a long ruler or the edge of a desk to ensure they’re level. Then, place a strip of painter’s tape across the top of the letters, pressing it gently to ensure it sticks. Lift the tape from each end and position it on your bulletin board or wall where you want the letters to go. Staple each letter in place, then carefully remove the tape.
CONCLUSION
Bulletin board letters are a versatile and effective tool for enhancing your teaching area. By strategically utilizing them, you can create engaging, informative, and visually appealing displays that support your curriculum and captivate your students.


