
Today, we’re excited to share a DIY project perfect for those who love their furniture and want to protect it from hot tea mugs or cold beer bottles. It’s also a great activity for anyone with some spare time who enjoys crafting something cute and stylish to enhance their home decor. Follow the directions and watch the video below to see the process in action!
YOU WILL NEED
- Yarn
- Yarn needle
- String
- Ruler
- 5” x 4 ¼” cardboard
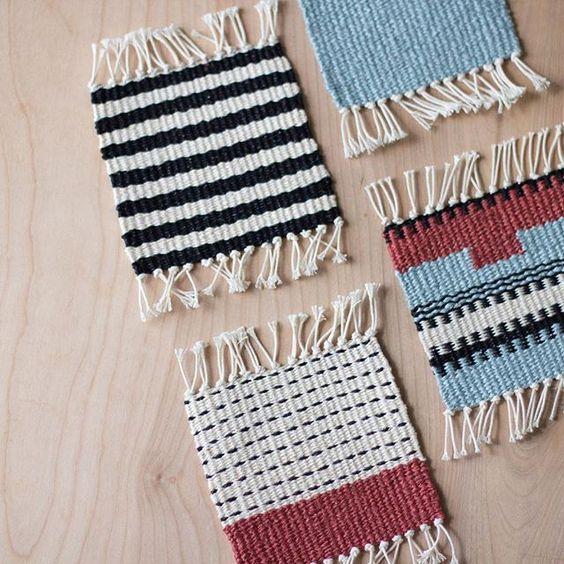
DIRECTIONS
- Take the cardboard and draw a line ¼ inch from the short edge. Then, at ½-inch intervals, cut slots for the string. Repeat this step on the opposite edge.
- Thread the string through each slot from one edge to the other until all slots are filled.
- Starting from one side, weave the colored yarn perpendicularly in a wave pattern: over-under-over-under, and so on. Once you reach the other side, reverse the pattern on your way back, ensuring the weave alternates from the previous row. Avoid pulling too tightly to prevent the coaster from curling.
- Change yarn colors every 5 or 6 rows, tying the yarn securely at the ends or wherever you decide to switch colors.
- When you reach the bottom of the cardboard, flip it over and carefully cut the strings at the slots. Remove the cardboard, and your handmade coaster is ready to use!


