

Looking for a truly terrifying costume that’ll send shivers down everyone’s spine? Consider transforming yourself into a spider infestation! This unique and unsettling costume is perfect for those who want to stand out from the crowd and leave a lasting impression at your next Halloween party.
Imagine this: you’re covered head-to-toe in realistic-looking spiders, their legs sprawling out in every direction. As you move, they seem to writhe and squirm, creating an illusion of a living, breathing spider infestation. It’s a guaranteed conversation starter that’s sure to elicit both fear and admiration.
In this guide, we’ll provide you with step-by-step instructions on how to create your own spider infestation costume.
SUPPLIES
- Printable Tattoo Paper
- Electronic Cutter
- Cutting Mat
- Cut File
TUTORIAL OVERVIEW
In this tutorial, I’ll guide you through cutting out designs using my Silhouette Cameo. However, this technique is also applicable if you’re using a Cricut—though I’m less familiar with the specifics of that machine! Rest assured, you can use Silhouette materials on a Cricut as well, and they offer a wide variety of cool options!

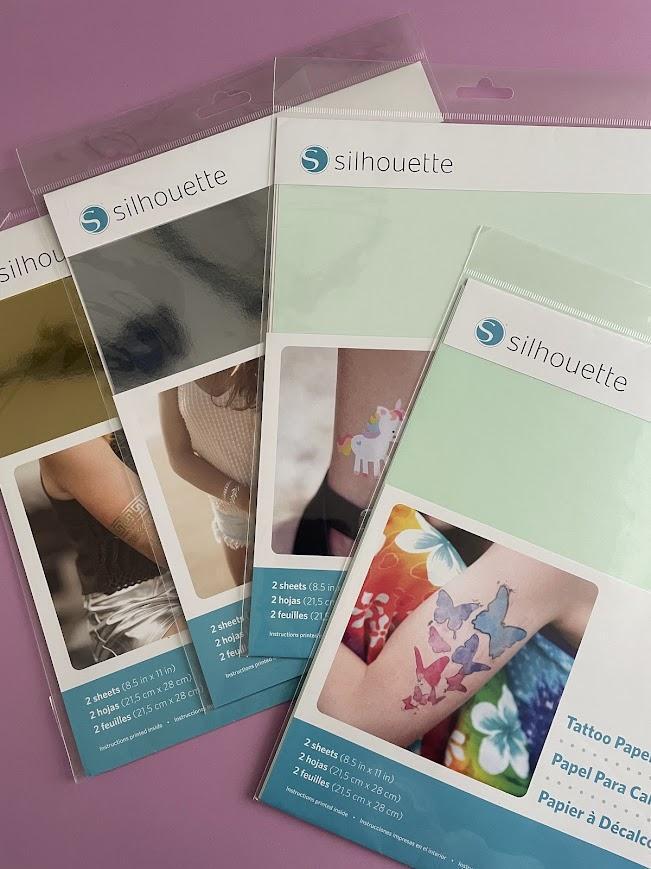
Silhouette all has -white, gold, and silver tattoo paper!
HOW TO USE TATTOO PAPER
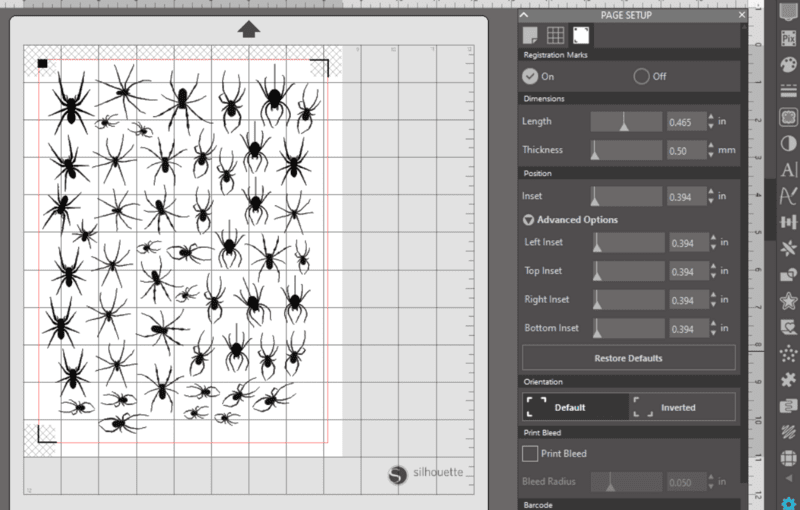
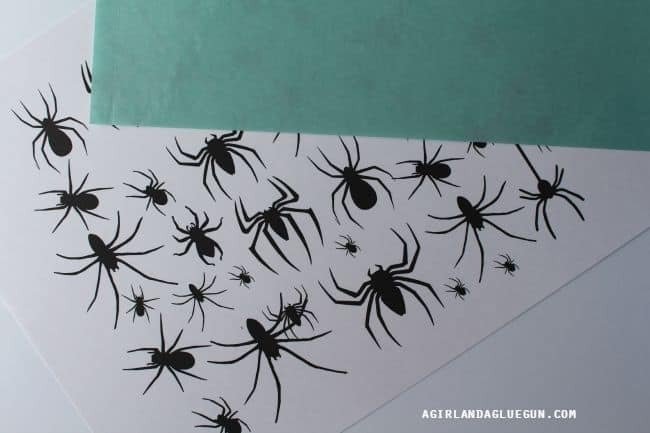
The Silhouette tattoo paper can be a bit tricky, so let me guide you through the steps! We will be using the Print and Cut feature. Start by uploading the spider image and ensure that the Print and Cut option is selected in the page setup. This will display registration marks around the spiders.
Since the spider legs are so small, I added an offset outline to give the tattoo a thicker appearance!
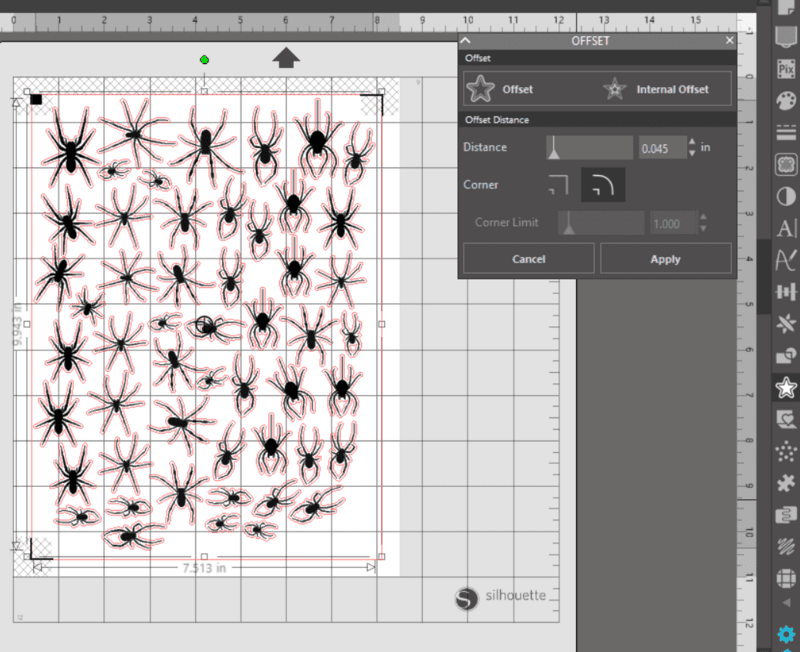
To begin your tattoo project, start by pressing the star (offset) in your design software. This will allow you to create an outline of the spiders, which you can adjust as much as you like. Once you’ve applied the outline, carefully remove the black spider images, leaving only the outlines behind.
When you open your package of tattoo paper, you will find two white sheets and two blue sheets. The blue sheet serves as the top layer. Take one of the white sheets and load it into your printer with the shiny side facing up.
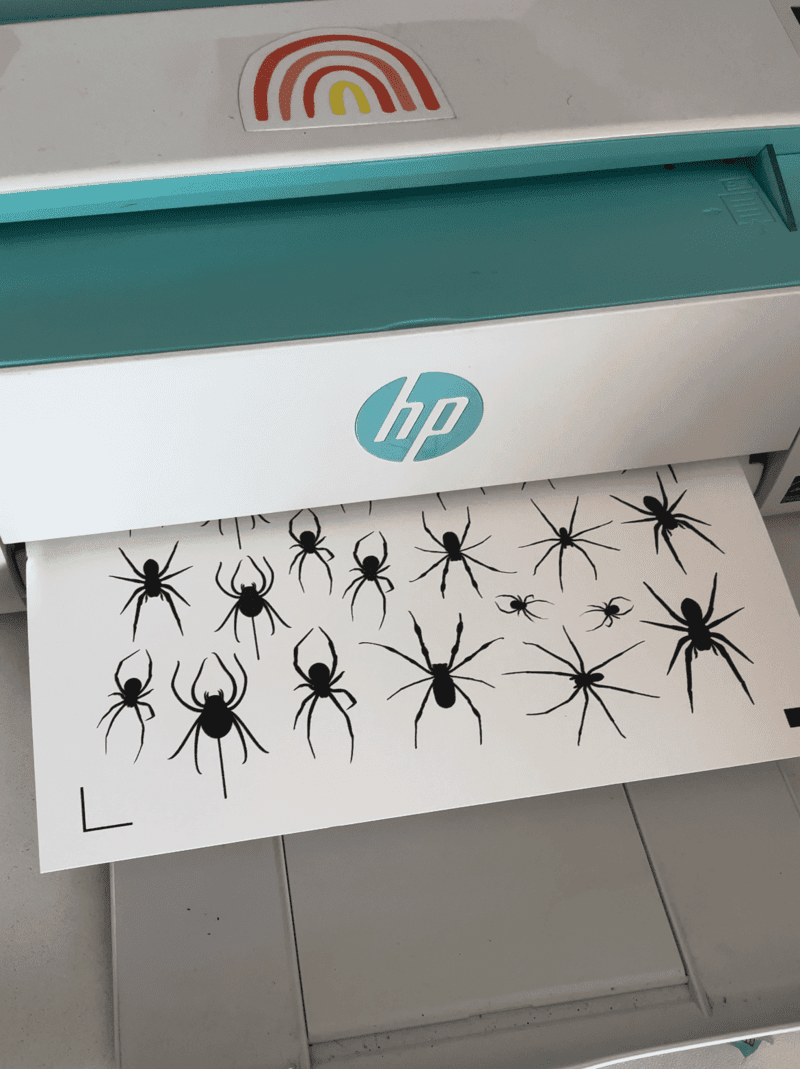
Finally, go to your Silhouette Studio and press print to send your design to the printer. This will prepare your tattoo outline for application. Enjoy your creative process!

If you need a good printer- check out this article.
The blue sheet is the clear protective layer that activates the tattoo.
It has a strip across the top. Peel off this strip and carefully align it with the top of your white sheet. Be cautious not to touch the sticky side.
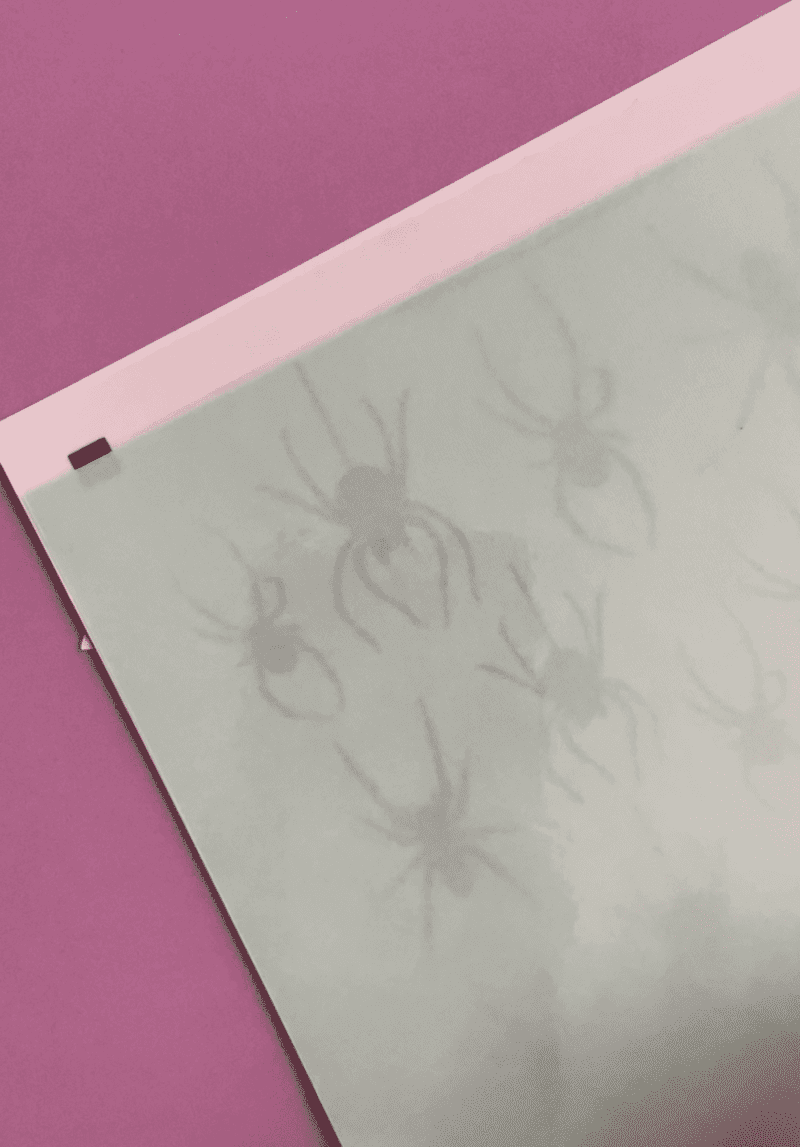
Gently remove the backing and adhere the entire clear layer to the white tattoo paper, making sure to rub it down thoroughly.
The top piece acts as a clear protective layer, similar to those fake tattoos you may have used before. You need to peel off the clear layer, then flip the tattoo over to apply it to your skin.
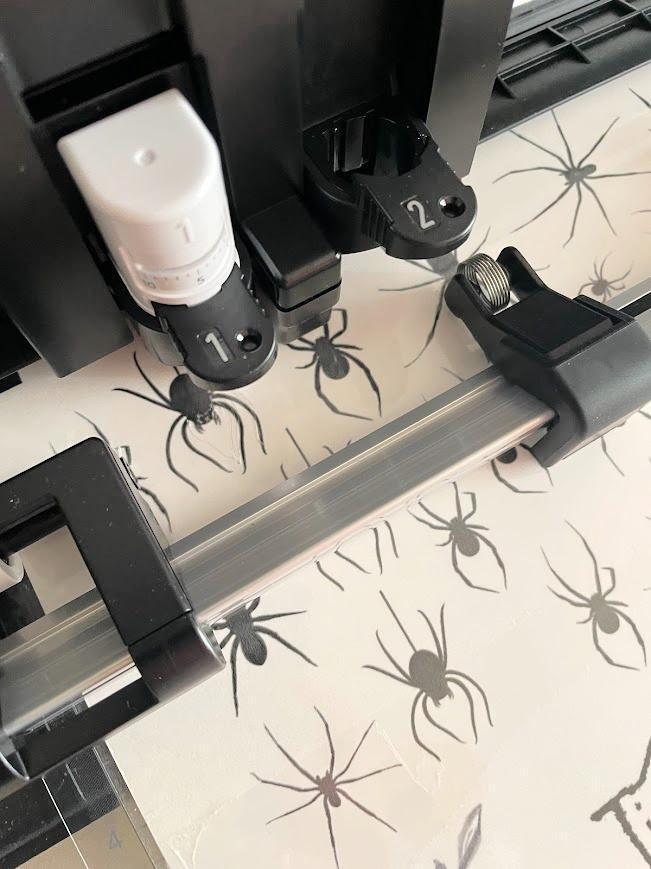
Once prepared, place the sheet onto a Silhouette mat and load it into your Silhouette Cameo.
Cutting out the spiders
The spider legs are quite small, so I prefer to use an offset effect to make the spiders a bit thicker. This creates a subtle clear outline around each spider, enhancing their visibility. Make sure to select the Silhouette tattoo paper cut setting in your software. Once you’ve done that, proceed to cut out the spiders!

Apply your spider tattoos:
When you’re ready to apply the tattoo, start by peeling off the protective layer. The tattoo will be slightly sticky. Position the sticky side down on your skin where you want it to go. Press a damp cloth against the tattoo until it is saturated, then gently remove the backing. The backing should slide off easily, leaving behind a nice creepy spider!
How to Remove Temporary Tattoos:
If you’re concerned about removing temporary tattoos, especially from your face, don’t worry! A little baby oil works wonders, and the tattoos come off easily. This is a definite win! I’ve also heard that hand sanitizer, rubbing alcohol, and nail polish remover can be effective alternatives.
Troubleshooting Print and Cut:
If your print and cut isn’t cutting precisely around the spider, you may need to recalibrate your machine. If it’s not registering the print and cut registration marks, try using a brighter light near your Cameo. Often, lighting issues can affect the registration process!


