Denim feathers are absolutely fantastic! They’re incredibly fun to create, versatile for a multitude of uses, and a perfect way to upcycle old denim jeans or jackets. Let’s get started on making them!
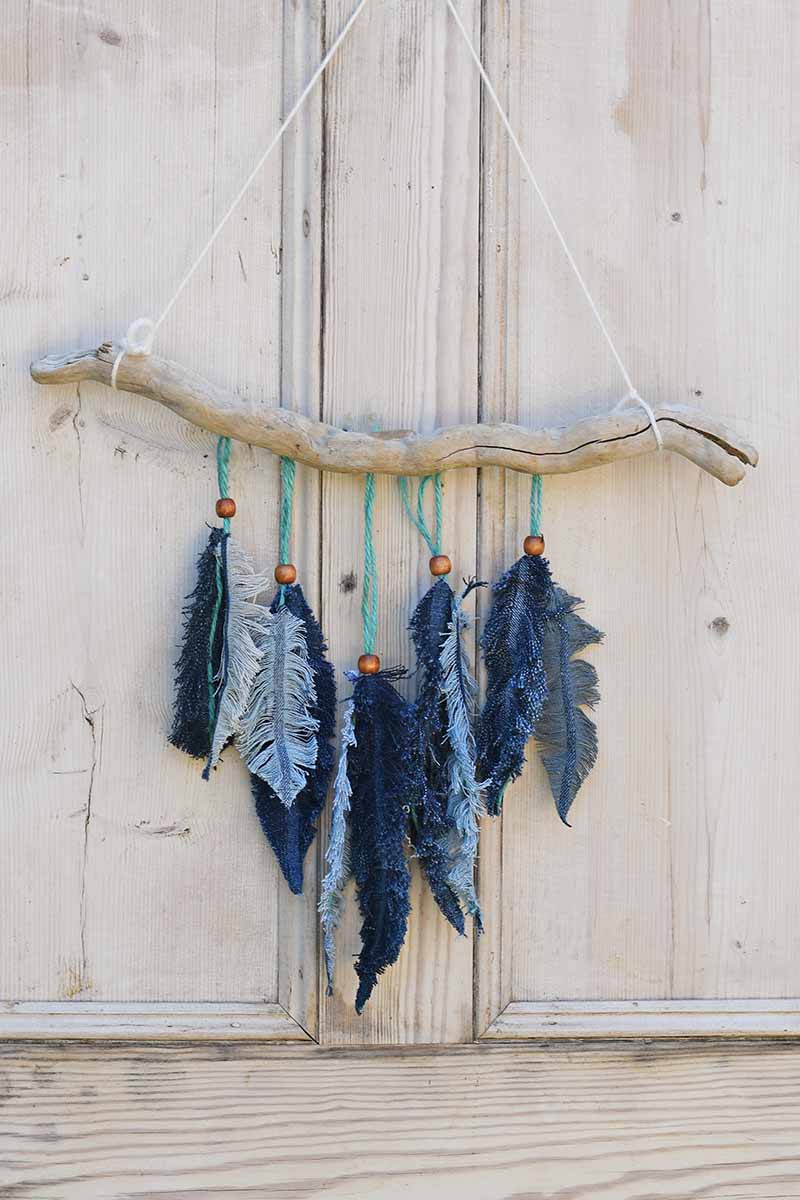
SUPPLIES
- Old denim in various colors
- Heavy string or twine (such as cotton baker’s twine)
- Pins
- Seam ripper
- Scissors or rotary cutter and ruler
- Rubber glove (avoid vinyl)
- Sewing machine
STEP 1: CUT DENIM AND CENTER TWINE
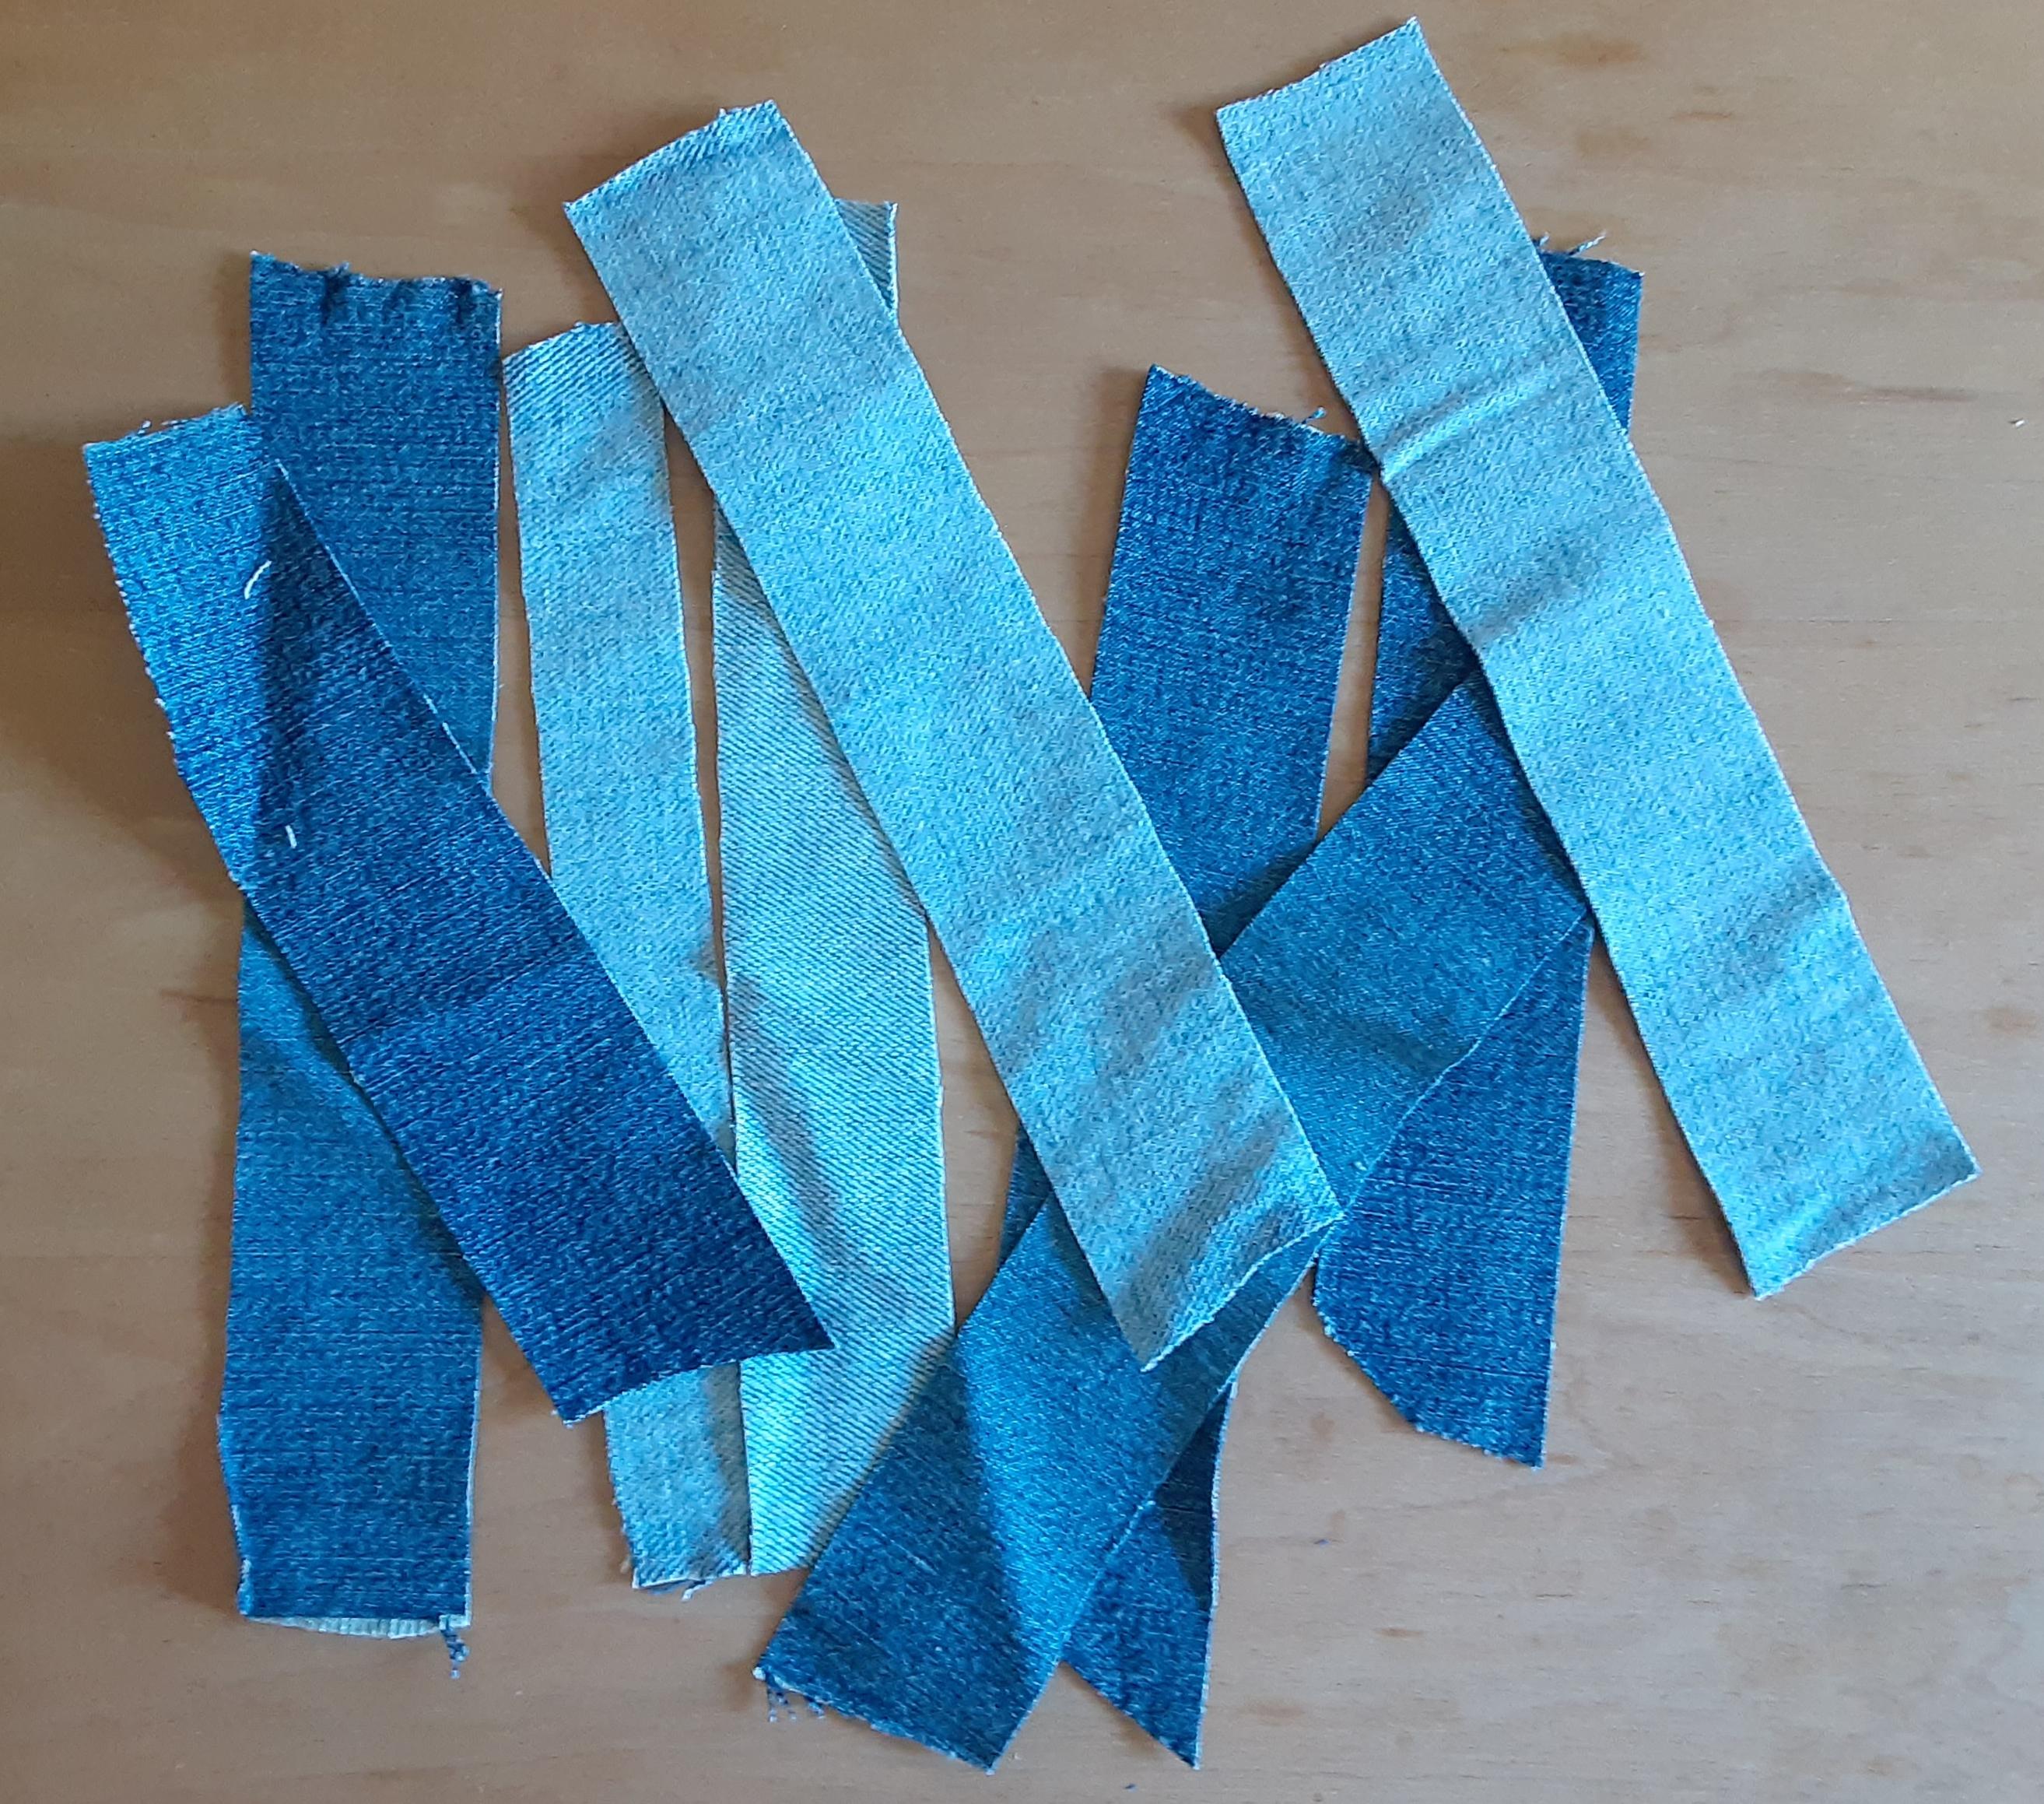
Note: When cutting denim, ensure that your cuts align with the grain of the threads. It’s crucial for your cuts to be straight with the grain, as this will affect the final look of your feathers.
Additionally, depending on the fabric’s orientation, you’ll end up with blue feathers if cut in one direction and white feathers if cut in the other. To determine which orientation to choose, pull a few threads from the edge of the fabric.
If you pull the warp threads (the blue ones), your feather will be white. Conversely, pulling the weft threads (the white ones) will yield a blue feather. I find it easier to pull the blue/warp threads since the white/weft ones tend to be tighter and require more effort.
Cut your denim into strips that are 1.5 inches wide, then cut those strips into lengths of 3 to 5 inches, depending on how long you want your finished feathers to be.
For the twine, measure a length that is approximately 2 inches longer than the denim strip.
STEP 2: SEW TWINE IN PLACE
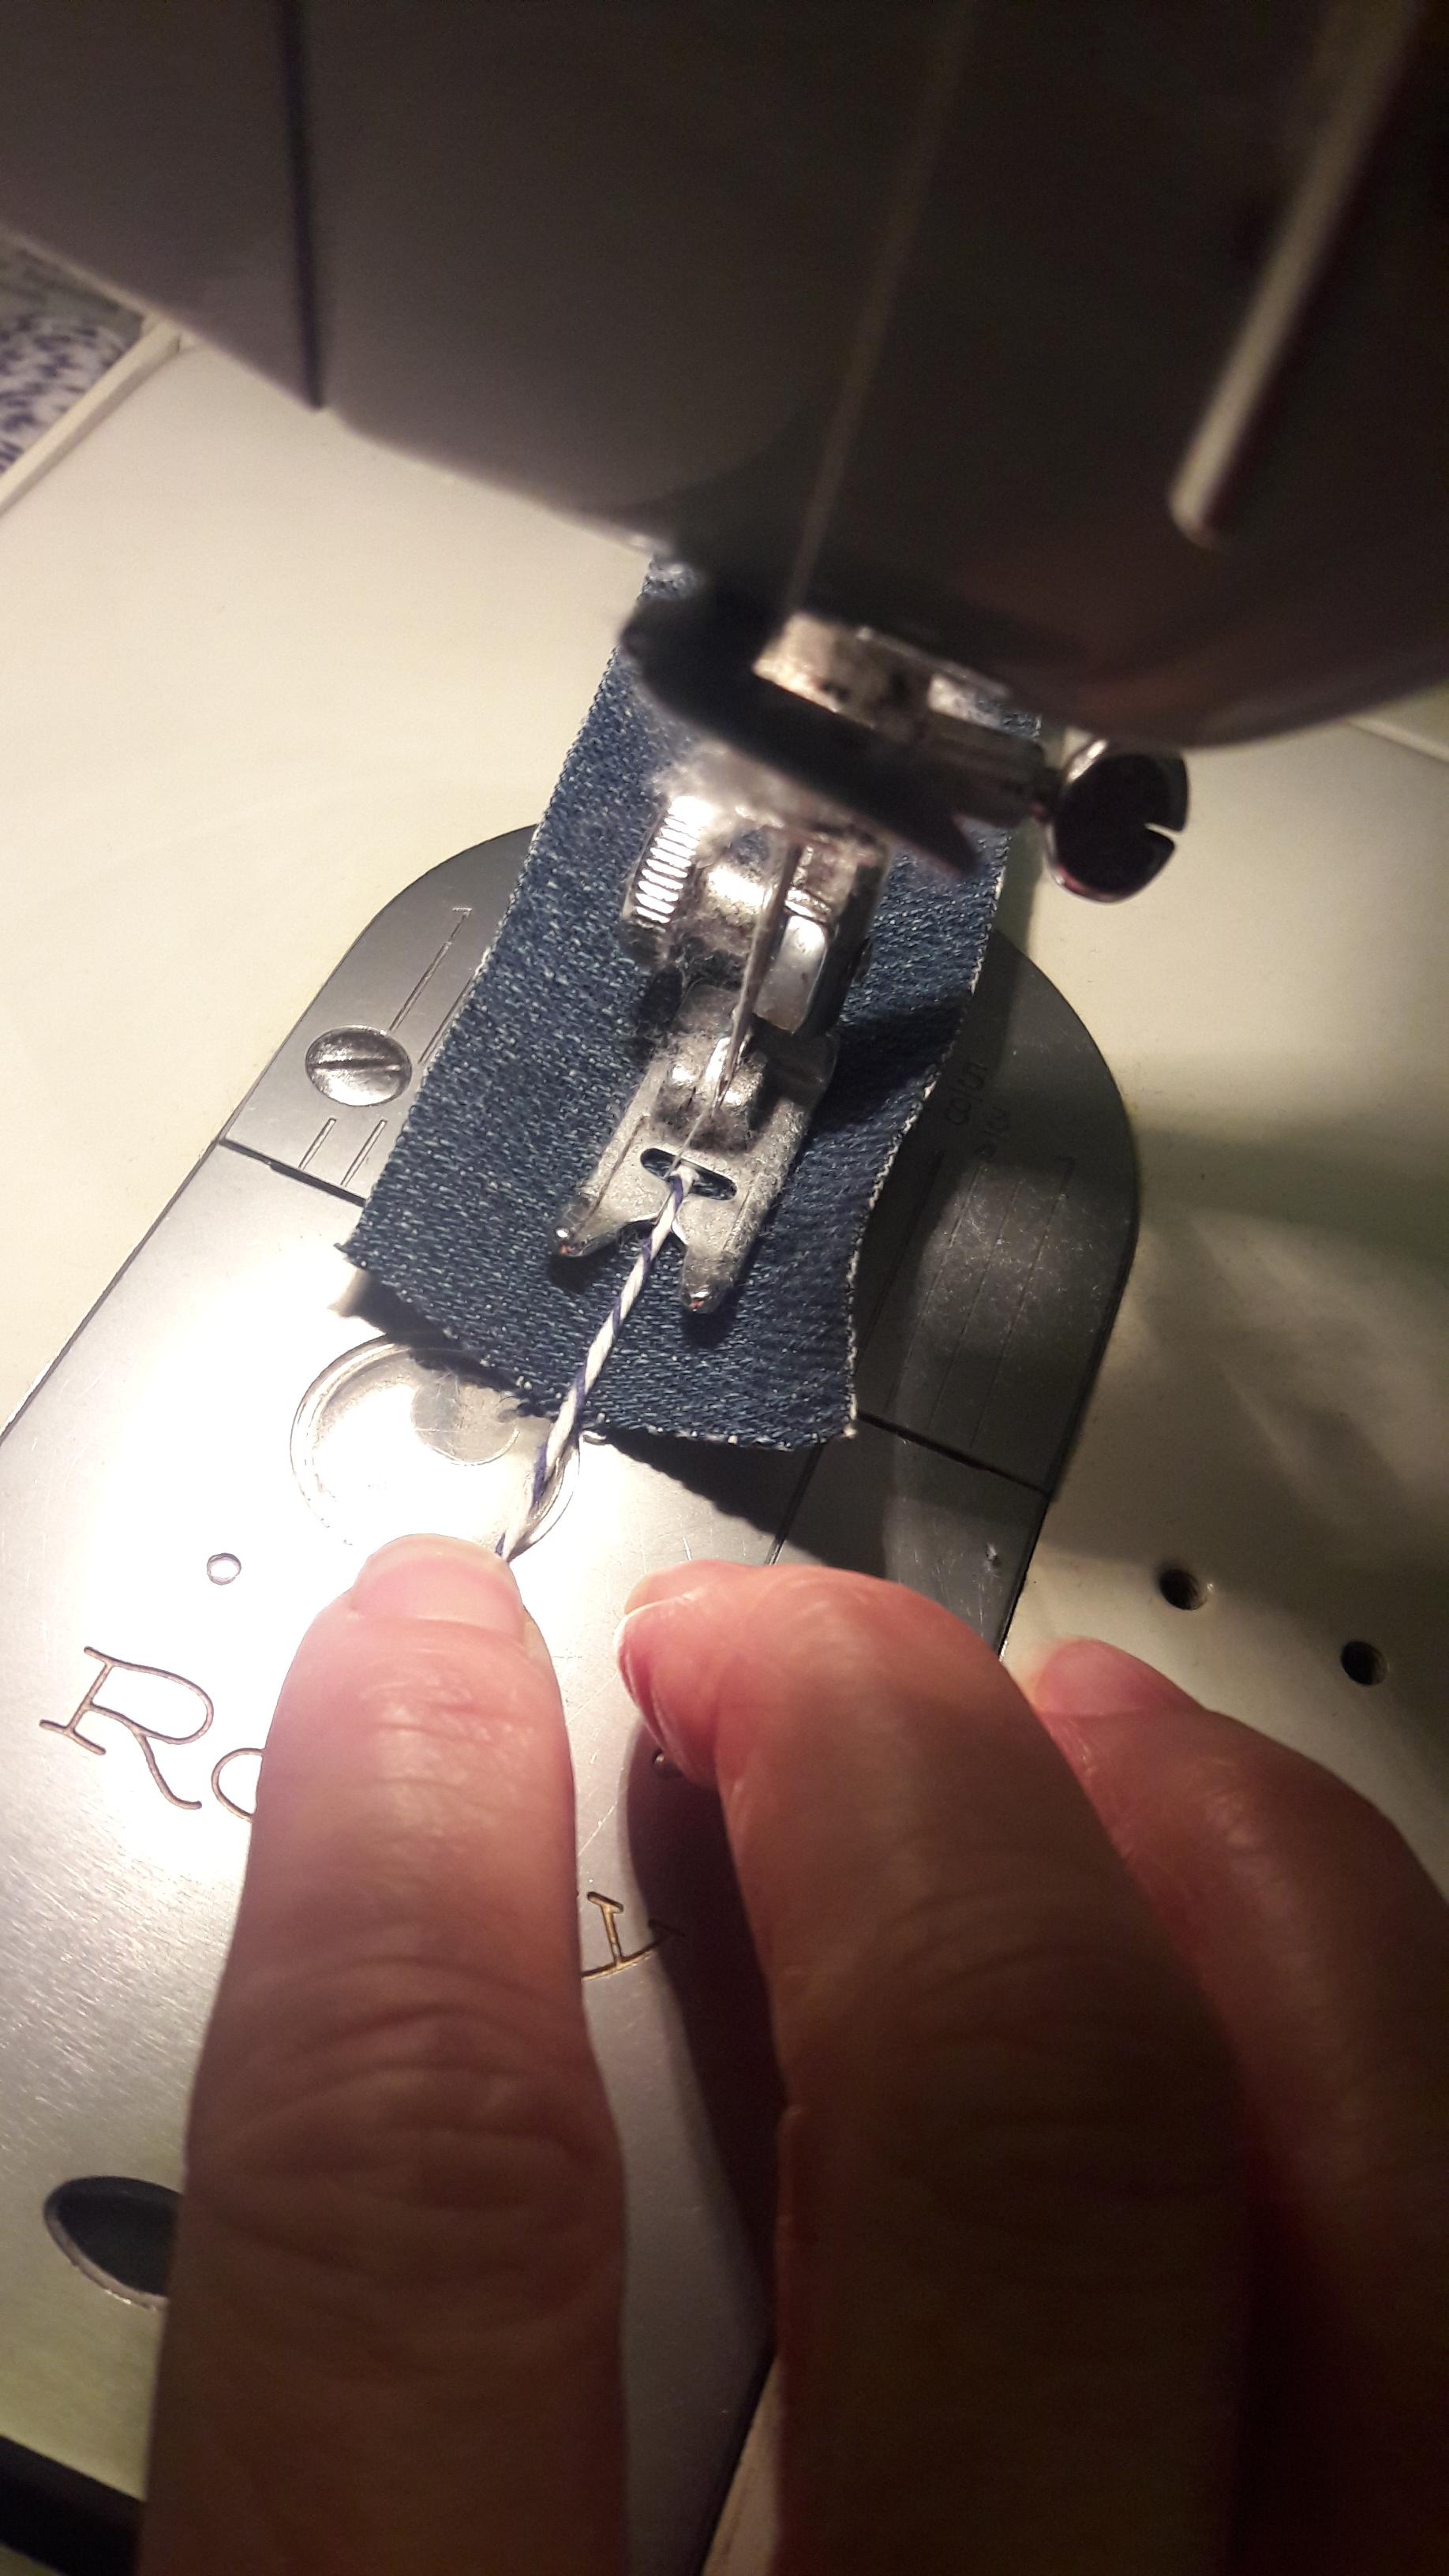
Using a narrow zigzag stitch with a short stitch length, sew the twine down the center of the denim strip. Ensure the twine aligns with the grain of the threads; otherwise, the “unraveling” step will be challenging.
STEP 3: TRIM TO FEATHER SHAPE
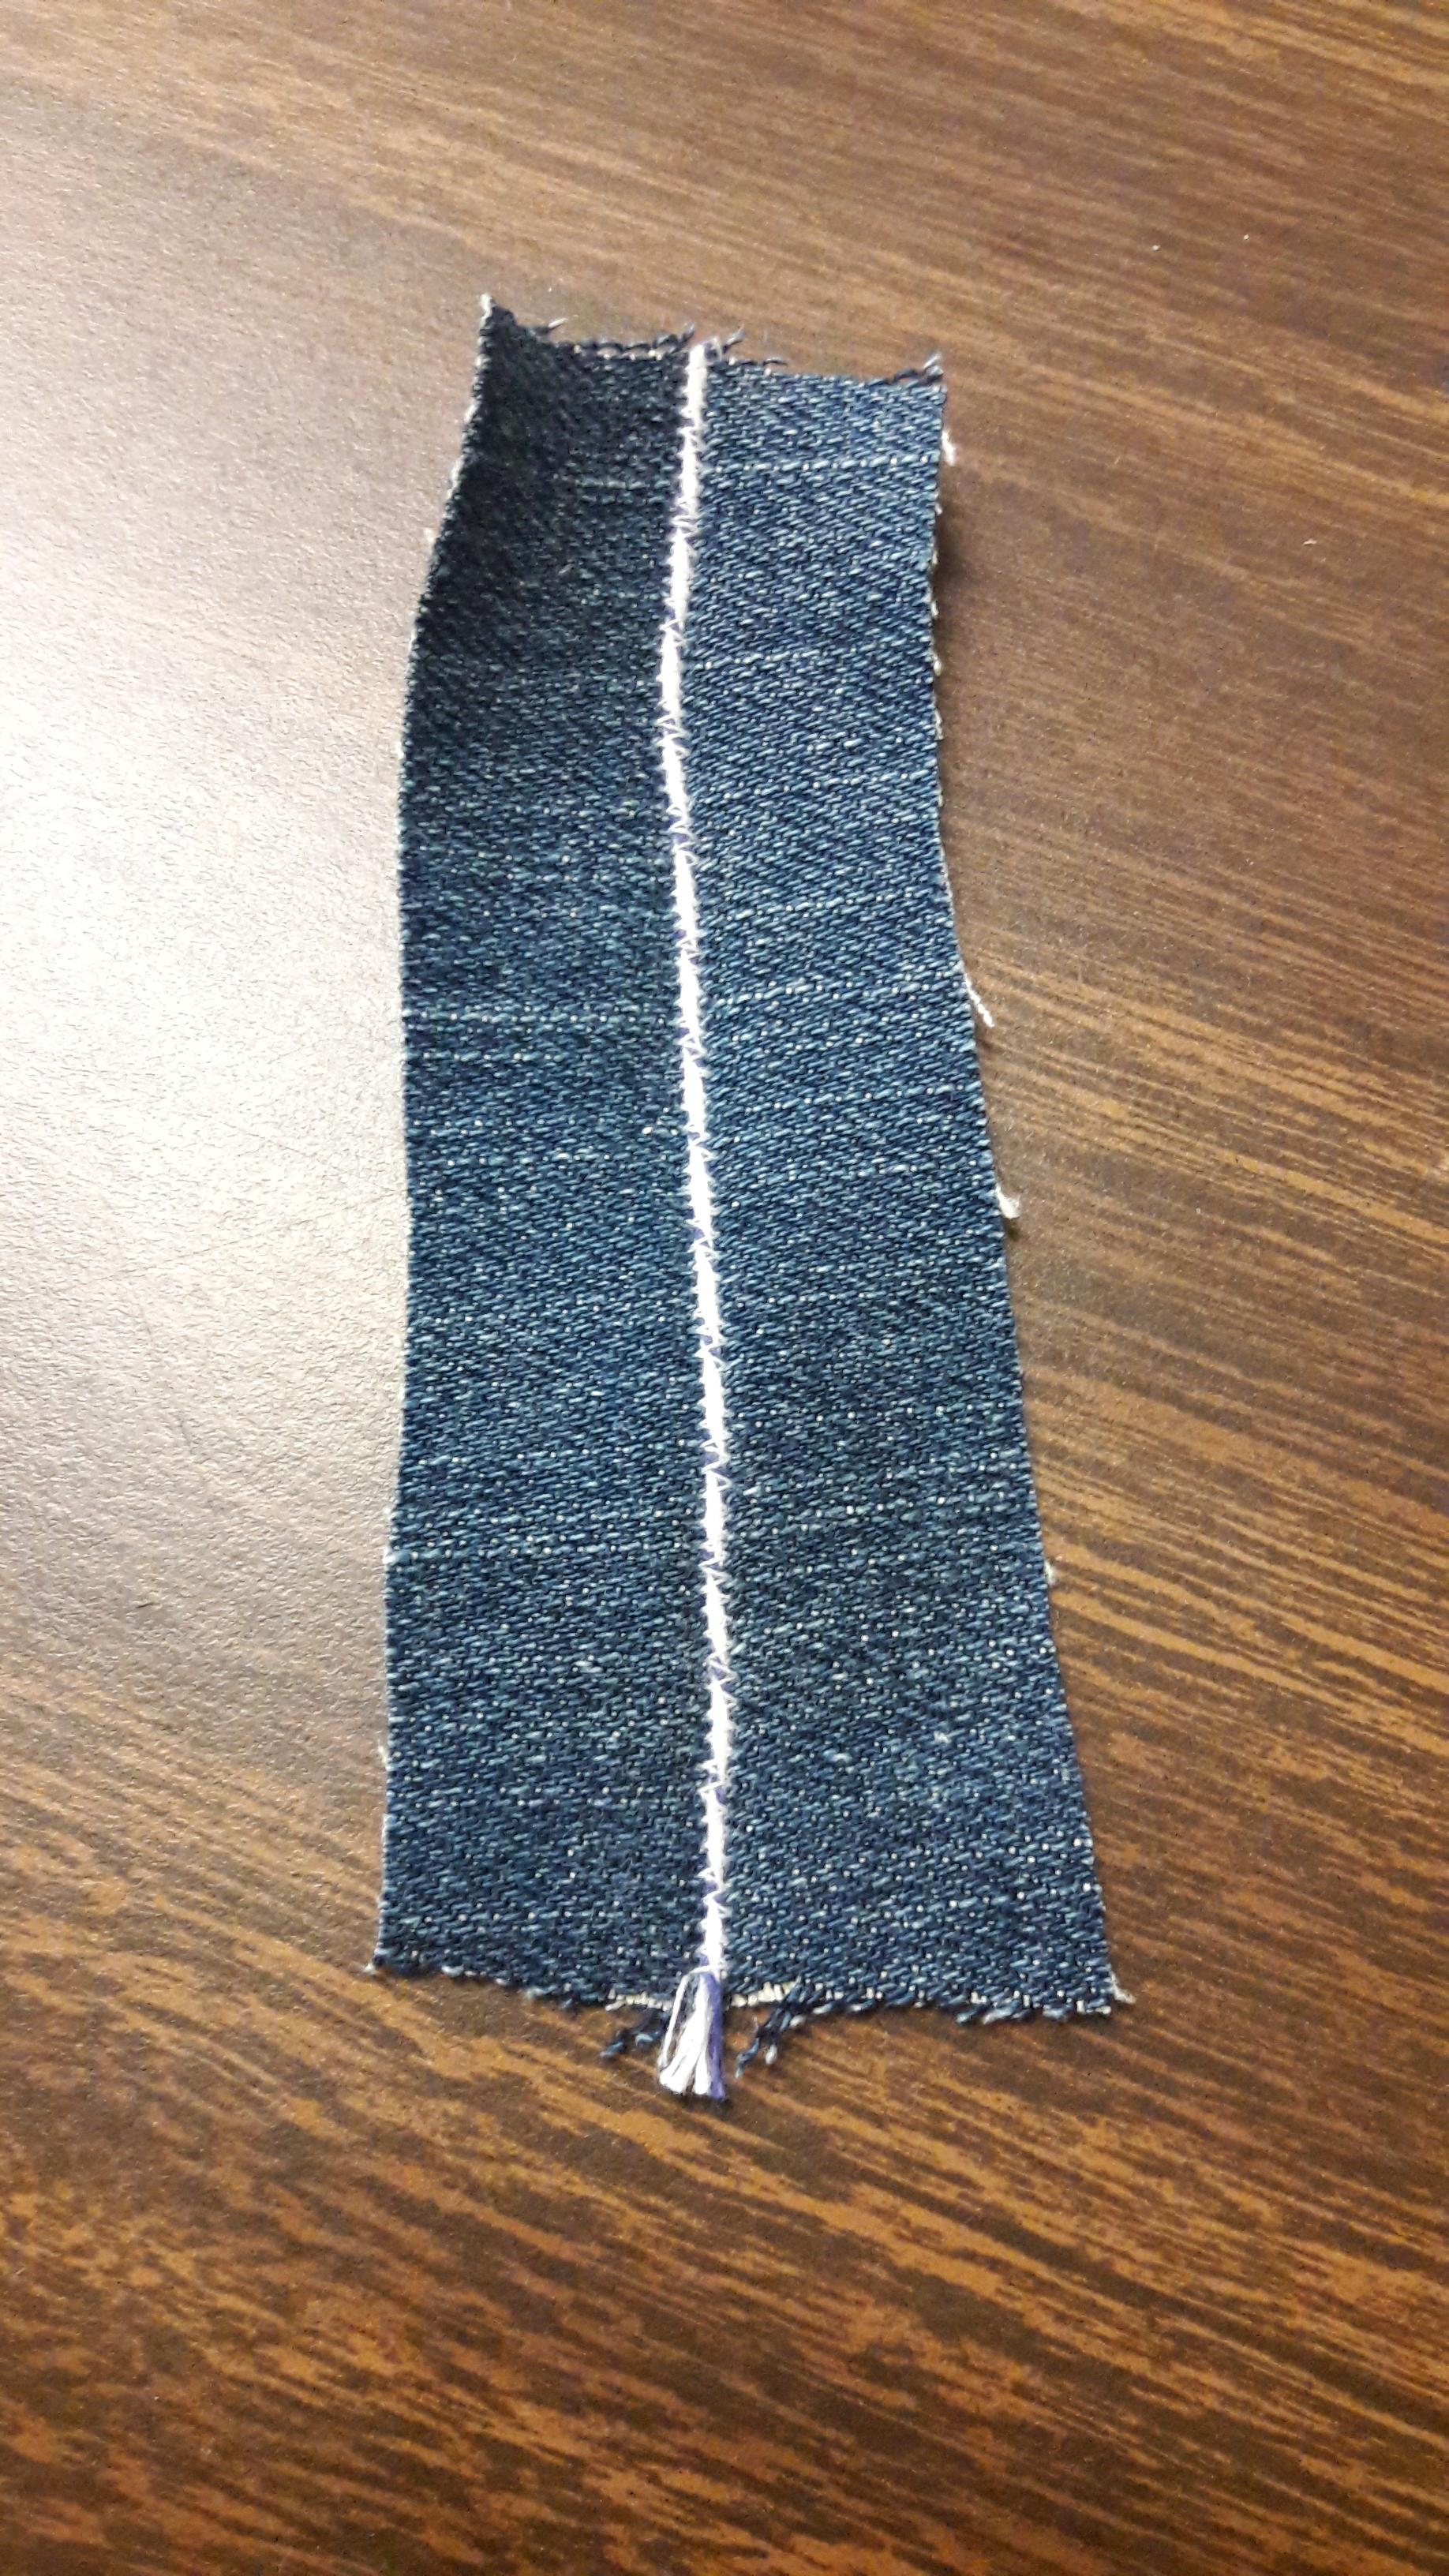
Trim the corners of your denim strip to create a rough “feather” shape.
STEP 4: PULL THREADS
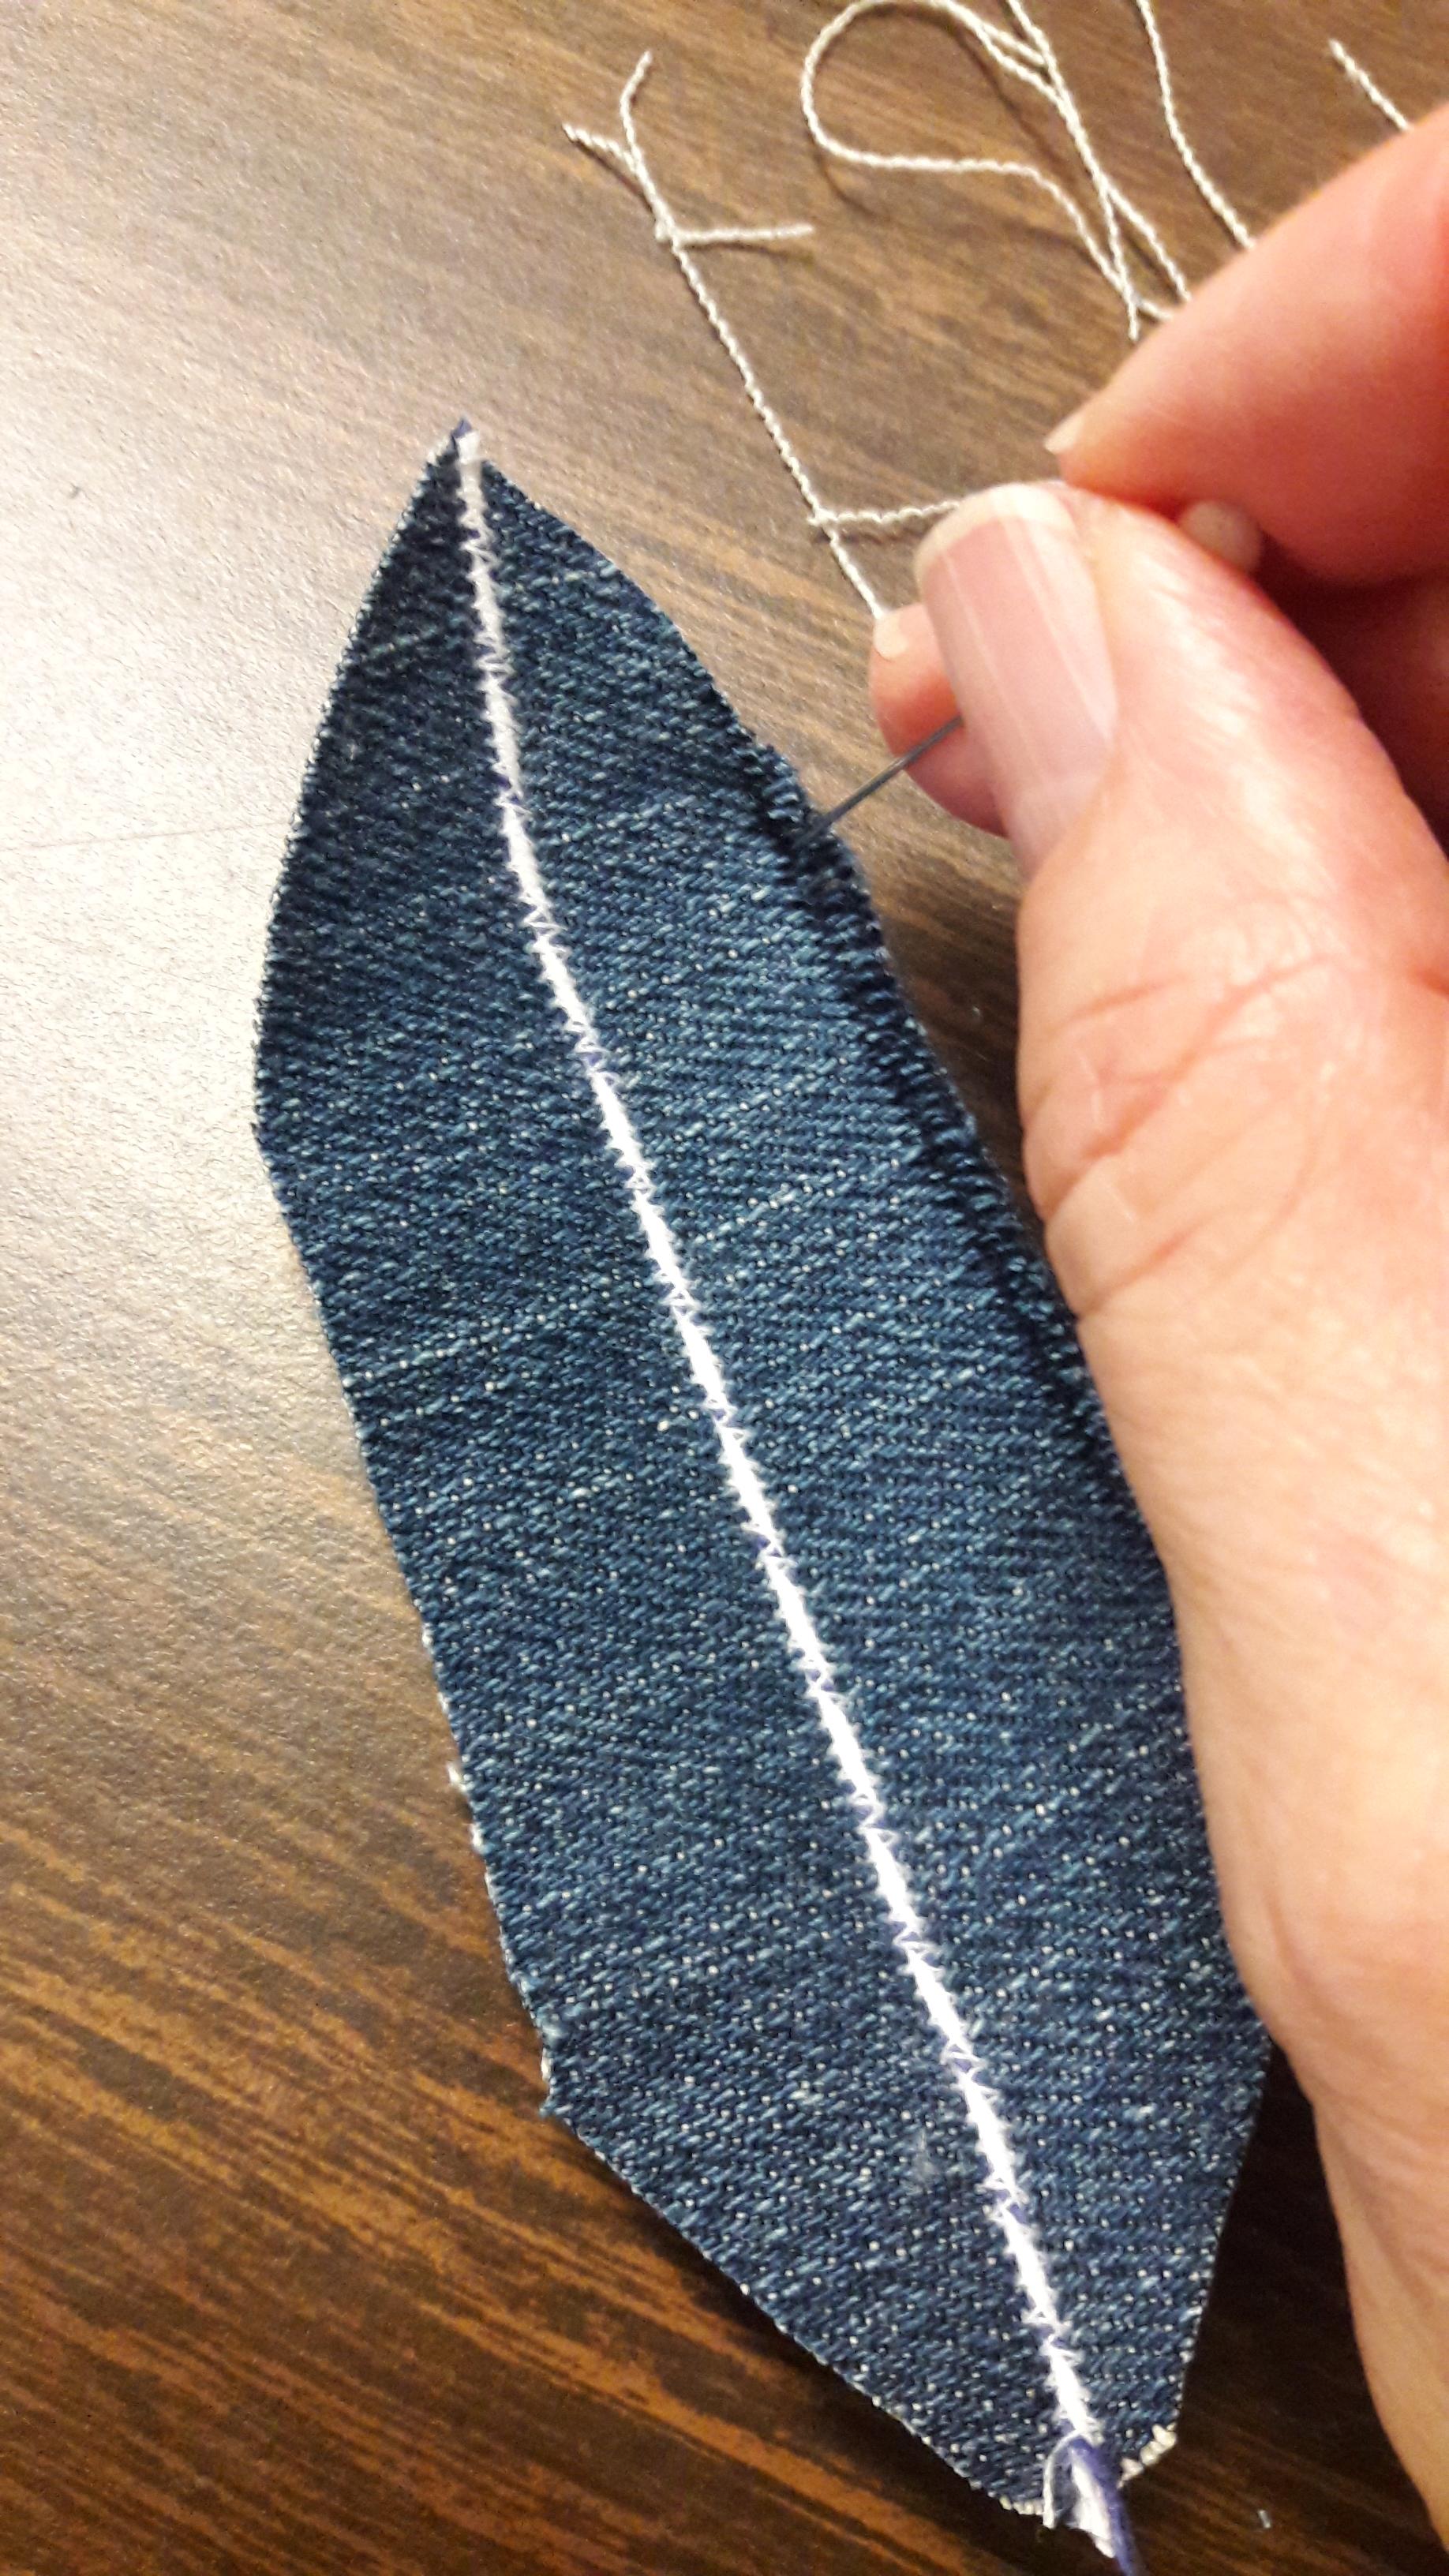
Pull away the threads along the length of the feather. I recommend starting from the top, using a pin or seam ripper to separate the threads, and then using a gloved hand to pull them out. The rubber glove provides a better grip on the tightly woven threads and helps reduce finger fatigue.
Repeat this process on the other side of the feather.
If desired, trim around the base of the feather. For a straighter, more defined edge, carefully trim the sides as well.
Finally, snip off the excess twine at the end.
LET’S USE OUR FEATHERS!
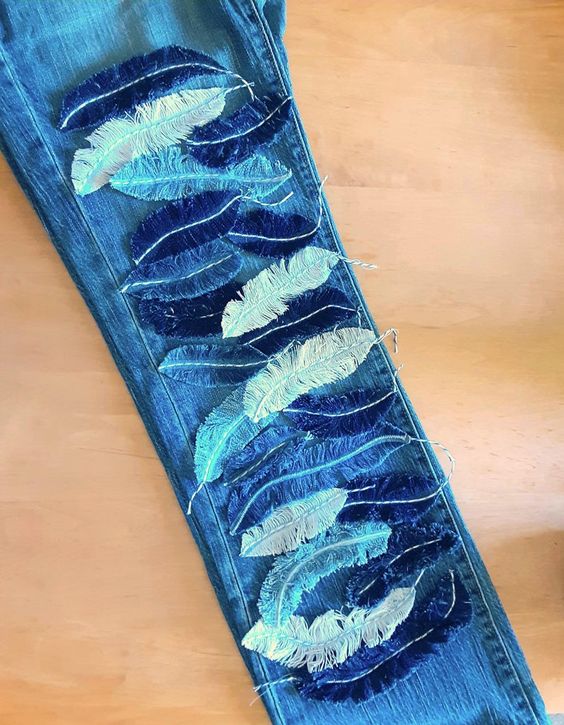
Your fantastic feathers can be used to:
- Adorn a pair of jeans or a denim jacket
- Create feathered earrings (I added some crystal beads for an extra touch)
- Decorate a gift box
- Craft a fancy bookmark
TIPS AND TRICKS
Cleaning: Avoid machine washing any items adorned with these feathers, as they tend to curl up and look ratty afterward. It’s best to remove the feathers before washing or opt for spot cleaning. Dry cleaning might also be an option, but I haven’t tried it myself.
Troubleshooting an Out-of-Alignment Feather: Keep a seam ripper handy for pulling out any threads and snapping them off where they cross the center seam. It’s best to avoid this issue entirely if possible.
If you want your feathers to have a naturalistic “curve,” make sure to cut them straight with the weave, and you can create the desired curve when applying them to your finished project.
Feel free to experiment with other tightly woven fabrics or different colors of denim—get creative!


