

Have you ever been mesmerized by the delicate beauty of rose quartz? This blush pink crystal with wispy white veins has become a popular inspiration for all sorts of things, and nail art is no exception. Rose quartz nails capture the ethereal quality of the stone, with soft pinks and subtle veining that create a truly stunning look. If you’re ready to embrace this trend and give your fingertips a touch of elegance, then dive into the world of rose quartz nails! We’ll guide you through the steps to achieve this gorgeous look, from prepping your nails to creating those delicate details.
WHAT INGREDIENTS DO YOU NEED TO PREPARE TO CREATE ROSE QUARTZ NAIL ART?
- Urban Graffiti Base Coat
- Urban Graffiti Top Coat
- Urban Graffiti Pink Fairy Wings Gel Polish
- Blooming Gel
- Urban Graffiti Snow White Gel Polish
- Urban Graffiti Interlude Gel Polish OR Nude Gel Polish
- Fine detailer brush
- Flat edge nail art brush
SEQUENCE OF STEPS TO CREATE ROSE QUARTZ NAILS
STEP 1: APPLY TWO THIN LAYERS OF PINK GEL POLISH
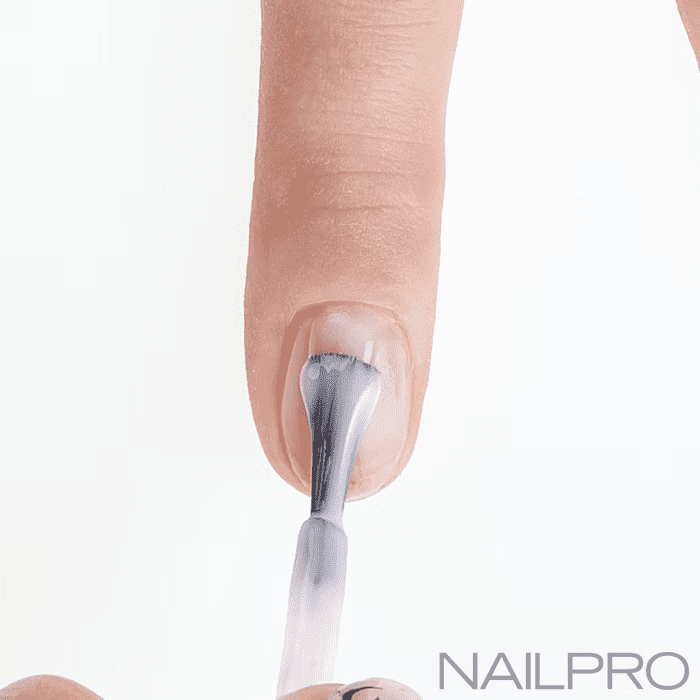
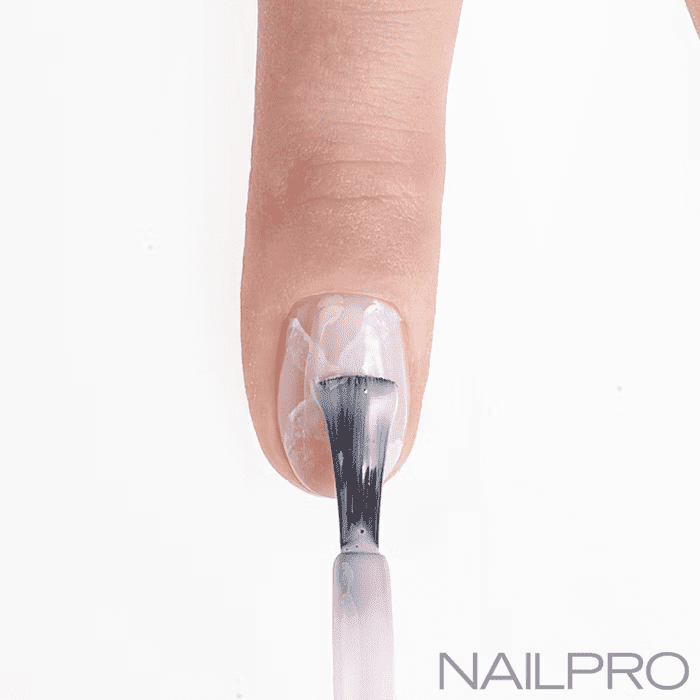
To prepare, begin by removing the surface shine from your nails, cleaning them with our Gel Residue Wipe Off Solution, and applying a base coat.
To start your rose quartz nails, apply a thin layer of transparent pink gel polish. Cure this under your lamp (30 seconds with LED/120 seconds with UV). Then, apply a second thin coat of the same color without curing it. Ensure the application is even and not too thick to maintain the transparent, crystal-like effect.
STEP 2: ADD YOUR ROSE QUARTZ NAIL ART
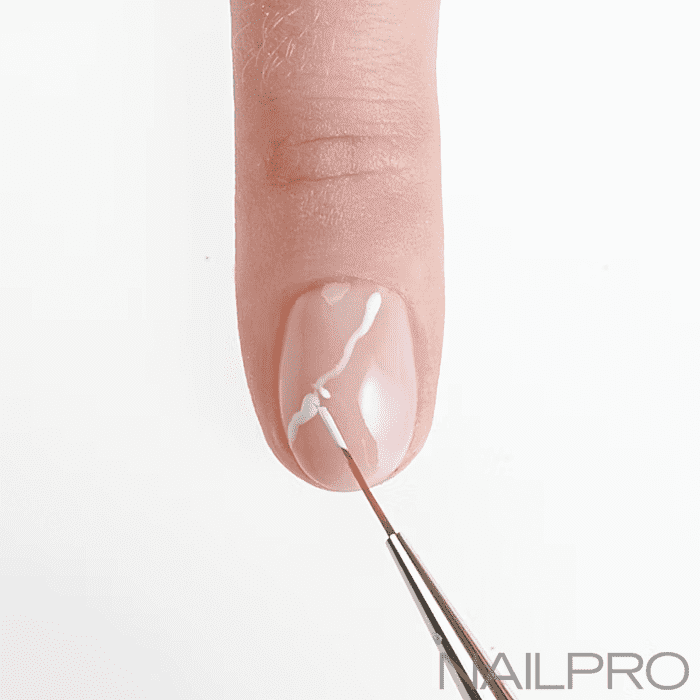
Now, proceed to apply your white gel polish to create the rose quartz effect. Use a flat-edged nail art brush to sweep the white gel diagonally from the top corner down to the side of your nail. Repeat this sweeping motion across your nail to create approximately three slightly wavy lines. The lines should have a natural, non-uniform appearance.
Ensure the white gel polish on your brush is not too thick; it should be almost translucent. If necessary, you can mix a small amount of Blooming Gel with the white polish. Once done, cure your nails again under the lamp.
STEP 3: ADD ANOTHER TWO PINK COATS
Next, apply another layer of your pink gel polish. If you’re using Blooming Gel, apply a bit more beforehand to enhance its translucency. This layer will blend with the white, giving it a pink tint and creating depth in your design. Cure this layer under the lamp.
Once cured, apply a second thin coat of pink gel polish, but do not cure it yet; leave it wet.
STEP 4: ADD MORE ROSE QUARTZ NAIL ART
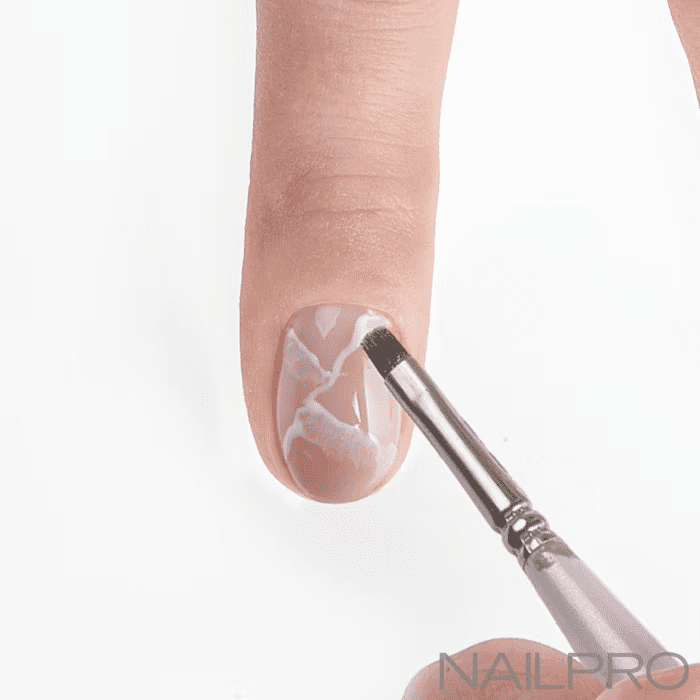
Now, repeat the previous steps with your white gel polish, starting the lines from the opposite side this time. Using your flat-edged nail art brush, sweep the white gel diagonally down the nail a few times. Ensure the application is light and translucent to maintain the desired effect. Cure this under your lamp once finished.
STEP 5: ADD ANOTHER TWO PINK COATS
Next, repeat the process by applying another layer of pink gel polish and curing it under the lamp. Once cured, apply a second thin coat of pink gel polish and leave it uncured. These layers enhance the depth required for a crystal-like appearance and contribute to achieving our beautiful rose quartz effect.
STEP 6: USE A FINER BRUSH TO ADD DETAIL
Next, use a fine detailer brush to finalize your rose quartz nails. Using a small amount of white gel polish, delicately create several slightly wavy lines diagonally across the nail. Cure the nails once you’ve completed this step.
STEP 7: ADD ANOTHER PINK LAYER AND SEAL WITH A TOP COAT
Once you’re satisfied with your design, apply a final thin layer of pink gel polish and cure it under your lamp. To seal and add a glossy finish, apply a top coat and cure again. At this stage, you can either leave your rose quartz nails as they are or proceed to the final step to add a touch of extra sparkle.
STEP 8: ADD A GLITTERY BORDER AND TOP COAT
For an added touch of glamour to your final look, consider adding a sparkly border. Using a clean fine detailer brush, delicately line the outer edge of your nails with our shimmering Pink Fairy Wings gel polish, complementing your rose quartz design. Apply another layer of top coat to secure the embellishment and cure it one last time.
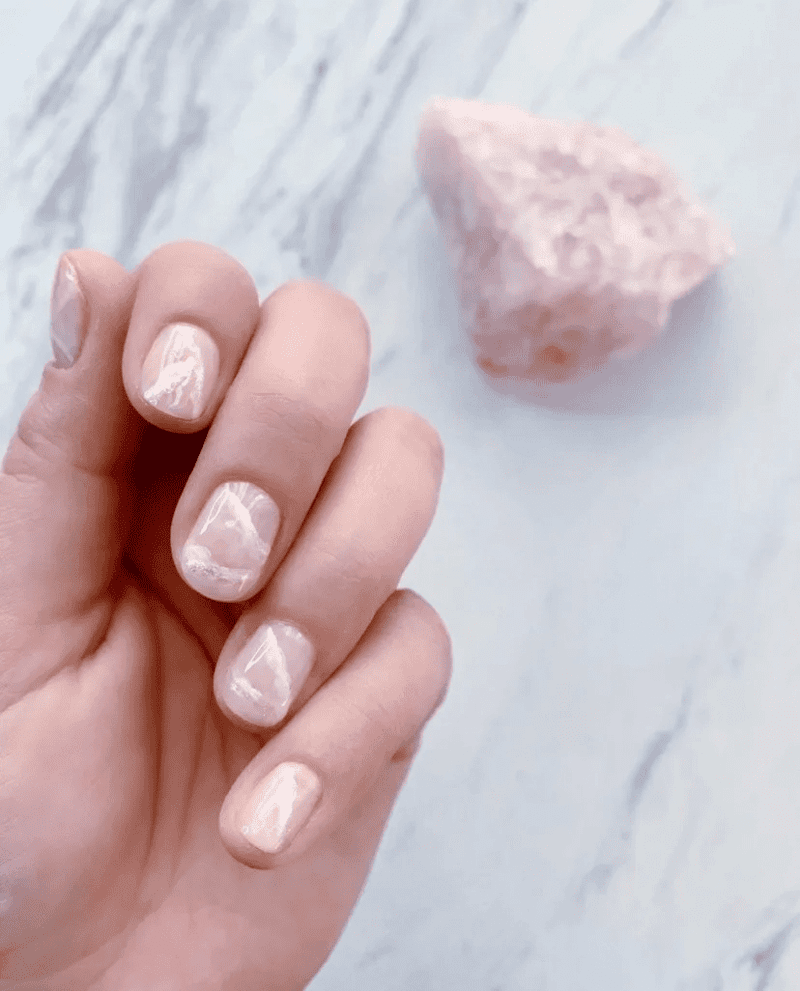
And there you have it! This exquisite rose quartz nail art is ideal for special occasions yet versatile enough for everyday wear.
CONCLUSION
With a little patience and these simple steps, you can create stunning rose quartz nails that showcase the delicate beauty of the crystal. Pink nails from rose gold chrome nails or rose quat nails are very delicate and elegant. So, grab your favorite nail polish and get creative! Whether you prefer a subtle bit of ribbing or a more dramatic effect, there’s a way to customize this look to suit your style. Don’t be afraid to experiment and have fun recreating the magic of rose quartz at your fingertips!


