
Are you tired of frizzy and unmanageable curly hair? Do you struggle to maintain your curls and keep them defined? If so, you’re not alone. Many people with curly hair find it challenging to manage their locks, but don’t worry; we’ve got you covered. In this article, we’ll show you how to diffuse curly hair like a pro. We’ll cover everything from the basics of hair diffusing to advanced techniques, tips, and tricks that will help you achieve perfect curls every time.
What is Hair Diffusing?
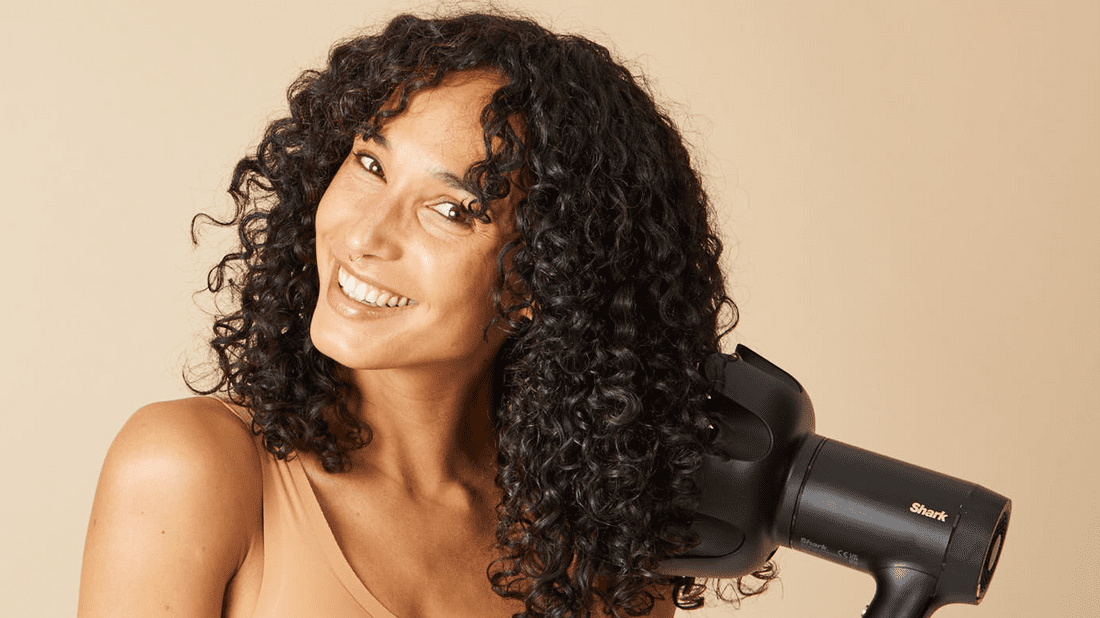
Hair diffusing is a styling technique used primarily for individuals with wavy, curly, or textured hair. It involves using a diffuser attachment, typically fitted onto a blow dryer, to disperse and evenly distribute airflow. The diffuser’s unique design, often resembling a bowl with prongs or fingers, helps maintain the hair’s natural texture and curl pattern while reducing frizz and preventing heat damage.
By gently cupping sections of hair in the diffuser and scrunching or holding it close to the scalp, hair diffusing encourages the curls or waves to form beautifully, resulting in defined, bouncy, and voluminous locks without disturbing the hair’s natural structure. It’s a go-to method for achieving that coveted “wash-and-go” look with minimal fuss.
how to diffuse curly hair
Step 1: Start with Wet Hair
Begin with freshly washed hair. It’s best to diffuse curly hair when it’s still wet or damp. You can apply a leave-in conditioner or curl-enhancing product to your hair while it’s still wet for added definition.
Step 2: Prepare Your Diffuser
Attach a diffuser to your hairdryer. A diffuser typically has a bowl-like shape with prongs or fingers. Set your hairdryer to a low or medium heat setting to avoid damaging your hair and causing excessive frizz.
Step 3: Section Your Hair
Divide your hair into sections. This will make it easier to work with and ensure that all your curls get the attention they deserve.
Step 4: Start at the Roots
Place a section of your hair into the diffuser bowl, making sure it’s scrunched upward toward your scalp. Start at the roots and hold the diffuser in place for a few seconds to allow the heat to penetrate the hair.
Step 5: Scrunch and Lift
While the diffuser is running, gently scrunch your hair upward with your hand. This encourages the curls to form and adds volume. Continue scrunching and lifting as you move the diffuser around your head.
Step 6: Work in Sections
Repeat the process for each section of your hair, working your way around your head. Remember to scrunch and lift to help define your curls.
Step 7: Use the Cool Shot
Once you’ve diffused all sections of your hair, switch your hairdryer to the cool shot setting. This helps set the curls and reduces frizz. Hold the cool shot button while scrunching your hair for a final touch.
Step 8: Avoid Over-Diffusing
Be cautious not to over-diffuse, as excessive heat can lead to dryness and frizz. It’s better to leave your hair slightly damp and allow it to air dry the rest of the way.
Step 9: Finish with Hair Spray (Optional)
If desired, you can finish with a light hold hairspray or a curl-enhancing product to set your curls in place.
How does diffusing vary for different curly hair types?
There are various ways to diffuse curly hair, depending on your hair type and desired outcome. Here are some examples of how to diffuse curly hair:
Diffusing Fine Hair
If you have fine curly hair, try diffusing your hair upside down to create more volume. Use a low heat setting and avoid over-diffusing, as this can lead to frizz.
Diffusing Thick Hair
For thick curly hair, use a higher heat setting and concentrate the airflow on smaller sections of hair. This will help the diffuser penetrate deeper into your hair, resulting in faster drying time.
Diffusing Tight Curls
If you have tight curls, use a diffuser with long prongs to better separate and define your curls. Apply products like gel or styling cream to help hold your curls in place.
Diffusing Loose Curls
For looser curls, use a diffuser with shorter prongs and less heat. This will help maintain the curl pattern while still providing some volume.
Comparisons of Hair Diffusers
When it comes to hair diffusers, there are various types available on the market. Here’s a comparison of some popular options:
Universal Diffusers
Universal diffusers are compatible with most hairdryers and come in different sizes and shapes. They’re affordable and easy to find, making them a popular choice among curly-haired folks.
Collapsible Diffusers
Collapsible diffusers are portable and easy to store, making them ideal for travel. They collapse down to a compact size, which also makes them great for those with limited storage space.
Finger Diffusers
Finger diffusers have long prongs that help to separate and define curls. They work best for tight curls and can be used on both wet and dry hair.
Diffusing like a pro: Quick Tips
Use the Right Products
Make sure to use products that are specifically formulated for curly hair, such as curl enhancers, mousse, or styling cream. Avoid using products that contain harsh chemicals like sulfates, which can strip your hair of its natural oils.
Don’t Over-Diffuse
Over-diffusing can lead to frizz and damage your hair. Only use the diffuser until your hair is about 80% dry, then let it air dry the rest of the way.
Use Cold Air
Finish off your diffusing process with a blast of cold air to help set your curls in place and reduce frizz.
Don’t Touch Your Hair While Diffusing
While diffusing, try not to touch your hair too much as this can cause frizz. Instead, let the diffuser do its job, gently scrunching your hair as you work through each section.
Use a Microfiber Towel
Swap out your regular towel for a microfiber one. Microfiber towels are gentler on curls and help absorb excess water without disrupting the natural pattern of your curls.
FAQs
- What’s the Difference Between Diffusing and Air-Drying? Diffusing uses a hairdryer with a diffuser attachment to dry your hair gently and create volume. Air-drying, on the other hand, involves letting your hair dry naturally without any assistance from heat styling tools.
- Can I Diffuse Curly Hair Every Day? While it’s possible to diffuse curly hair every day, it’s best to limit heat styling as much as possible to avoid damage. Try to alternate between diffusing and air-drying or opt for protective hairstyles like braids or twists.
- Should I Apply Products to Wet or Dry Hair? For best results, apply styling products to damp hair after washing and conditioning. This ensures that the product is evenly distributed throughout your hair.
- Do I Need to Clean My Diffuser Attachment? Yes, it’s important to clean your diffuser attachment regularly to prevent product buildup, which can lead to less effective diffusion and even mold growth. You can clean it by using warm, soapy water or a specialized cleaning solution.
- Can I Diffuse Straight Hair? While it’s possible to use a diffuser on straight hair to create volume and texture, it may not be as effective as it is on curly hair. Straight hair may benefit more from other heat styling tools like curling irons or flat irons.
- How to Diffuse Curly Hair Without a Diffuser? To dry curly hair without a diffuser, gently squeeze excess water out with a microfiber towel or an old t-shirt. You can let your hair air dry naturally or try the “plopping” method, which involves wrapping your curls in a t-shirt or towel for around 20-30 minutes to enhance their natural shape. Another option is to use a hairdryer with a low heat setting and your hand to scrunch and lift the curls as they dry.


