Washington state is renowned for its delicious apples, and it’s no surprise that the state produces 6 out of every 10 apples consumed in the U.S.! To showcase this local gem, we’ve incorporated applesauce from BelleWood Acres, one of Northwest Washington’s largest apple orchards. Located just 15 minutes from the Bramble Berry offices, BelleWood Acres is a beloved part of the local community, and using their applesauce in this cold process soap is a great way to support nearby makers.
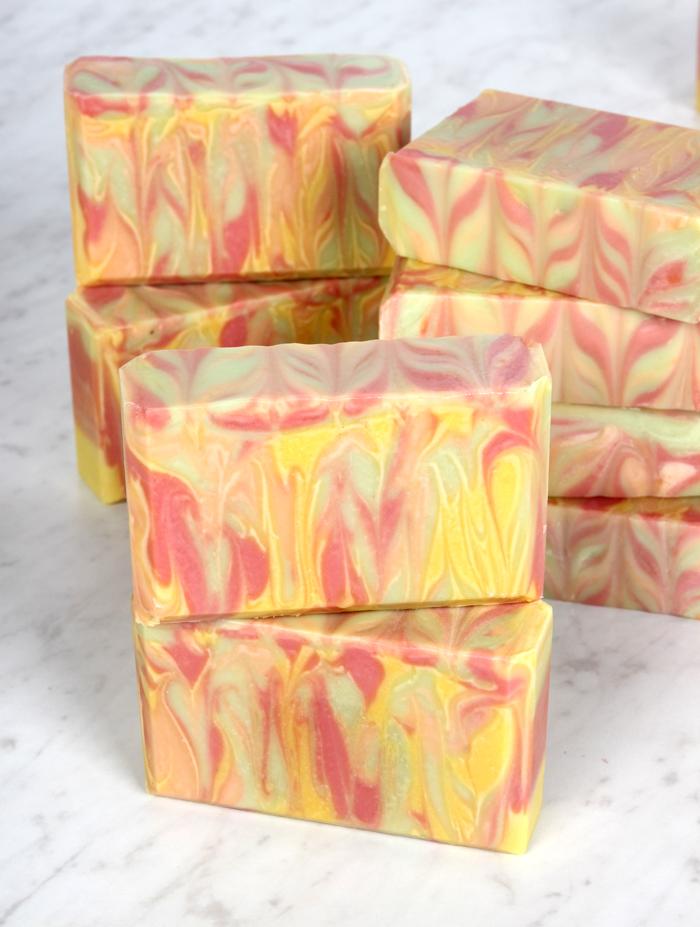
While many associate apples with traditional red and green colors, this soap draws inspiration from the Honeycrisp apple, featuring shades of bright red, pink, green, and a hint of yellow. A Hanger Swirl technique creates beautiful vertical color patterns reminiscent of the stripes found on Honeycrisp apples. The Apple Macintosh Candle & Soap Fragrance Oil gives the soap a fruity, slightly tart scent, perfect for bringing a fresh, apple-filled vibe to your skincare routine.
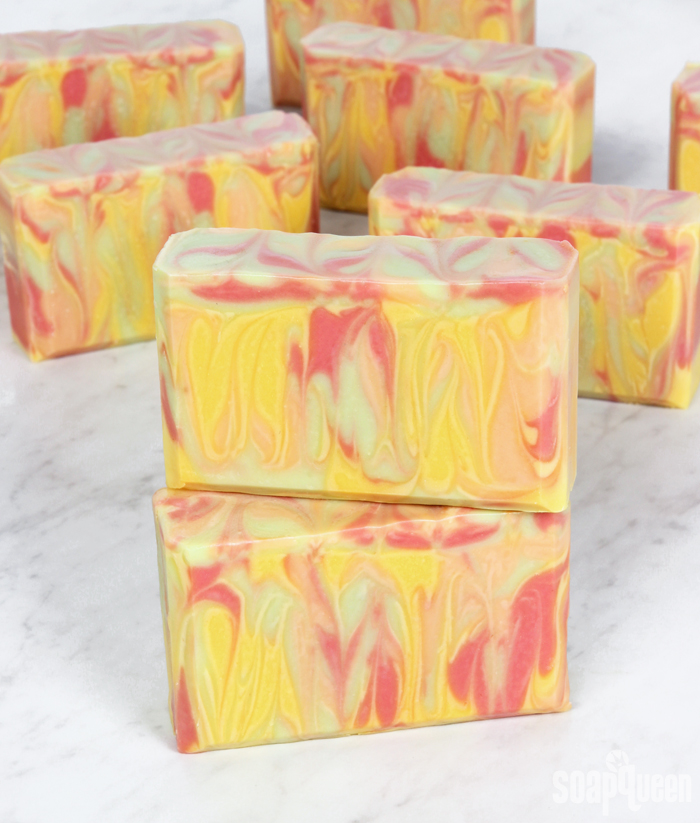
If you’ve never added a puree to your soap before, don’t worry! Adding applesauce to this cold process recipe is easy and safe. The applesauce goes through the saponification process, just like the oils and lye. The high pH of the soap batter ensures that the applesauce will not spoil in the soap (which is why adding purees to melt-and-pour soaps is not recommended).
To accommodate the extra water in the applesauce, this recipe includes a 10% water discount. I also recommend soaping at slightly cooler temperatures to counteract the natural sugars in the applesauce, which can accelerate the trace. If you live in a hot climate, placing the soap in the fridge after pouring it into the mold can help keep the temperatures in check. The natural sugars will also contribute to a nice, fluffy lather in the final bars.
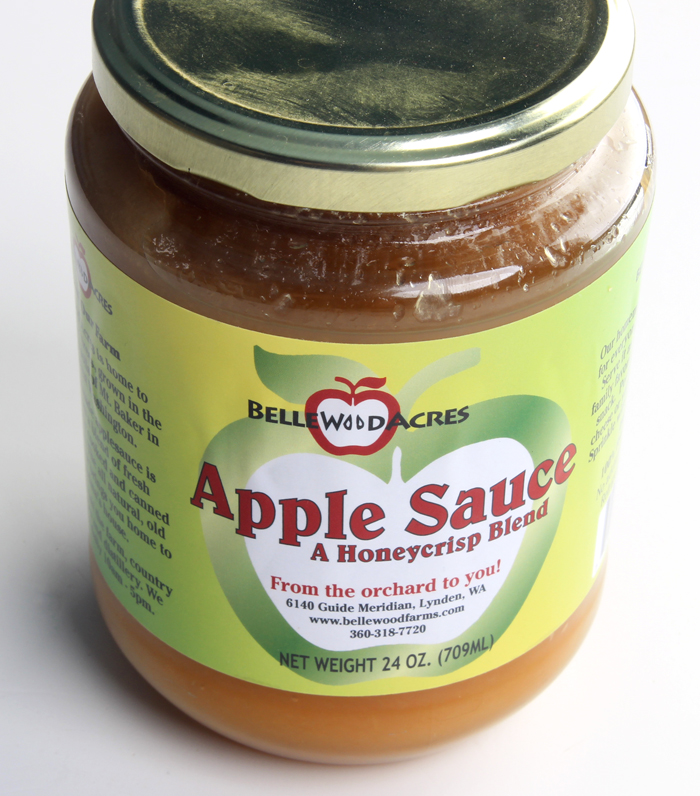
When choosing your applesauce, be sure it doesn’t contain added preservatives or extra ingredients, as these could cause unpredictable results in your soap. Stick with pure applesauce for the best outcome!
What You’ll Need:
10″ Silicone Loaf Mold
Hanger Swirl Tool
9.5 oz. Olive Oil (27%)
10.5 oz. Coconut Oil (30%)
8.8 oz. Palm Oil (25%)
1.8 oz. Shea Butter (5%)
3.5 oz. Avocado Oil (10%)
1 oz. Castor Oil (3%)
5 oz. Sodium Hydroxide Lye
10.4 oz. Distilled Water (10% water discount)
2 oz. Applesauce
1.7 oz. Apple Macintosh Candle & Soap Fragrance Oil
Buttercup Mica
Kermit Green Mica
Sunset Orange Mica
Raspberry Mica
Safety First:
Before beginning, always prioritize safety. Ensure you are wearing goggles, gloves, and long sleeves while working with lye. Keep children, pets, and any other distractions out of the soaping area. It’s crucial to work in a well-ventilated space when making soap.
Color Preparation:
In separate containers, mix:
- 1 tsp. Buttercup Mica and 1 tsp. Sunset Orange Mica with 1 tablespoon of lightweight liquid oil.
- 1/2 tsp. Kermit Green Mica and 1/2 tsp. Raspberry Mica with 1/2 tablespoon of lightweight liquid oil (such as sweet almond or sunflower oil).
Use a mini mixer to ensure there are no clumps and the mica is fully dispersed.
Fragrance Preparation:
Measure out 1.7 ounces of Apple Macintosh Fragrance Oil into a glass container that’s safe for fragrance oils. Set aside.
Apple Preparation:
Measure 2 ounces of applesauce and set aside for later use.
Steps for Soapmaking:
Step One:
Carefully add the lye to the water and gently stir until it is fully dissolved and the liquid appears clear. Set the lye solution aside to cool. If you want a firmer soap that releases more easily from the mold, consider adding sodium lactate to the cooled lye water. Use 1 teaspoon of sodium lactate per pound of oils in the recipe, which in this case would be 2 teaspoons.
Step Two:
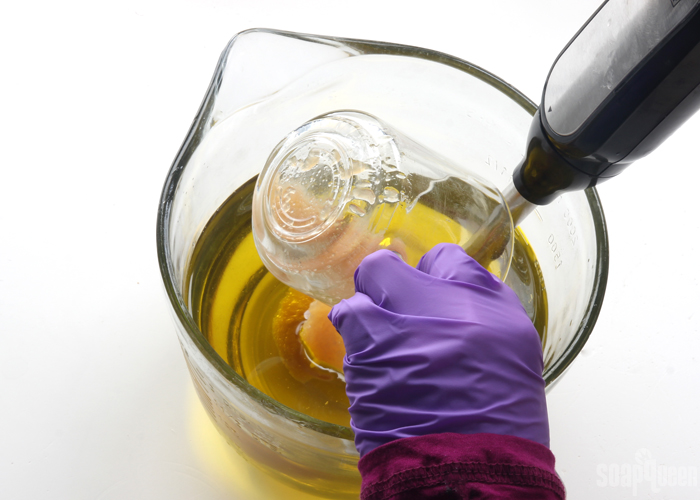
Fully melt and combine the coconut oil, palm oil, olive oil, castor oil, shea butter, and avocado oil. Be sure to melt and mix the entire amount of palm oil before measuring and adding it. Once the oils are fully melted, add the applesauce and use a stick blender to mix for about a minute. Blending the applesauce into the oils before adding the lye helps to create a smoother consistency without speeding up trace.
Step Three:
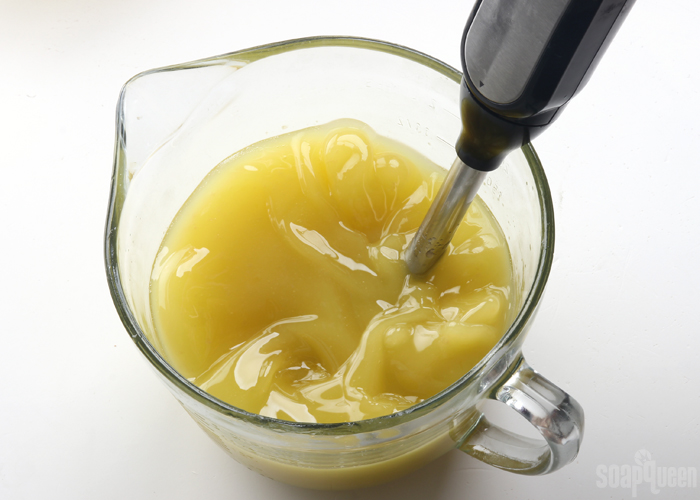
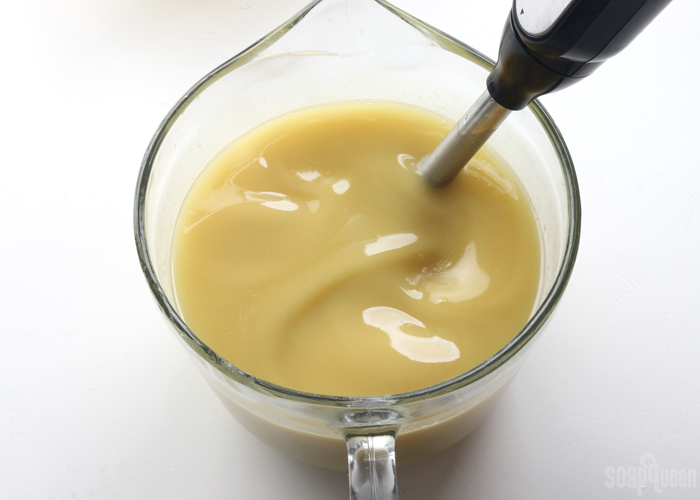
Once the oils and applesauce mixture is well blended, carefully add the lye water to the oils. Use a stick blender to mix until you reach a thin trace. After about 10-20 seconds of blending, you’ll begin to notice the soap batter darkening into a honey-like color. This change is due to the natural sugars in the applesauce, which react during the saponification process.
Step Four:
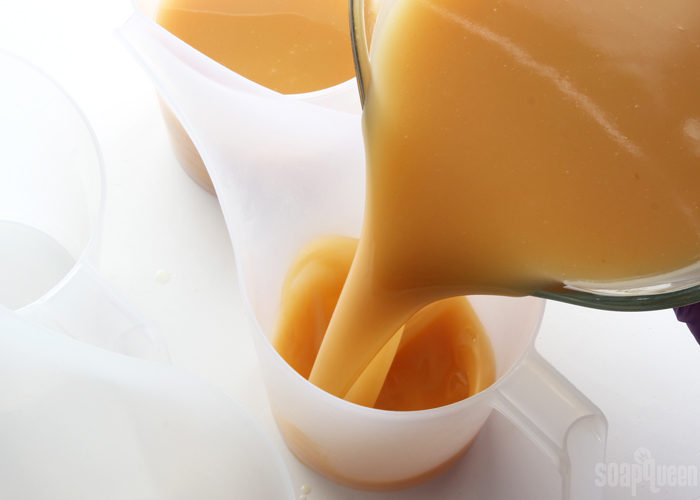
After reaching a thin trace, divide the soap batter into four equal containers, each holding about 400 mL of soap. Take a moment to admire the beautiful color change! The batter should have transformed into a rich, honey-toned shade, thanks to the applesauce’s natural sugars.
Step Five:
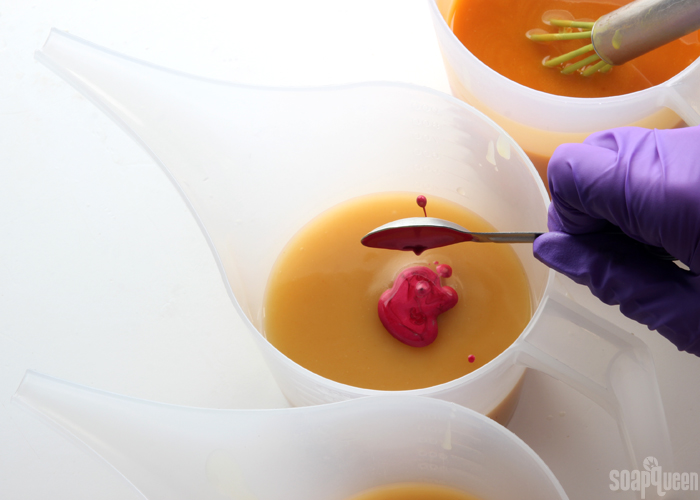
Add the following amounts of dispersed mica into each container. Use a whisk to fully incorporate the color into the soap batter:
- Container A (Pink): 1 tsp. dispersed Raspberry Mica + 1 tsp. Sunset Orange Mica
- Container B (Green): 1 tsp. dispersed Kermit Green Mica
- Container C (Orange): 1 tsp. dispersed Sunset Orange Mica
- Container D (Yellow): All of the dispersed Buttercup Mica
Step Six:
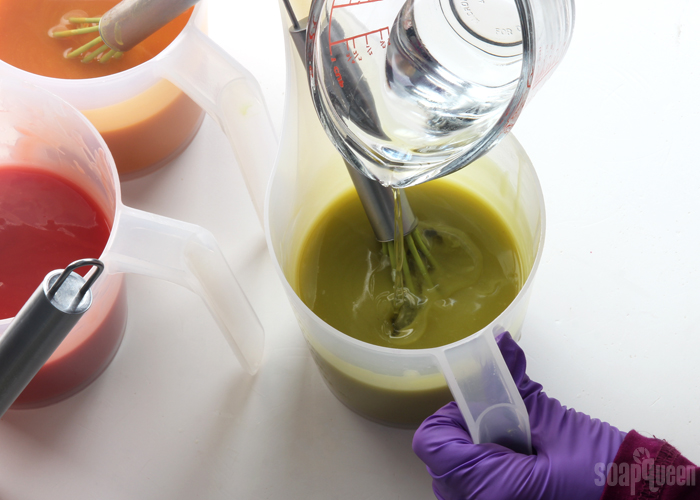
Evenly divide the Apple Macintosh Candle & Soap Fragrance Oil into each container (it’s fine to eyeball it). Use a whisk to fully incorporate the fragrance oil into each container of soap batter, ensuring that the scent is evenly distributed throughout the soap.
Step Seven:
Begin pouring stripes of each color down the length of the mold. The order in which you pour the colors doesn’t matter, so feel free to start with any color. For this tutorial, the order was orange, followed by pink, green, and yellow. Pour the colors from varying heights to allow them to break through and mix into the layers below. Don’t worry about being overly precise—this part is about creating a fun, natural swirl effect!
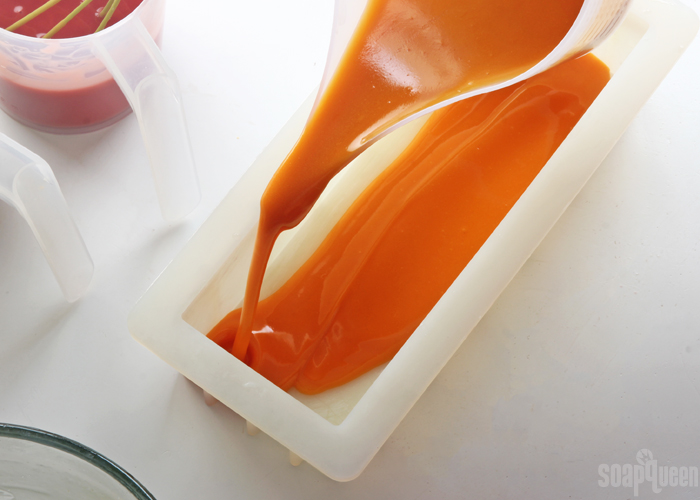
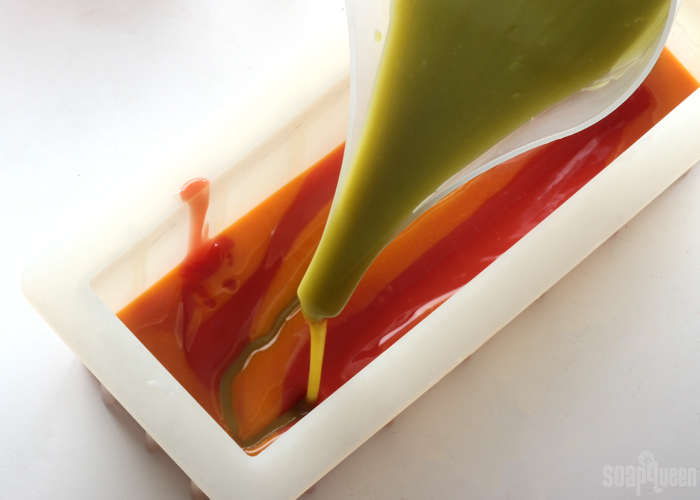
Step Eight:
Continue pouring the colors into the mold, aiming for about four pours of each color. As you fill the mold, you’ll notice that the layers start to build up. Once you’re almost at the top, leave a small amount of each color to reserve for the top layer. This will allow you to create a nice finishing touch on the soap’s surface.
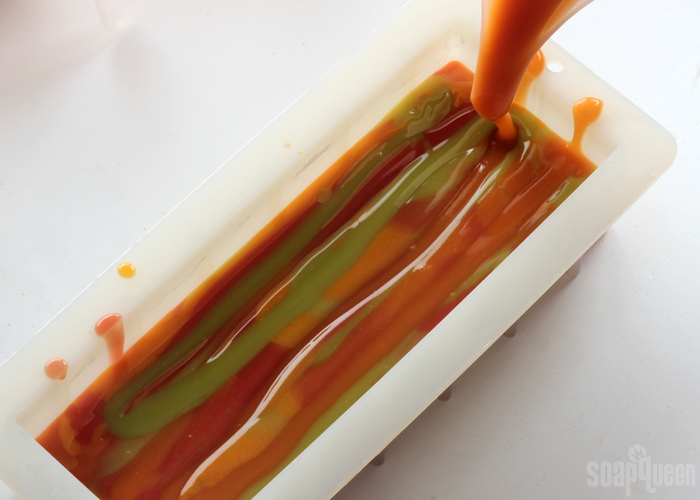
Step Nine:
Insert the Hanger Swirl Tool into one side of the mold, all the way to the bottom. Drag the hanger against the bottom of the mold toward you, covering about 1/8th of the way. Once you’ve dragged the hanger, pull it up slowly until it nearly breaks through the top of the soap, but don’t let it fully break the surface. Then, move the hanger slightly over and push it back down into the soap, dragging it along the bottom again for another 1/8th of the mold. Continue this process, bringing the hanger up just before it reaches the top, moving it over, and pushing it back down. Repeat the motion, but this time go in the opposite direction to create a swirling effect. Remember, this doesn’t need to be perfect—imperfections can make the design look even more unique and beautiful!
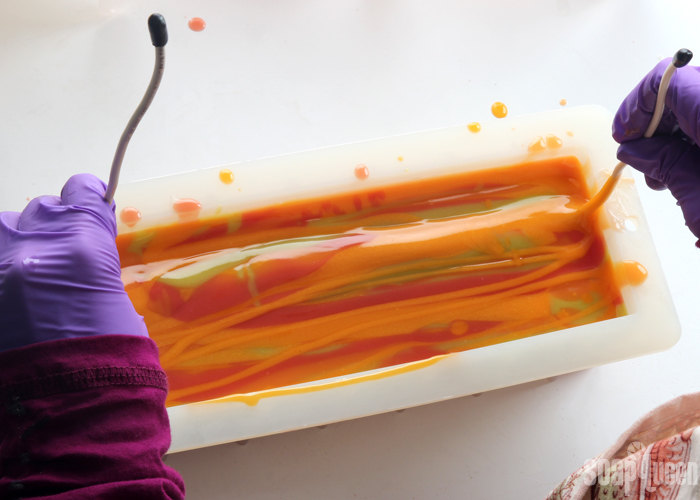
Step Ten:
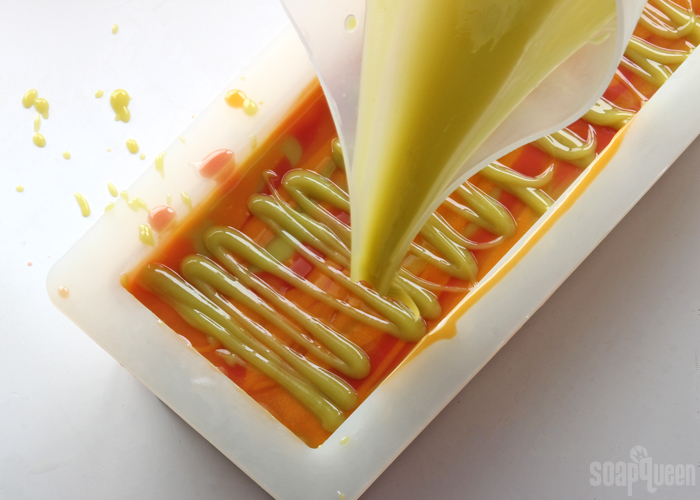
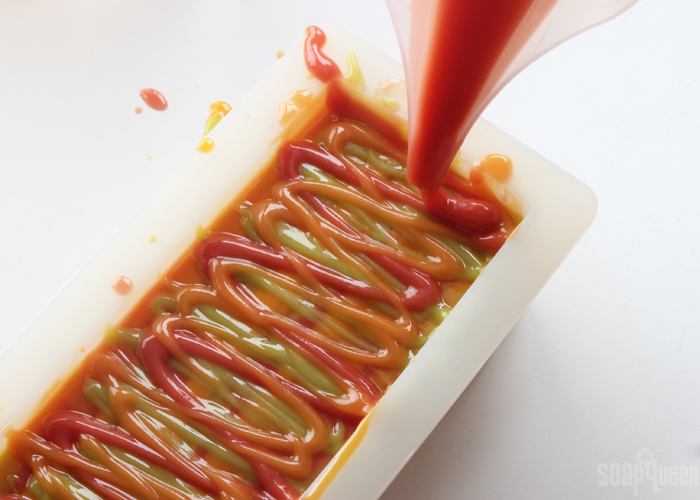
Gently tap the mold on the counter to help release any trapped air bubbles and settle the soap batter. Once that’s done, drizzle each color on top of the soap, following the length of the mold. This will add a beautiful finishing touch and enhance the swirl effect when you cut the soap later.
Step Eleven:
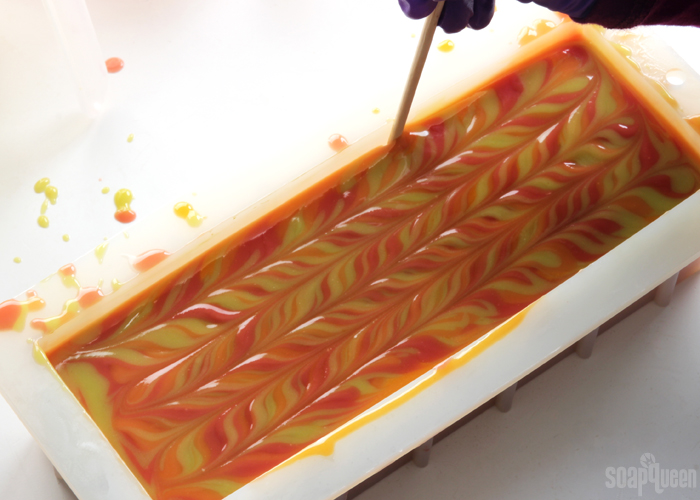
Take a chopstick or dowel and gently insert it into the very top layer of the soap. You only want to swirl the top layer to create a nice effect without disturbing the rest of the soap. Drag the tool down the length of the mold, but do so in the opposite direction of how you poured the soap on top. This will create the most visually interesting swirl pattern. Be careful not to over-swirling, as it could cause the colors to blend together and lose their vibrant separation. Once you’re satisfied with the design, lightly spritz the surface with 99% isopropyl alcohol to prevent soda ash from forming as it cures.
Step Twelve:
Due to the extra sugar content in the applesauce, this soap may go through a gel phase, causing it to get quite hot. If you’re working in a cooler room temperature, you can leave the soap out on the counter without insulation for the first 24 hours. However, if you’re in a hotter climate, it’s best to place the soap into the fridge for 2 hours or even overnight to keep temperatures manageable. After the initial curing phase, let the soap sit in the mold for about 3 days to fully harden.
Once the soap has set, carefully remove it from the mold and cut it into bars. Allow the bars to cure for 4-6 weeks before using to ensure they reach their full hardness and lather potential. Enjoy your homemade Honeycrisp Apple soap!
Conclusion
Making Honeycrisp Apple Cold Process Soap is a fun and rewarding way to create a beautiful, fragrant, and unique soap. By incorporating local ingredients like applesauce, you not only enhance the soap’s natural qualities, such as a fluffy lather, but you also support your local community. With the vibrant colors inspired by the apples, and the addition of Apple Macintosh fragrance oil, your bars will evoke the sweet and tart essence of fresh apples.
The process requires attention to detail, from the careful mixing of oils and lye to the precise pouring and swirling of colors, but the result is a batch of soap that’s both visually stunning and gentle on the skin. After curing, you’ll have a delightful soap that you can enjoy or gift to others, knowing you’ve created something special from scratch. Enjoy the satisfaction of crafting your own handmade soap!


