
Teaching a child about the seven days of creation can be challenging, but using visual aids and hands-on activities makes it much more manageable. A 3D craft representing the creation story is an excellent way to simplify and engage your child in understanding this narrative!
Materials:
- Thick paper or cardstock
- Colored pencils or markers
- Scissors
- Glue
- Ruler
- Optional: Glitter, stickers, or other decorative items
Instructions:
- Design the Scenes:
- Divide a sheet of paper into seven equal sections, representing the seven days of creation.
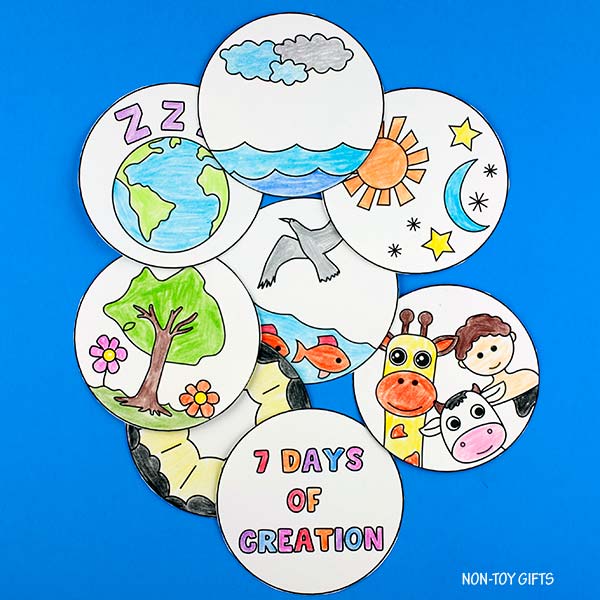
- Sketch out a simple scene for each day. Ideas include:
- Day 1: Light and darkness
- Day 2: Sky and sea
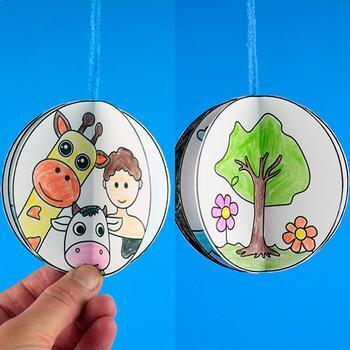
- Day 3: Land and plants
- Day 4: Sun, moon, and stars
- Day 5: Sea creatures and birds
- Day 6: Land animals and humans
- Day 7: God resting
- Cut Out the Scenes:
- Carefully cut out each scene along the lines you’ve drawn.
- Create the 3D Effect:
- Fold each scene in half, lengthwise.
- Glue the folded edges together to create a pop-up effect.
- Decorate and Assemble:
- Color or decorate each scene to your liking.
- Arrange the scenes in order, from Day 1 to Day 7. Glue the bottom edge of each scene to the top edge of the previous scene to create a continuous timeline.
Tips:
- For a more durable craft, use cardstock instead of regular paper.
- Add dimension to your scenes by using layers of paper or cardboard.
- Get creative with your decorations! Use glitter, stickers, or even small figurines to bring your scenes to life.


