Hello Everyone!!!
We’ve made it to the final Handmade Holiday gift idea for this Christmas season! It’s been such a fun series, and I hope you’ve enjoyed these projects as much as Jaime and I have enjoyed creating them!
Before we dive into the final plan, I want to give a HUGE thank you to Jaime for all her hard work in making this happen. This wouldn’t have been possible without her help!
With time running short to get those handmade gifts under the tree, I’m excited to share that this last project is the simplest and easiest one yet!

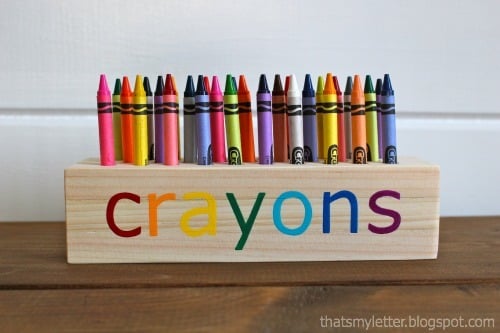
It’s a DIY Crayon Holder! Perfect for a quick and thoughtful handmade gift!

You could even personalize it by adding a special little one’s name to make it extra meaningful!

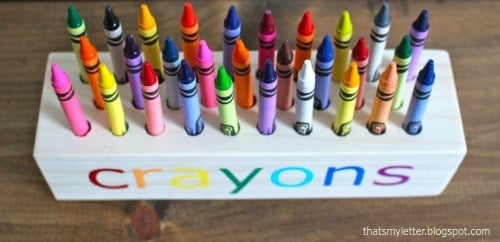
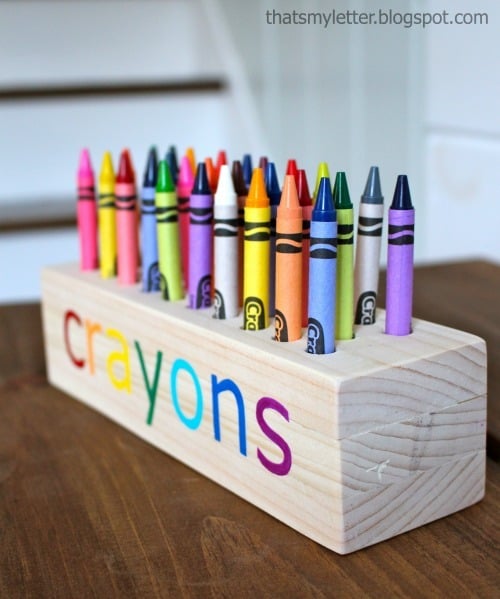
We also staggered the crayon holes, making it easier for little hands to grab each crayon with ease!

We decided not to just use a 2×4 and drill holes in the top because it would make the holder too top-heavy. Plus, we didn’t want to go out and buy a big 4×4 just to make a crayon holder!

For this plan, we decided to glue three 1x3s together (drilling holes only in the top 1×3) to create a 3×3 block that’s easy for little hands to carry around.
Since 1x3s are super affordable, you can make this little block for less than a dollar!

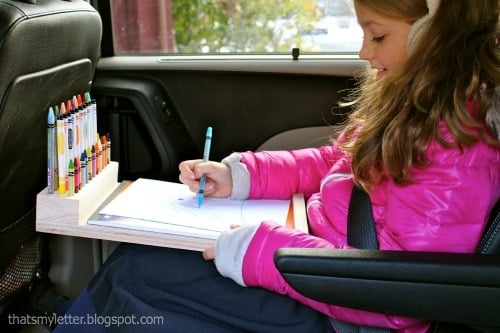
You could even add a small board underneath to turn it into a lap desk, just like Jaime did here.
The full plans are below, but be sure to check out Jaime’s building post for more details on how she created the lap desk, added those letters, and to see plenty more pictures!
Happy Holidays! Don’t forget to share your projects with us (once they’re unwrapped, of course)—we can’t wait to see them!!!
Dimensions

Dimensions shown above
Instructions
STEP 1

Take one of the 1×3 pieces and drill holes as shown in the diagram above, using a drill bit slightly larger than the size of the crayons. Be sure to drill all the way through.
NOTE: If you’re using markers or taller crayons/pencils, you might want to drill through two layers of the 1x3s instead of just one for extra depth.
STEP 2

Glue and clamp the first board to the second and third. Allow the glue to dry completely. Once dry, sand the outside edges smooth for a clean, finished look.
STEP 3

Add the crayons to the holes and then personalize the front with lettering. You can use paint, stickers, or wood-burning tools for the lettering to give it a fun and custom touch!
STEP 4

For more detailed instructions on making a lap desk (perfect for travel), head over and check out Jaime’s building post! You’ll find all the steps and additional tips for creating the perfect portable desk.
Preparation Instructions:
- Fill all holes with wood filler and let it dry. Apply additional coats of wood filler as needed.
- Once the wood filler is completely dry, sand the project in the direction of the wood grain using 120-grit sandpaper.
- Vacuum the sanded project to remove any sanding residue. Be sure to also remove all sanding residue from work surfaces.
- Wipe the project clean with a damp cloth to ensure it’s free from dust.
Tip: It’s always recommended to apply a test coat on a hidden area or a scrap piece to ensure even color and proper adhesion. Use primer or wood conditioner if needed.
CONCLUSION
With just a few simple steps, you can create a fun and functional crayon holder (or even a lap desk) that’s both practical and personalized. Whether you’re making it for a little one or adding your own creative flair, this project is easy, affordable, and a perfect handmade gift idea. Don’t forget to add your personal touch with names or fun designs, and enjoy the satisfaction of creating something special with your own hands!
Happy crafting, and we can’t wait to see your completed projects!


