
Is the salon taking up too much of your time and costing you too much money? Save time and money with DIY acrylic nails! Our step-by-step tutorial will guide you through creating salon-quality results right at home.
HOW TO DO DIY ACRYLIC NAILS
DIY ACRYLIC NAILS: SAVE TIME AND MONEY
Most women have their beauty indulgences. Some need weekly hair appointments, others collect shoes, and for me, it’s all about nails.
I absolutely love visiting the salon for a fresh set of acrylics or gels. However, with each visit costing around $50 or more depending on the “extras” I chose, it became quite the expense.
What we’ll do for our guilty pleasures! Unfortunately, with a tight budget, I had to curb this indulgence.
So, I decided to take matters into my own hands and learn DIY acrylic nails. Given my knack for crafting and creating beautiful nail art, I figured I could master it with some practice.
I should warn you—doing your own acrylics can be tricky. Don’t rush the process.
It might take a few attempts to get it just right, but if you stick with it, I promise it’s worth the effort.
My beauty weakness has transformed into a fantastic new DIY skill. Now, I’m a pro at doing acrylic nails for myself and my friends!
Let’s dive into the world of DIY acrylic nails!
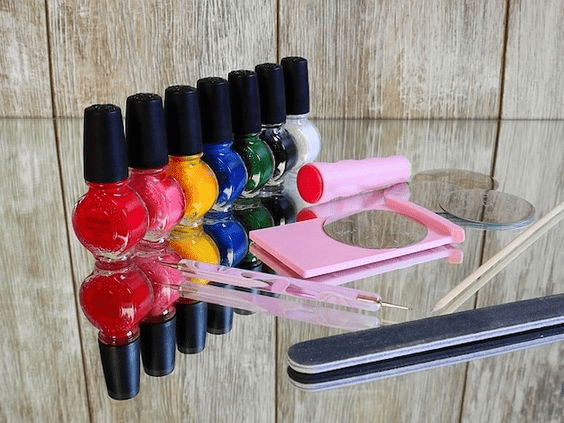
WHAT YOU’LL NEED FOR YOUR DIY ACRYLIC NAIL SET UP
- Cuticle remover
- Nail pusher
- Polishing block/buffer
- Nail tip
- Nail glue
- Clipper
- Nail file
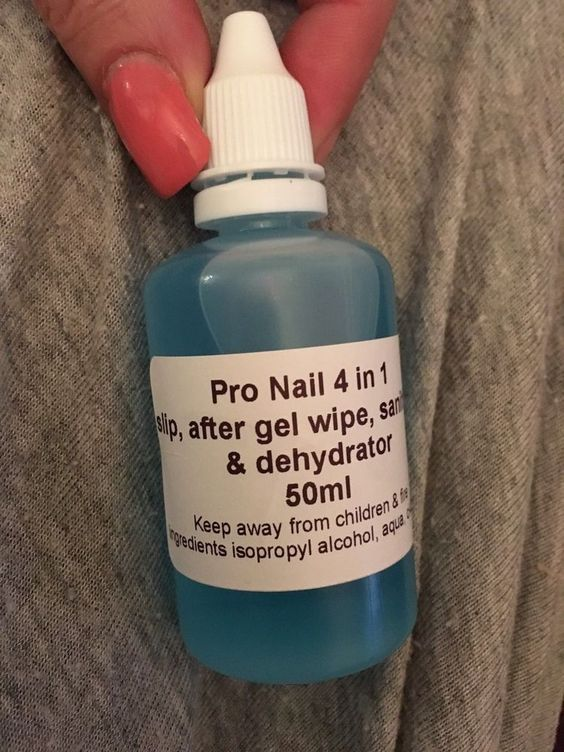
- Nail dehydrator
- Acid-free primer
- Acrylic liquid
- Acrylic powder
- Little glass jar
- Synthetic brush
- Paper towel
- Topcoat
- Cuticle balm
DIY ACRYLIC NAILS: A STEP-BY-STEP GUIDE
Step 1. Prep Your Nails First
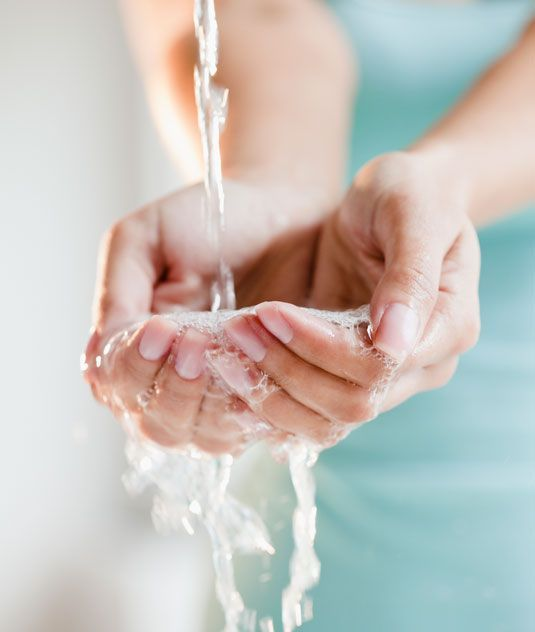
Before diving into your DIY acrylic nails, it’s crucial to start with a clean base. Thoroughly clean your nails to remove any dirt or oil, then gently buff the surface to create a smooth, even texture. This essential step ensures better adhesion for your acrylics.
Step 2: Applying Nail Tips

The first step is to choose a nail tip that suits your nail shape and personal style. For this tutorial, we’ll be using a classic French tip shape.
Step 3: Adhering the Nail Tips
Apply nail glue to the tips of your nails and attach the nail tips. (Note: The glue dries quickly, so you’ll need to work fast!)
Step 4: Shaping Your Nails
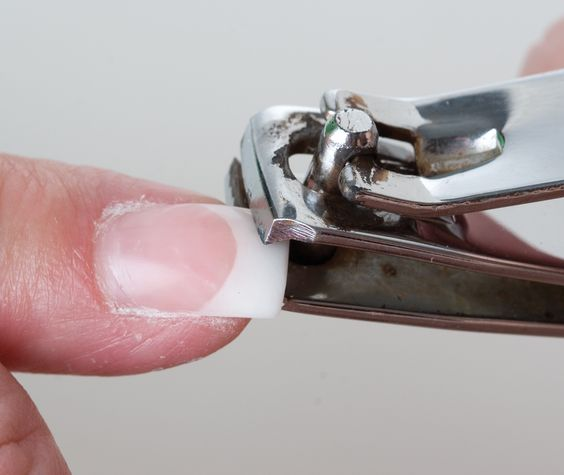
Use a clipper to trim the nail tip to your desired length. Then, file the edges and buff the surface once more after filing.
Step 5: Dehydrate Your Nails
Apply a nail dehydrator to remove excess oils from your nails. This will help the acrylic adhere more effectively.
Step 6. Acid-Free Primer
After applying the nail dehydrator, follow up with an acid primer. This will help the acrylic nails adhere better and last longer.
Step 7: Preparing the Acrylic Mixture

Gather the acrylic liquid, acrylic powder, a small jar or container, a synthetic brush, and a paper towel.
Step 8: Applying the Acrylic Mixture
Dip your brush into the acrylic liquid, then into the acrylic powder. Apply the mixture to your nail, covering the entire surface gradually.
For stronger, thicker nails, apply an additional coat. Repeat this process for all your nails.
Allow your nails to dry for 2-5 minutes, then buff and file them once they are completely dry.
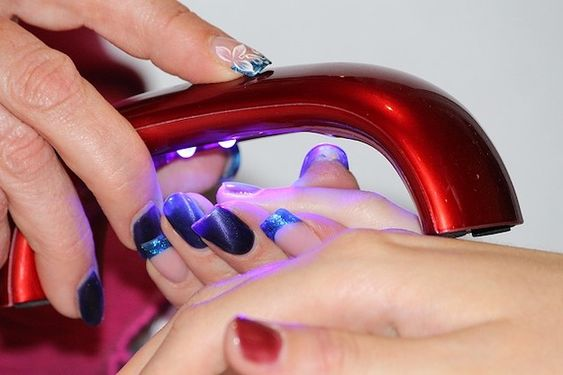
Step 9. Finishing
Apply a hardening topcoat for a glossy finish. Finally, use cuticle balm to keep your nails soft and healthy.
CONCLUSION
Doing your own nails can be tricky, but it’s also a lot of fun, don’t you think? This DIY acrylic nails guide should help you get started.
In the comfort of your own home and within your budget, you can experiment with different nail arts and even design your own. Enjoy the process!
Will you be trying DIY acrylic nails this weekend? Share your plans in the comments section below!


