
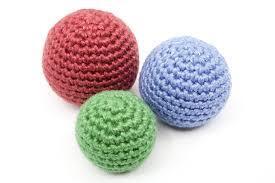
Crocheting the perfect amigurumi ball or sphere in any size is incredibly useful for creating amigurumi heads, bodies, limbs, and various other components. Additionally, these versatile shapes can be used for children’s toys, decorative elements, wall hangings, jewelry, and more.
In this tutorial, I’ll share some simple rules and helpful tricks for crocheting a flawless amigurumi ball. With these techniques, you can create spheres of any size that look perfect from every angle! So, gather your yarn, hook, and stuffing, and let’s get started on crafting some adorable balls!
Essential techniques for a perfect Amigurumi Ball
Before we begin, let’s take a moment to review a few essential techniques for crocheting the perfect amigurumi ball:
- Crochet in the Round
- How to Single Crochet the Perfect Circle
- Single Crochet Invisible Decrease
- Ultimate Finish
Perfect single Crochet Circle
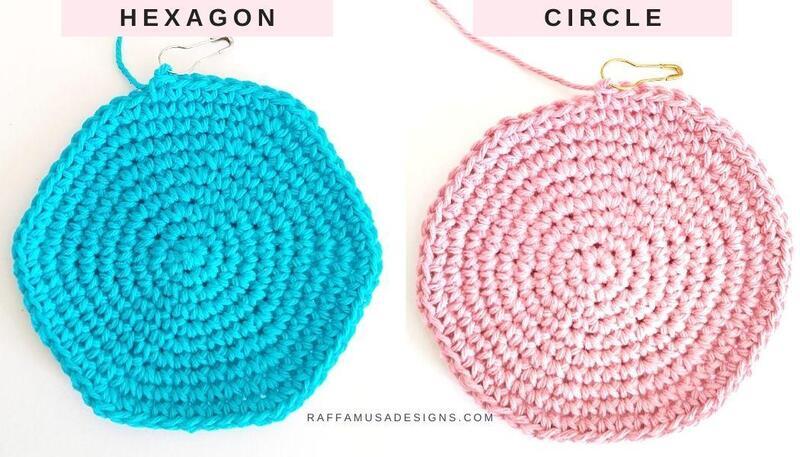
The foundation of any amigurumi sphere is a simple, flat circle. When you single crochet a flat circle, you can place your increases in various ways, resulting in a shape that may resemble a hexagon or one that is truly round.
For an amigurumi sphere, it’s crucial to start with a perfect circle, like the pink one depicted below. While you’ll find several pattern examples here, you can also learn more about transitioning from a hexagon to a flawless circle.
Single Crochet Invisible Decrease
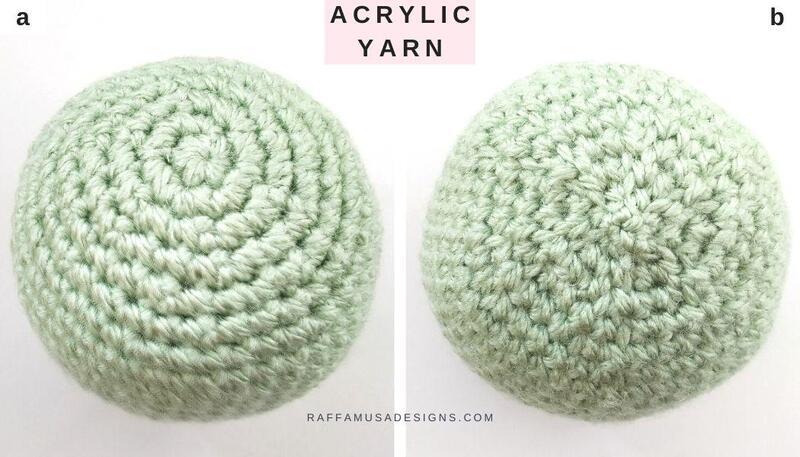
If you’ve ever attempted to crochet a ball or any amigurumi, you might have noticed that while the beginning of the sphere looks neat (as shown in the photo in panel A below), the finishing can often be less appealing (see the photo in panel B below).
While the less attractive side of an amigurumi—where you make decreases—may never win any beauty contests, you can certainly enhance its appearance with the Single Crochet Invisible Decrease! Additionally, by alternating decreases in the same manner as you would for increases in a perfectly round circle, you can achieve a more polished look. We’ll explore that in more detail later!
How to Close your Amigurumi Sphere
To achieve a neat crocheted ball from every angle, it’s essential to master the technique for closing your amigurumi sphere using the ultimate finish. This method ensures that the final round of your ball lies flat and cute, rather than sticking out awkwardly.
Now that we have that covered, it’s time to crochet a ball together! But first, let’s discuss the materials you’ll need!
Materials
- Yarn
- Appropriate Hook Size
- Stuffing
- Tapestry Needle
Keep in mind that for crocheting amigurumi, it’s best to use a smaller hook size than what’s recommended on the yarn label.
For instance, I used:
- acrylic, worsted (4, Medium) yarn with a 3.5-mm (E/4 US, 9 UK) hook;
- or cotton, DK (3, Light) yarn with a 2.75-mm (C/2 US, 12 UK) hook.
Abbreviations (US Terms)
- Ch – Chain
- Inc – Increase
- Inv Dec – Invisible Decrease
- MC – Magic Circle
- Sc – Single Crochet
- Sl St – Slip Stitch
- St – Stitch
How to Crochet the Perfect Amigurumi Ball in Any Size – Free Tutorial
Beginning of the sphere
Let’s begin by crocheting a perfectly round circle in any size.
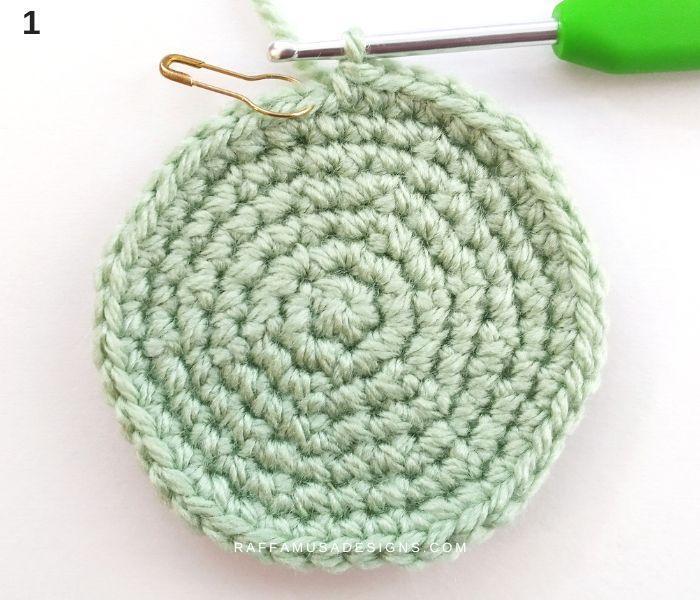
Here’s the pattern I used for the example shown here, but feel free to adjust the size of your circle to be as small or large as you need!
Round 1. Sc 6 in MC. (6 sts)
Round 2. Sc inc 6. (12 sts)
Round 3. (Sc inc 1, sc 1) 6 times. (18 sts)
Round 4. Sc 1, (sc inc 1, sc 2) 5 times, sc inc 1, sc 1. (24 sts)
Round 5. (Sc inc 1, sc 3) 6 times. (30 sts)
Round 6. Sc 2, (sc inc 1, sc 4) 5 times, sc inc 1, sc 2. (36 sts)
Round 7. (Sc inc 1, sc 5) 6 times. (42 sts)
Body of the Amigurumi Ball
Once you’re satisfied with the diameter of your circle, it’s time to crochet the body of the sphere.
To achieve a perfect sphere, there’s a straightforward rule for determining how many rounds to work for the body: simply add one to the number of rounds in your flat circle!
In our example, we crocheted a flat circle with 7 rounds, so we’ll need to crochet a total of 7 + 1 = 8 rounds for the body.
Here is the pattern:
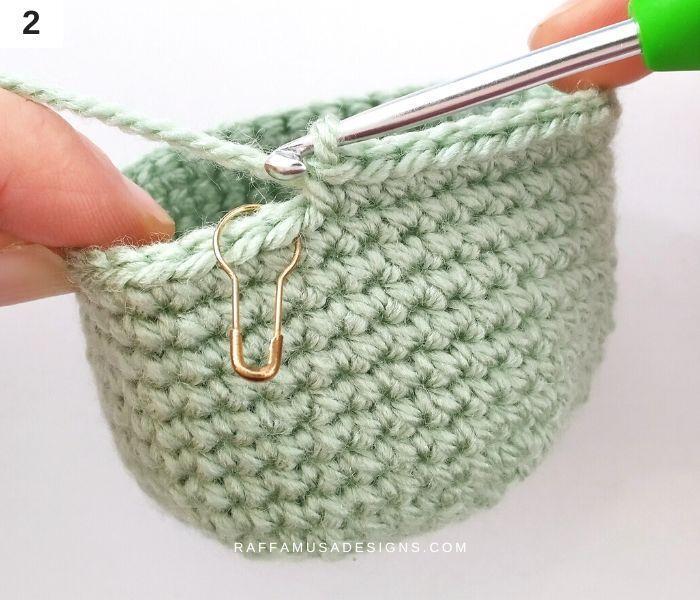
Rounds 8-15. Sc around. (42 sts)
Decreases
Once the body is complete, it’s time to decrease the number of stitches.
It’s important to alternate the position of the decreases in each round to avoid having them stacked in the same six points. This follows the same principle as creating a hexagon versus a perfect circle!
For a tidy finish, be sure to use the invisible decrease technique.
For our Amigurumi ball, the pattern for the decreases will be as follows:
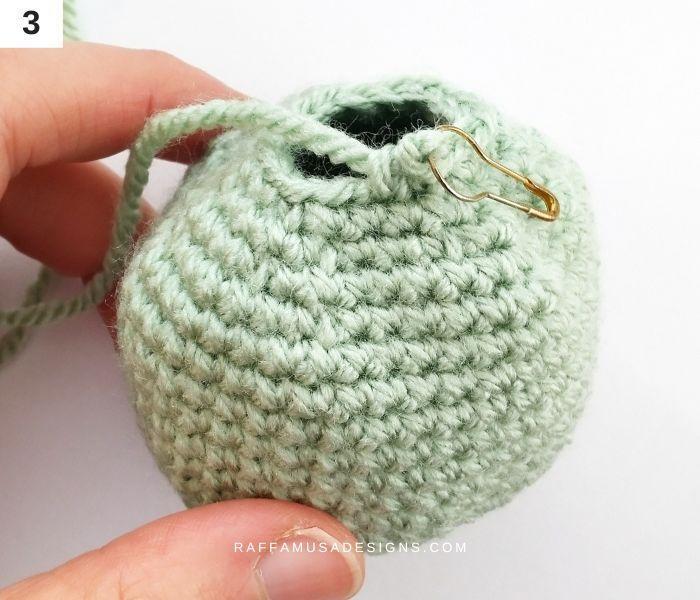
Round 16. (Inv dec 1, sc 5) 6 times. (36 sts)
Round 17. Sc 2, (inv dec 1, sc 4) 5 times, inv dec 1, sc 2. (30 sts)
Round 18. (Inv dec 1, sc 3) 6 times. (24 sts)
Round 19. Sc 1, (inv dec 1, sc 2) 5 times, inv dec 1, sc 1. (18 sts)
Stuffing
At this stage, before making any further decreases, it’s a good idea to stuff the amigurumi ball with polyfill or any filling material you typically use.
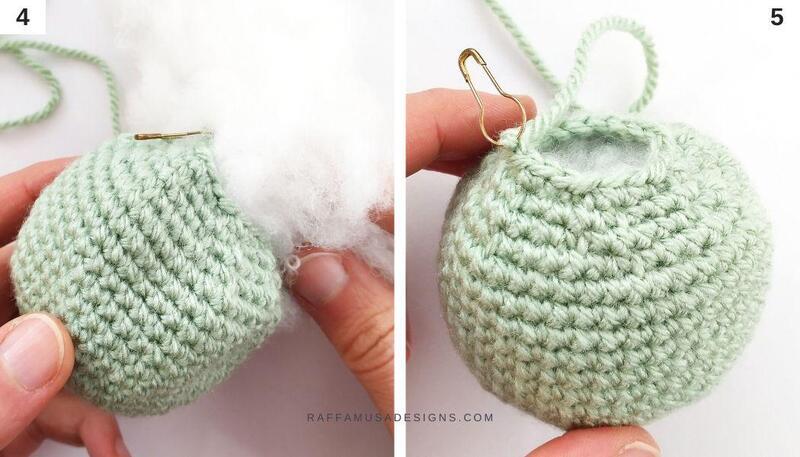
Complete the decreases
Continue decreasing your stitches in each round, adding more filling material as needed.
For our example, the pattern looks like this:
Round 20. (Inv dec 1, sc 1) 6 times. (12 sts)
Round 21. Inv dec 6. (6 sts)
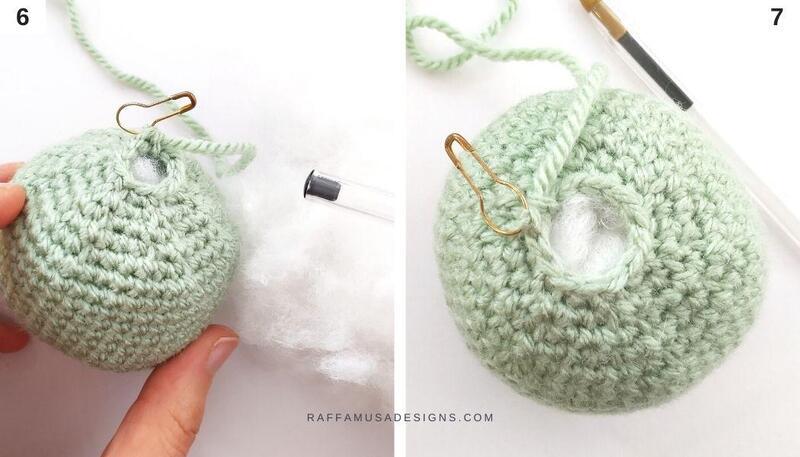
Fasten off leaving a long tail.
Close the top hole of the Amigurumi ball
Close the top of your sphere using the ultimate finish technique.
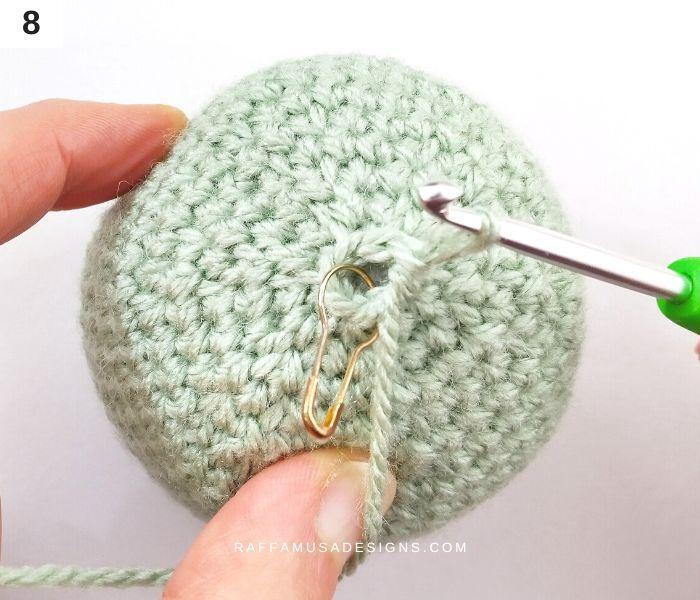
Weave in your ends
Finally, weave in all of your ends.
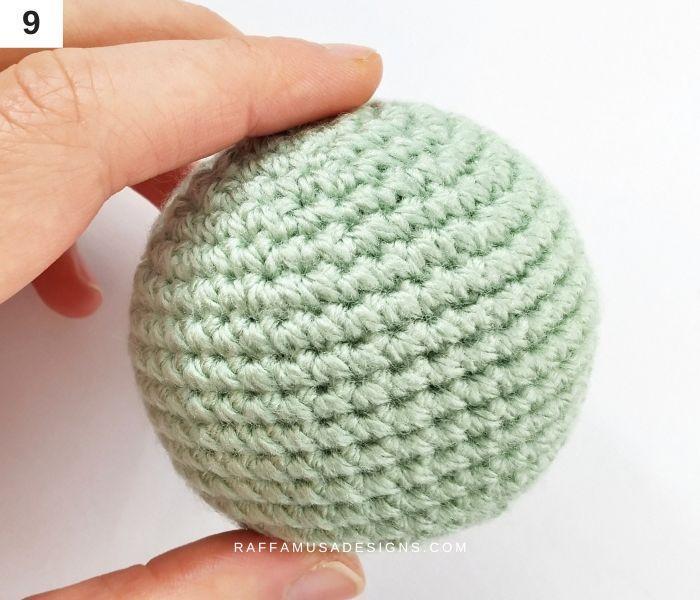
CONCLUSION
I hope you enjoyed this free tutorial! I’d love to see all your creations using amigurumi balls. Please share a picture of your work on Facebook and Instagram


