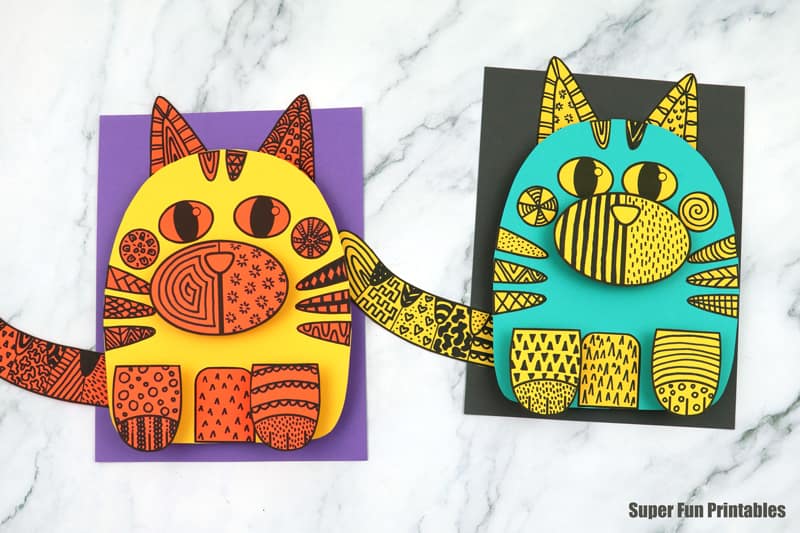
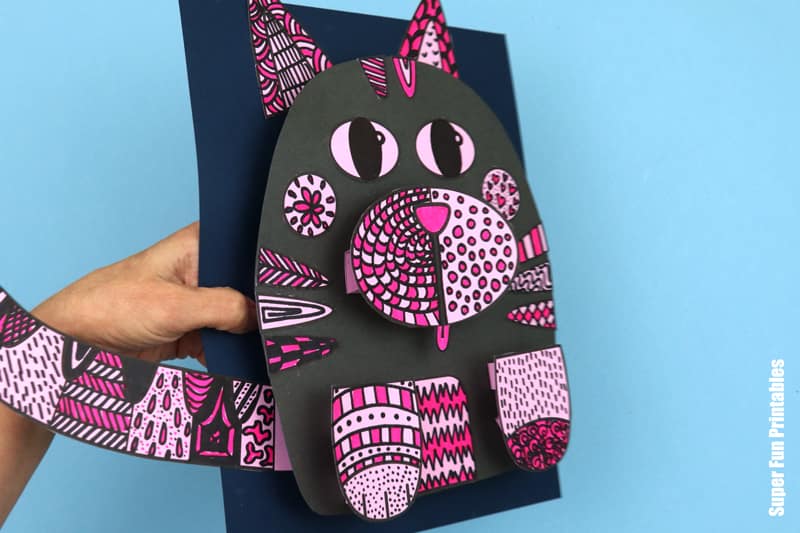
Kids will enjoy getting creative with this 3D patterned cat art project! It makes for eye-catching wall art, and there are many ways to customize the activity to suit different skill levels. You can make it more colorful or simplify it for younger children. The example version shown is recommended for ages 8 and up.
Get the template here

I have a secret (or perhaps not-so-secret) passion for doodle art projects! Last week, we shared some adorable mini doodle lovebugs perfect for Valentine’s Day and spring crafting. Our archives are filled with plenty of ideas to suit various seasons and holidays, so be sure to check out the list at the end of this post.
However, these cats take the crown because they’re simply purrfect for any time of the year!
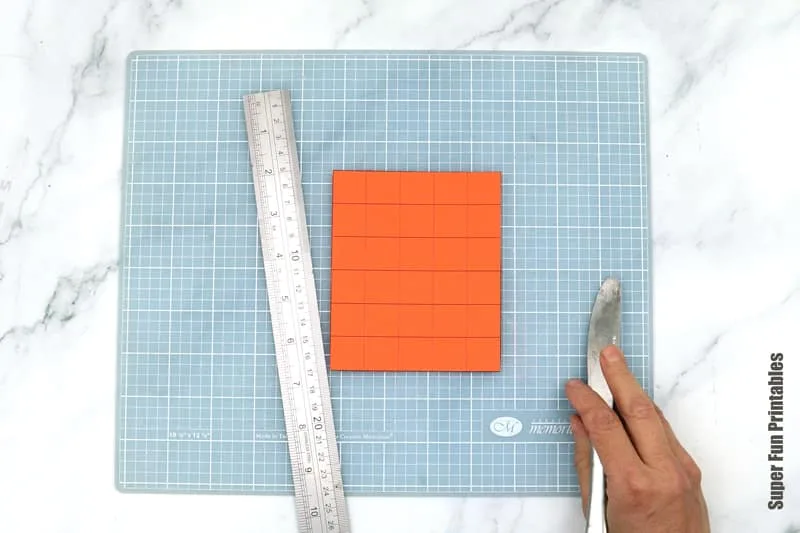
The materials required for this project are basic, and the craft itself is quite easy, involving simple drawing, cutting, folding, and gluing. There’s also an optional scoring step to help make folding the support squares easier and more accurate.
I typically use a metal ruler and a butter knife for scoring, as I can never seem to find my scoring tool. However, if you prefer a dedicated scoring tool, you can find them inexpensively online (affiliate link). They’re definitely worth having if you enjoy papercrafts.
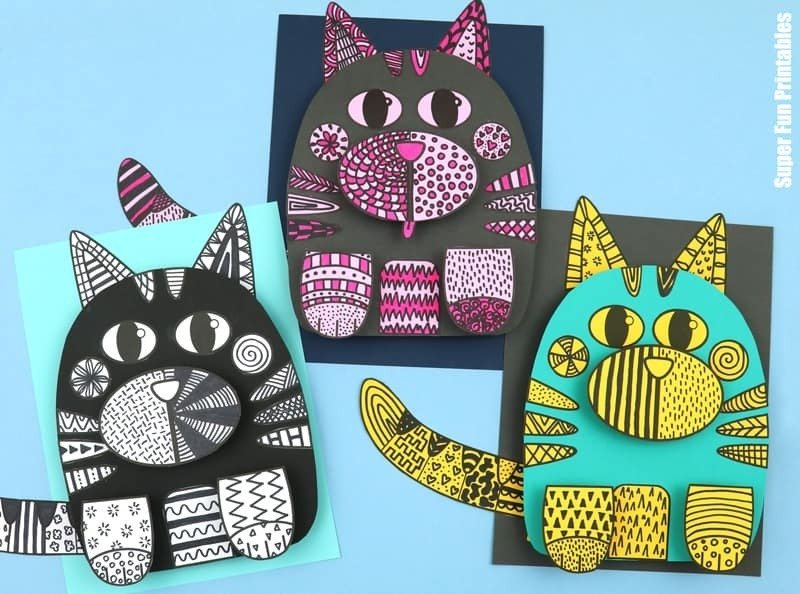
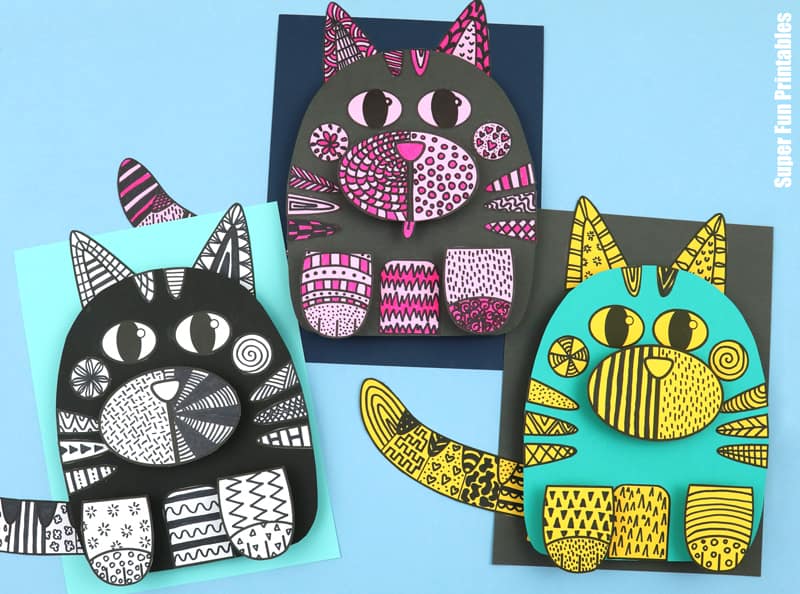
Since the patterning can be as intricate as you wish, this project is perfect for tweens, teens, and even adults. I had so much fun that I ended up making four doodle cats!
There’s plenty of creative freedom with this project, making it easy to put your own spin on this cat craft. Check out the variation list at the end of the post for more ideas!
Card stock is recommended for added sturdiness. Be cautious when using Sharpie markers, as they can bleed through ordinary copy paper and potentially stain surfaces.
How to make 3D Pattern Cat Art
You will need:
- Card stock in three of colours of your choice
- The template, available in our printables store as well as our TPT store
- An extra sheet of card stock in a colour of your choice for the backing page
- Sharpie marker
- Scissors
- Glue stick
- Cutting mat, metal ruler and optional scoring tool
How to:
Print the template out as per the instructions in the digital download file.
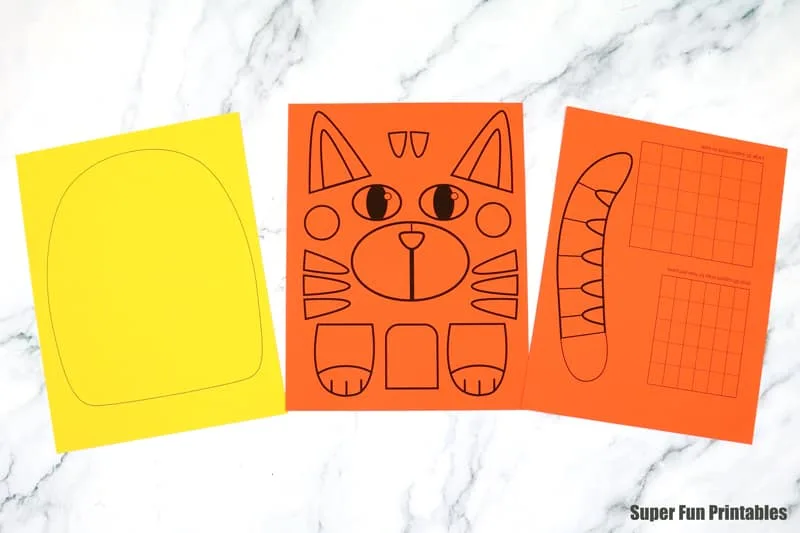
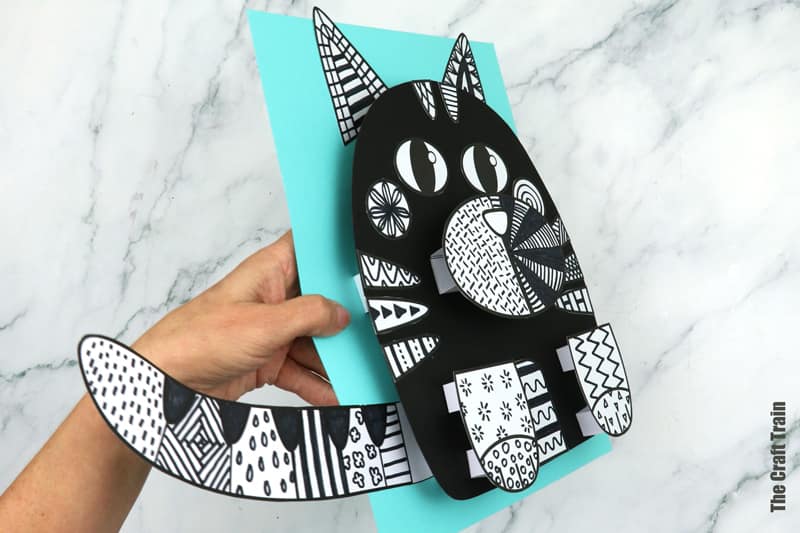
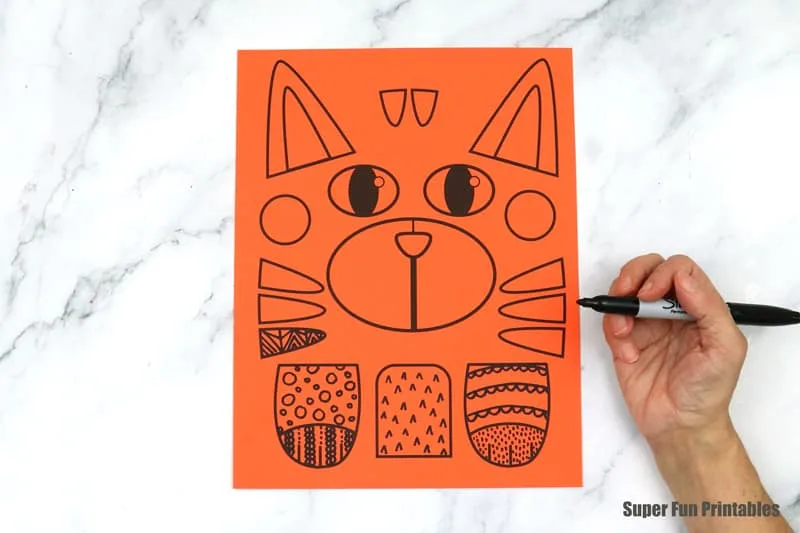
Use a Sharpie marker to decorate the cat shapes, but be sure to leave the eyes and the cat tail tab unpatterned for a clean look.

Cut out the cat shapes, body shapes, and the outer squares from the support strips.
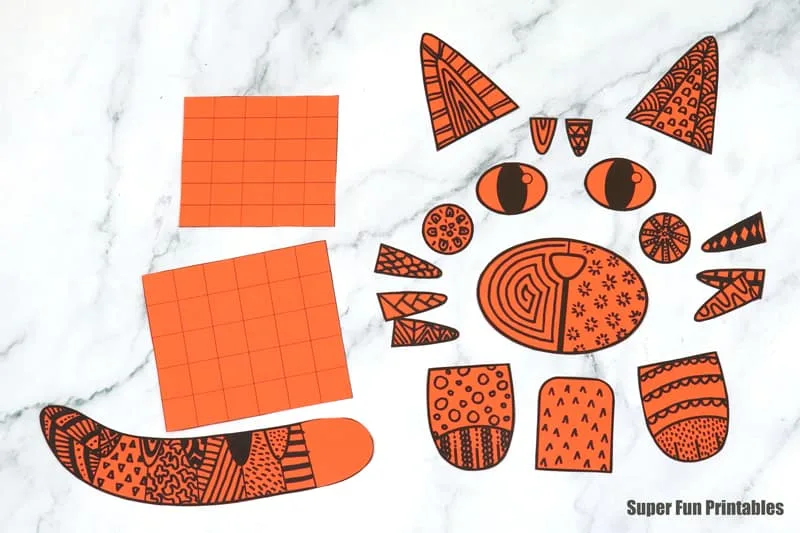
Optional: Score the dotted lines on the 3D support strips and then fold them. If you prefer, you can simply fold without scoring.
Cut the support strips into individual pieces and glue them together to form squares.
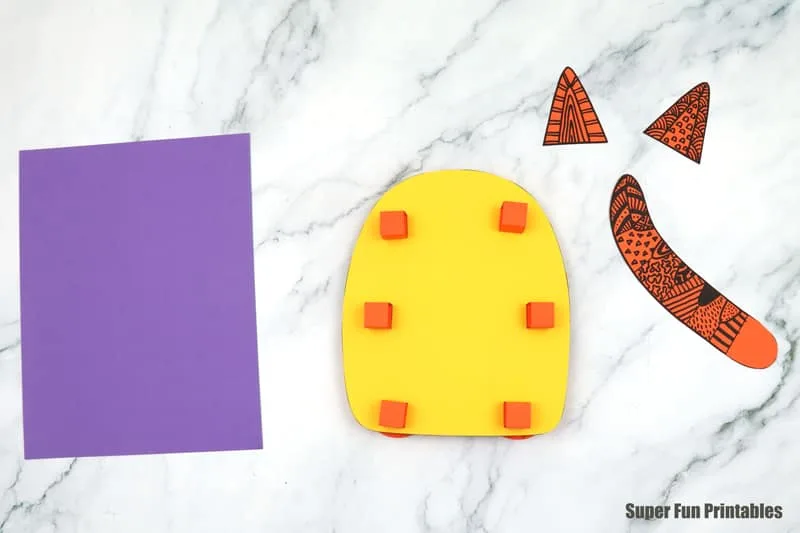
Next, glue two thin support squares onto each of the paws before attaching them to the cat’s body. The nose will also need two thin support squares before gluing it into place.
Finally, glue the stomach, cat stripes, cheek spots, and eyes flat onto the body shape.

Glue the tail onto the backing page, positioning it where the cat’s tail would be near the base of the paper.
Next, attach the six thick support squares to the reverse side of the cat’s body, then glue the body onto the backing page.
Finally, glue the ears into place on the backing sheet, layering them under the top edge of the cat’s head.
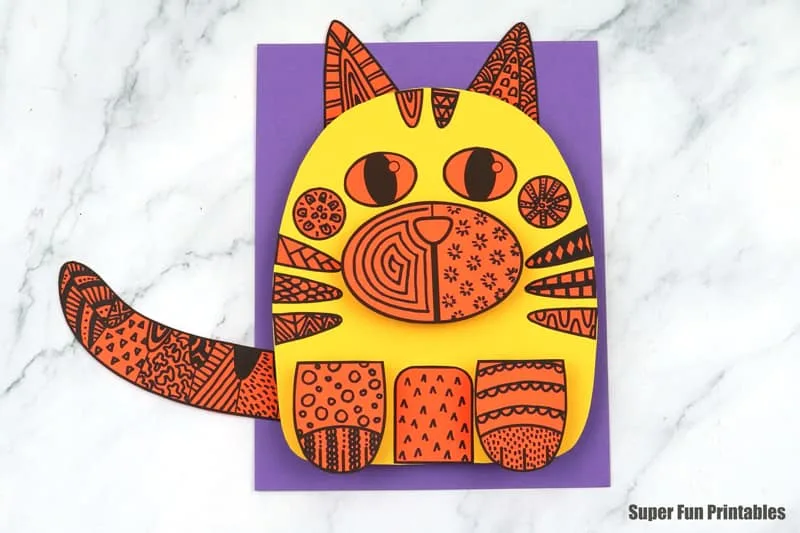
All done!